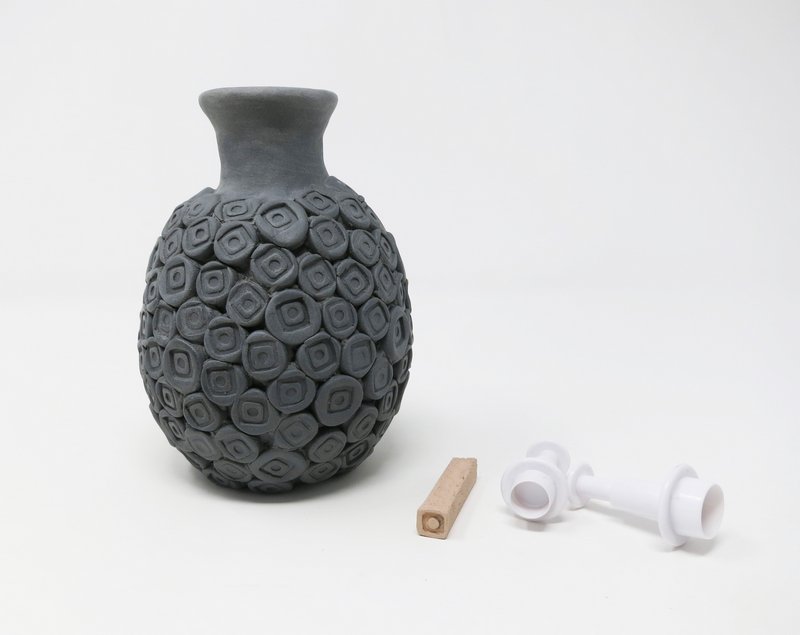
Supplies Needed:
- ACTIVA Blackjack Low Fire Clay™ Natural Kiln Earthenware
- Activ-Tools: Clay Tools Set
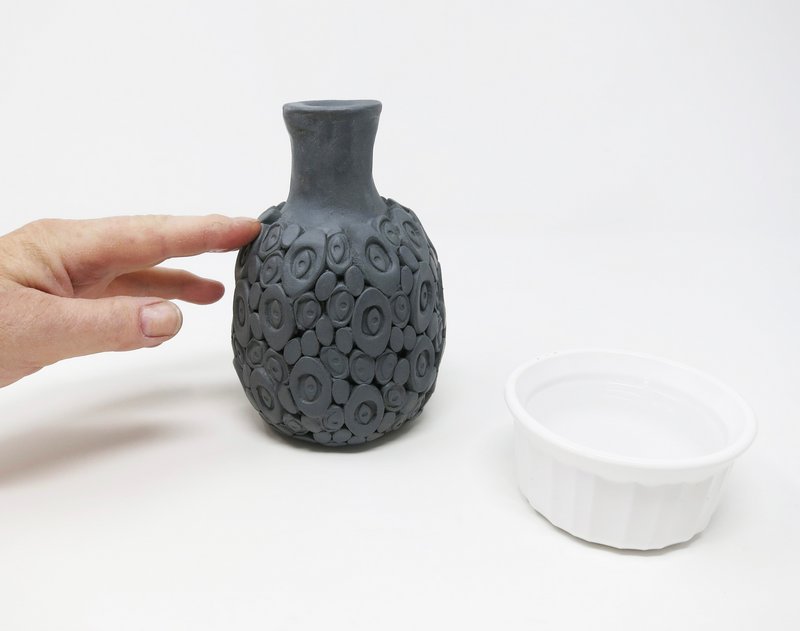
- Brush
- Water bowl
- Wooden spoon
- Rolling pin
- Geometric shape plunger cutters
- Clay stamp
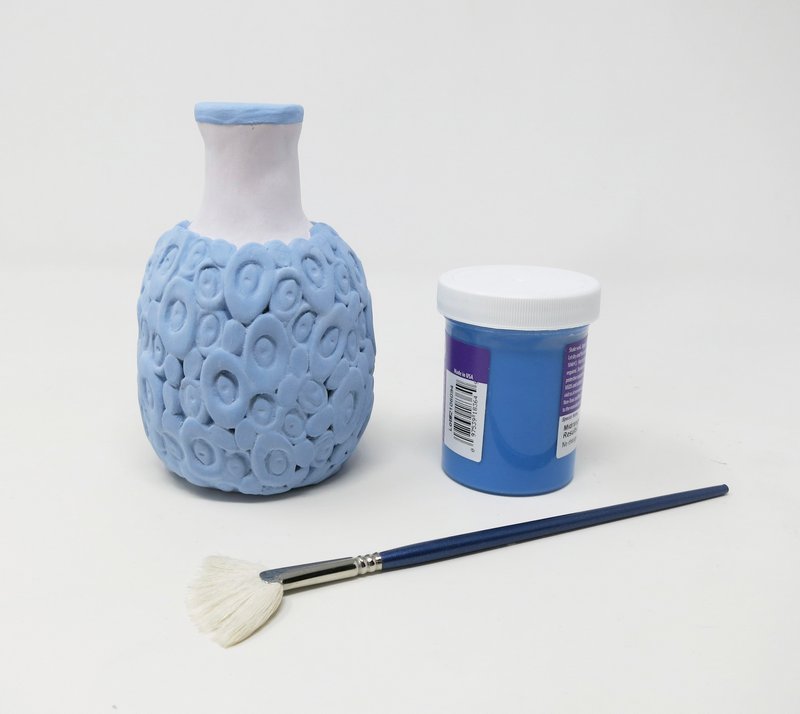
- Glaze
Step 1
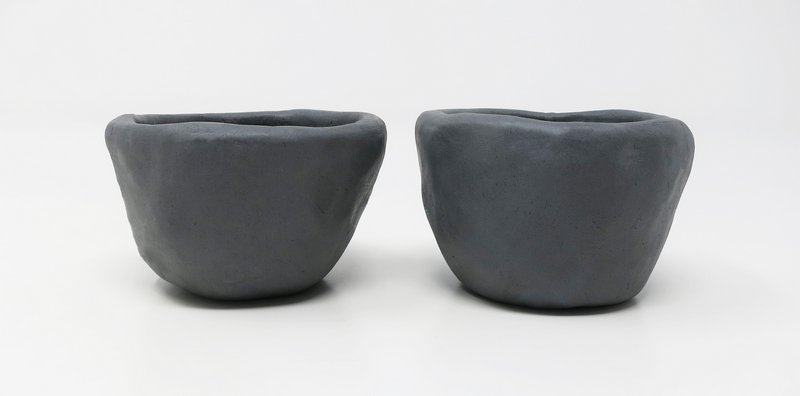
Pinch Pots
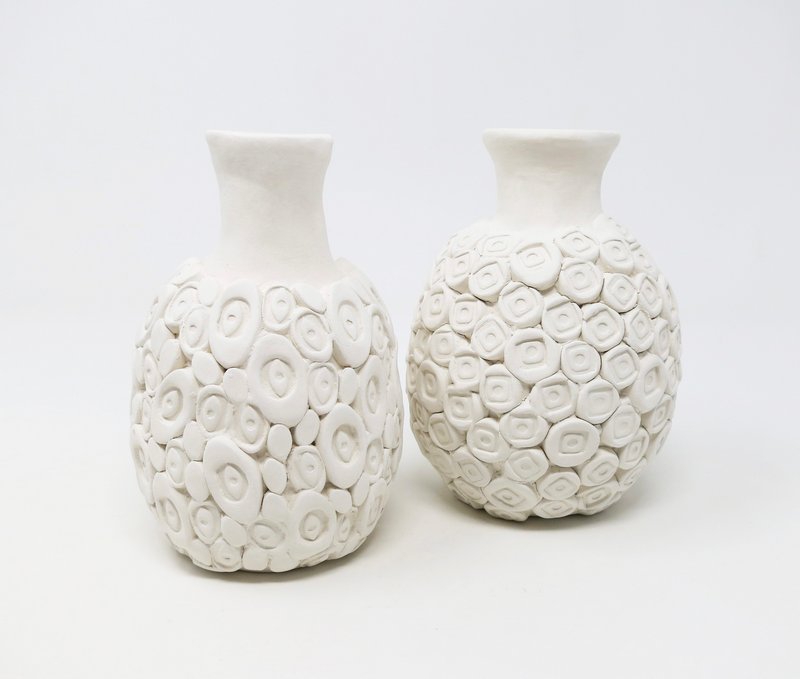
Roll 2 spheres of clay that are of equal weight.
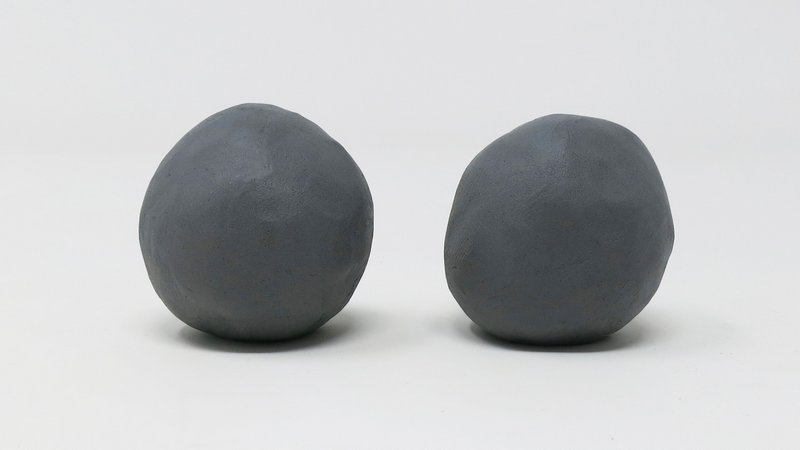
Turn each sphere into a pinch pot.
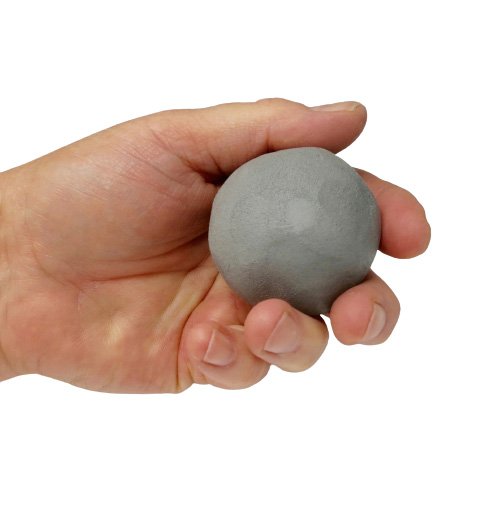
Push thumb into the center of the clay sphere.
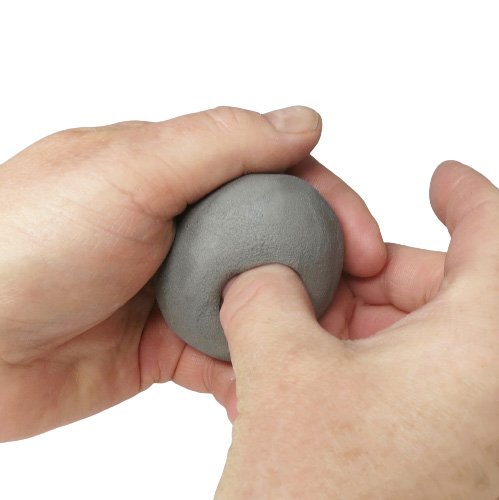
Pinch the clay with thumb and forefinger starting at the bottom and turning as you go.
Stop pinching when the pot is wide enough.
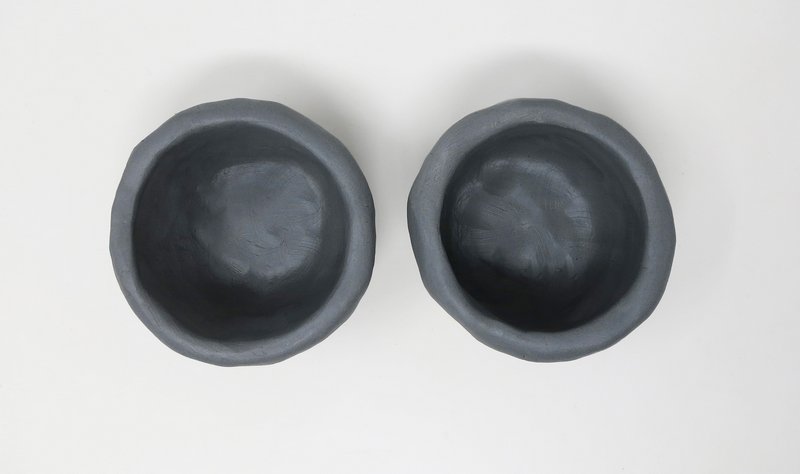
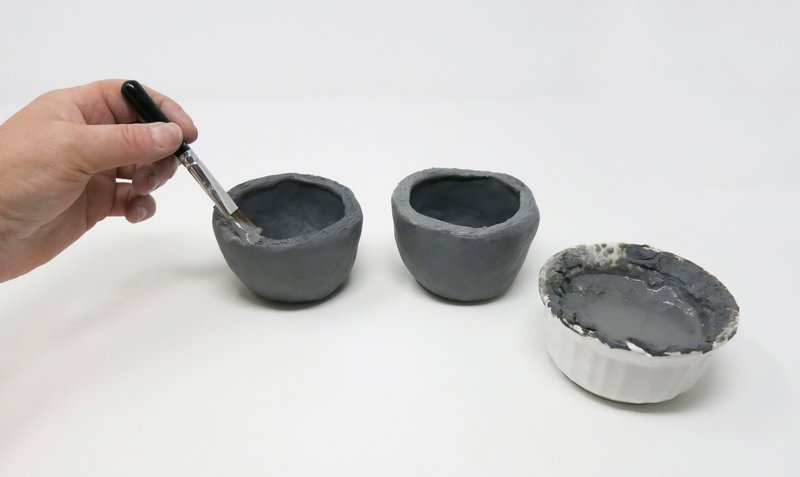
Compare both pots. Pots should both be similar in size.
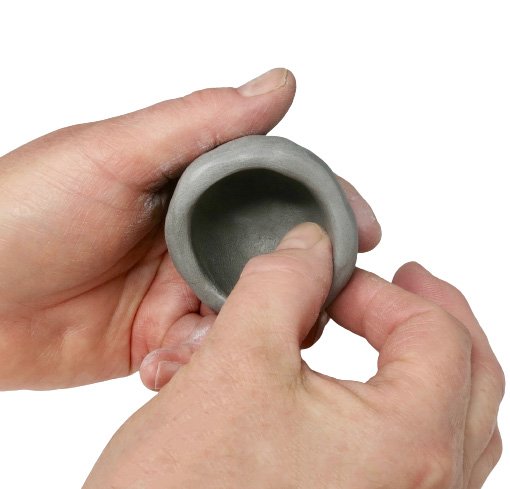
Step 2
Join
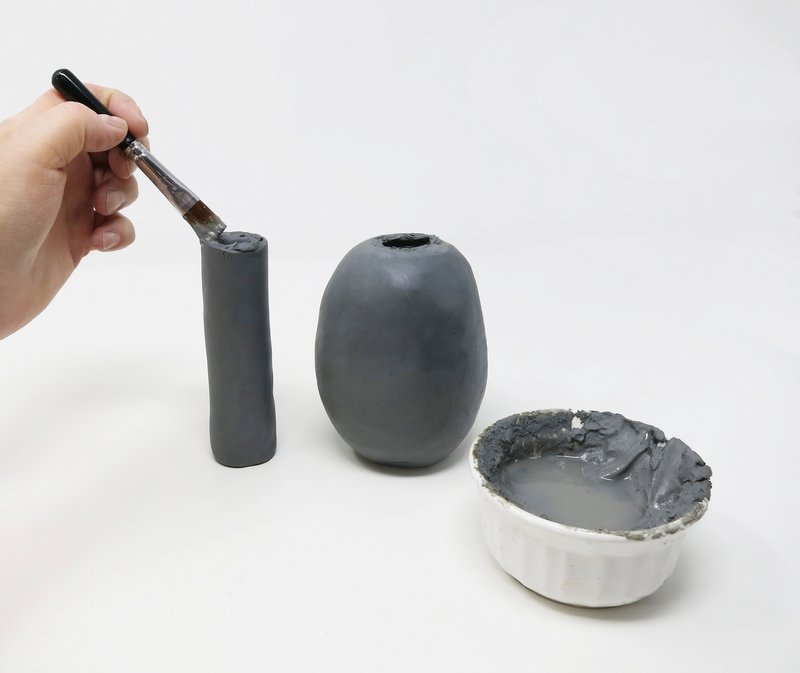
Score the rim of each pinch pot.
*Scoring is scratching the edges of clay before joining them together.
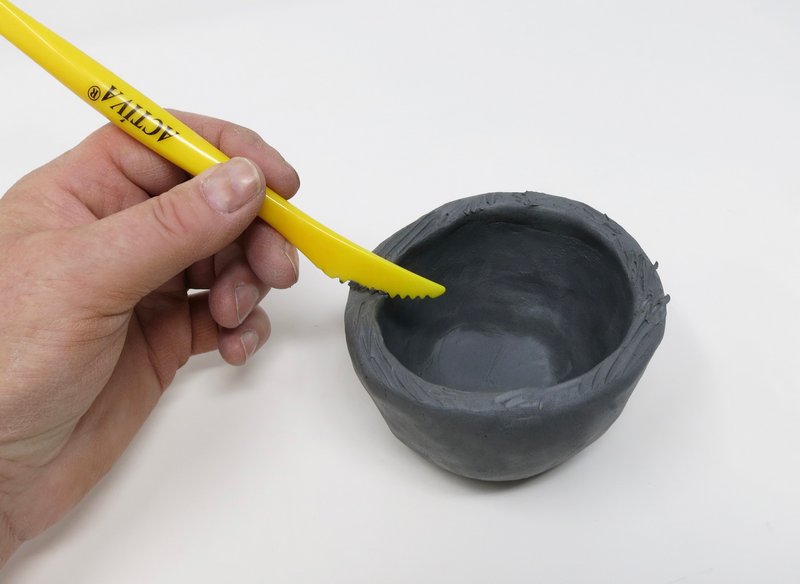
Apply slip over the scoring marks on each pinch pot.
*Slip is liquid clay used to join pieces of clay together like glue.
Connect both pinch pots together.
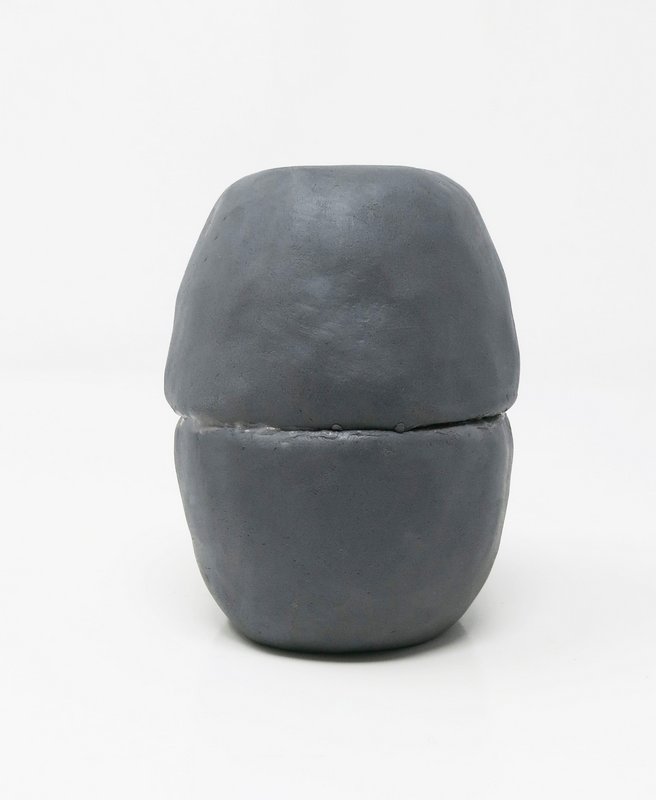
Roll a thin coil of clay.
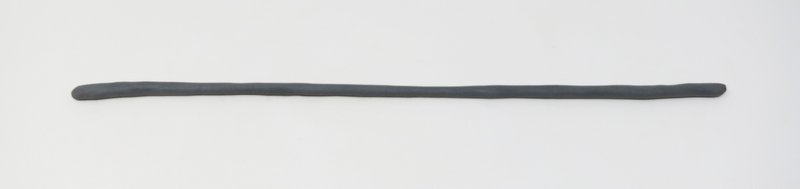
Wrap the coil around the space between the two pinch pots.
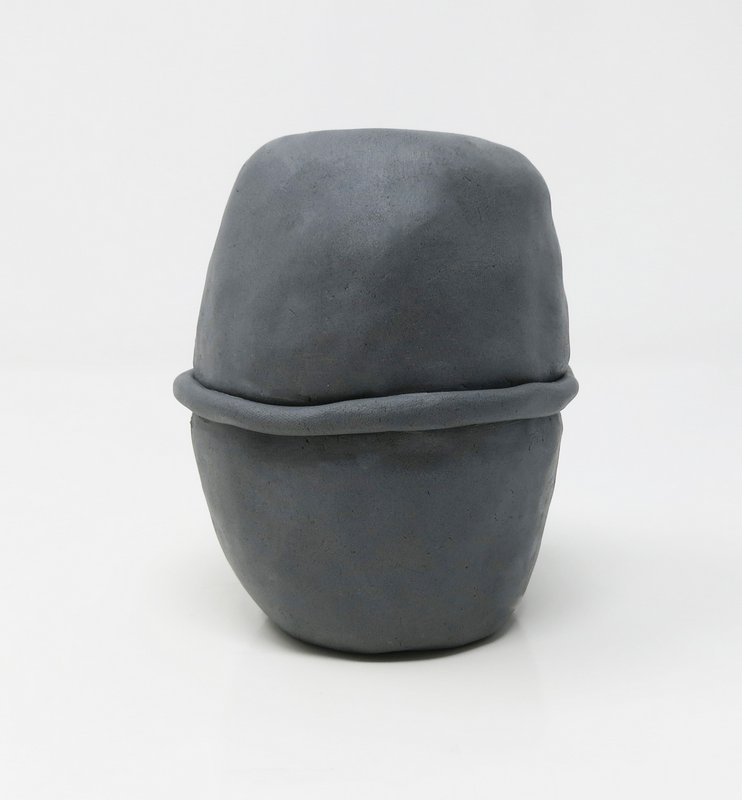
Smooth the coil onto the connected pinch pots.
Step 3
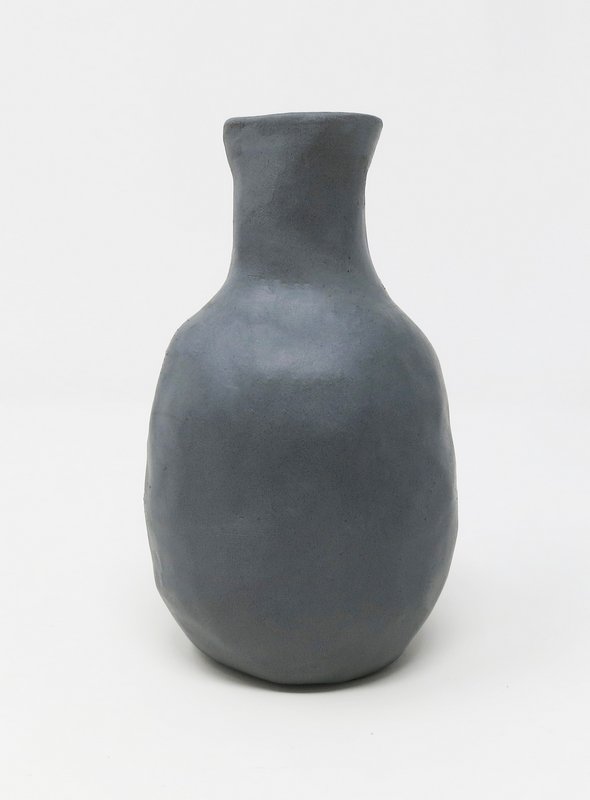
Belly Shape
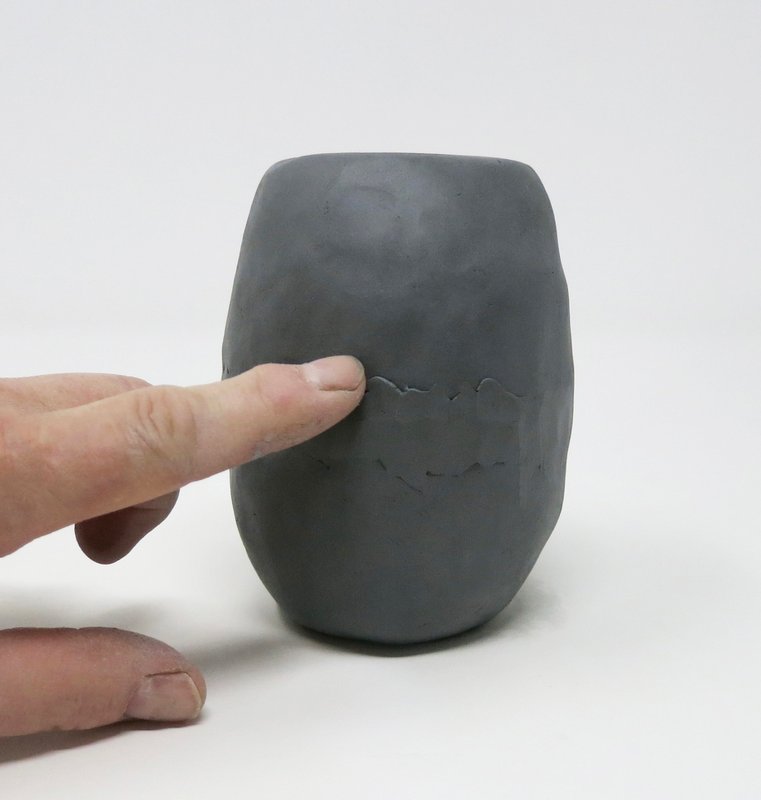
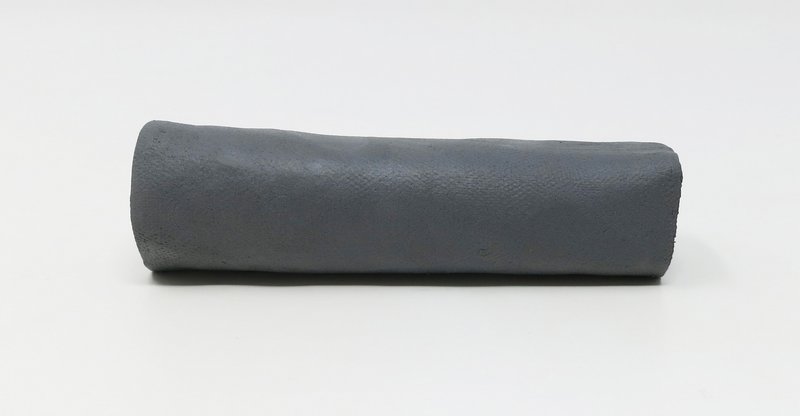
Form the belly of the vase by slapping the hollow pinch pot form into the shape of a potato.
Step 4
Neck
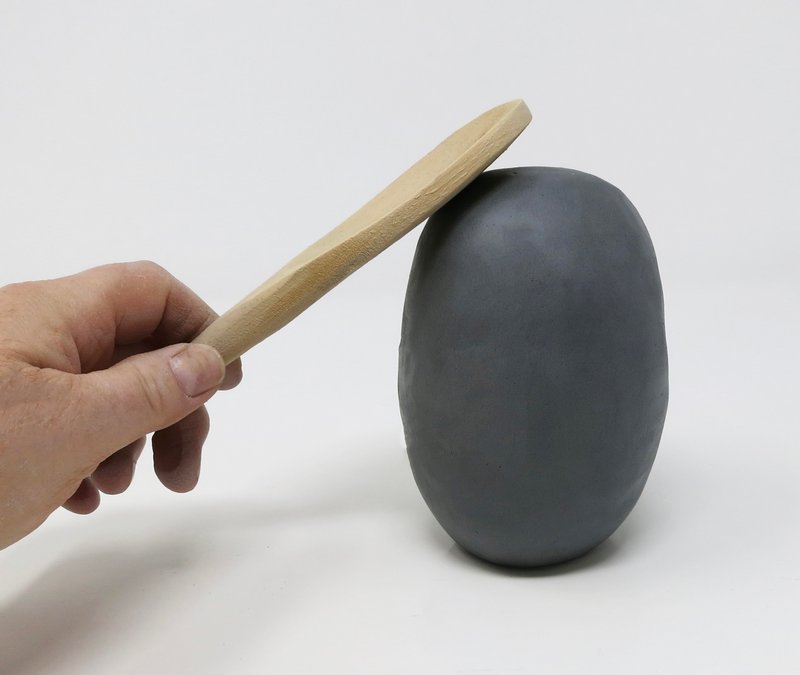
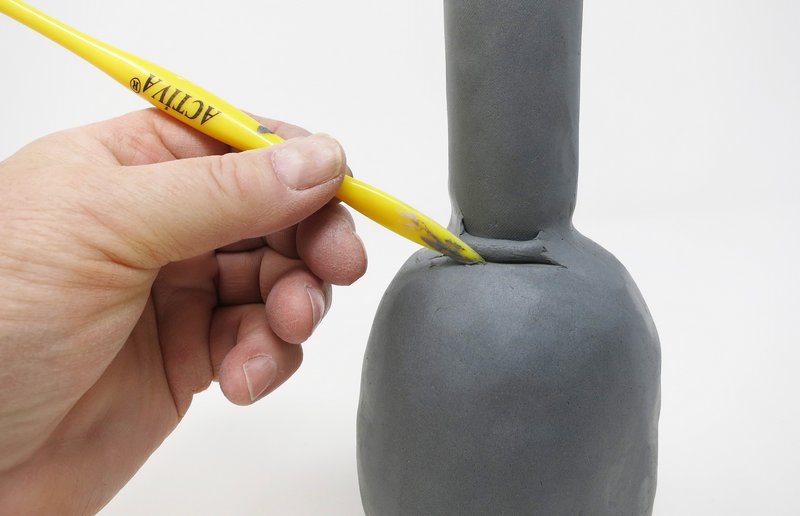
Carve an opening into the top of the belly shape using the pointed tool.
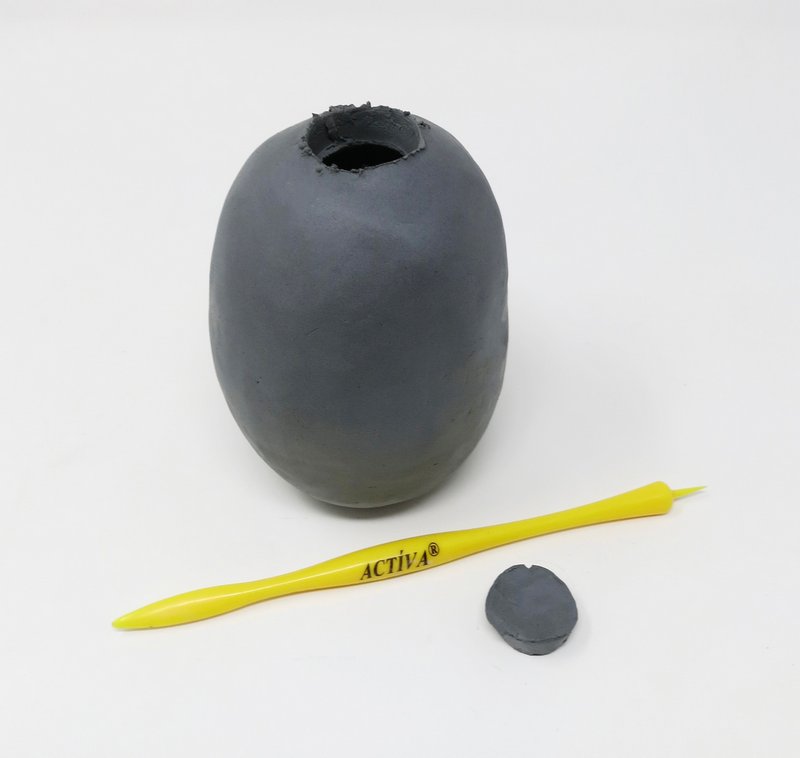
Roll a thick cylinder out of clay.
Insert the handle of the wooden spoon into the top of the thick cylinder.
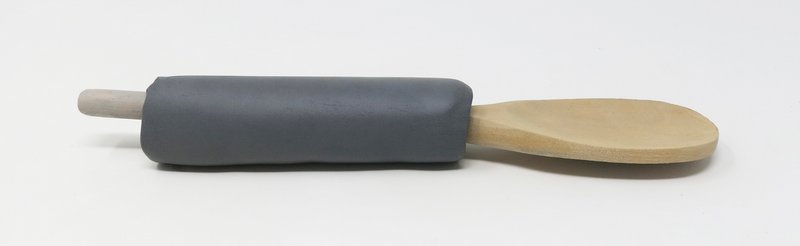
Move the spoon’s handle around and around in the cylinder until an opening in made through the entire cylinder.

Score and slip the hollow cylinder onto the belly of the vase.
Join the neck and the belly together with a thin coil of clay.
Smooth out any bumps on the vase with a little bit of water and fingertips.
Step 5
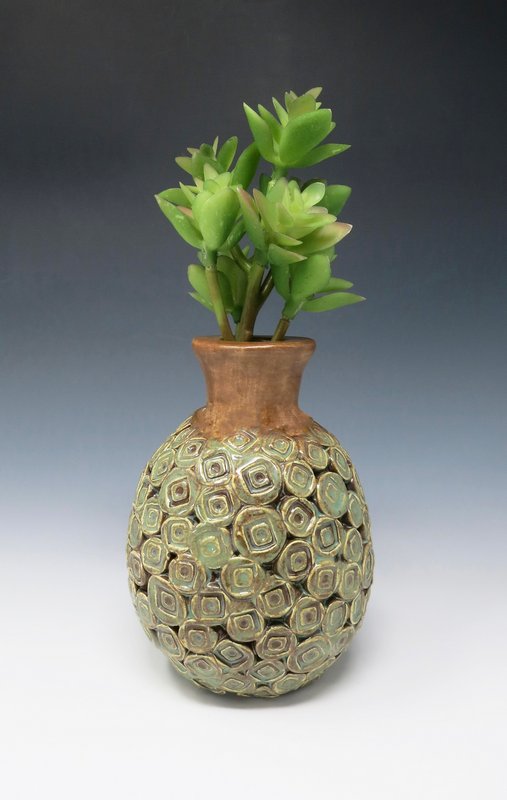
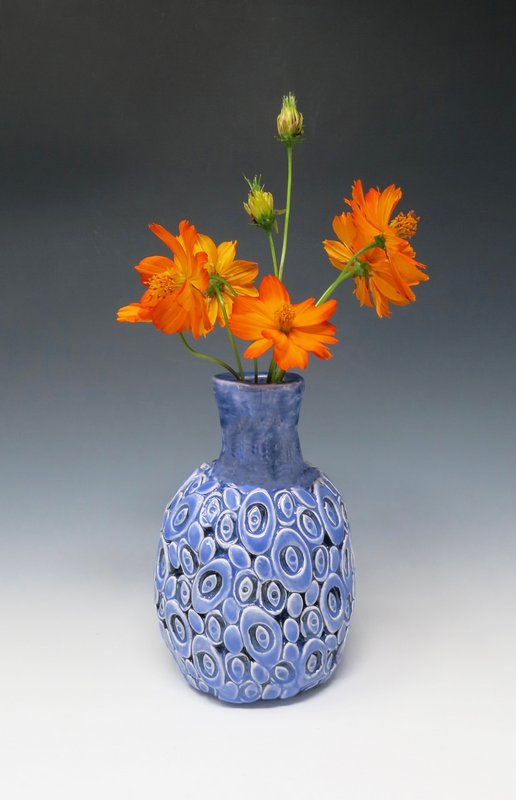
Design
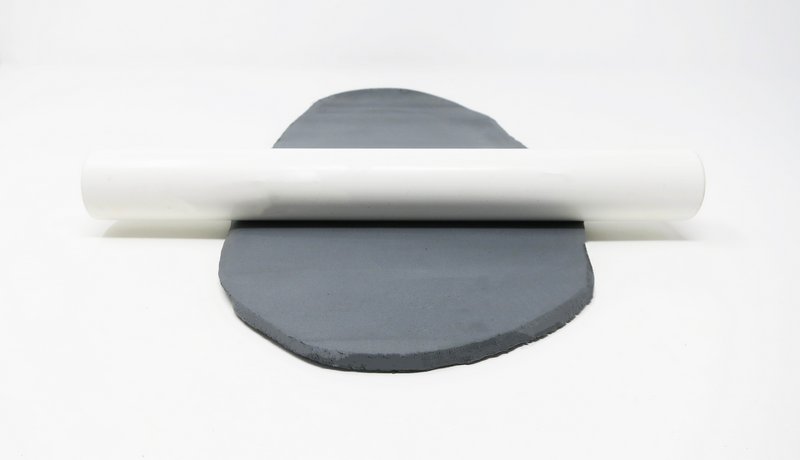
Roll out a 1/4” slab of clay.
Choose one of the geometric shape plunger cutters for the vase design.
Cut shapes out a few at a time.
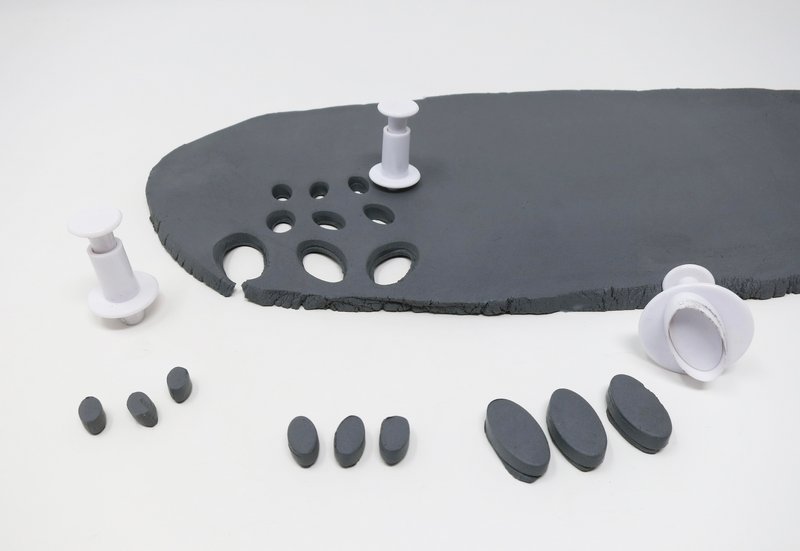
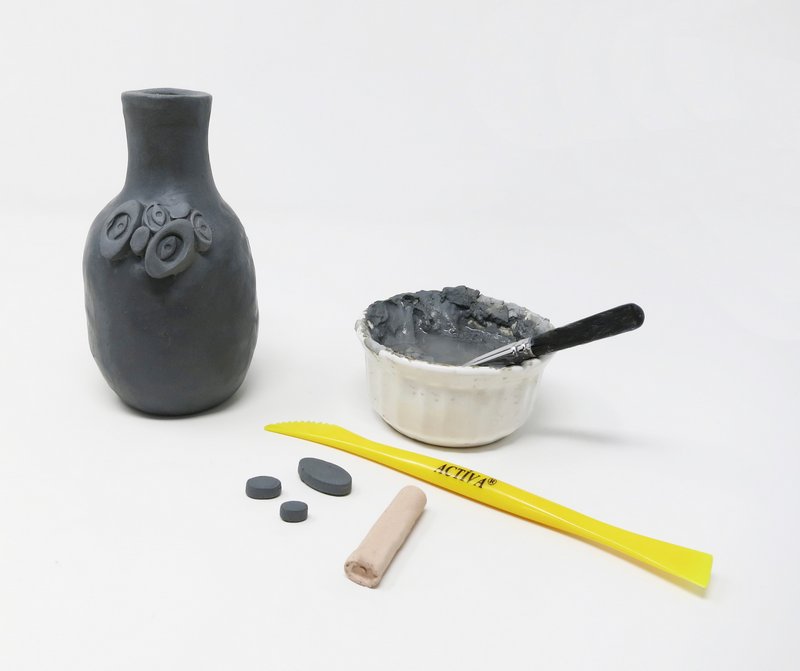
Score and slip the shapes onto the belly of the vase.
Shapes can be arranged in a regular or random design.
Additional designs and textures can be added using stamps.
Continue to add shapes until the entire form is covered.
Pat shapes down and smooth out rough edges with water on fingertips.
Step 6
Dry
Allow clay to fully dry. Drying time will vary depending on temperature and humidity.
Step 7
Bisque Fire
Fire clay in kiln to cone 04.
Step 8
Glaze
Apply glaze to the bisque vase according to manufacturer’s directions.
Step 9
Glaze Fire
Fire the glazed vase in the kiln. Follow manufacturer’s firing guidelines.