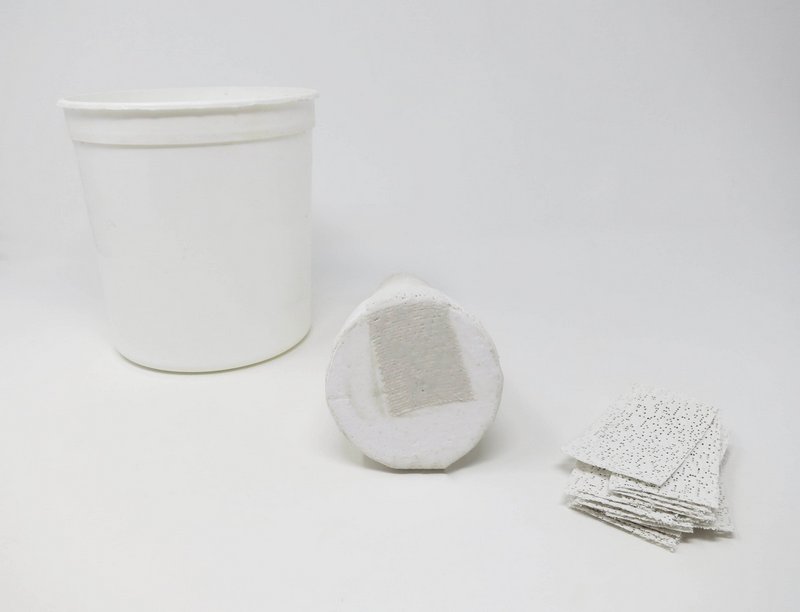
Supplies Needed:
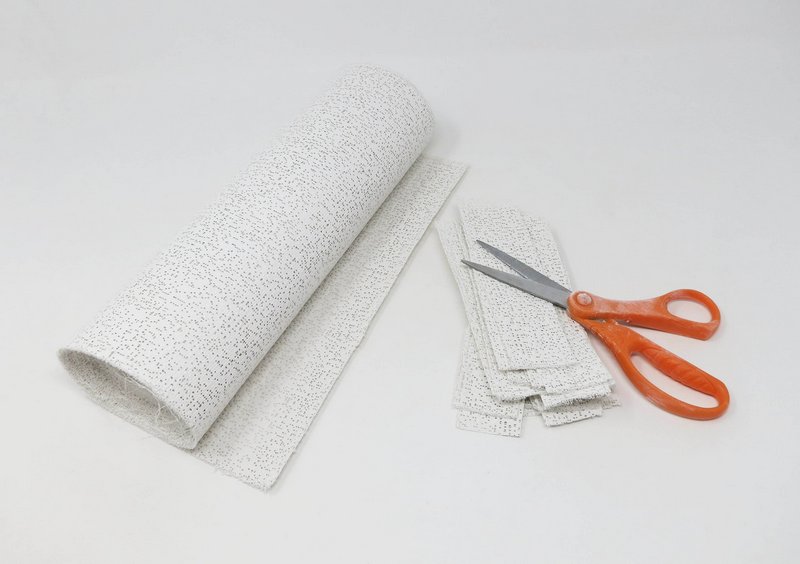
- Rappit Plaster Cloth
- Scissors
- Water bucket
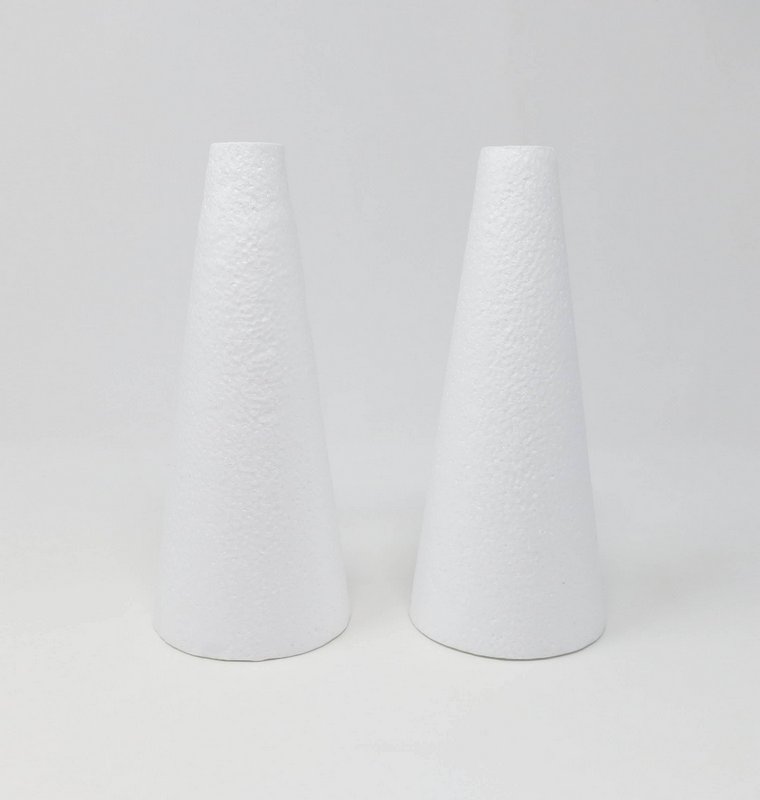
- Styrofoam cone
- Pencil
- Sandpaper
- Activ-Wire Mesh
- Paint
- Brush
- Sealant
Step 1
Prep
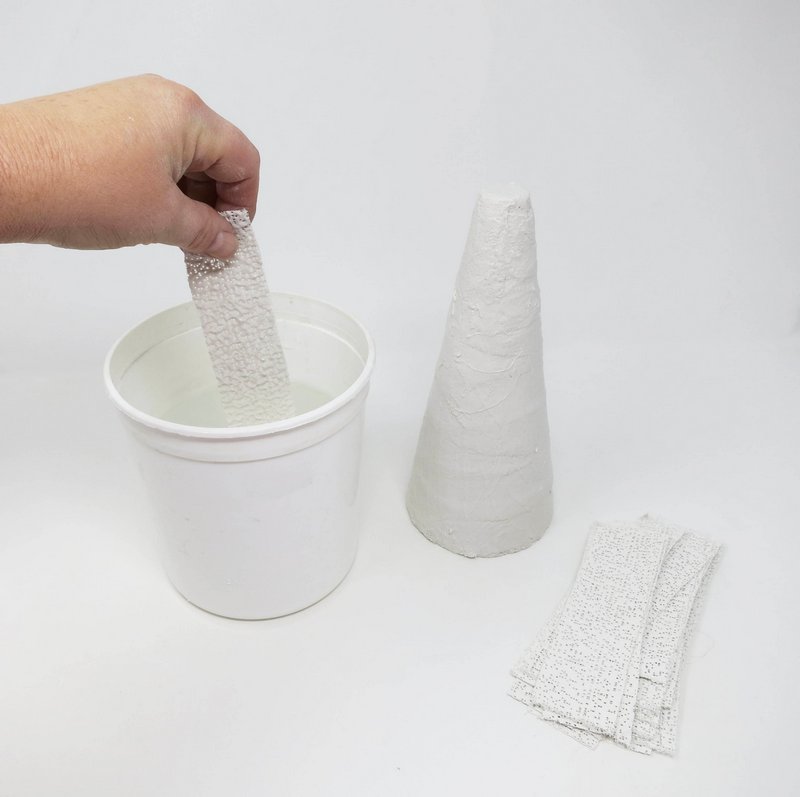
Prepare the plaster cloth by cutting it into 1” x 3” strips.
Step 2
Coating
Apply a coat of plaster gauze over the styrofoam cone armatures.
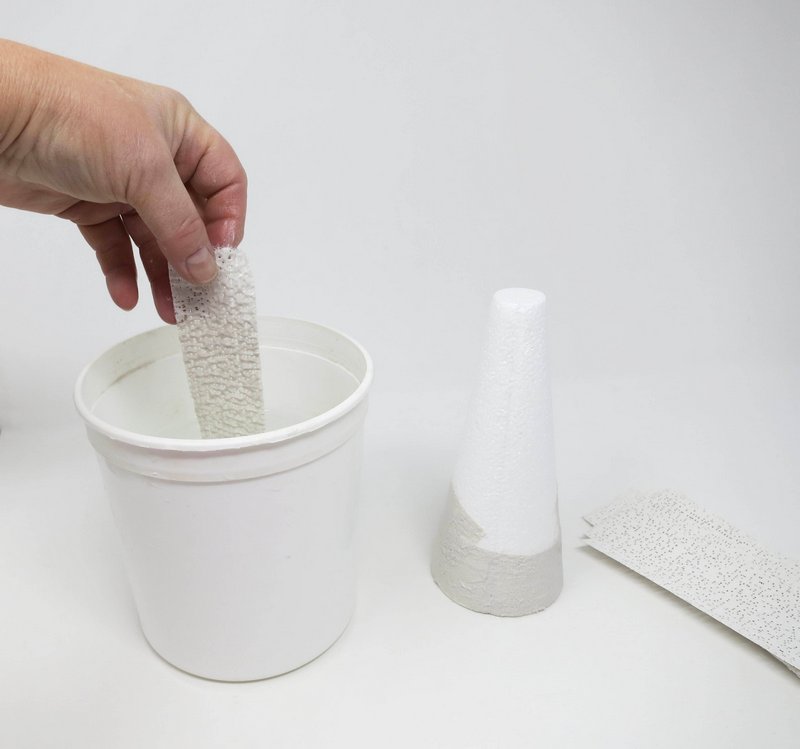
Dip one of the plaster gauze strips into the warm water and allow the excess water to drip off.
Lay the wet plaster gauze strip over the styrofoam cone.
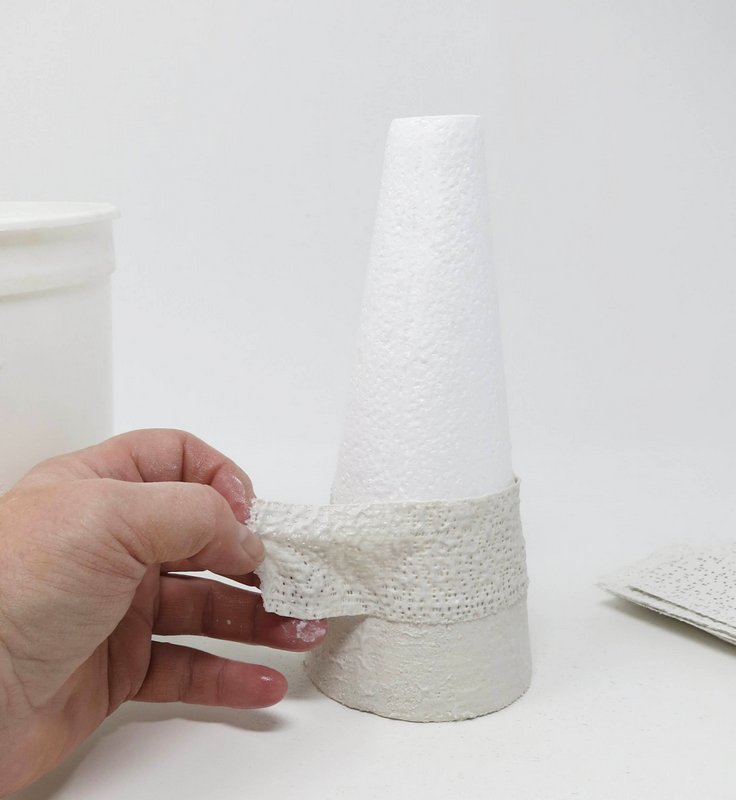
Smooth the wet plaster over the gauze with fingertips.
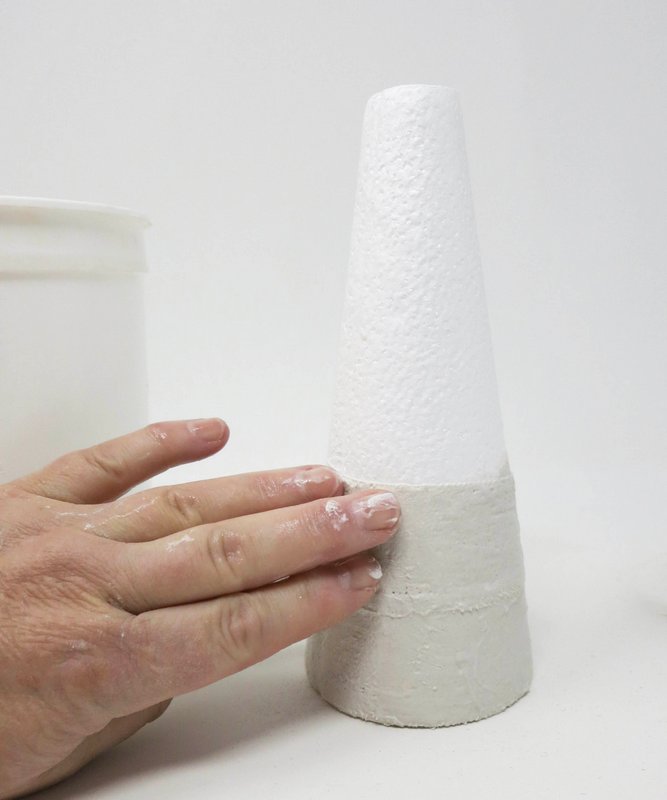
Continue to apply the plaster gauze until the entire cone is covered.
Step 3
Tip
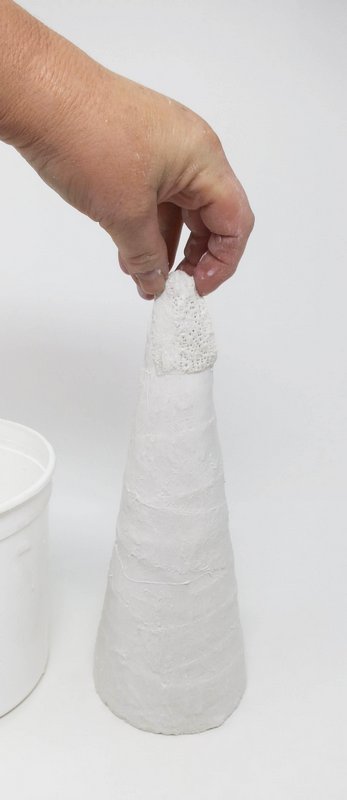
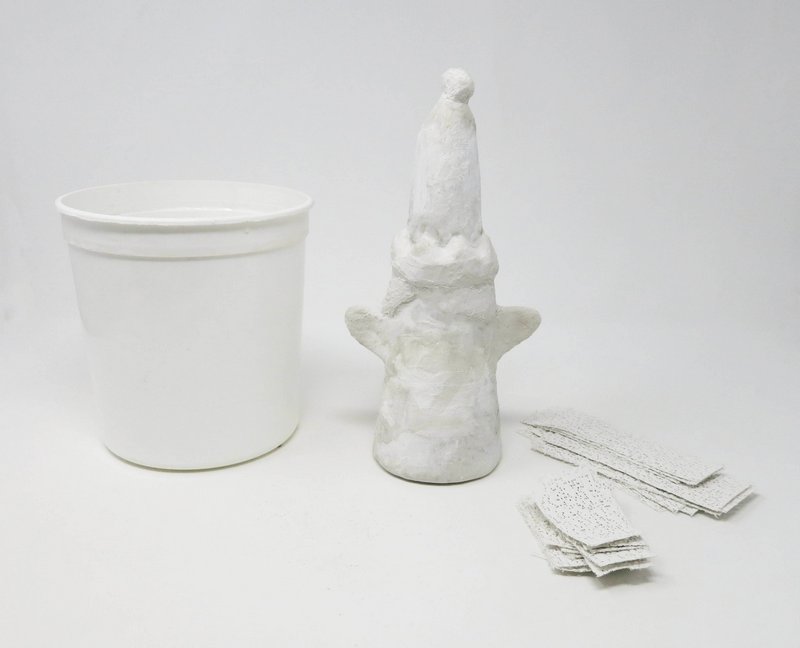
Create a pointed tip on top of the cone by adding additional plaster gauze.
Step 4
Dry
Allow the plaster gauze to dry.
*The gauze will begin to lighten in color and become hard as the plaster cures.
Step 5
Bottom
Apply a coat of plaster gauze to the bottom of the styrofoam cone.
Step 6
Second Coat
Inspect the first coating of plaster gauze and layer on a second coat.
Step 7
Proportions
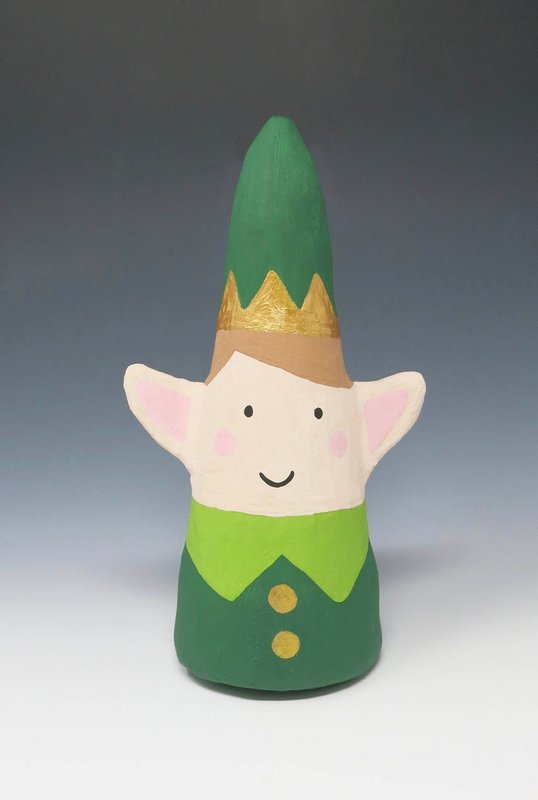
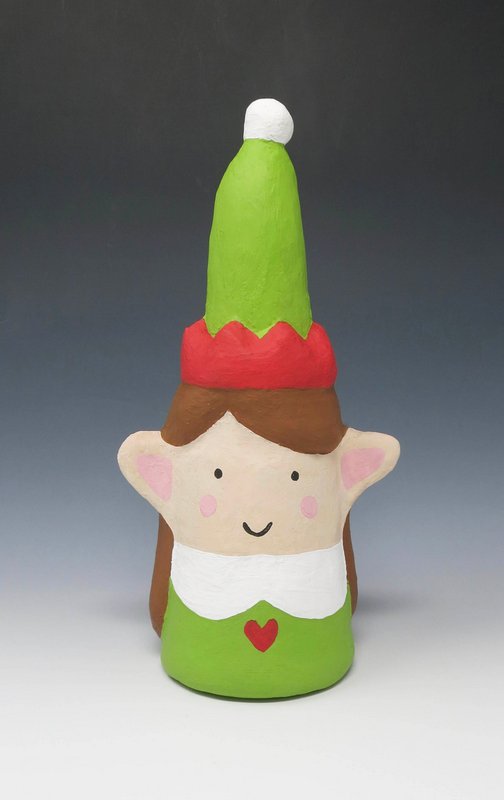
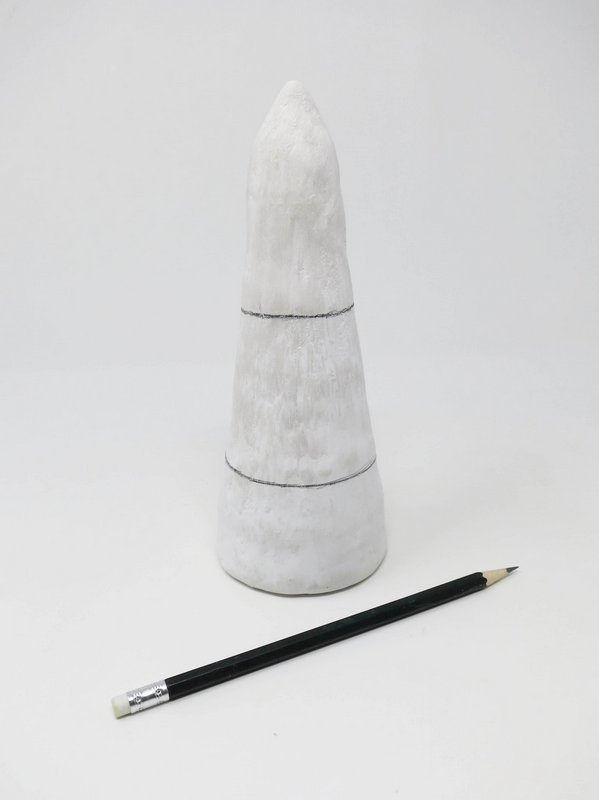
Divide the cone into 3 equal parts using a pencil.
Sections include: hat, face, and shoulders.
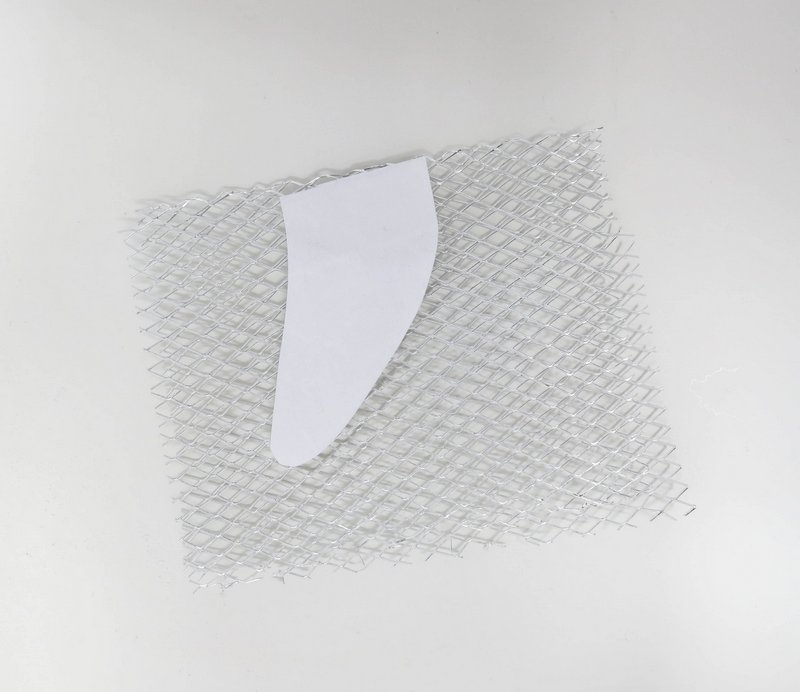
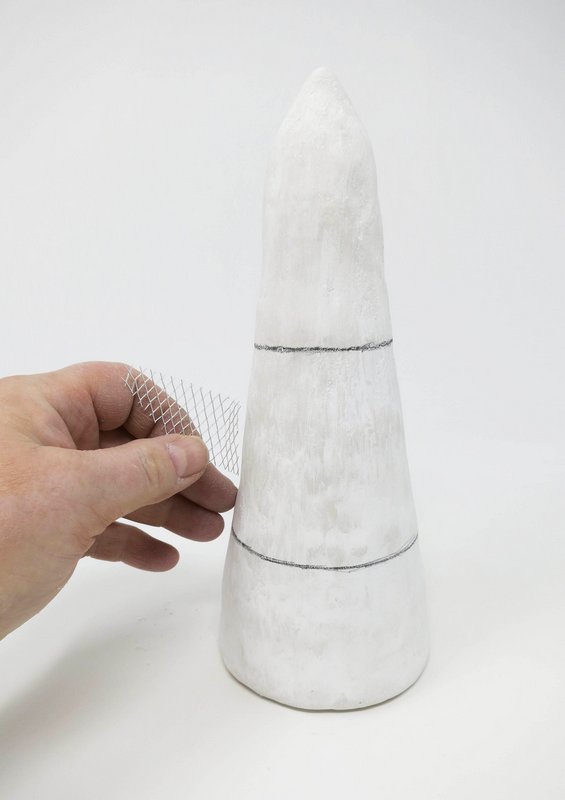
Step 8
Ears
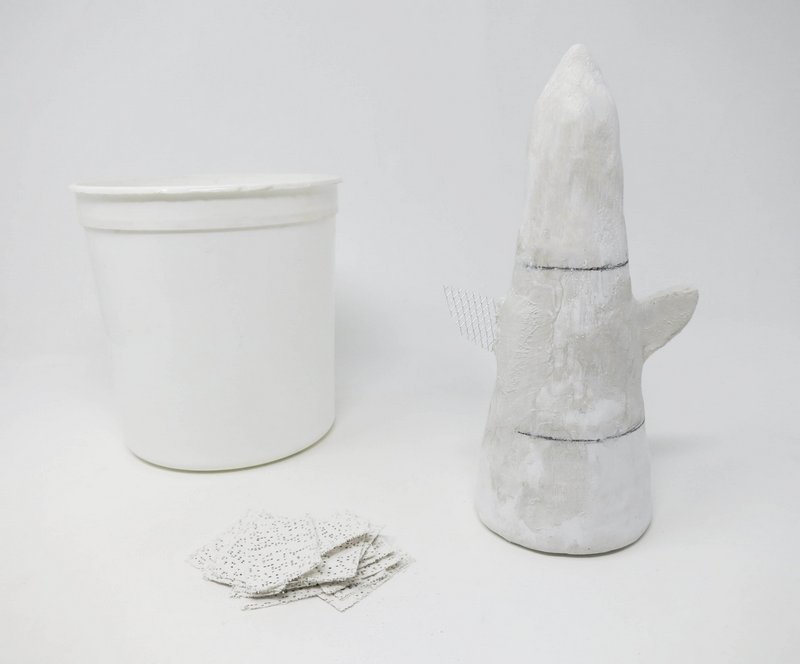
Cut two pointed shapes with an added hinge out of the wire mesh to create the elf’s ears.

Attach the wire mesh shapes onto the sides of the cone armature with wet plaster gauze.
Cover the wire mesh ears completely with the wet plaster gauze.
Step 9
Features
If desired added hat, face or clothing features may be added onto to the cone form using additional plaster gauze.
Step 10
Smooth
Once the plaster gauze has fully dried, sand any rough areas with sandpaper.
Step 11
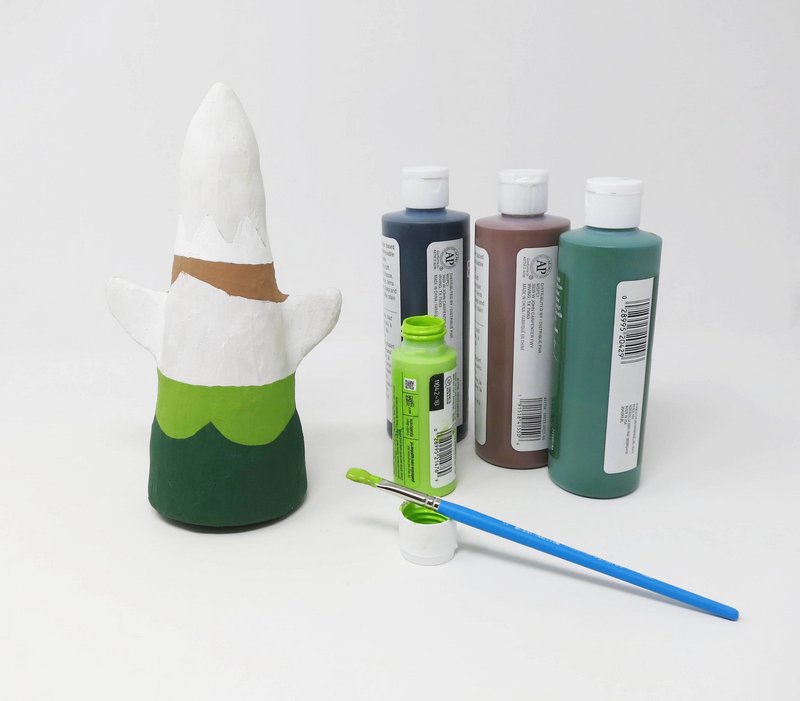
Paint
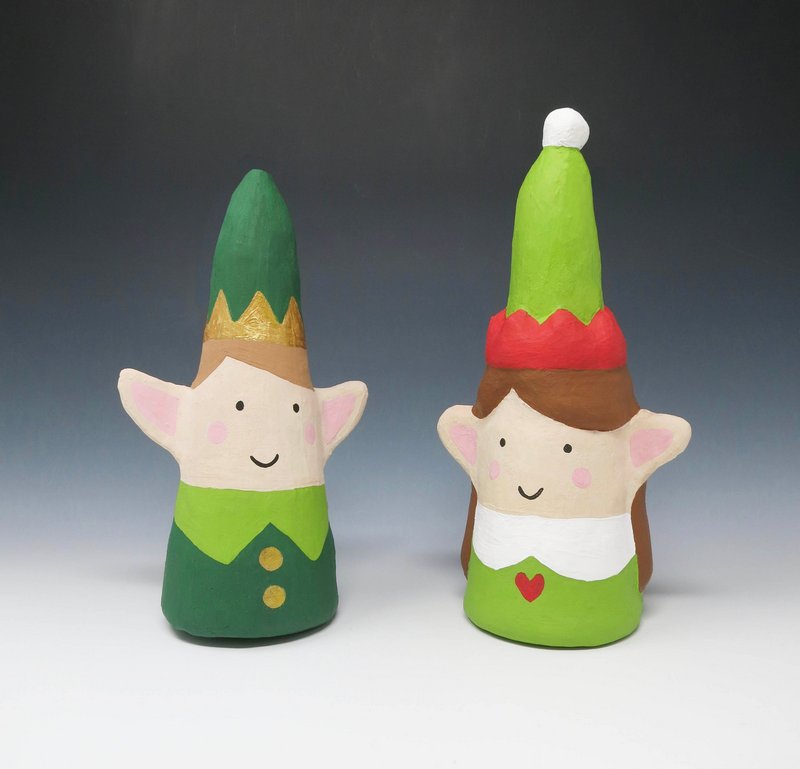
The sculpture can be painted using watercolor, tempera or acrylic paint.
Step 12
Sealant
The sculpture can be left in its natural plaster finish or a coat of sealant can be applied.