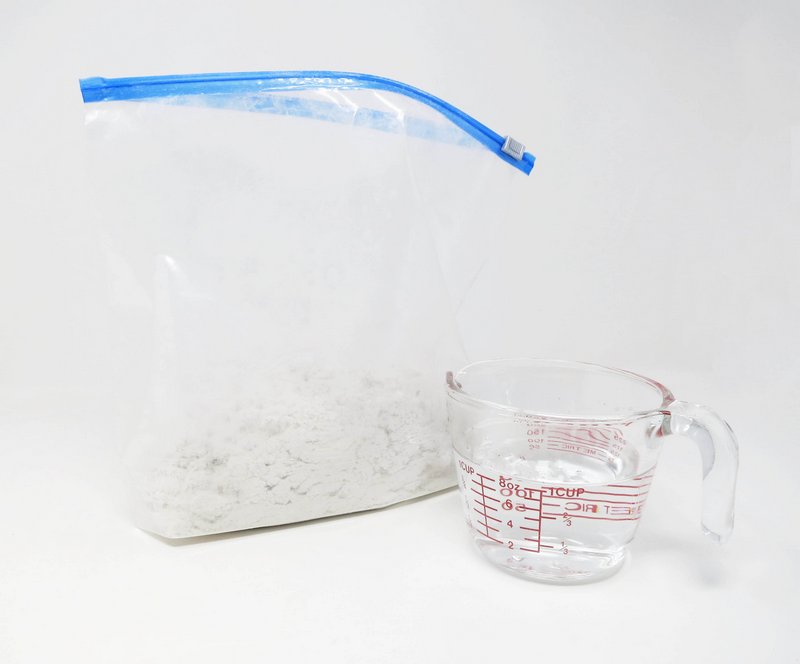
Supplies Needed:
- Activa Celluclay
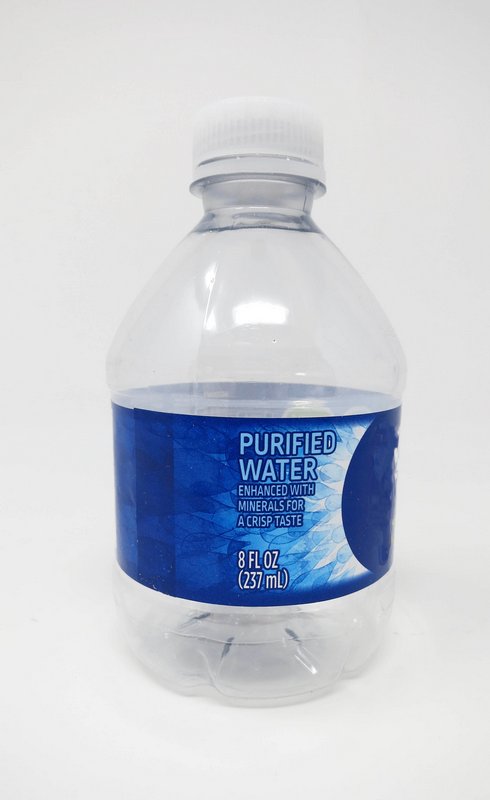
- Water
- Zip top bag
- Sandpaper
- Acrylic paint
- Paint brush
- Varnish
Step 1
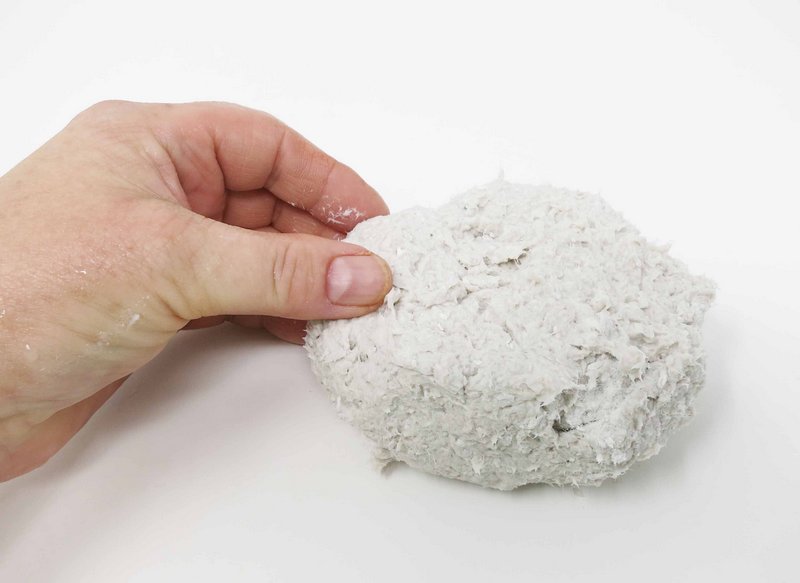
Prepare the CelluClay
Mix the CelluClay according to package directions.
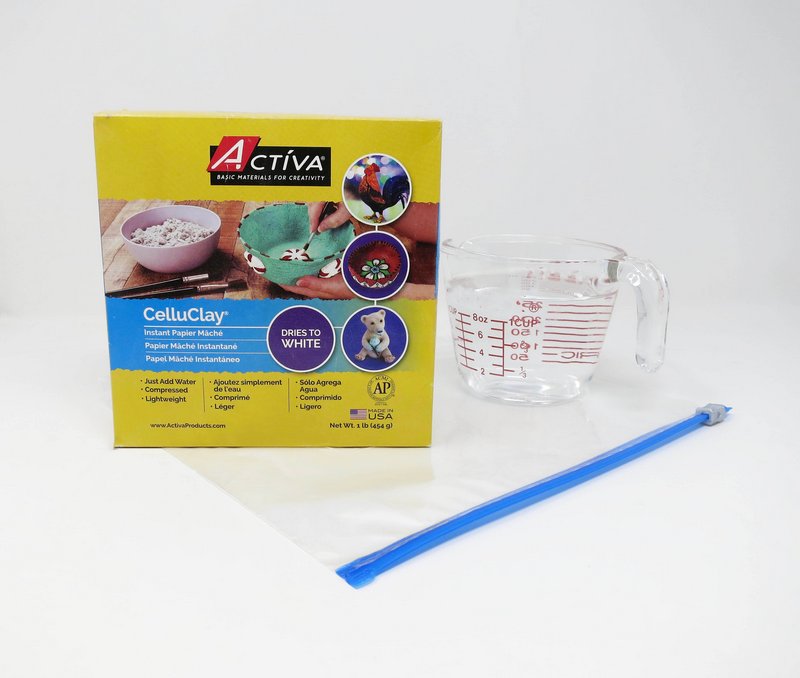
Add 32oz. of warm water to 1 lb. of CelluClay mixing in a zip top bag.
Knead with fingers until the CelluClay reaches the consistency of clay or stiff dough with no dry spots.
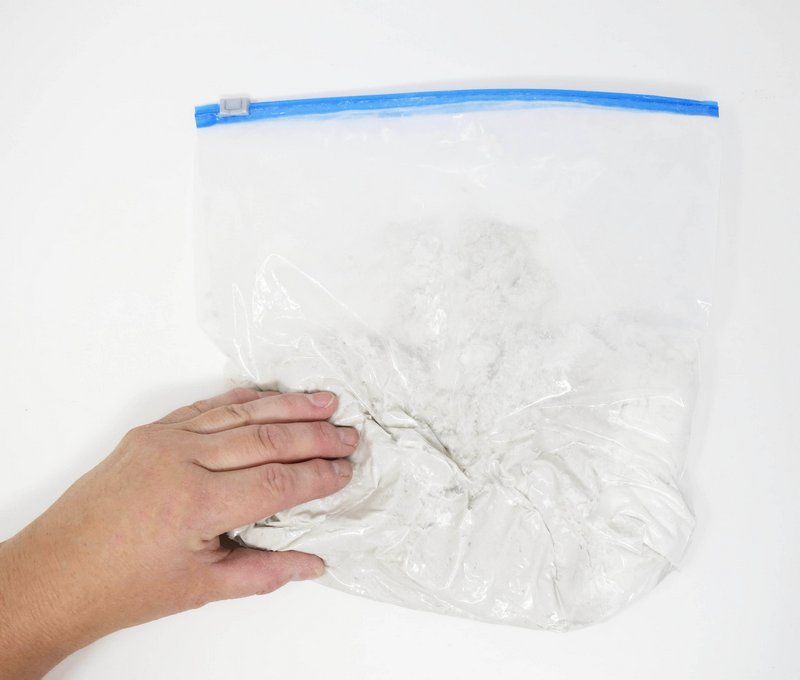
Add more dry CelluClay if mixture is too wet or soft, and more water if CelluClay if too dry or stiff.
Remove the Celluclay from bag when done mixing.
Step 2
Armature
Use a recycled plastic bottle for the structure of the penguin’s body.
Step 3
Layer
Cover the armature with a coat of the CelluClay.
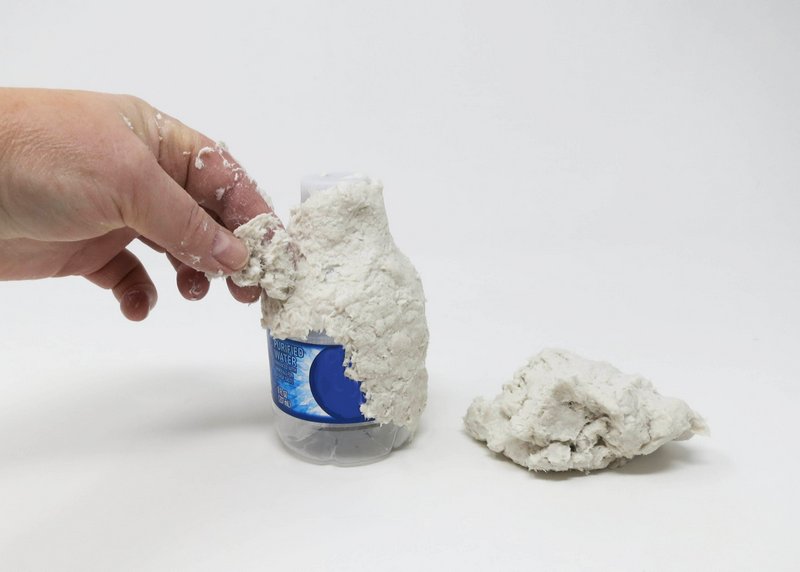
Smooth out any bumps in the CelluClay with wet fingertips.
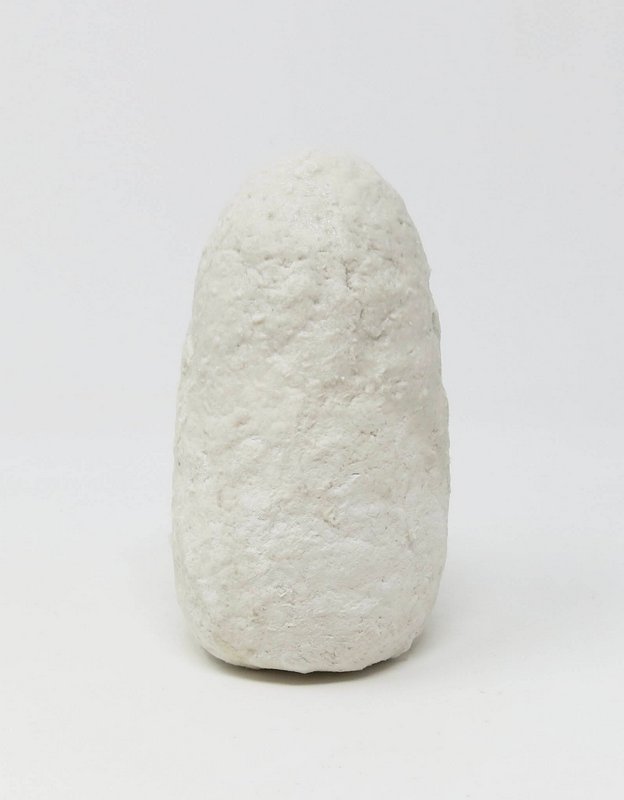
Apply several coats of CelluClay until the form looks like a plump potato.
Allow the individual coats to dry in between layer as needed.
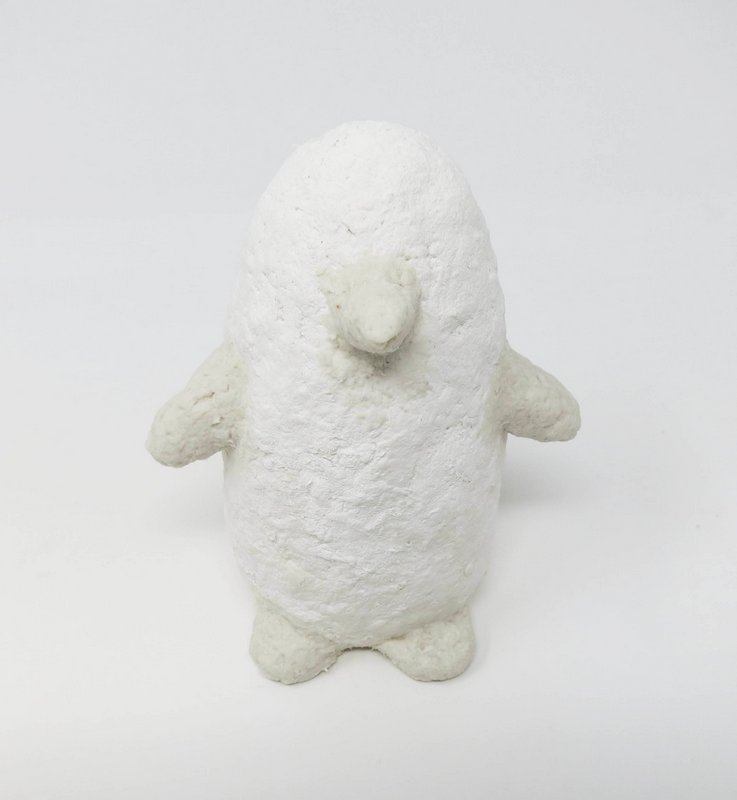
Step 4
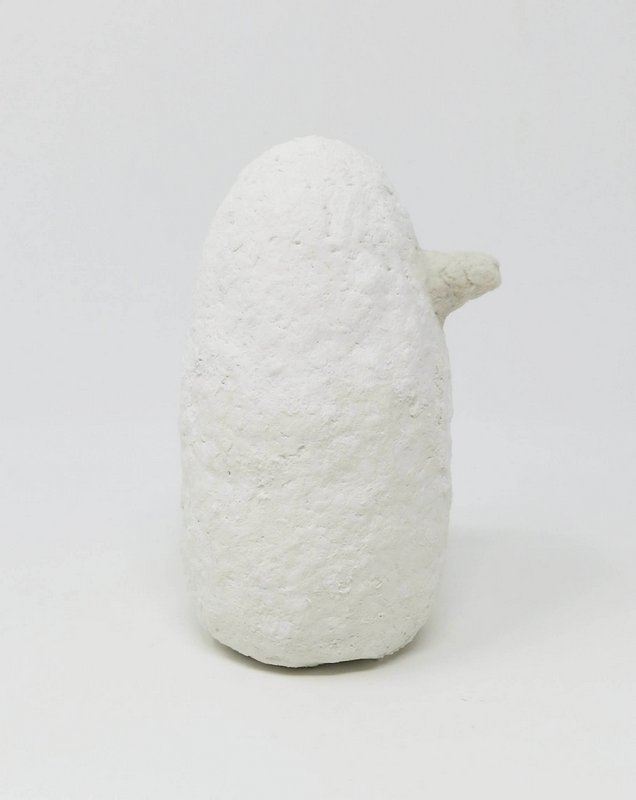
Beak
Shape a small cone form out of CelluClay for the bird’s beak.
Attach it to the bird’s head.
Step 5
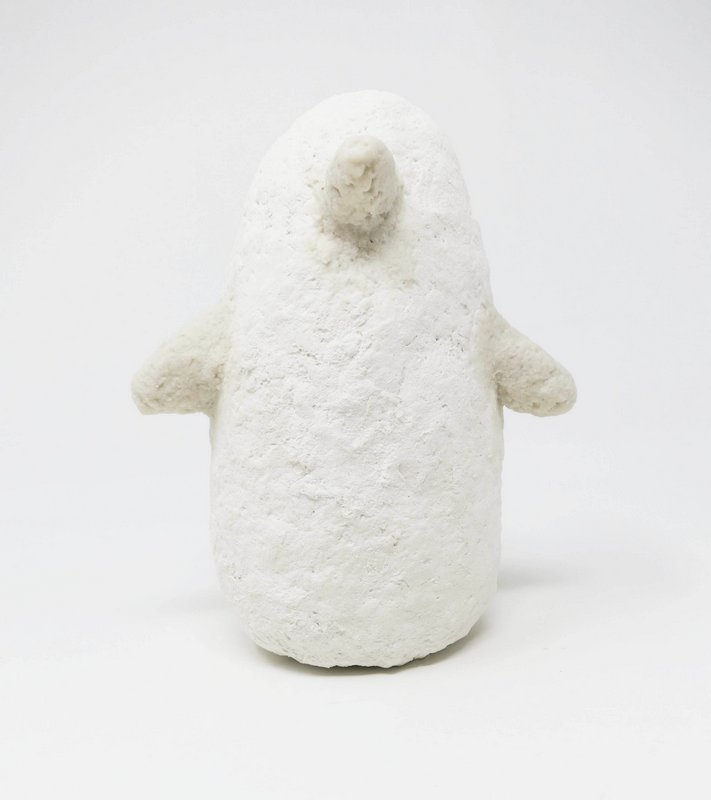
Wings
Shape two small cone forms out of CelluClay for the bird’s wings.
Attach the forms tothe sides of the bird’s body.
Step 6
Feet
Roll two spheres out of CelluClay.
Attach the forms to the bottom of the bird’s body.
Smooth the forms onto the the body to create the bird’s feet.
Step 7
Dry
Allow the penguin to air dry. Humidity levels will impact drying time.
The CelluClay will lighten in color and become harder as it is drying.
The CelluClay will feel room temperature when dry and have a bright white color appearance.
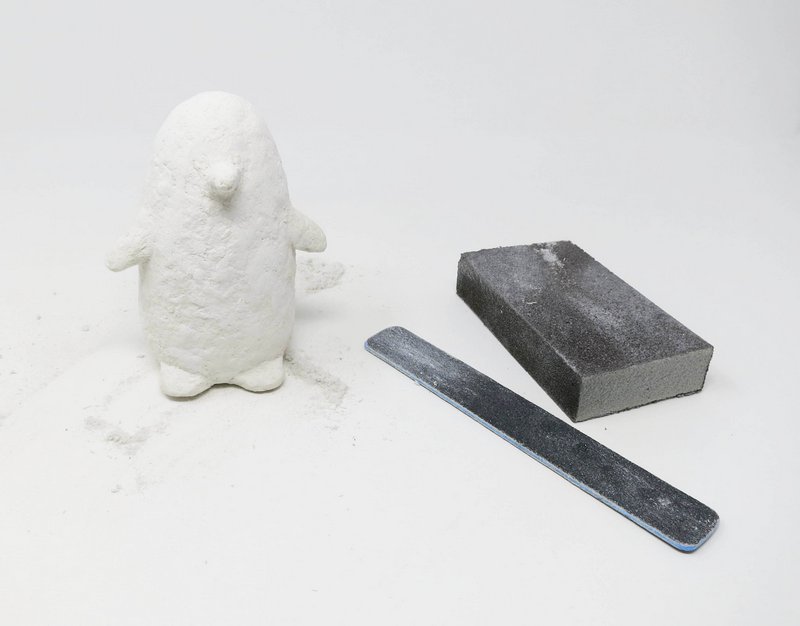
Step 7
Smooth
Use sandpaper to smooth out any rough areas or bumps on the sculpture’s surface.
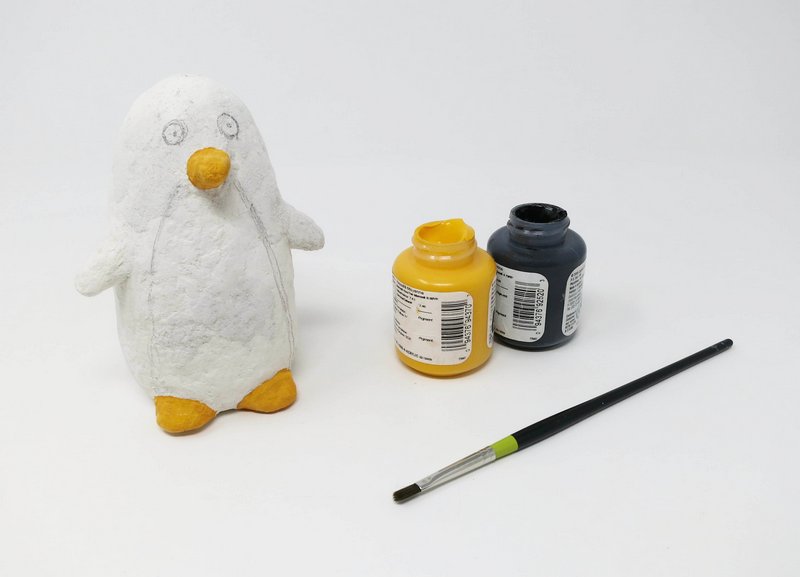
Step 8
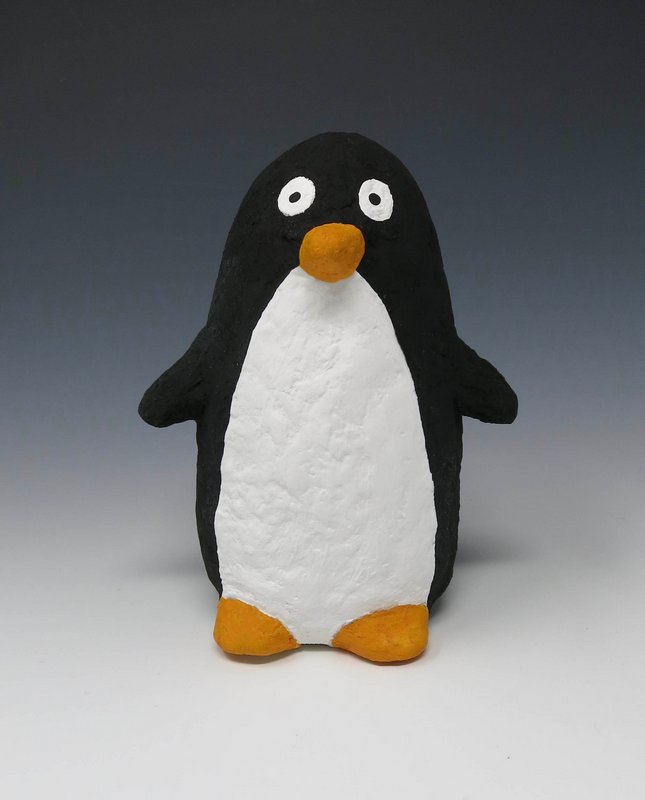
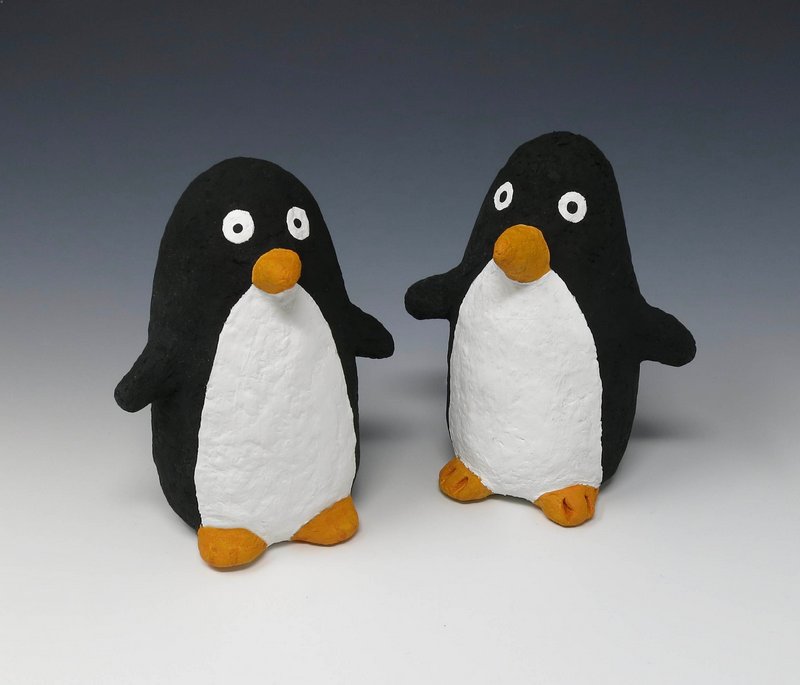
Color
Use acrylic paint to paint the sculpture.