Supplies Needed:
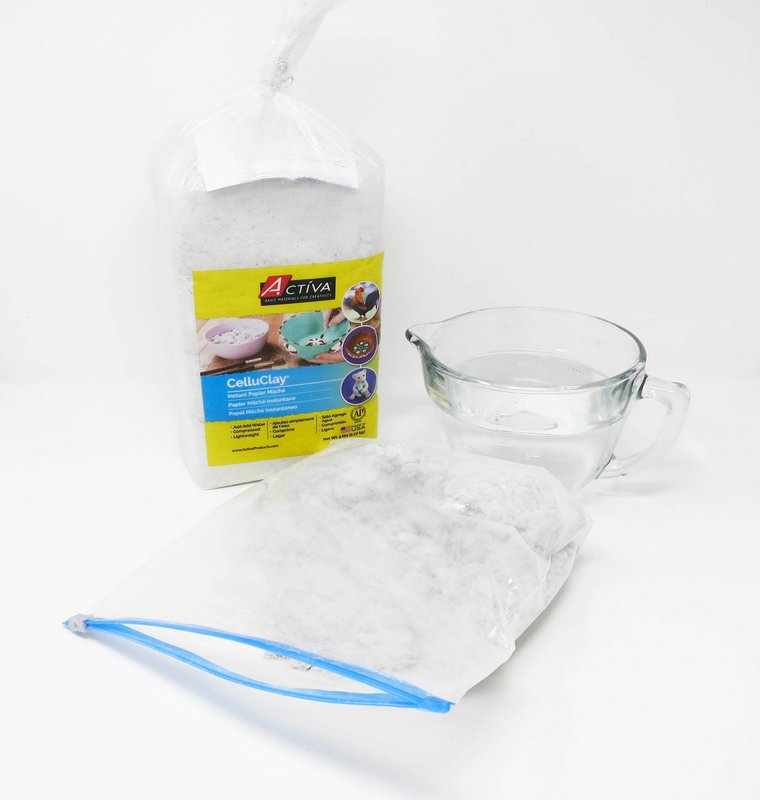
- Activa Celluclay
- Water
- Zip top bag
- Plastic or paper cup
- Recycled plastic carryout lid or bowl
- Hot glue gun
- Activ-Clay Sculpting Wheel
- Sandpaper
- Acrylic paint
- Paint brush
- Varnish
- Tissue paper
Step 1
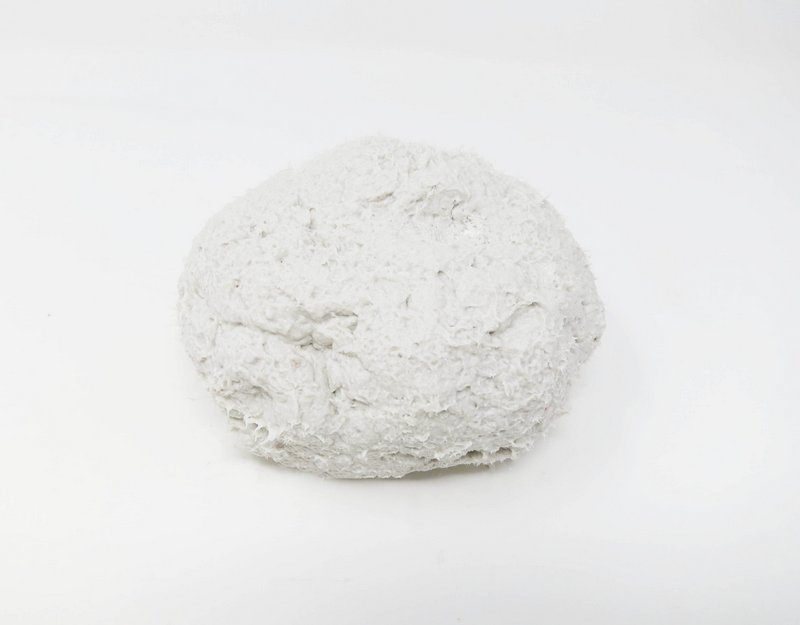
Prepare the CelluClay
Mix the CelluClay according to package directions.
Add 32oz. of warm water to 1 lb. of CelluClay mixing in a zip top bag.
Knead with fingers until the CelluClay reaches the consistency of clay or stiff dough with no dry spots.

Add more dry CelluClay if mixture is too wet or soft, and more water if CelluClay if too dry or stiff.
Remove the Celluclay from bag when done mixing.
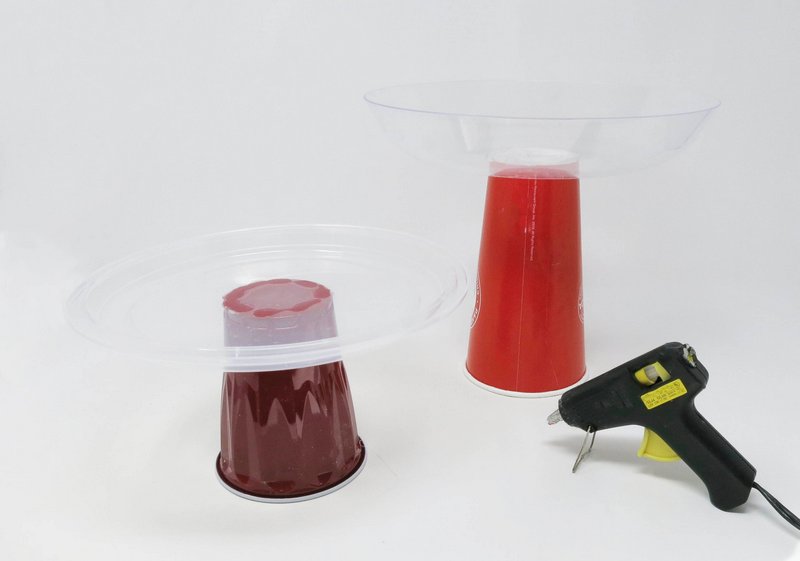
Step 2
Armature
Build a structure for the pedestal plate using a recycled plastic or paper cup and a carryout lid or bowl.
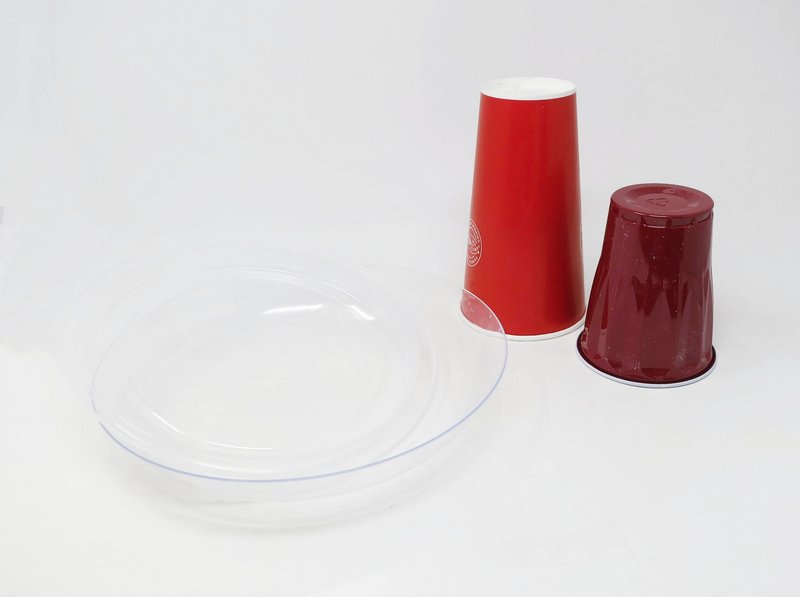
Join the cup and plate together using a hot glue gun.
Step 3
Layer
Cover the armature with a coat of the CelluClay.

Smooth out any bumps in the CelluClay with wet fingertips.
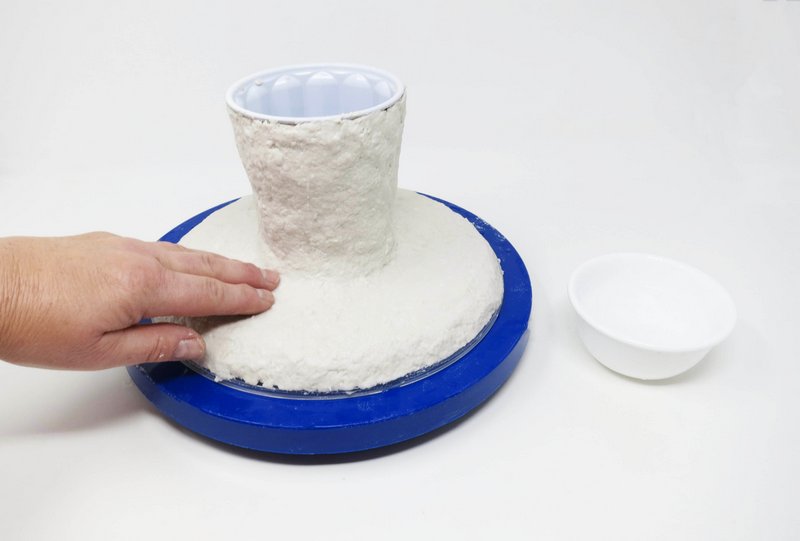
* Using a clay sculpting wheel will aide in the sculpture process.
Apply several coats of CelluClay as needed. Allowing the individual coats to dry in between layers.
Step 4
Dry
Allow the pedestal plate to air dry. Humidity levels will impact drying time.
The CelluClay will lighten in color and become harder as it is drying.
The CelluClay will feel room temperature when dry and have a bright white color appearance.
Step 5
Smooth
Use sandpaper to smooth out any rough areas or bumps on the sculpture’s surface.
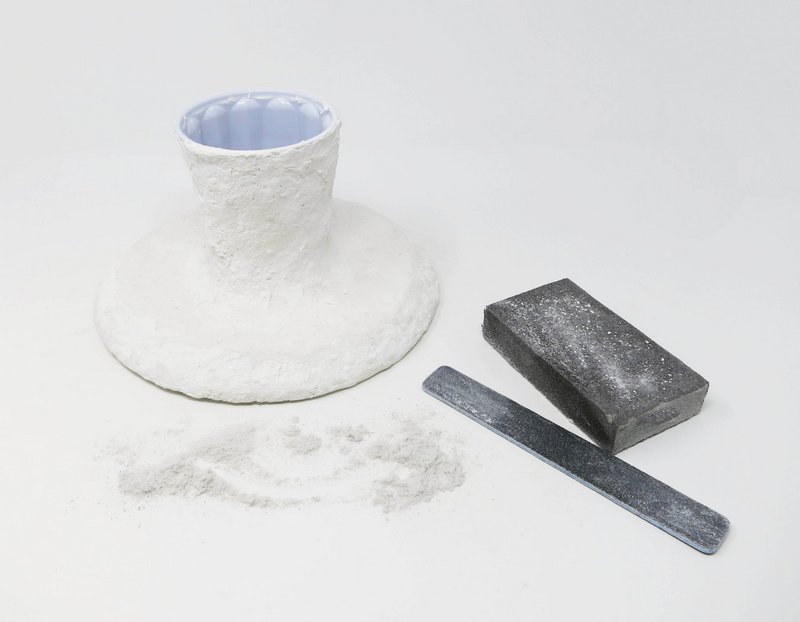
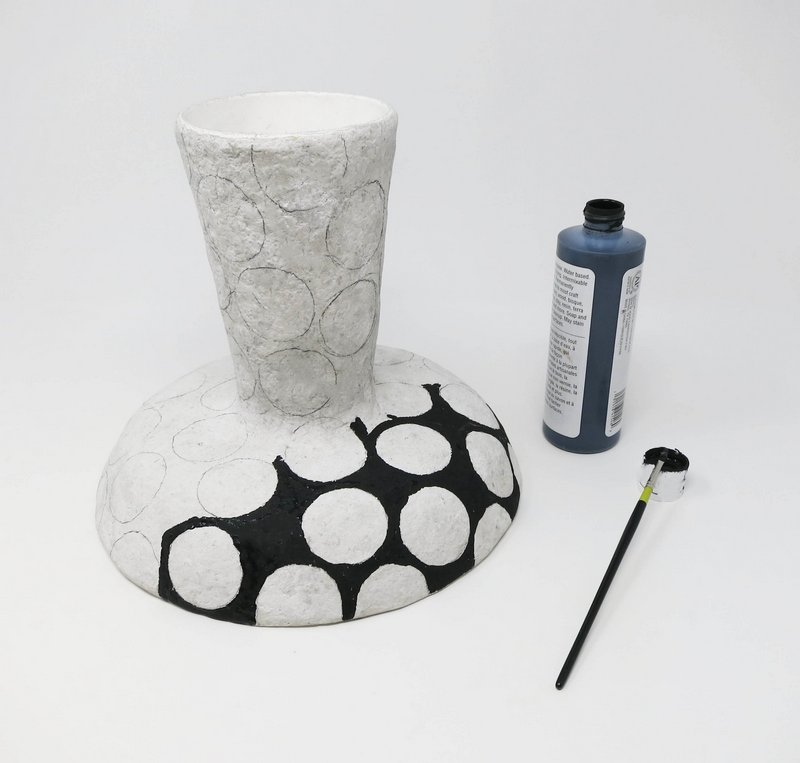
Step 6
Color
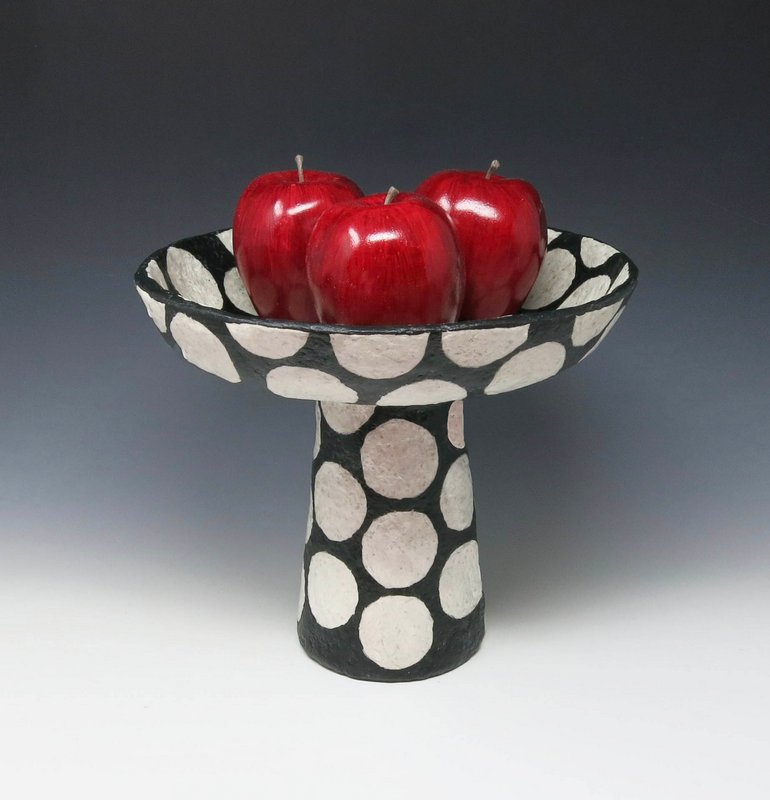
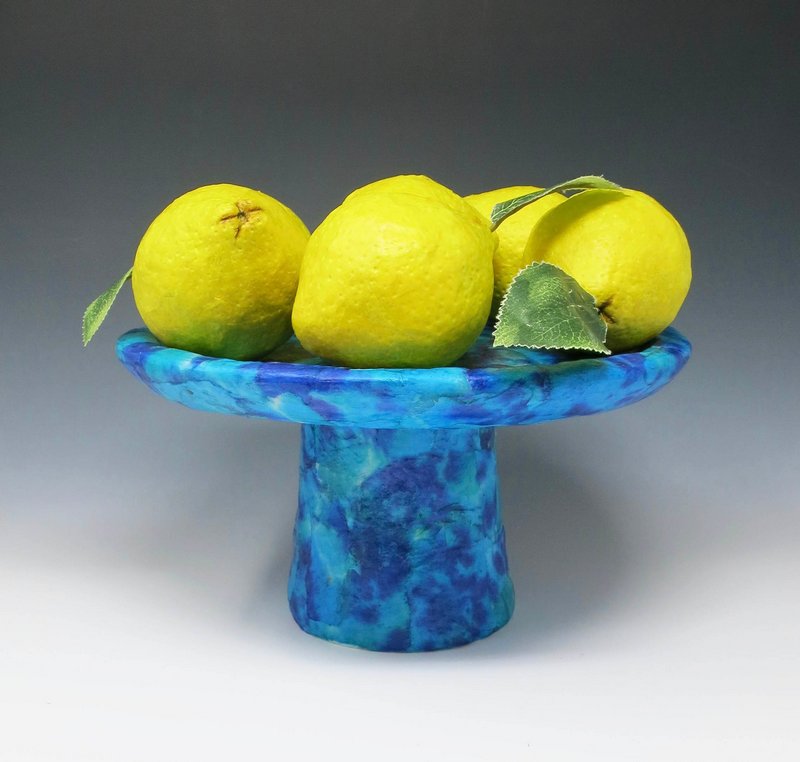
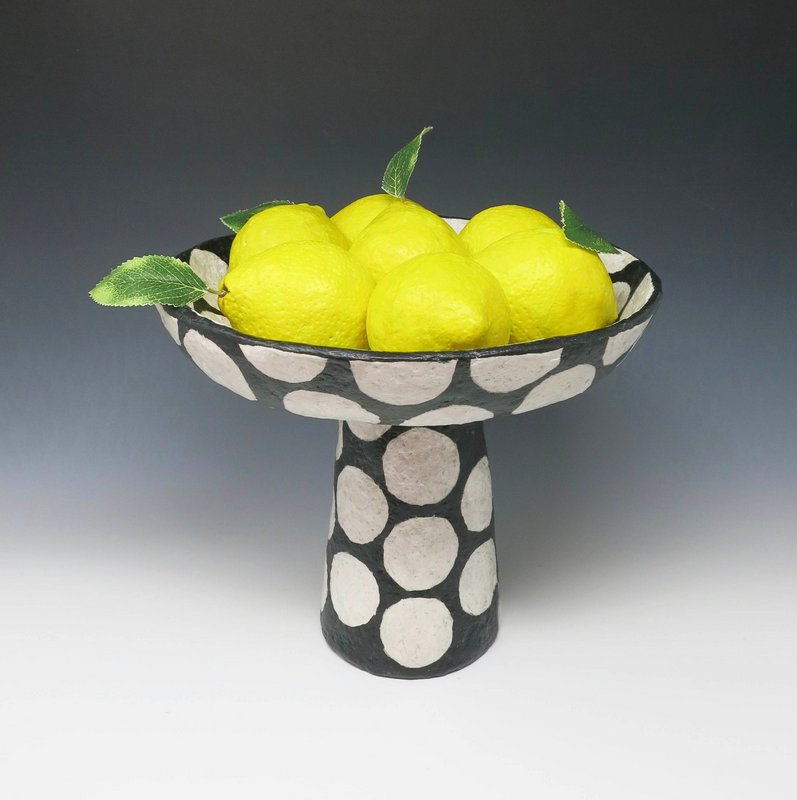
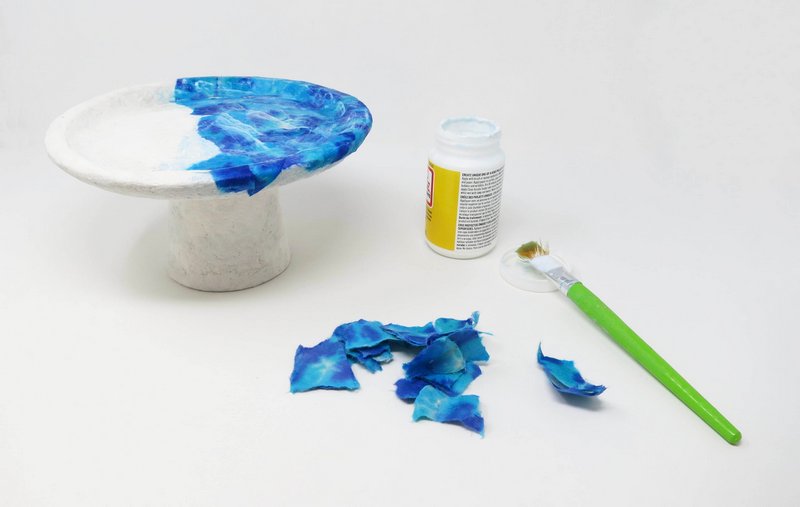
Use acrylic paint to paint the sculpture.
The surface of the plate can also be decoupaged using decorative tissue paper.
Step 7
Varnish
Apply several coats of varnish to seal the surface of the plate.
*The pedestal plate will not be food safe. Use for decorative purposes only.