Supplies Needed:
- Dry clay
- Shop towels
- Water
- Plastic bag
- Pillow case
- Twist tie
- 2 Buckets
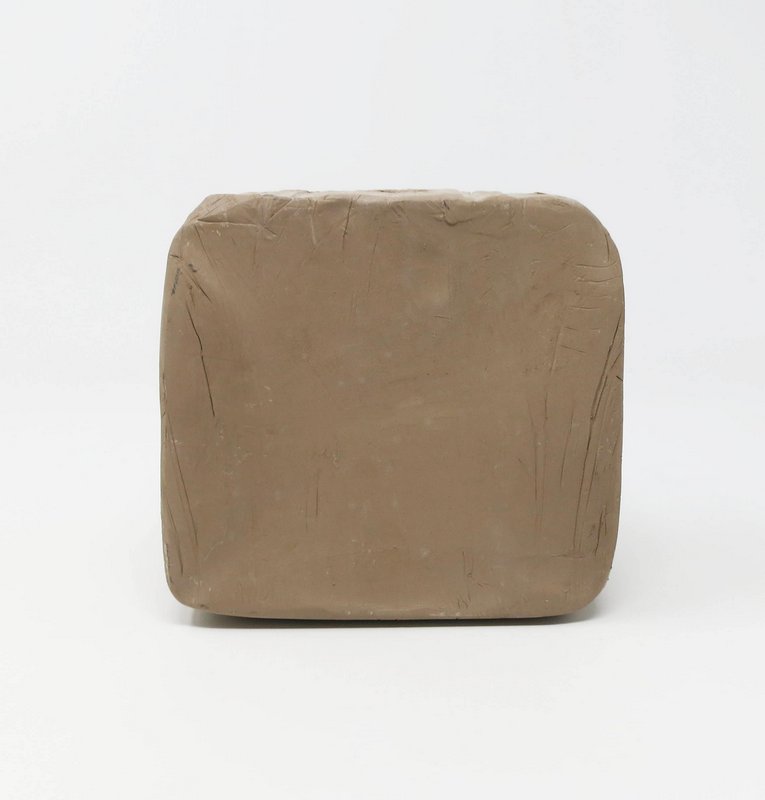
Leather Hard Clay
*Leather hard is clay that has started to dry but has some flexibility, it can still be
carved, cut and joined together, but it is hard like a block of cheese.
Step 1
Remove
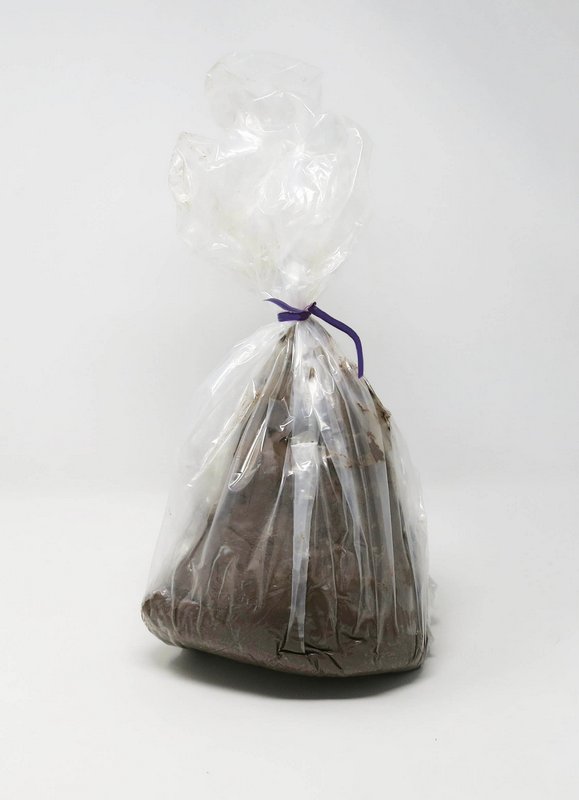
Take the clay out of its plastic storage bag.
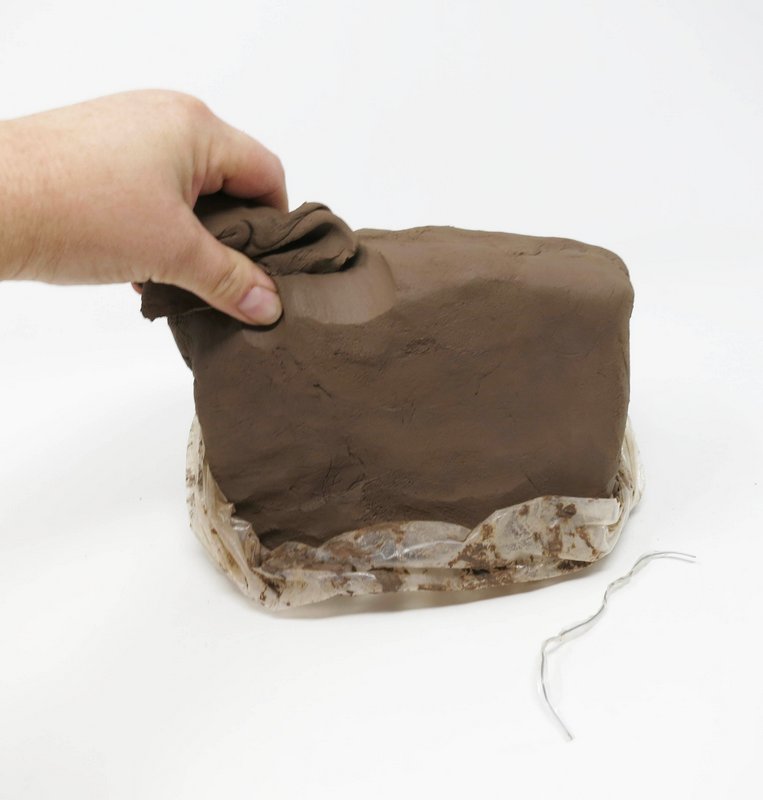
Step 2
Wrap
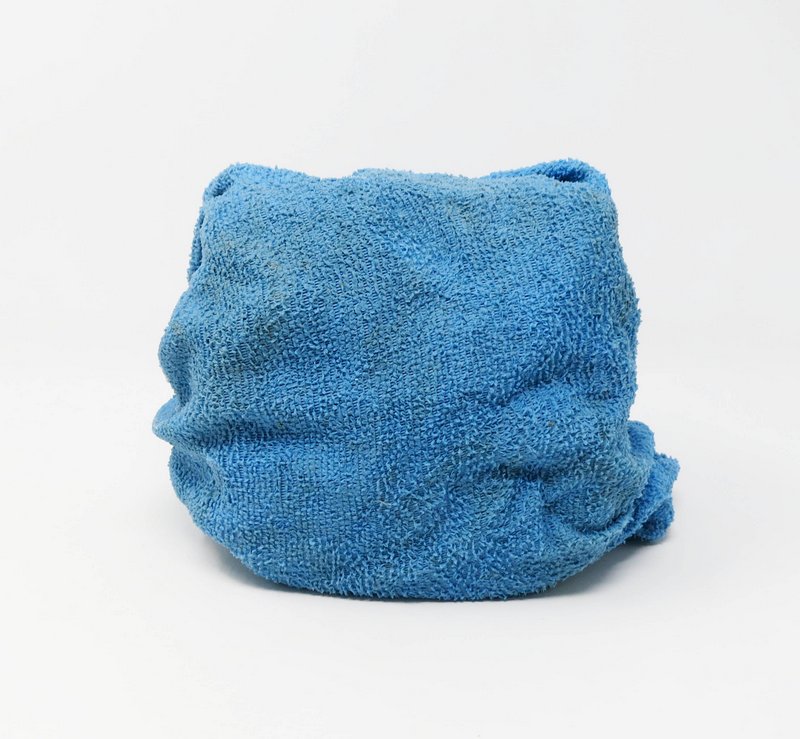
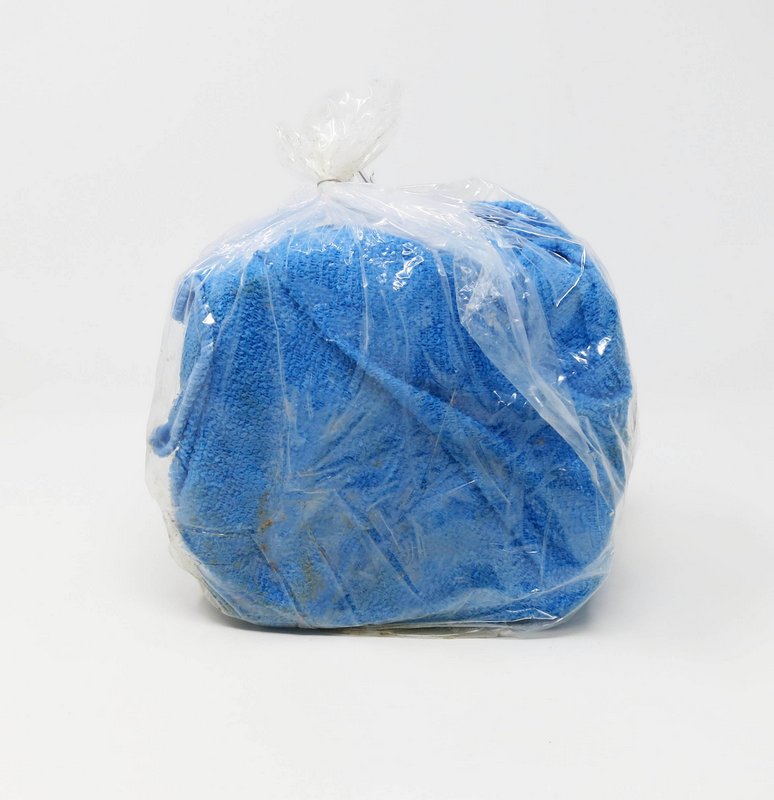
Soak the towels in water and place them all around the the bock of clay.
* Use one or more towels depending on the size of the block of clay.
Place the block of clay back into its storage bag and twist tie it closed.
Step 3
Hydrate
Allow the water to penetrate the dry clay.
*Hydrating time will vary on the dryness and size of the block of clay.
Step 4
Plastic
* Plastic is moldable clay that is wet enough to easily shape into forms by hand without breaking The clay’s pliability will return once it absorbs the correct amount of water.
Continue to monitor the ratio as the clay is hydrating in the closed bag.
Remove the towels once the clay has reached the desired pliability level.
Keep the clay in a tightly sealed bag until it is ready to be used.
Bone Dry Clay
* Bone Dry is clay that has dried out.
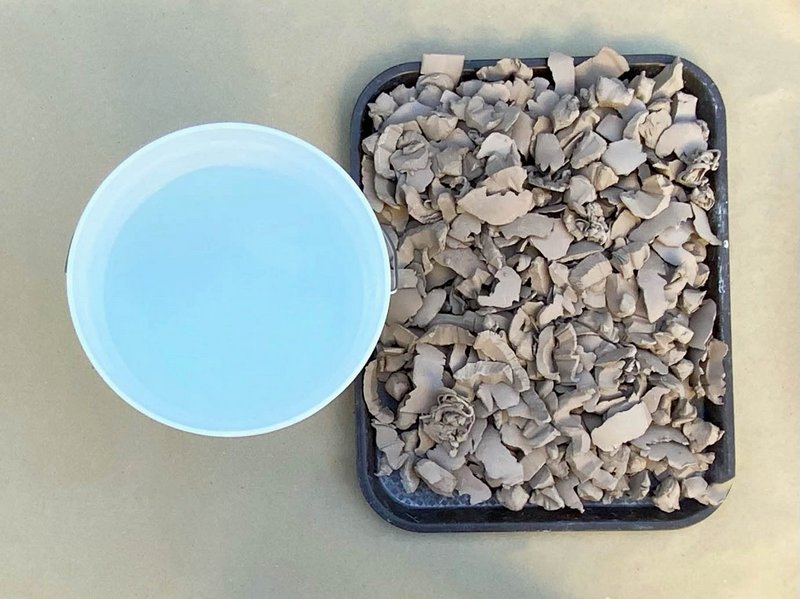
Step 1
Chunks
Break large bone dry clay pieces into smaller chunks of clay.
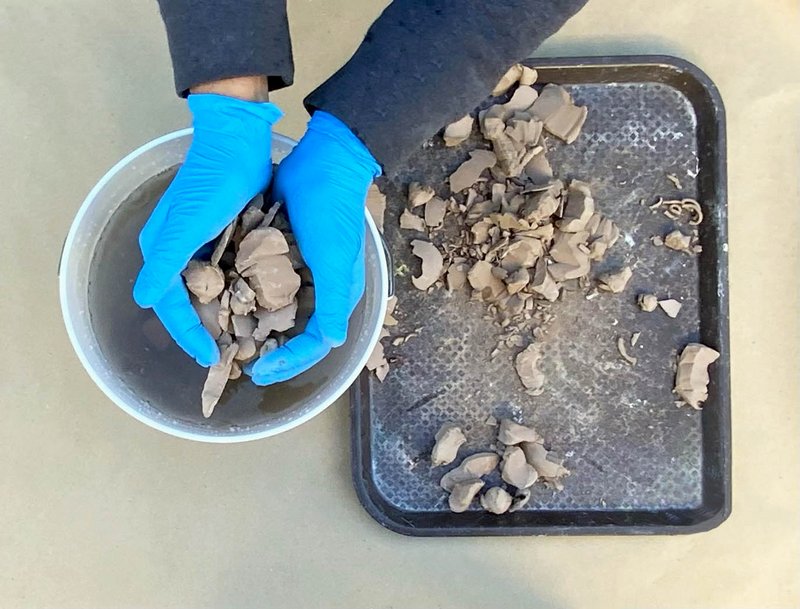
Step 2
Hydrate
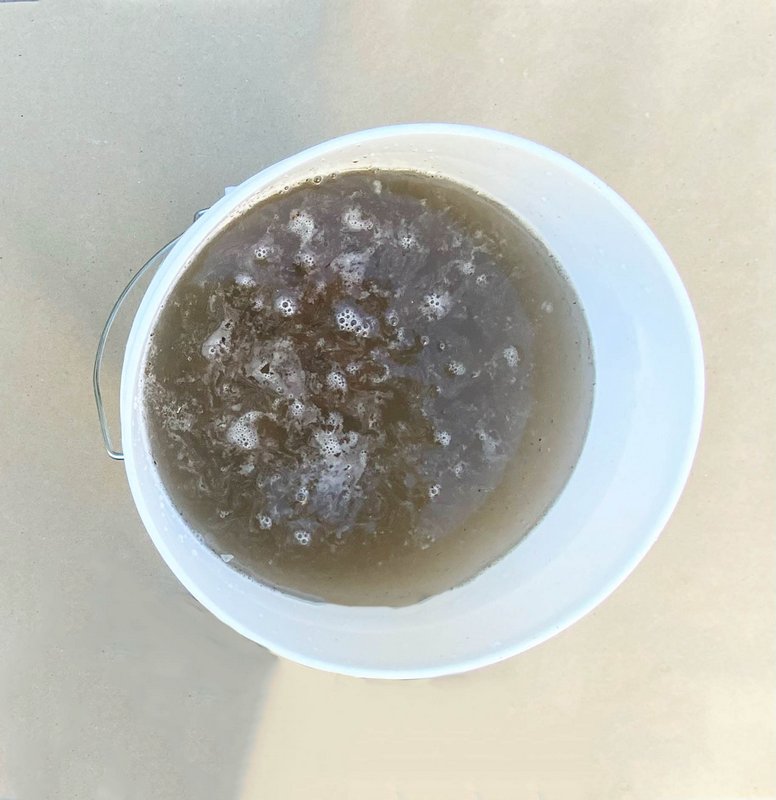
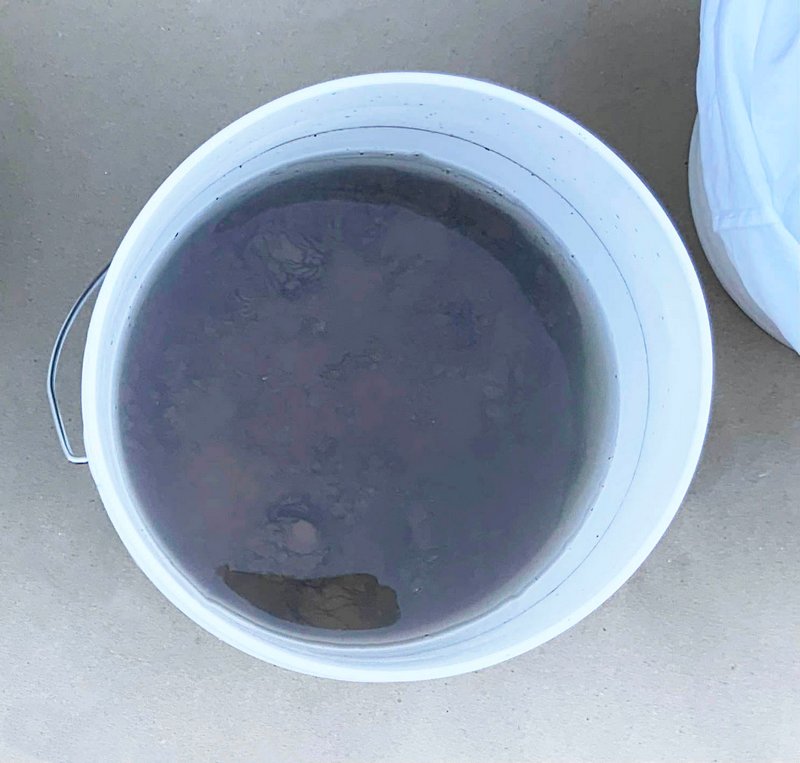
Fill a bucket of water. Drop the chunks of clay into the bucket.
Allow the water to penetrate the dry clay. As the clay absorbs the water, bubbles will form in the bucket.
The clay will begin to slake down.
*Slake means to cause a substance to crumble by treatment with water.
Step 3
Remove
When the clay has completely slaked down the water on top of the clay will appear clear.
Pour the unabsorbed water off the top of the clay into an empty bucket.
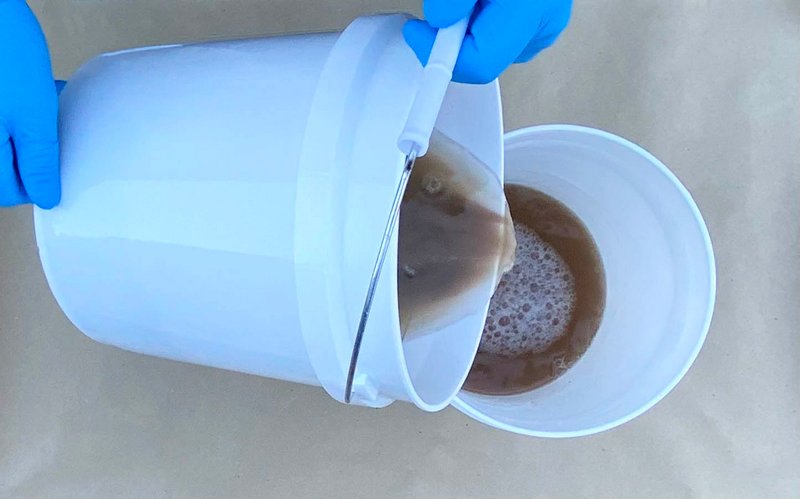
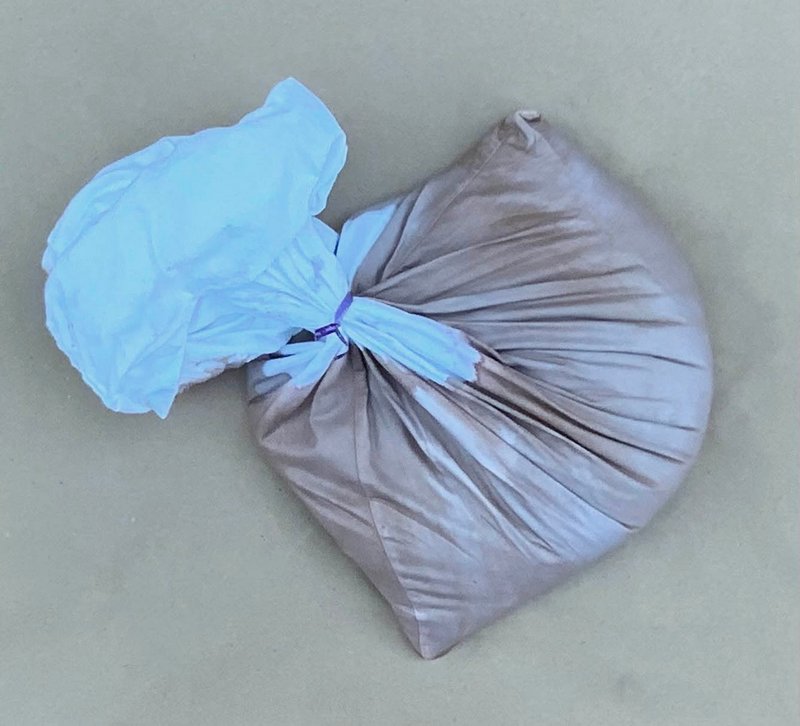
Line one of the buckets with a pillow case.
Scoop the slaked clay out of its bucket and place it into the pillow case.
Step 4
Dry
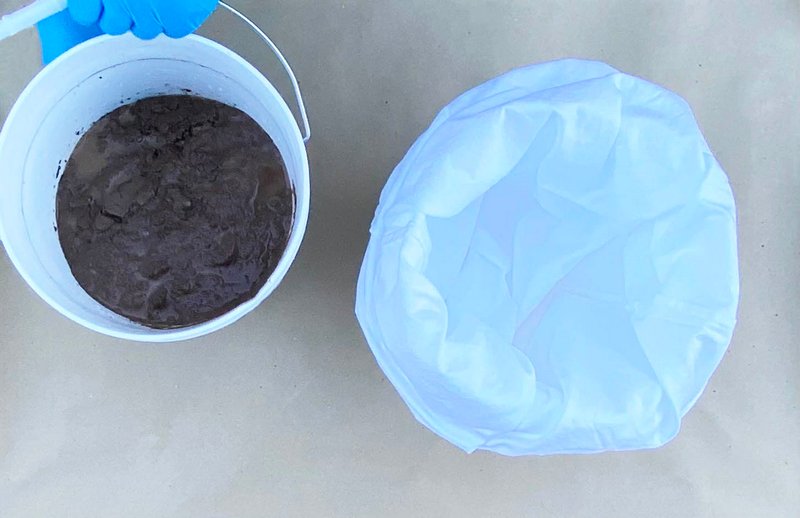
Twist tie the slaked clay pillow case closed.
Place the pillow case onto a porous concrete surface.
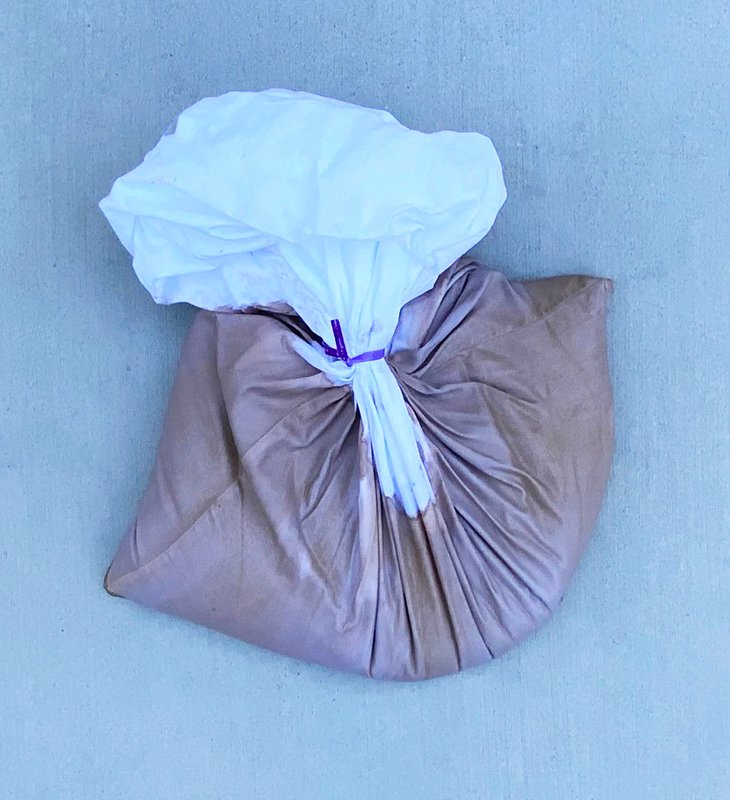
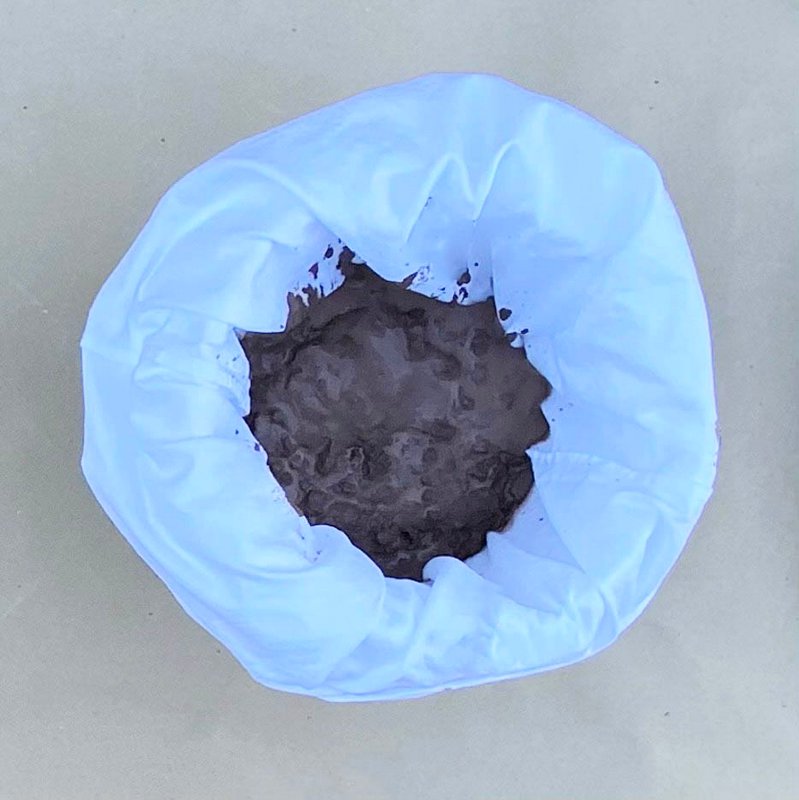
Allow the clay to dry for 24 hours.
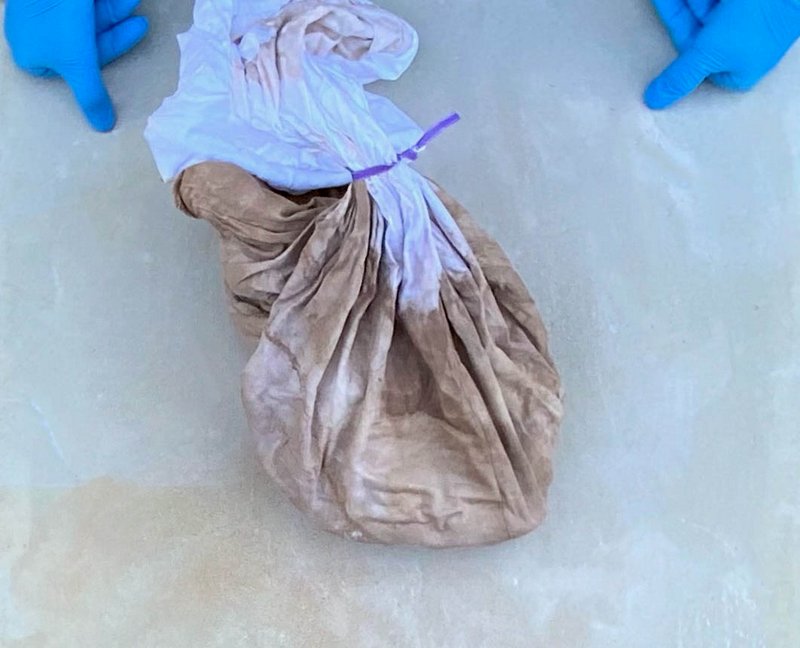
After 24 hours have passed, squeeze the pillow case to check the clay’s firmness.
If the clay is mushy leave the case on the concrete slab to continue drying.
Check on the clay’s firmness for several hours later as needed until it stiffens up.
Step 5
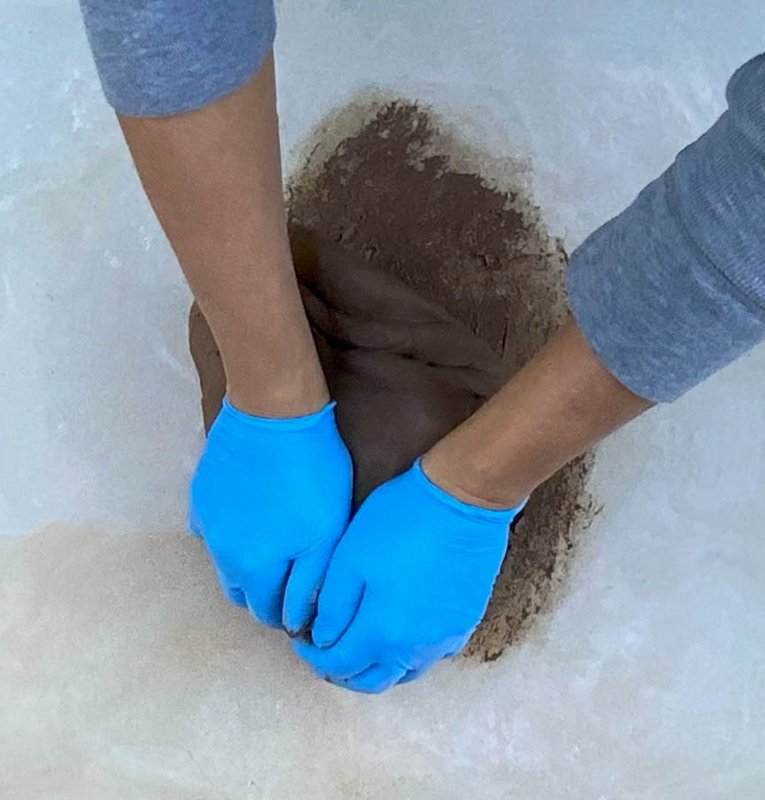
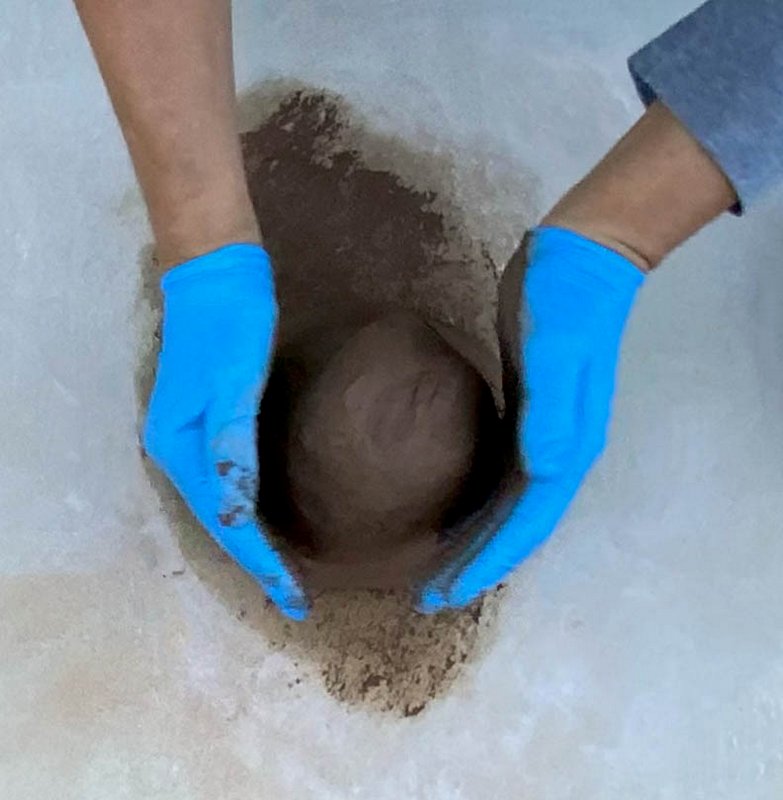
Wedge
Remove the clay from the pillow case.
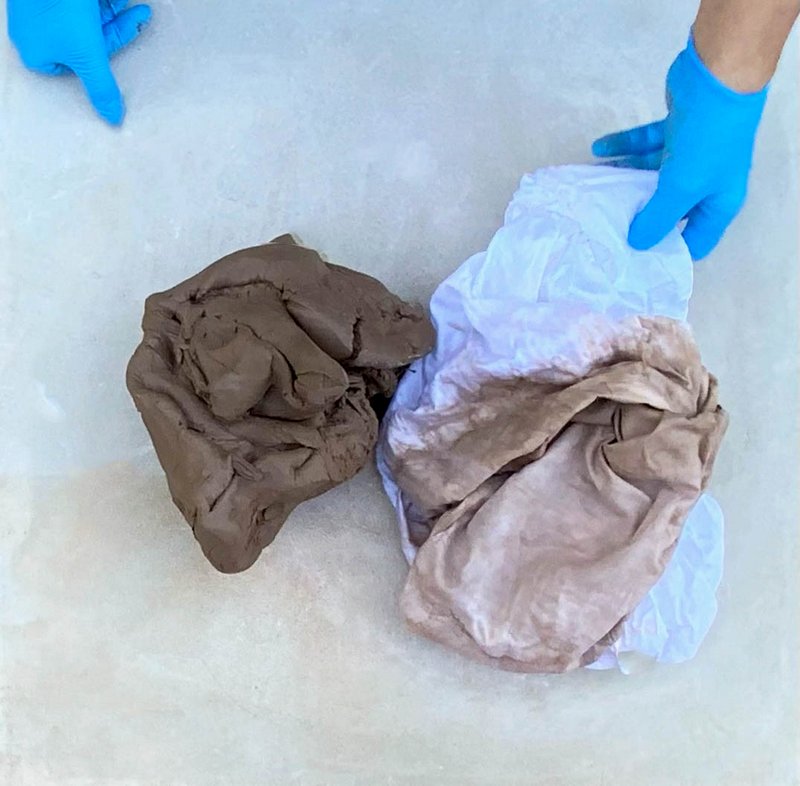
Wedge the clay on a flat concrete or plaster surface.
Step 6
Bag
Place the clay in a plastic bag and twist tie it shut.
Store the clay at room temperature until it is ready to be used.