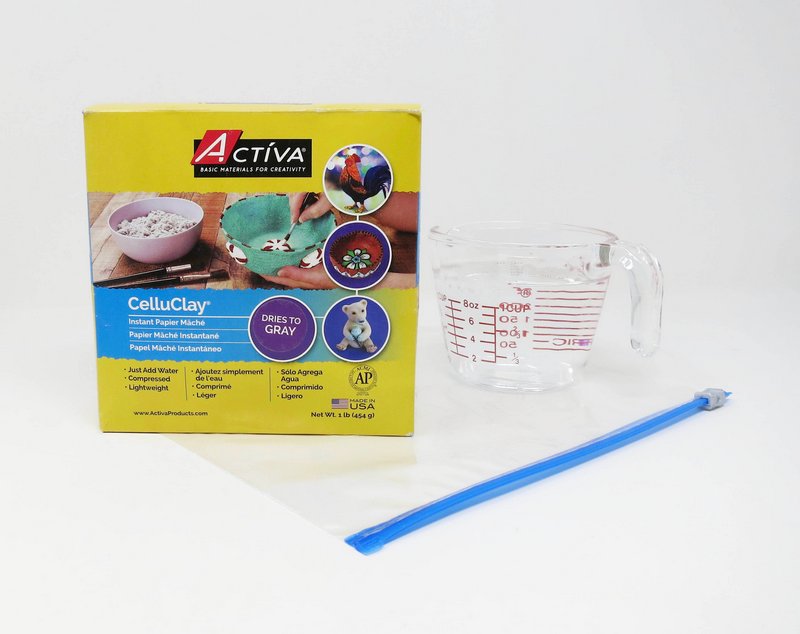
Supplies Needed:
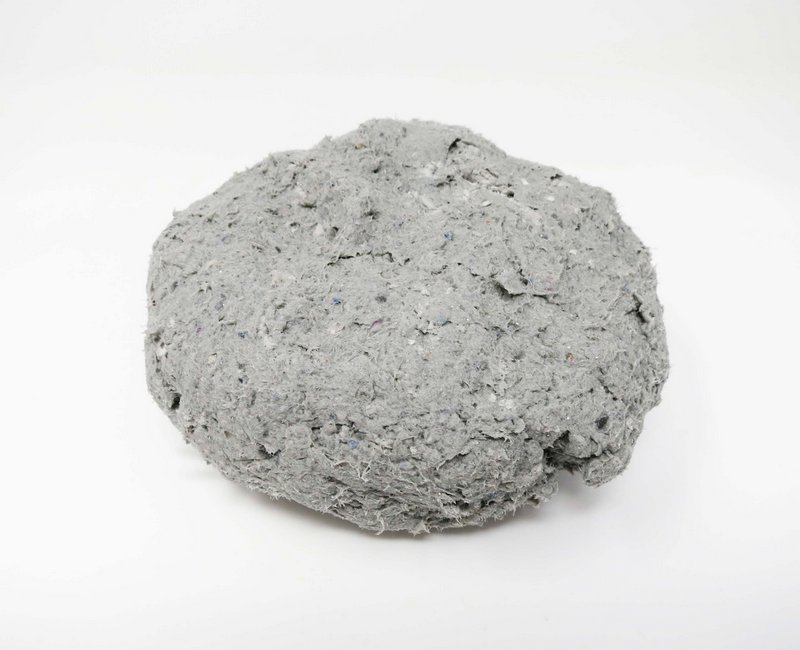
- CelluClay® Instant Paper Mâché - Gray
- Measuring cup
- Water
- Plastic bag
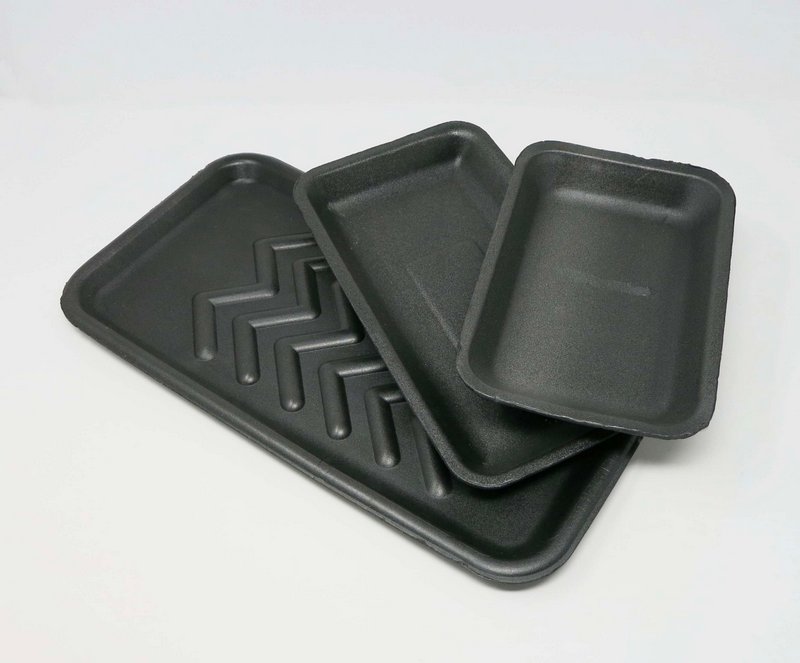
- Recycled styrofoam trays
- Tissue paper
- Decoupage medium
- Brush
- Wooden dowels, corks, rope, or wire
- Acrylic paint
- Trimmings
Step 1
Preparation
Mix 3 parts dry mache’ with 1 part water in a plastic bag.
*Warm water is best, as it allows for faster activation of the product.
Knead mache’ inside the plastic bag with hands. Continue to mix the mache’ until a dough consistency is achieved.
*If the CelluClay is too dry while mixing add more water. If the CelluClay gets too wet while mixing, add more of the dry CelluClay.

Once the mache’ is properly mixed remove it from the plastic bag.
Step 2
Armature
Recycle a styrofoam tray by washing and drying it to be used as an armature for the mache’ sculpture.
Step 3
Application
Apply the mache’ onto one side of the armature using finger tips.
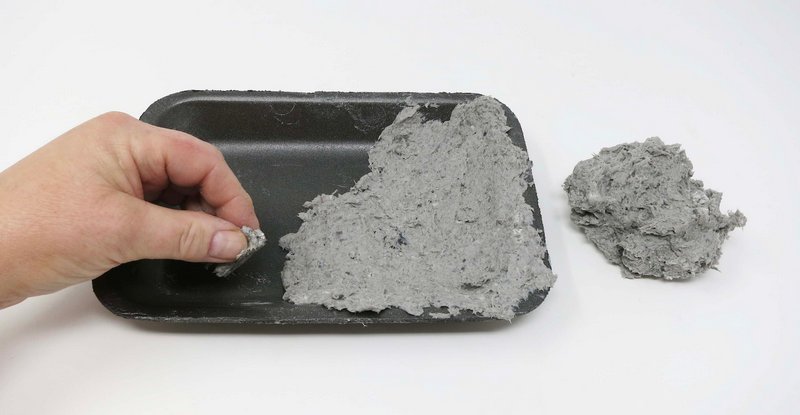
Smooth out any bumps with wet fingertips.
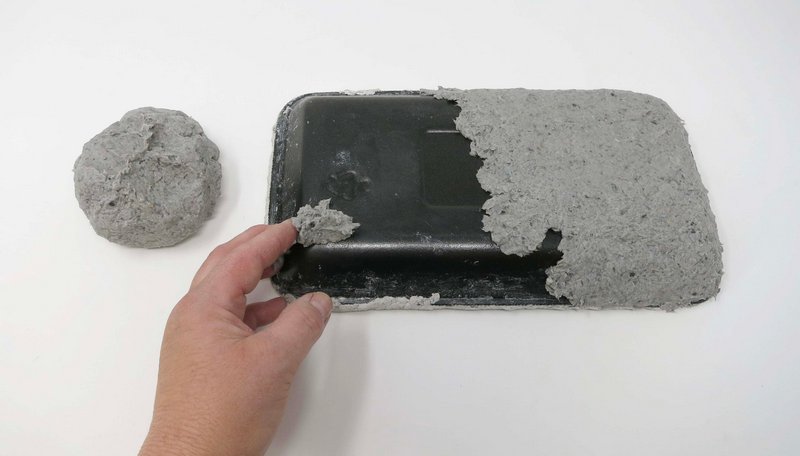
Allow the mache’ to dry. Once the front of the tray has dried, turn it over and apply the mache’ to the back of the try.
Step 4
Drying
Allow the CelluClay sculpture to dry.
*Drying time is dependent upon the weather (heat and humidity), as well as the initial firmness of the mache’ and the thickness of it.
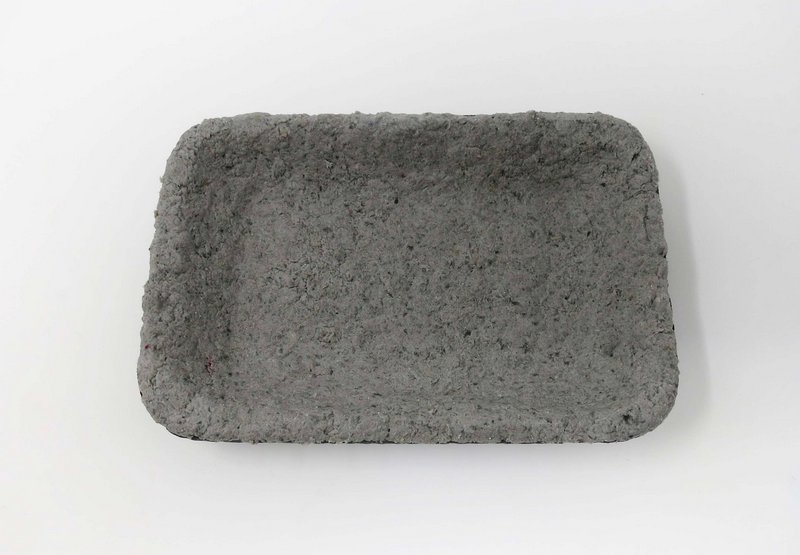
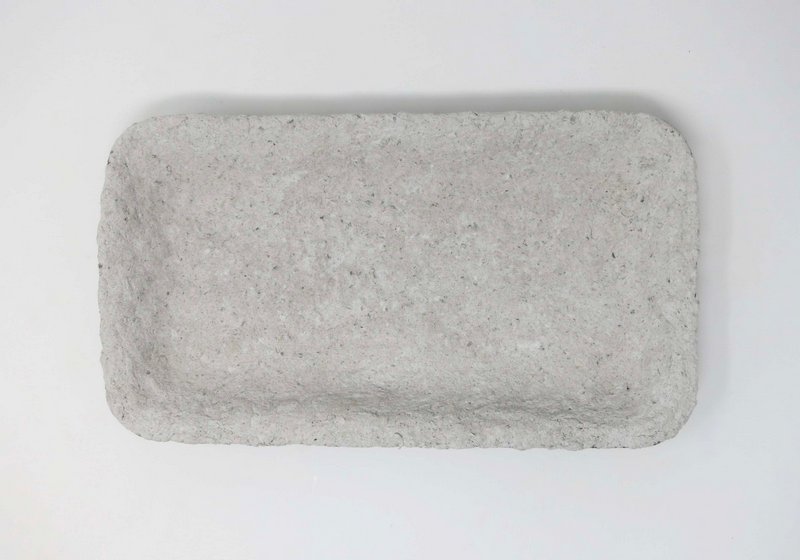
The CelluClay will become lighter and lighter in color as it drys out.
Step 5
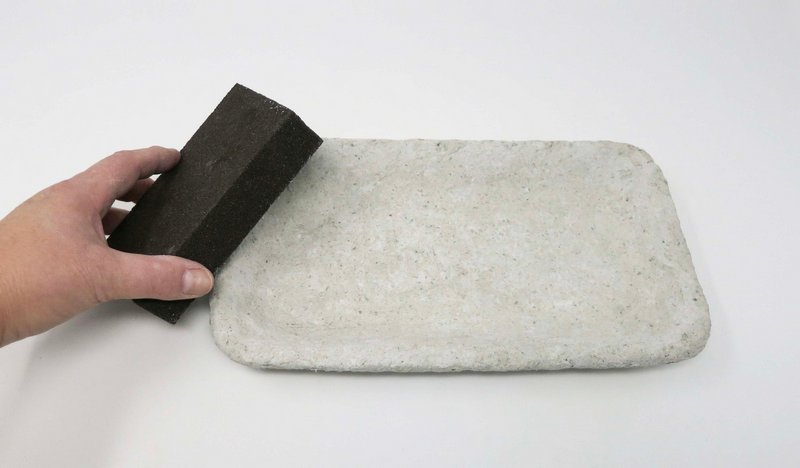
Smooth
File any rough edges on the sculpture with sandpaper.
Step 6
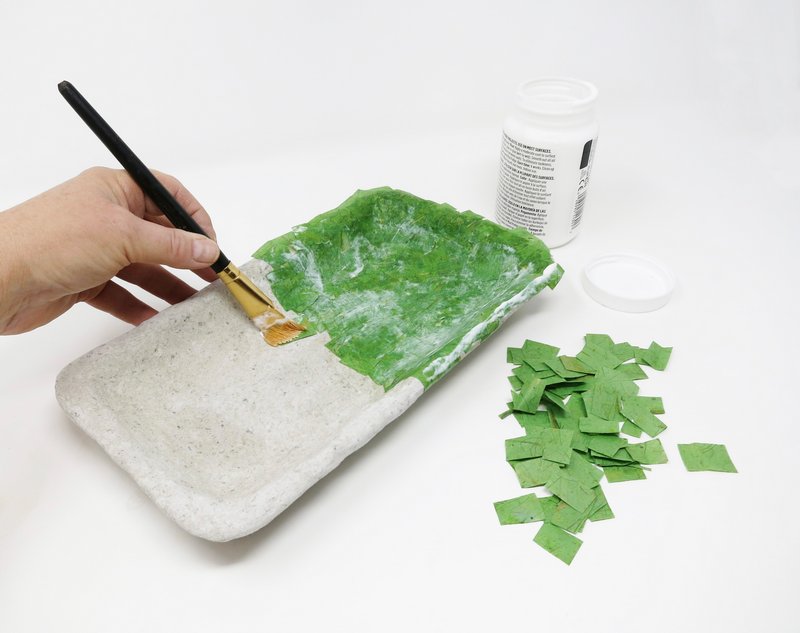
Finishing
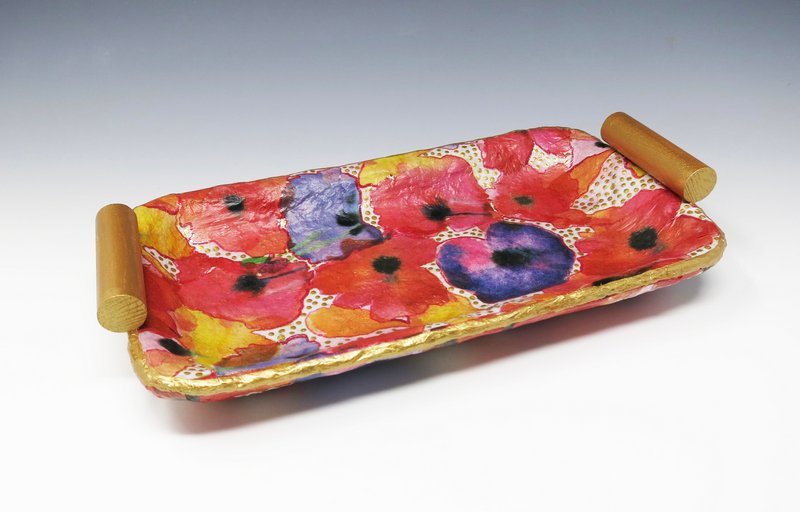
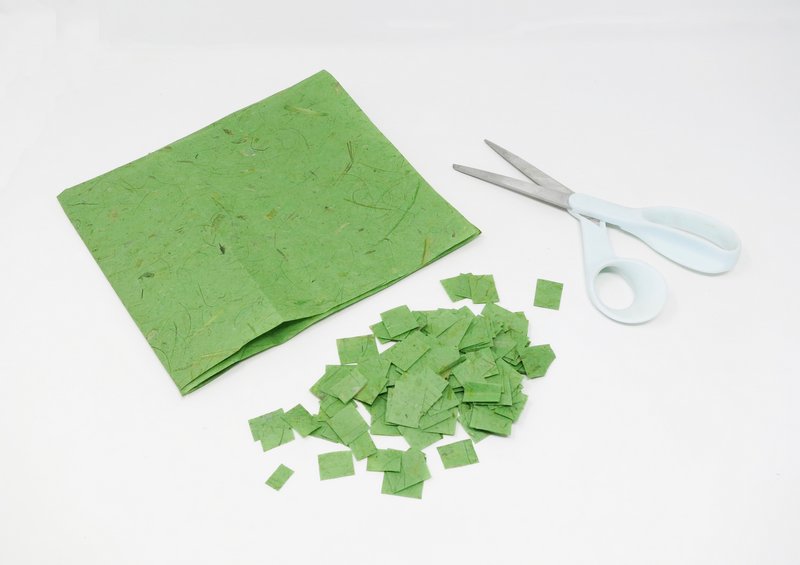
Cut or tear tissue paper into smaller pieces and apply onto the tray using decoupage medium.
Step 7
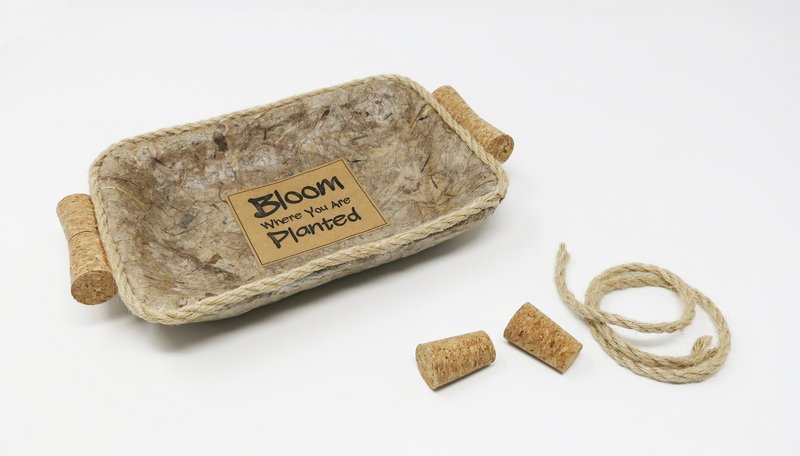
Handles
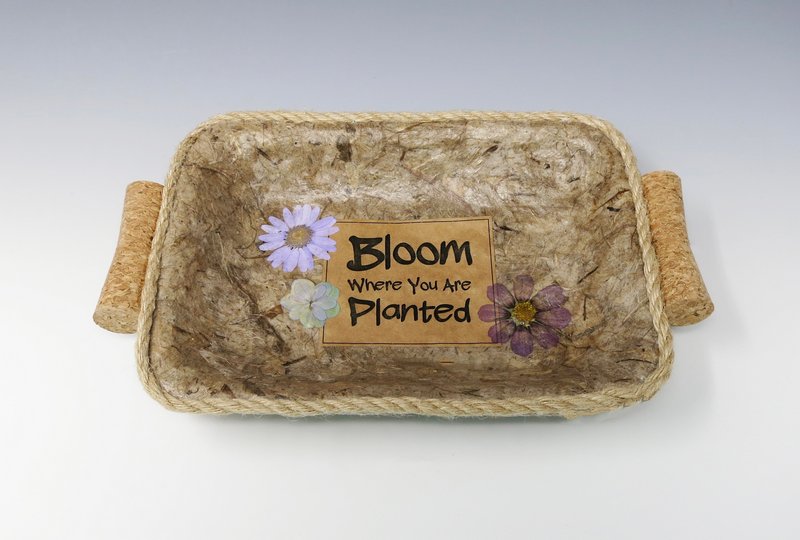
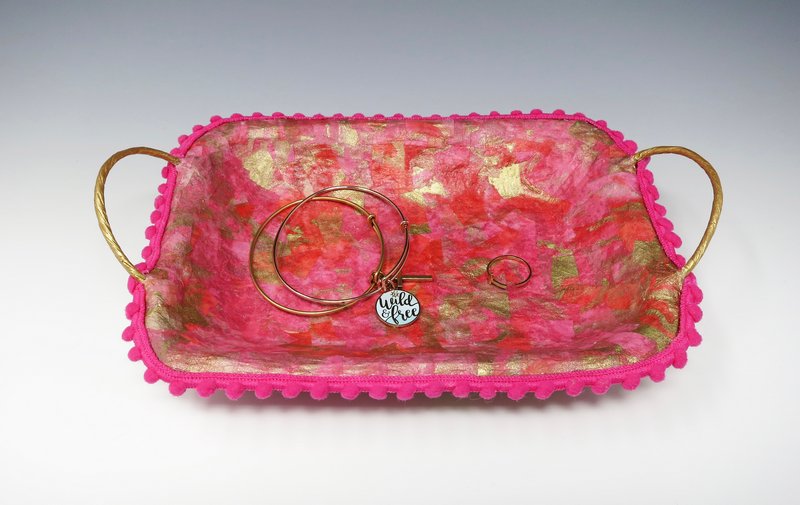
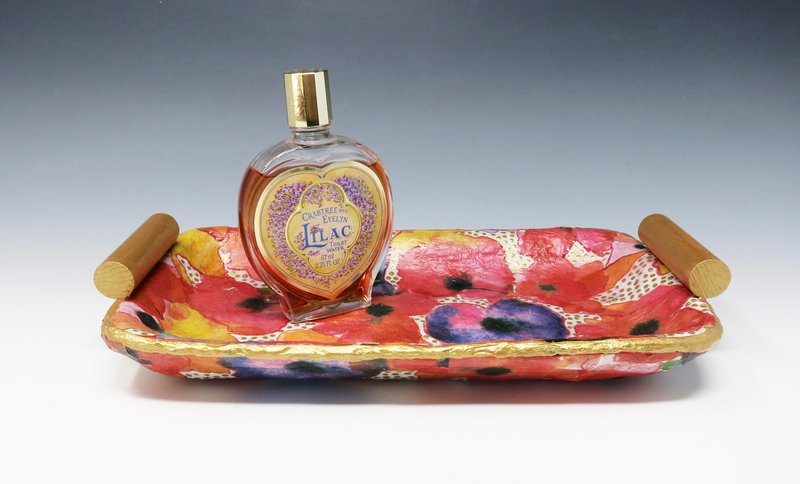
Tray handles can be added using additional CelluClay, wooden dowels, corks, rope, or wire.
Step 8
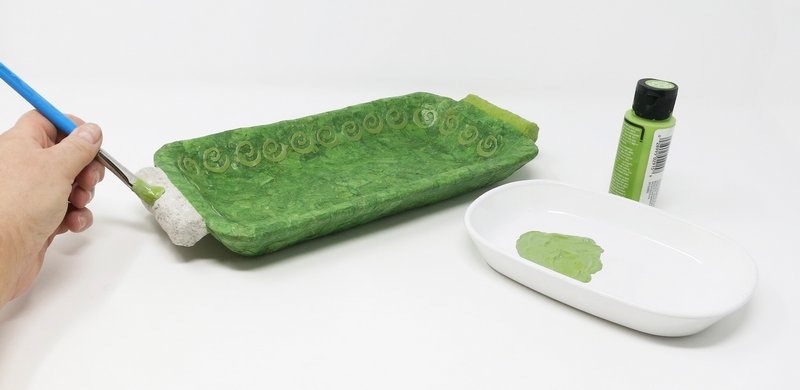
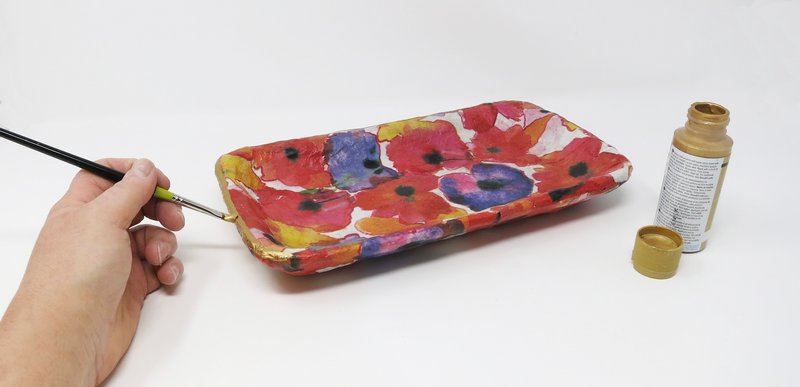
Embellishment
Additional decorations may be added with paint or trimmings.
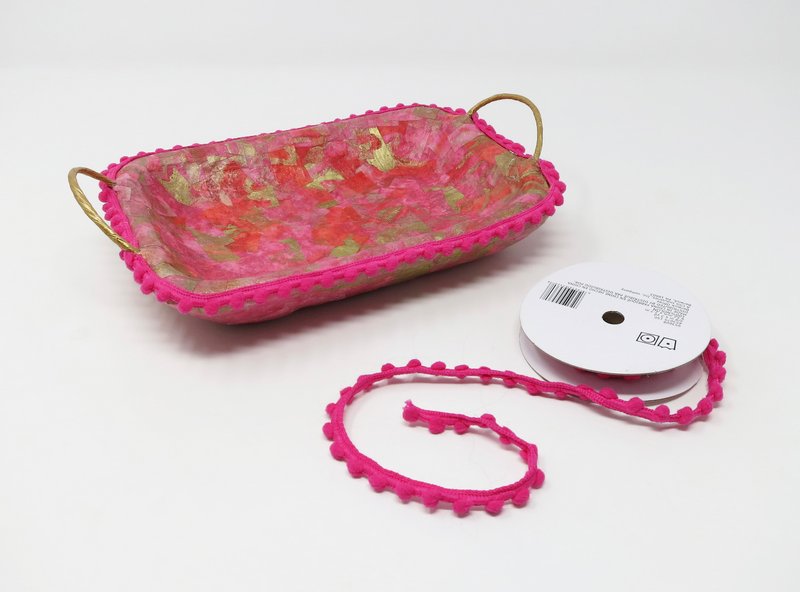
Step 9
Use
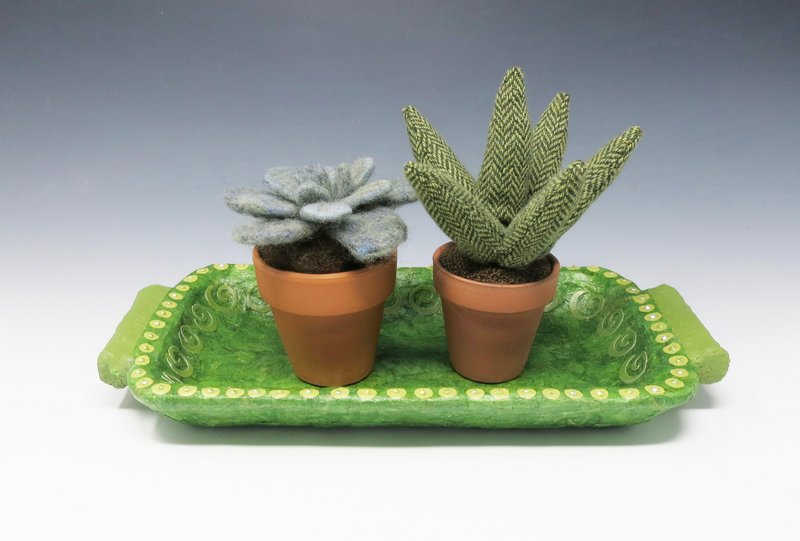
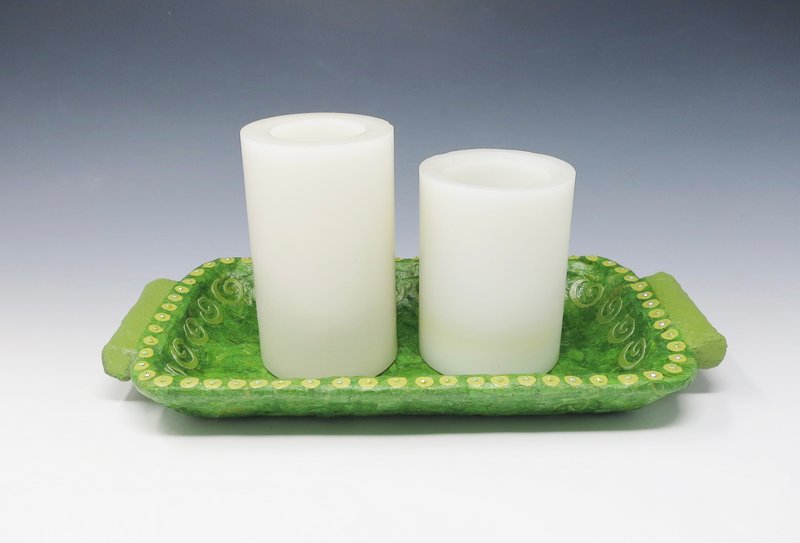
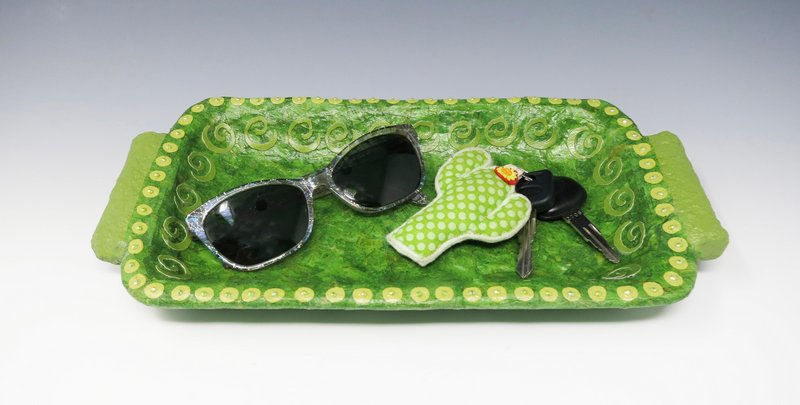
Once the sculpture is fully completed it can be used as a tray to hold items.
*CelluClay trays are suitable for holding dry items only. Not food safe.