Decorative Letter Blocks
By Marisa Pawelko
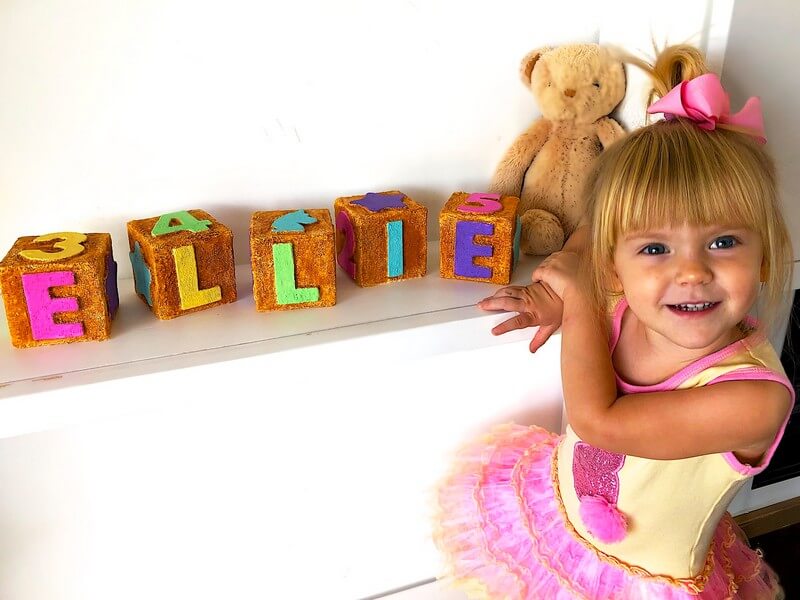
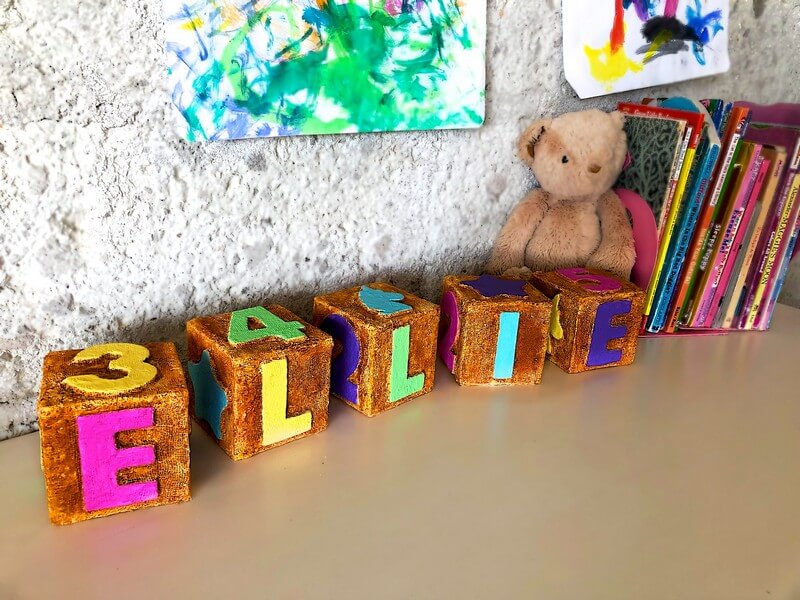
Summary:
Take your little ones room décor to the next level with these personalized letter name blocks! Customize them with numbers, shapes or colors that coordinate with the room décor. Makes a special handmade gift for a baby shower or birthday!
What’s Needed:
- Rappit Plaster Cloth
- Foam Blocks
- Unfinished Wood (or Masonite) Letters, Numbers & Shapes
- Bowl of Warm Water
- Tacky Glue
- Scissors
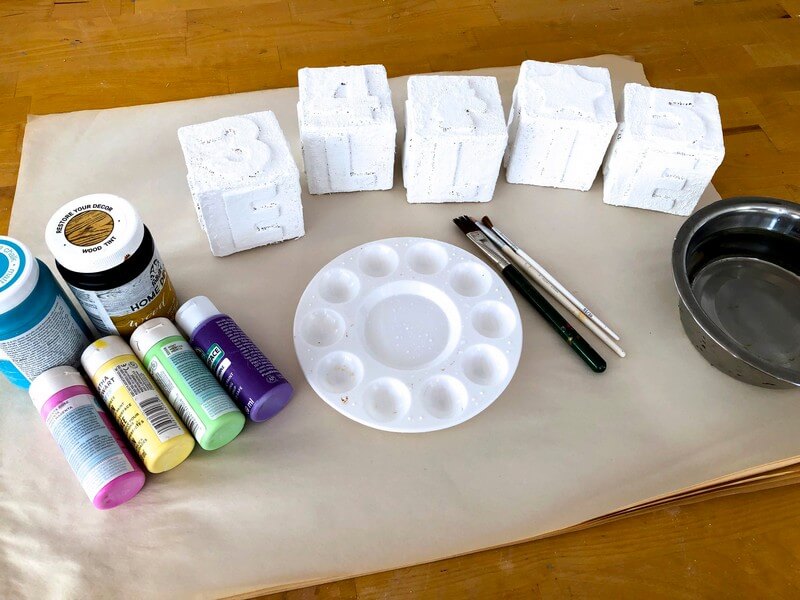
- Craft Paint
- Craft Stain (optional)
- Wax Sealer or Matte Decoupage Glue
- Paint Brushes
- Palette
- Sandpaper
Steps:
1) Begin by selecting the letters, numbers and shapes of your choice.
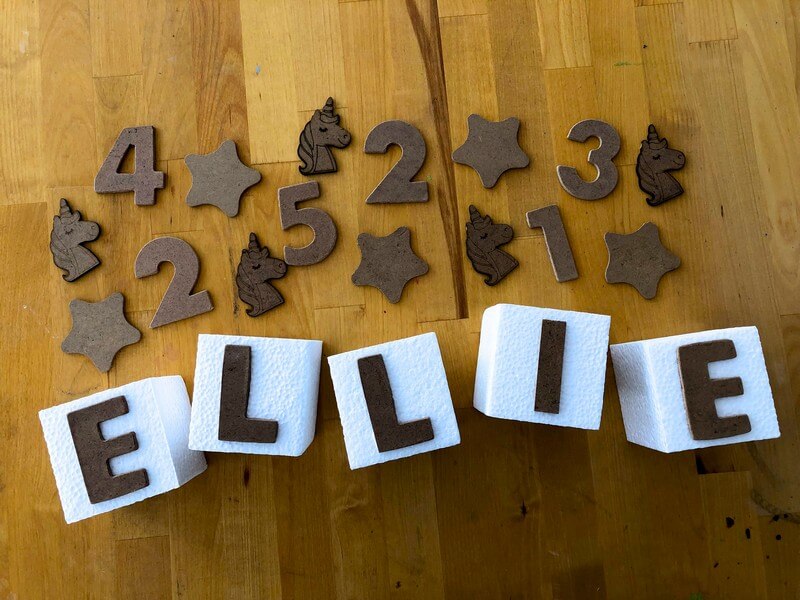
2) Adhere the pieces in place with tacky glue and set aside to dry.
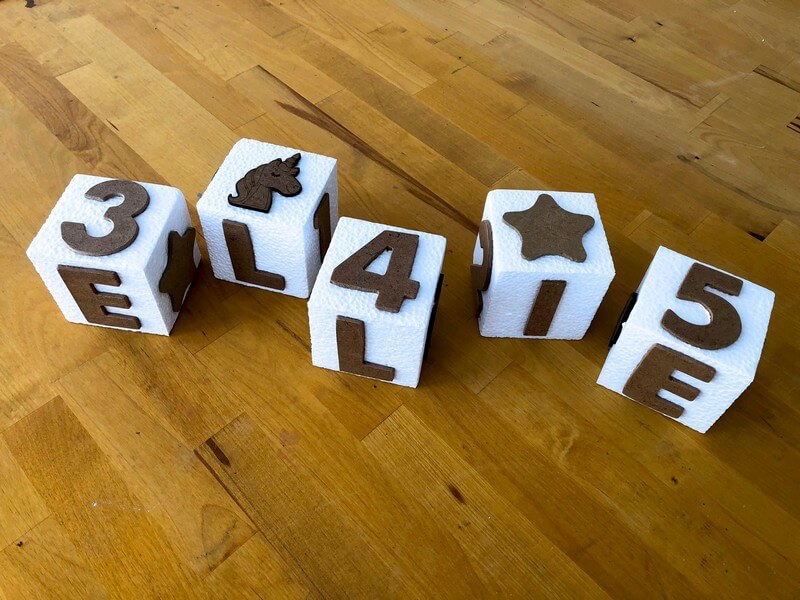
3) Cut pieces of Rappit Plaster that are slightly larger than the sides of the cubes.
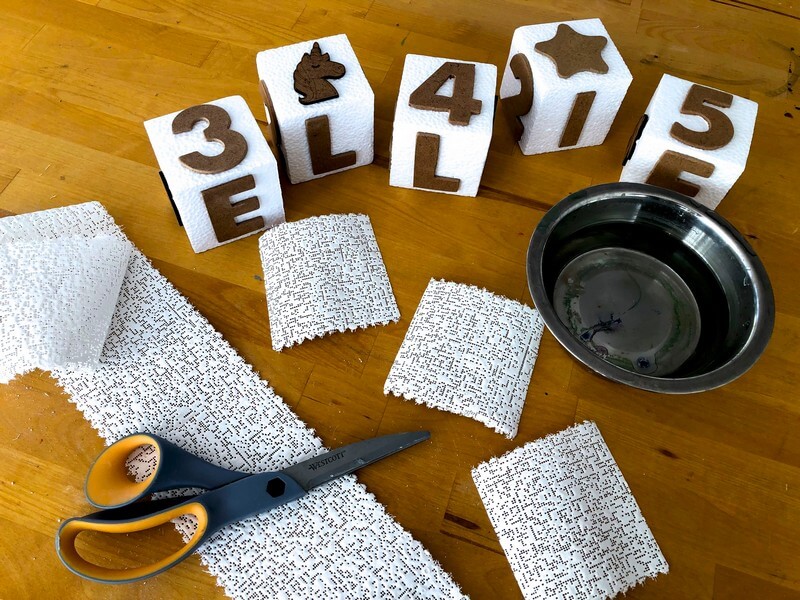
4) To cover the cubes, begin dipping a piece of Rappit Plaster into warm water.
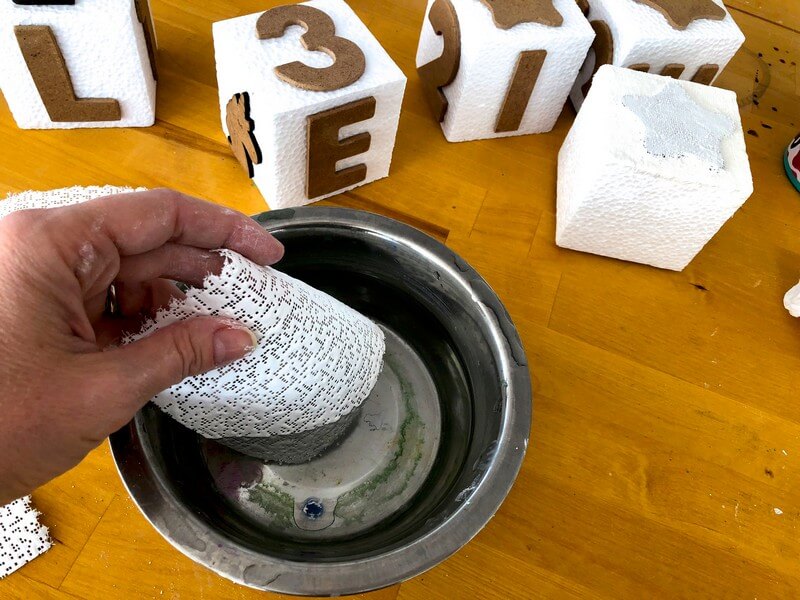
5) Gently knead the piece with your fingertips until it is nice and squishy.
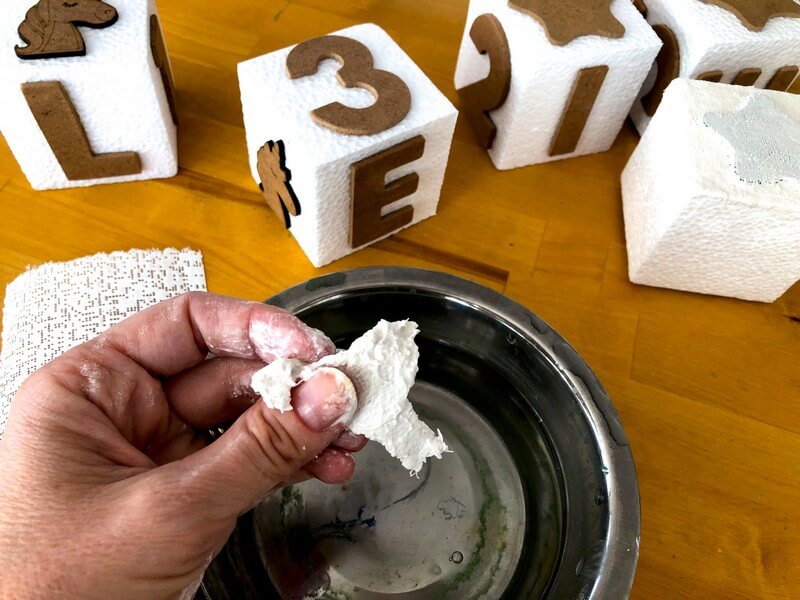
6) Carefully spread out the piece.
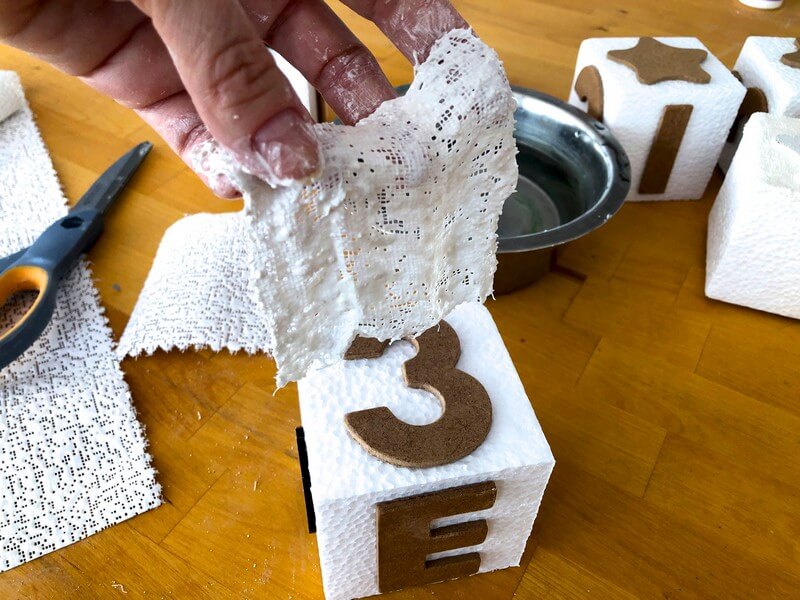
7) Lay the piece onto the surface of the cube.
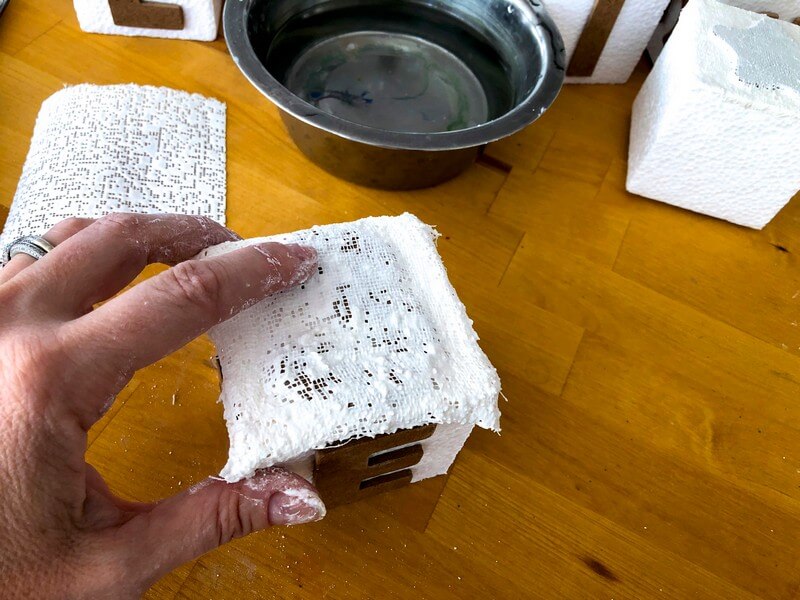
8) Press and smooth the Rappit Plaster onto the cube, using a small paintbrush to define the creases.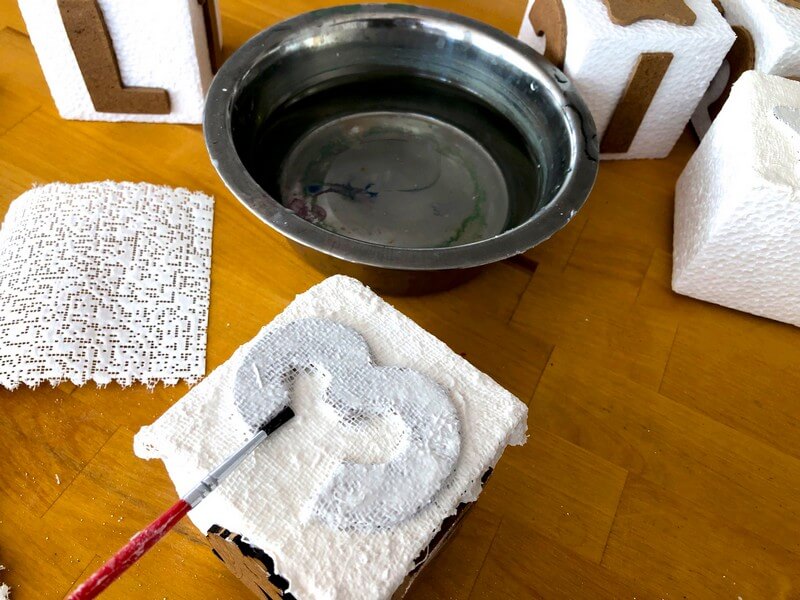
9) Continue this process until the shape is well defined. Then wrap and smooth the edges of the piece around the edges of the cube.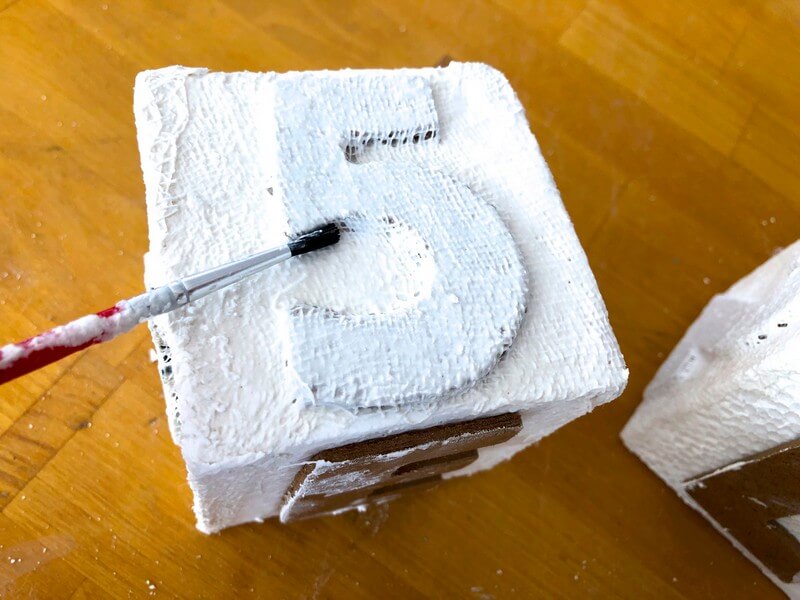
10) Continue with this process until you have completely covered the cubes.
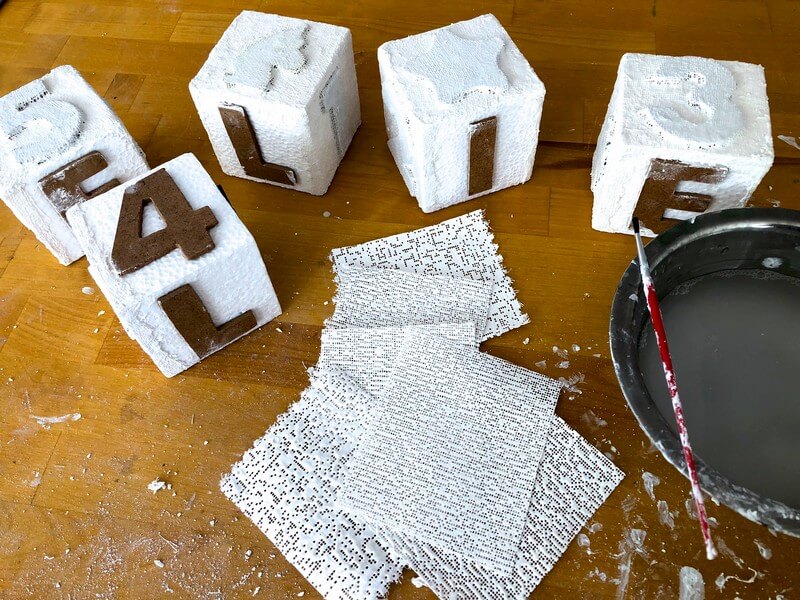
11) Set the cubes aside to dry fully. Then smooth away any rough spots with sandpaper.
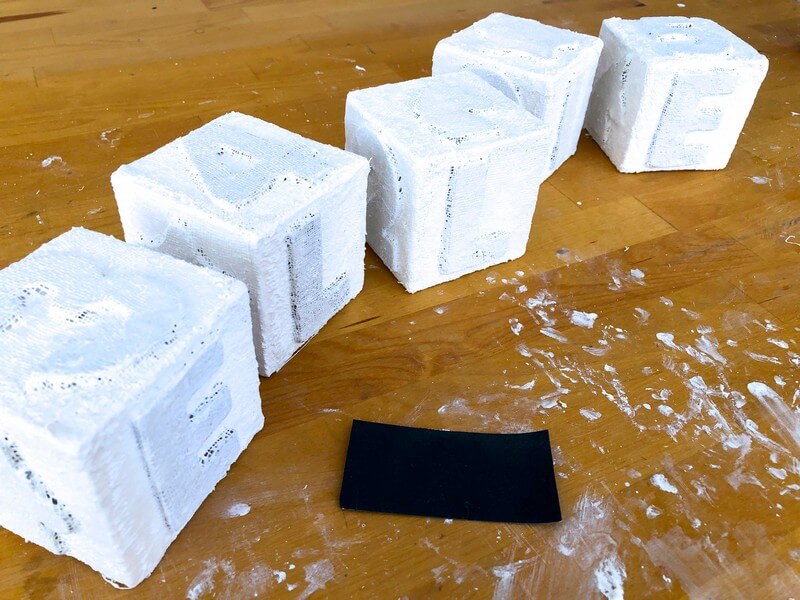
12) Now you are ready to add color to your cubes!
13) Begin by painting the background areas with a neutral wood toned craft stain. If you don’t have stain you can use watered down brown paint.
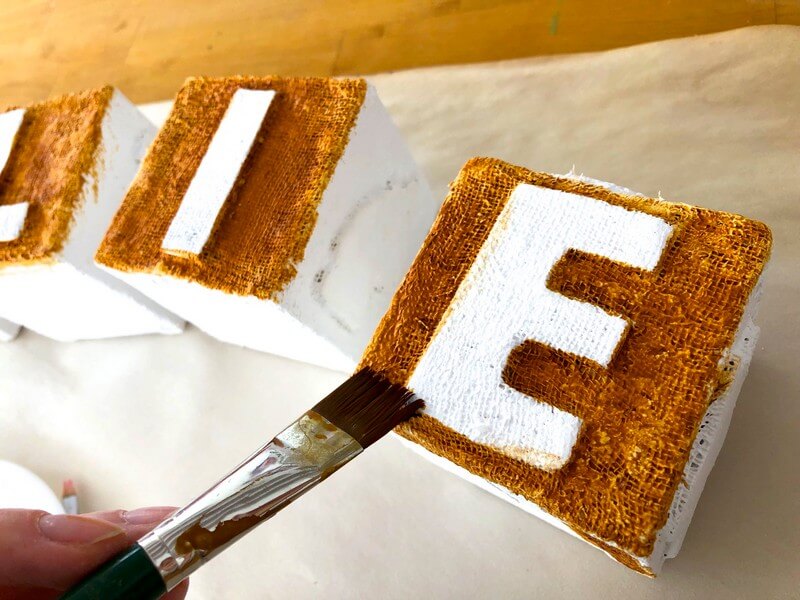
14) Cover all of the background areas with the wood tone and then set the cubes aside to dry fully. 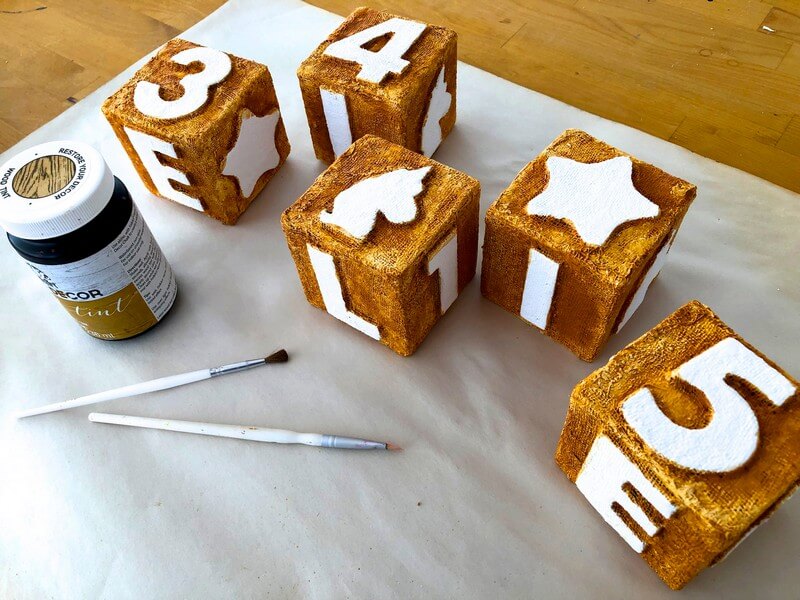
15) Paint the letters, numbers and shapes in the assorted colors of your choice. Be sure to plan ahead to avoid using the same color adjacent to itself. 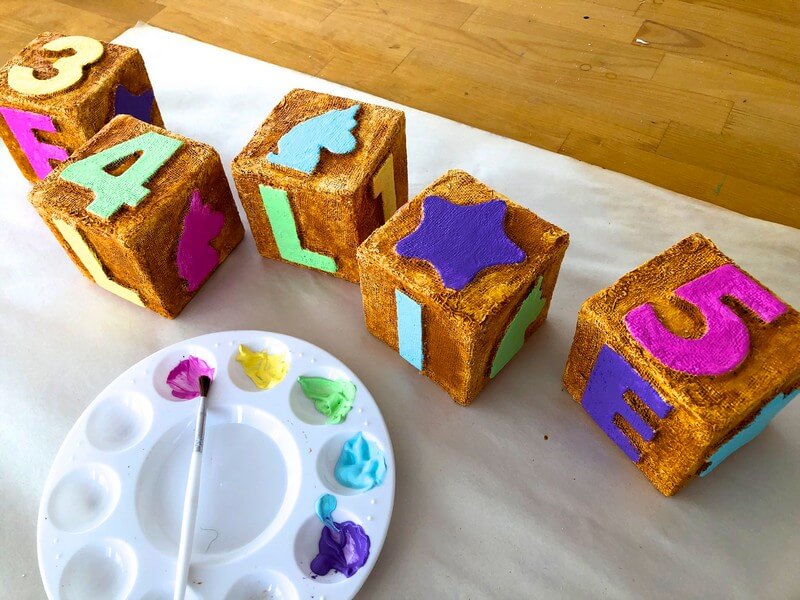
16) Once the paint is dry, apply a layer of wax sealer or matte decoupage glue to finish off the cubes. 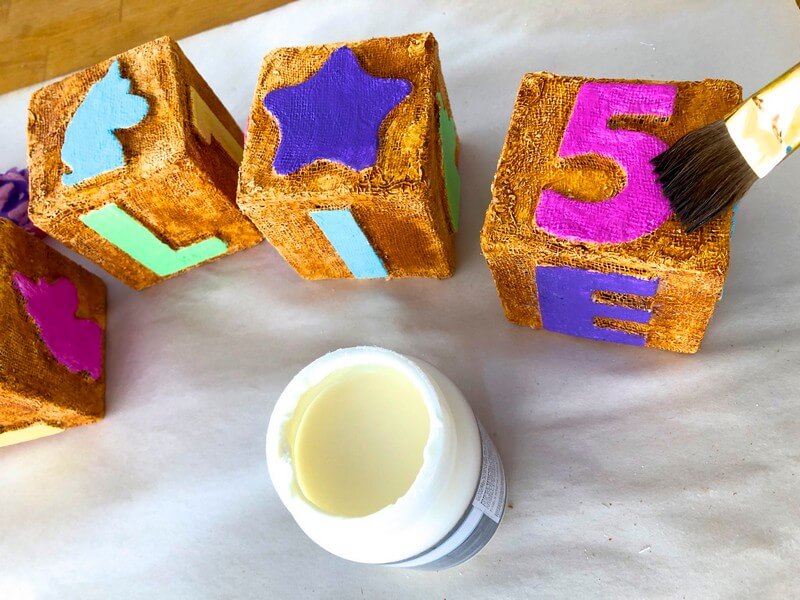
- ABOUT THE ARTIST -
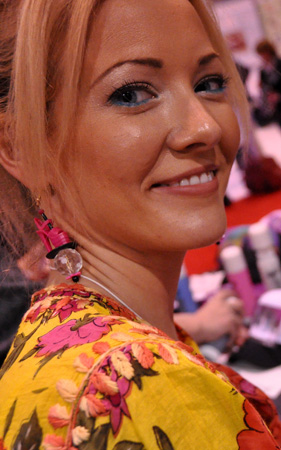
Meet celebrity crafter Marisa Pawelko, winner of the Craft & Hobby Association Indie Craft Contest and the host of “America’s Next Top Crafter™”. Armed with a formal education in furniture design, Marisa used her talents to design products for the gift, toy, fashion and accessories markets before turning her focus to the craft industry. In 2005, sparked with an idea to create a recycled baby memento-keeper out of one of her son’s baby food jars, she founded Modern Surrealist LLC, which quickly developed an international following. Marisa enjoys inspiring crafters on her blog with thrifty project ideas for “upcycling” ordinary objects, into extraordinary custom creations! Her work has been featured by PBS, HGTV, Illinois State Museum and in countless exhibitions and high end boutiques around the world. Modern Surrealist LLC has been providing customers around the globe with individualized and fantastical gifts, crafts and accessories since 2004. Featuring eclectic themes that celebrate your individuality with humor and heart!