

Supplies Needed:
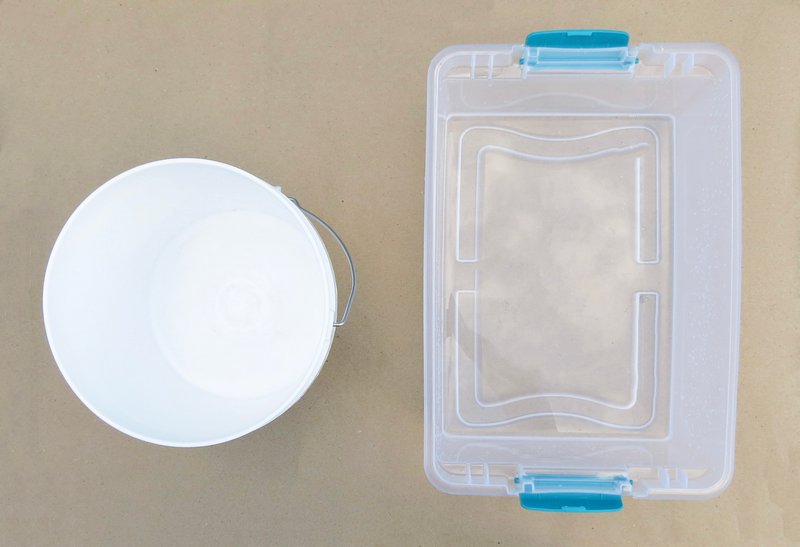
- Lidded plastic container
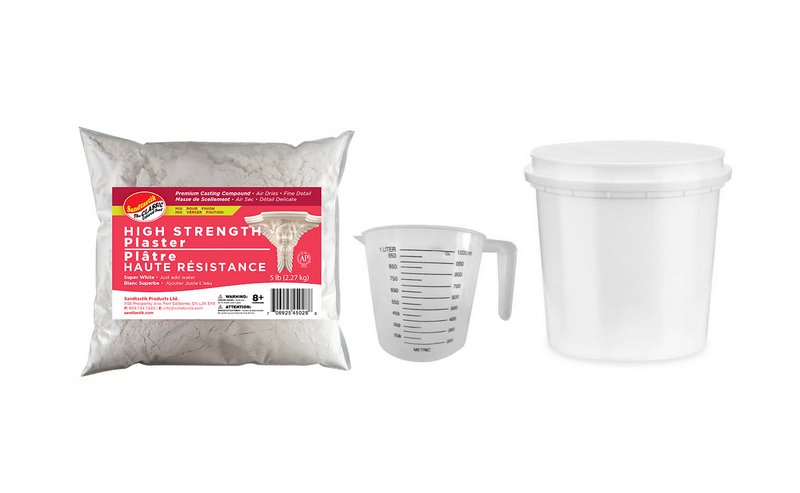
- Sandtastik High Strength Plaster
- Water bucket
- Water
- Rubber gloves
Step 1
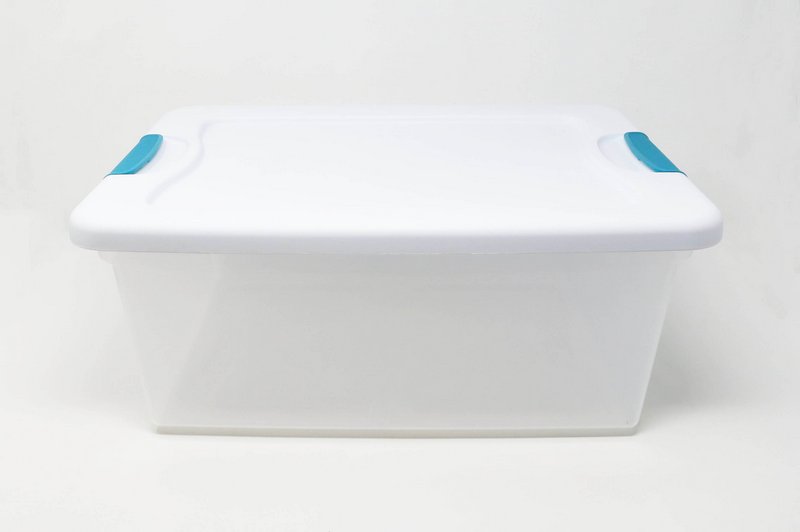
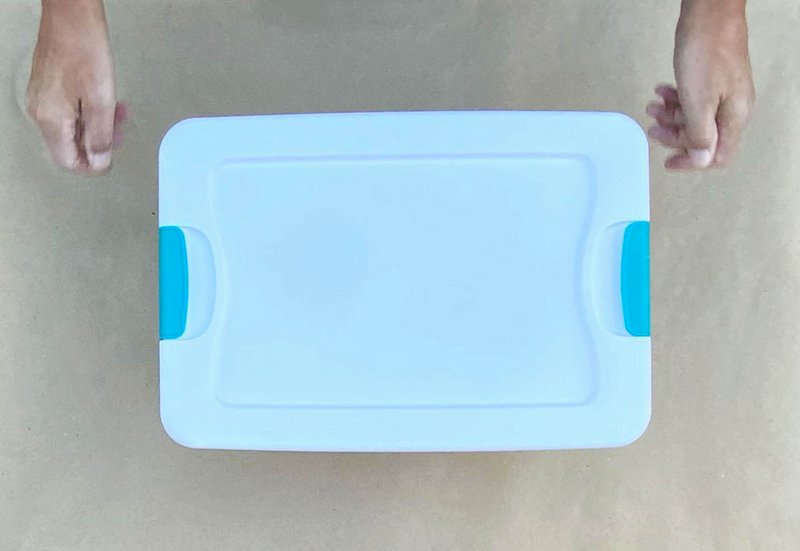
Container
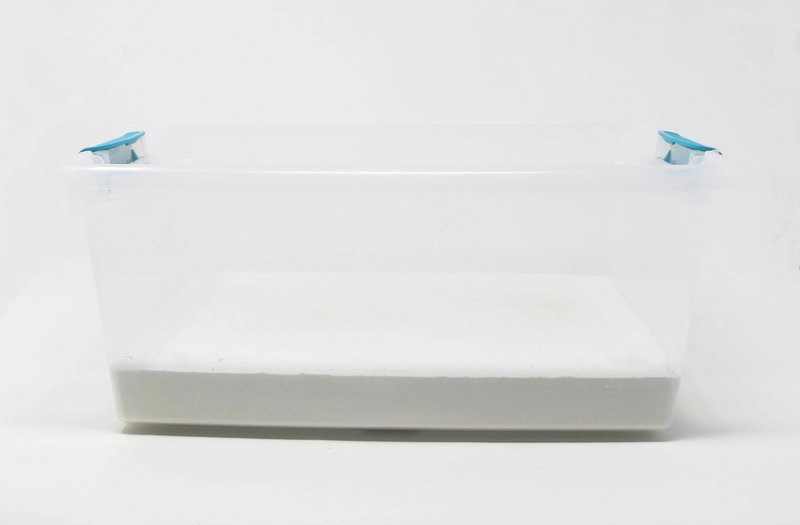
Select desired size and depth lidded plastic container.
*The plaster bat will take up approximately 1/4 of the container.
Step 2
Water
Fill a large bucket with the desired amount of water.
Step 3
Plaster
Measure the desired amount of plaster.
*The ideal ratio for a plaster mixture is two parts plaster powder to one part water.
Slowly add the plaster to the water by shifty it in a handful at a time.
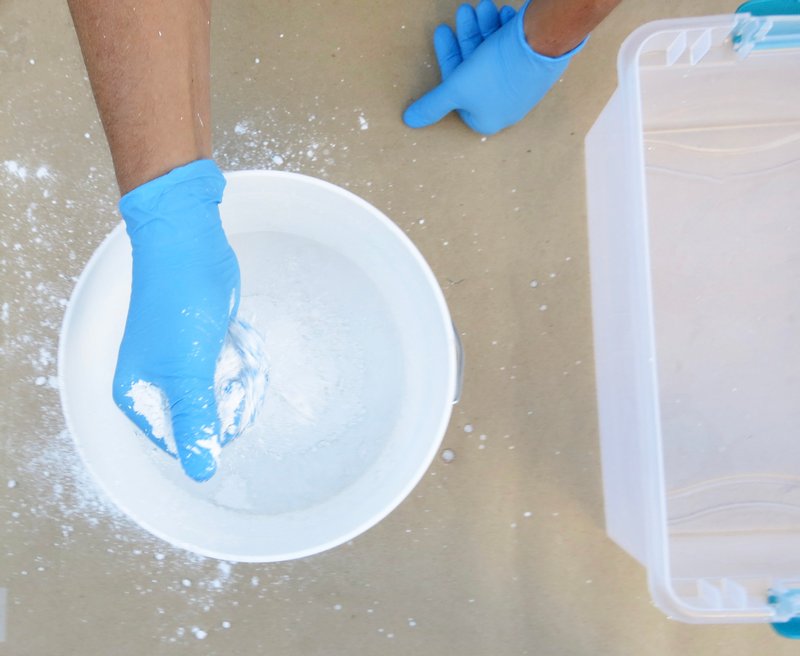
Step 4
Mix
Use hand to stir the plaster and the water together.
Break up any lumps in the plaster.
Continue to mix until the plaster starts to thicken.
Stop mixing once the plaster becomes like the consistency of pudding.
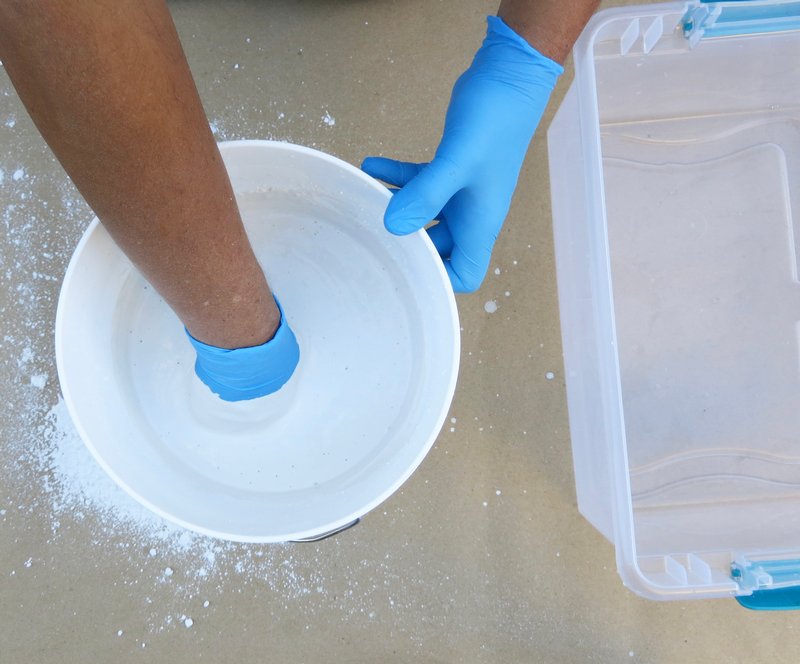
Step 5
Pour
Lift the bucket and slowly pour the plaster into the plastic container.
*Pouring the plaster slowly will reduce the amount of air bubbles from forming.
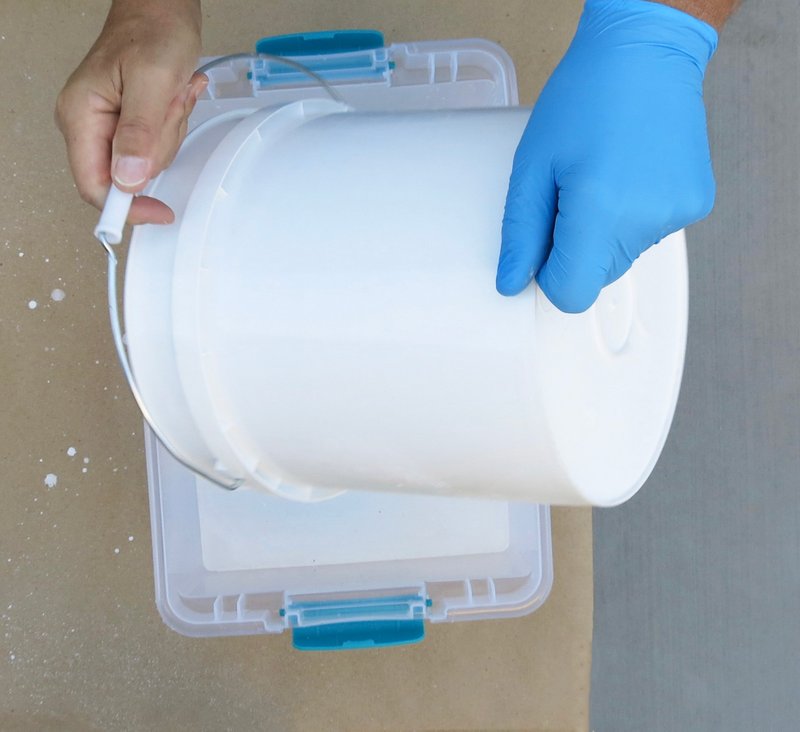
Gently hit the sides of the plastic container to vibrate the container and help pop any air bubbles that might have formed while pouring.
Air bubbles can also be popped using finger tips.
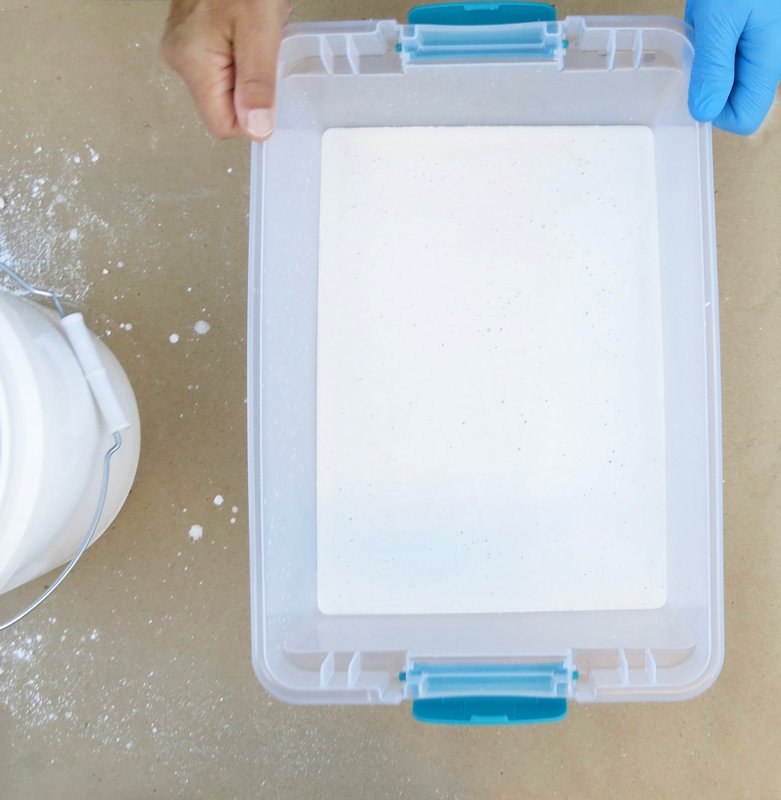
Step 6
Dry
Place the container of plaster on a level service to set up.
As the plaster sets up it will heat.
Plaster might take a couple of hours to set, but much longer to cure.
Once the plaster is fully dry or cured it will be cool to the touch.
Step 7
Wet
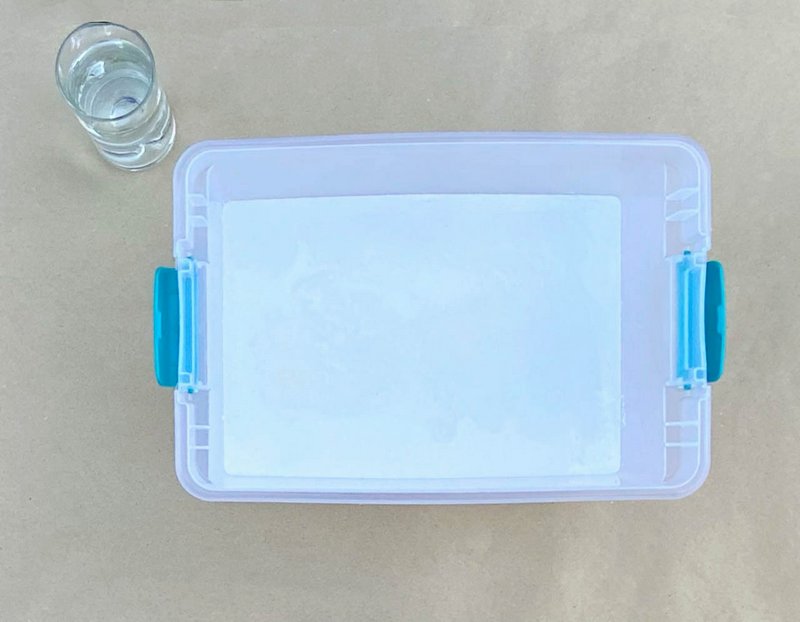
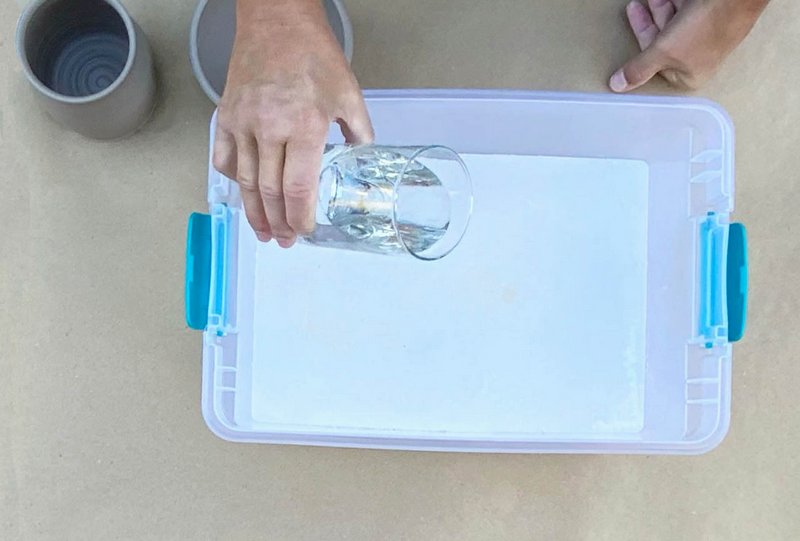
After the plaster has cured, rewet it with water.
The water will absorb into the plasterslab.
Add enough water to dampen the plaster bat inside the container.
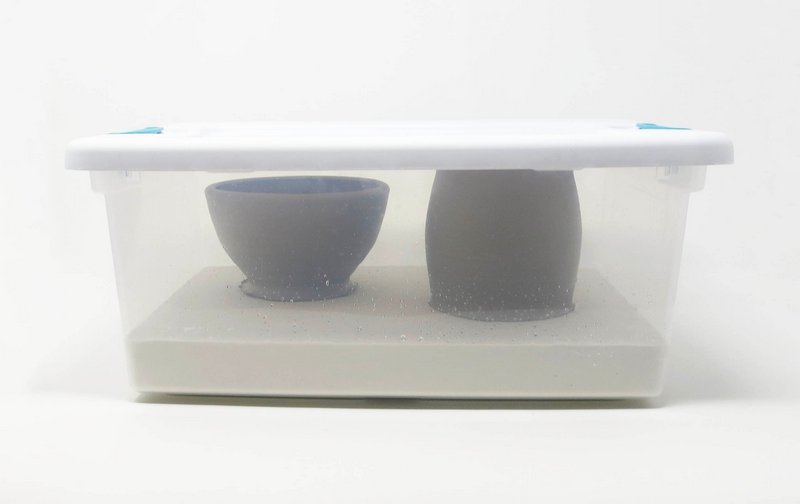
Step 8
Use
Place clay forms into the damp box to remain damp and to be worked on later.
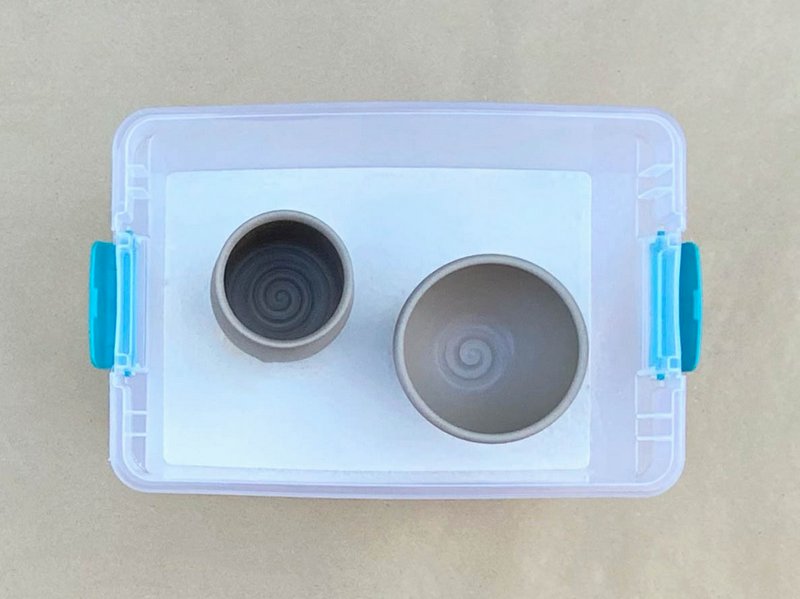
Tightly secure the lid onto the damp box.
Store in the art studio until ready to work on again.