SUPPLIES
- Sandtastik Modeling Clay - 3.3 lb brick
- 1 small cup of water
- Exacto knife or clay knife
- Carpenter's nail (at least 1/8" thick)
- 1 piece of sand paper
- Twine/string
- Acrylic Paints
Directions
 STEP 1 Decide what you want your bracelet to say.
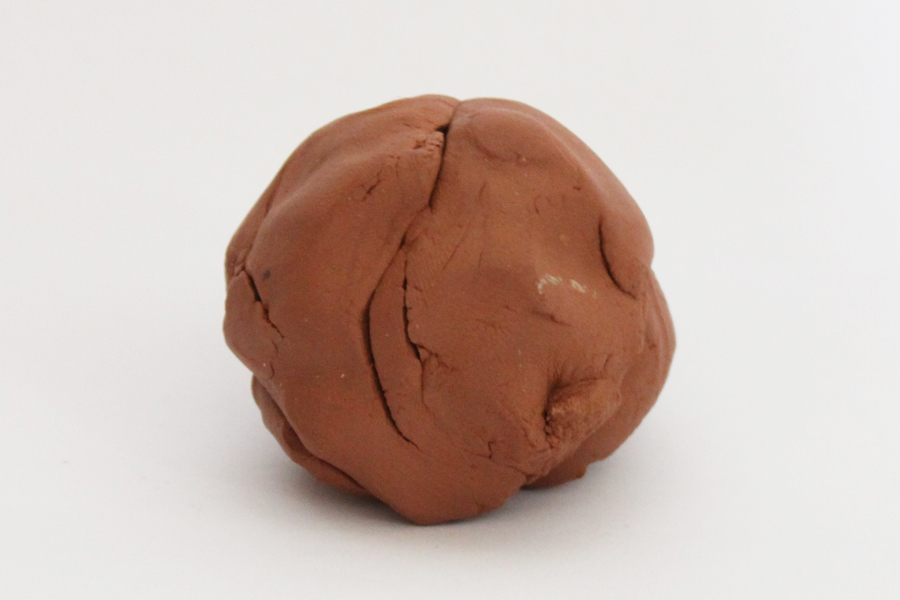 STEP 2 Take the brick of Sandtastik Modeling Clay and break off a clump. Use a clump of clay about half the size of your palm. Tip: Use lighter colors of clay like white, gold, or green because it will be easier for the paint to cover the lighter colors!
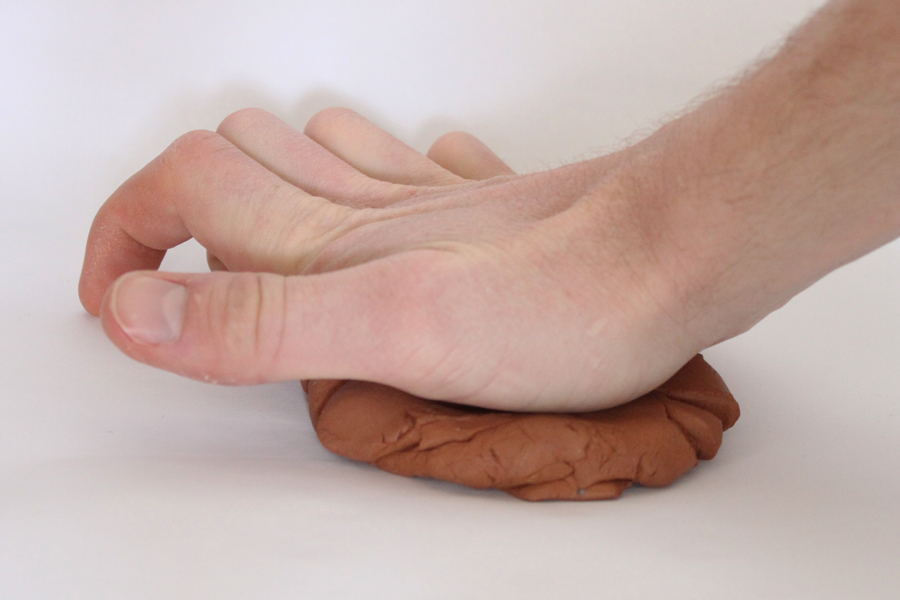 STEP 3 Flatten the clay with your hands so that it is about 1/2" thick. Tip: When you flatten clay in this way, it is called a slab! You can also use a rolling pin to flatten the clay!
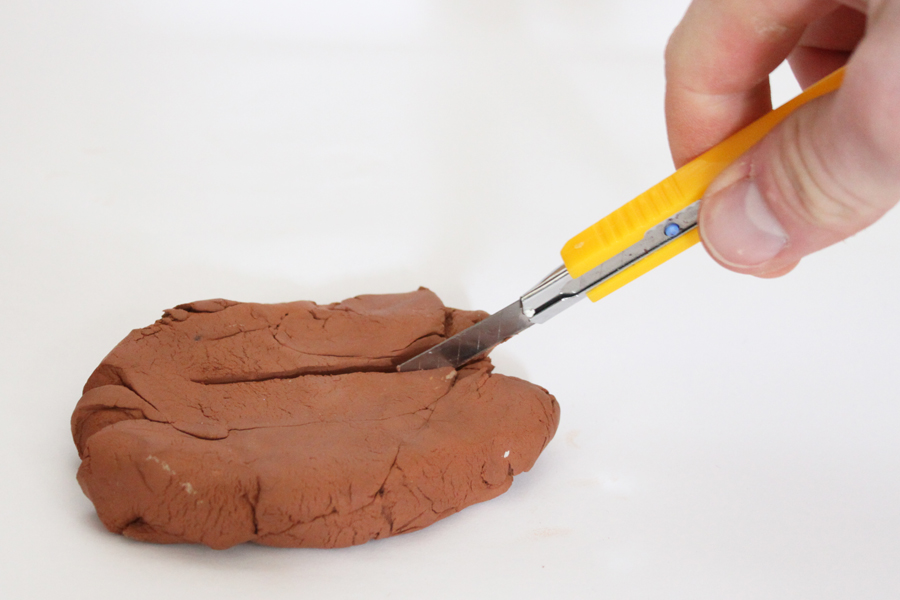 STEP 4 Take your slab and cut squares into it. You will want 1 square for every letter of the word you are going to spell. The cubes should be 1/2" wide, 1/2" tall, and 1/2" deep. Tip: Cut a few extra cubes in case you make a mistake in the later steps!
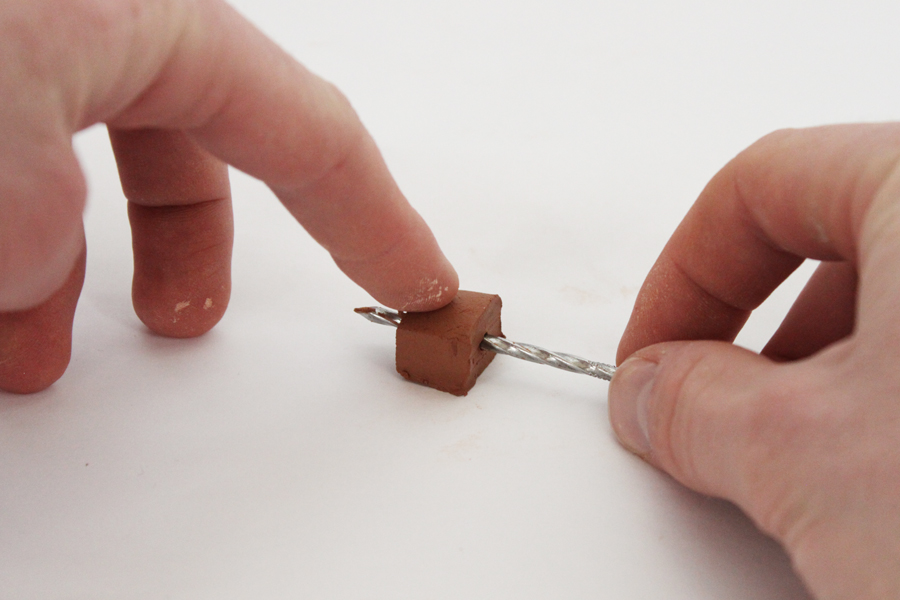 STEP 5 Using a carpenter's nail, poke 1 hole through each cube. Make sure the hole goes right through!
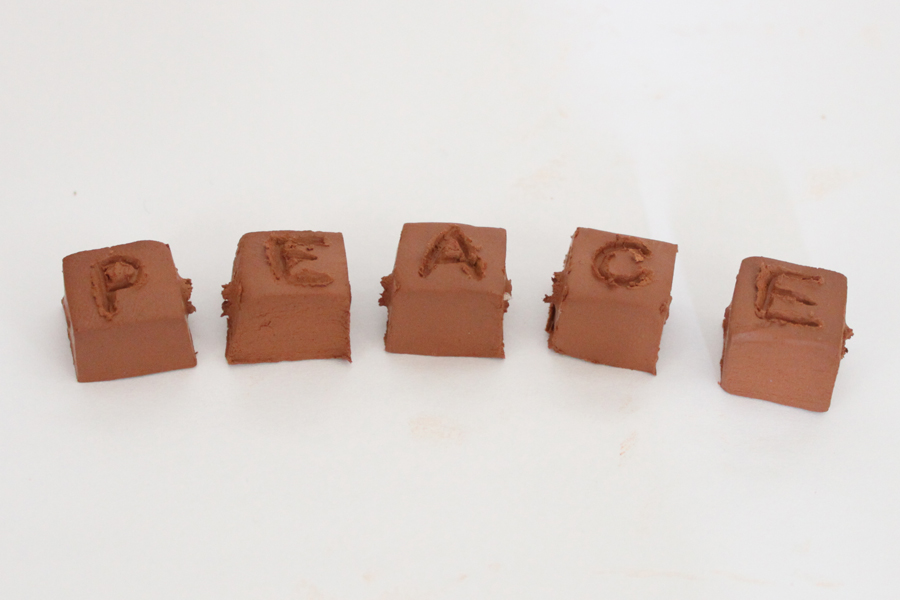
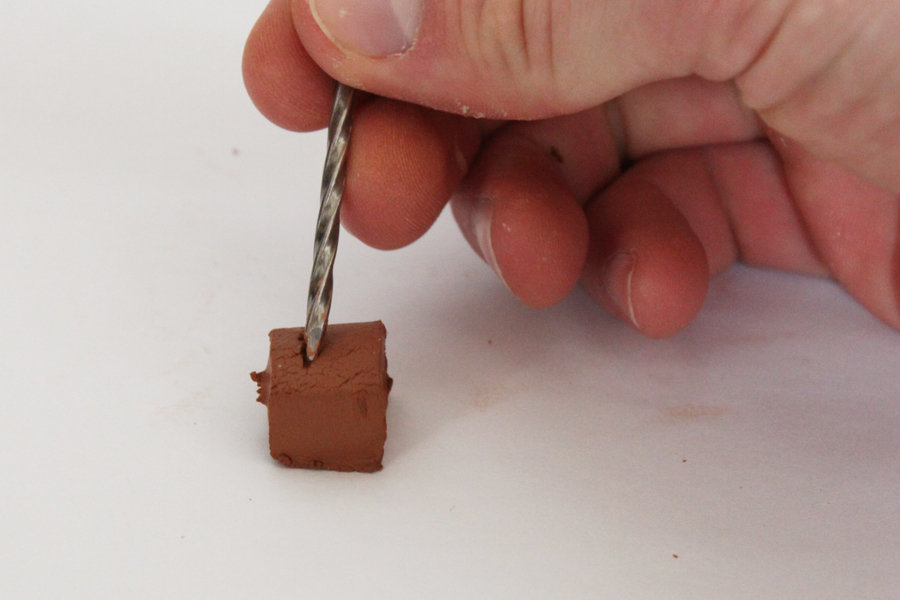 STEP 6 Use the carpenter's nail to engrave the letters of the word into the cubes. It is important that the holes made in Step 5 are lined up when engraving! Tip: Check the holes you made in Step 5 and make sure they are all still there.
 STEP 7 Let the clay air-dry over night.Once dry, use sandpaper to smooth the edges. Tip: Sand your cubes over a sheet of newspaper!
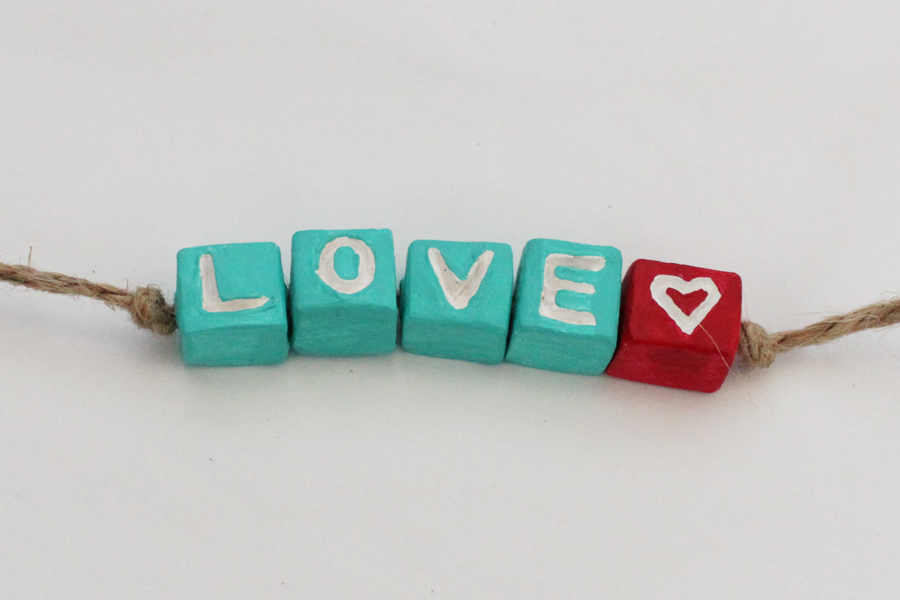
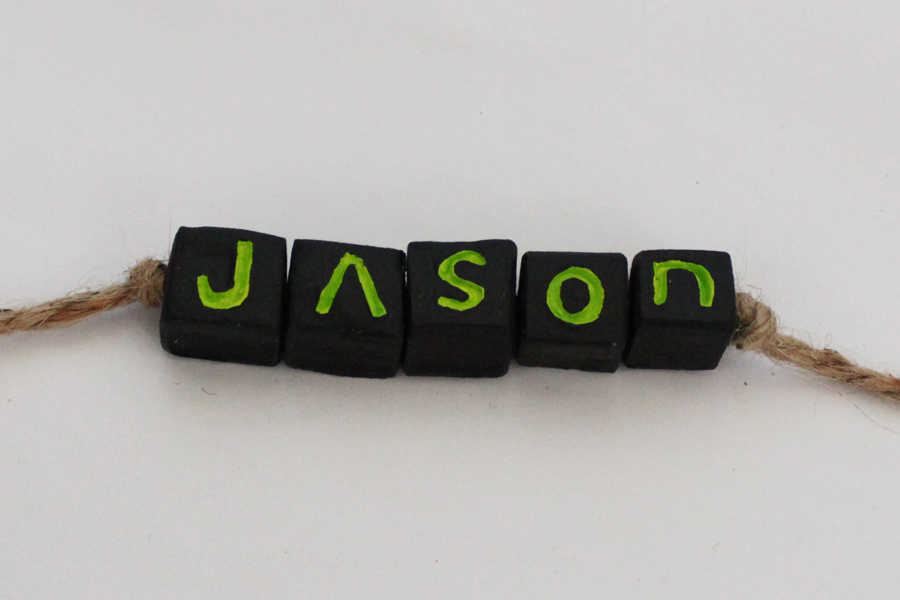
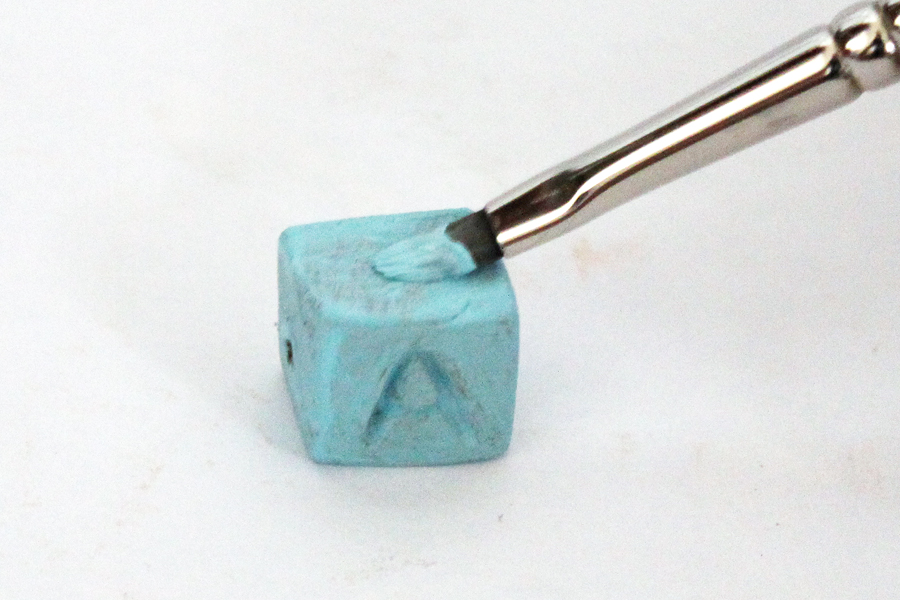 STEP 8 Paint each cube any way you want - be creative!!
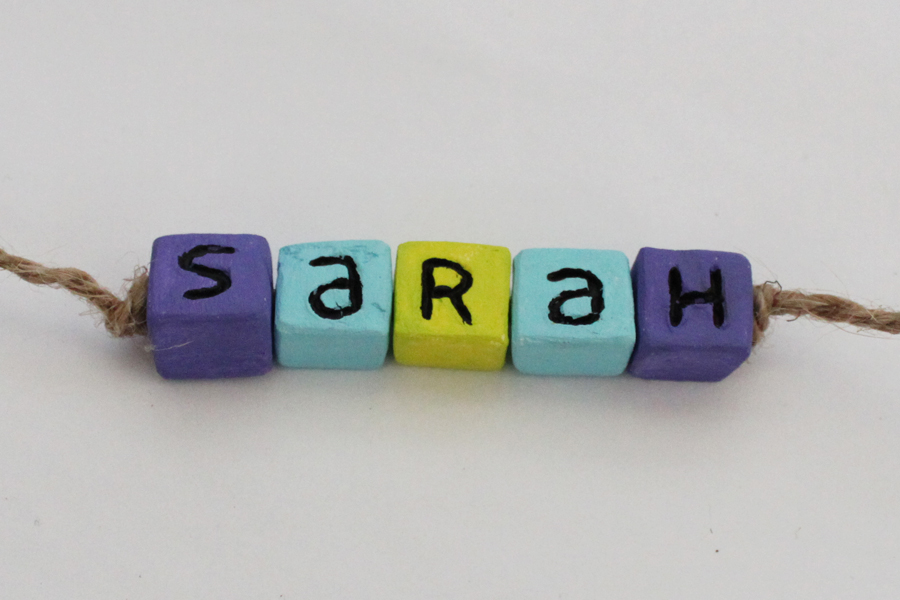 STEP 9 When the paint is dry, thread your string through each cube. You can use twine or string of any colour, length or thickness! To keep the cubes in place, tie 2 knots on either side of the cubes.
 STEP 10 Attach the bracelet to your wrist and it is ready to wear!