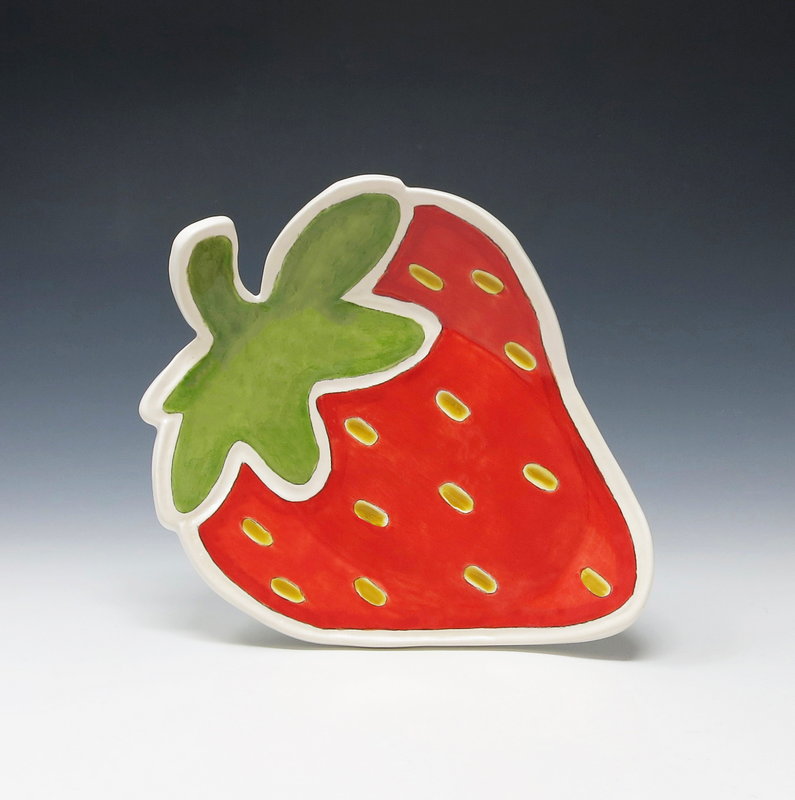
Supplies Needed:
- SIO-2® PA - White Earthenware Clay, Low Fire
- Drawing paper
- Pencil
- Scissors
- Rolling pin
- 1/4” measuring sticks
- Rubber rib
- Needle tool
- Oval shaped drape form
- Wood block
- Sponge
- Water bowl
- Foot maker tool
- Activa-Tools
- Ball stylus
- Brush
- Paint brush
- Glazes
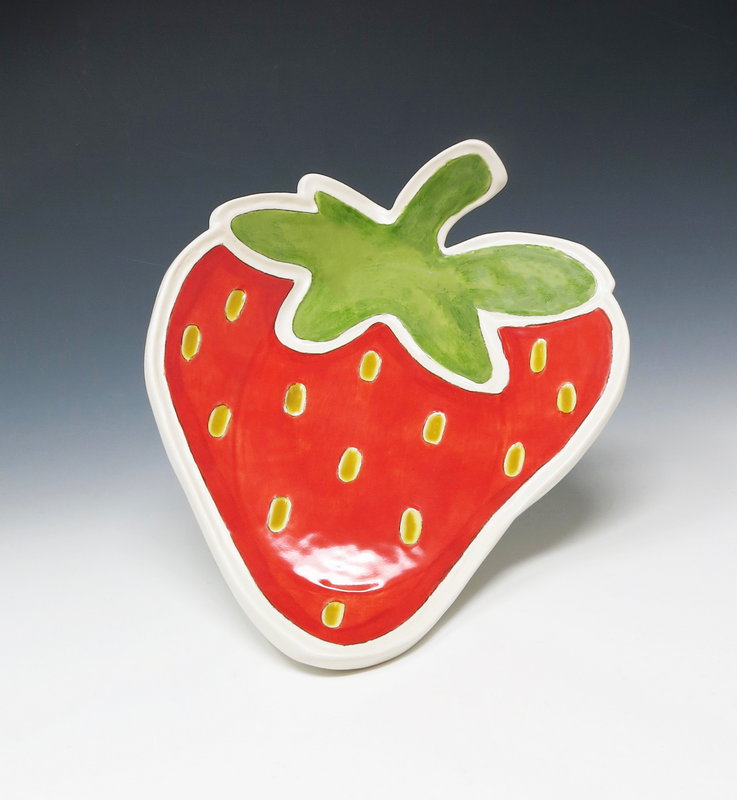
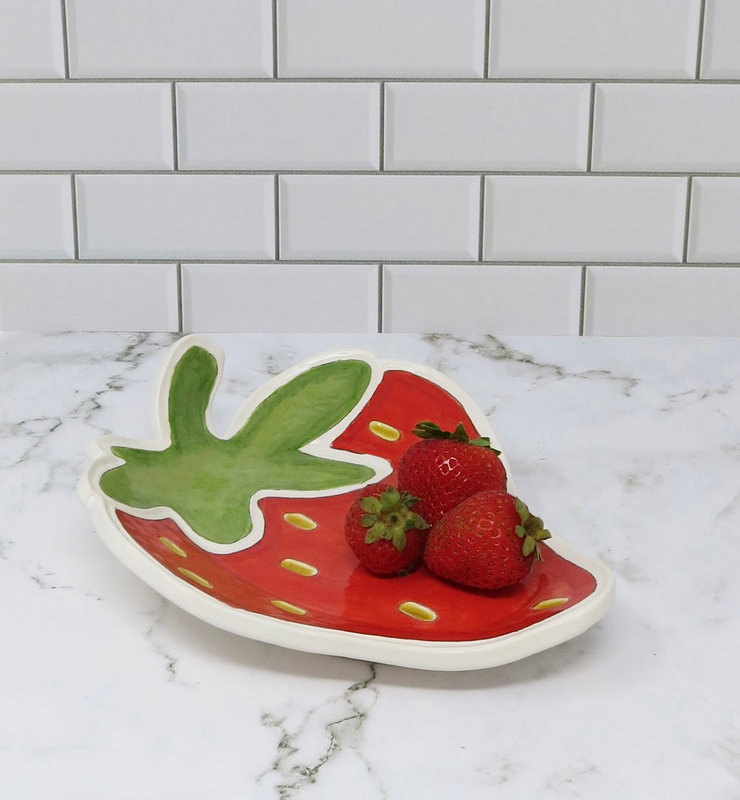
Step 1
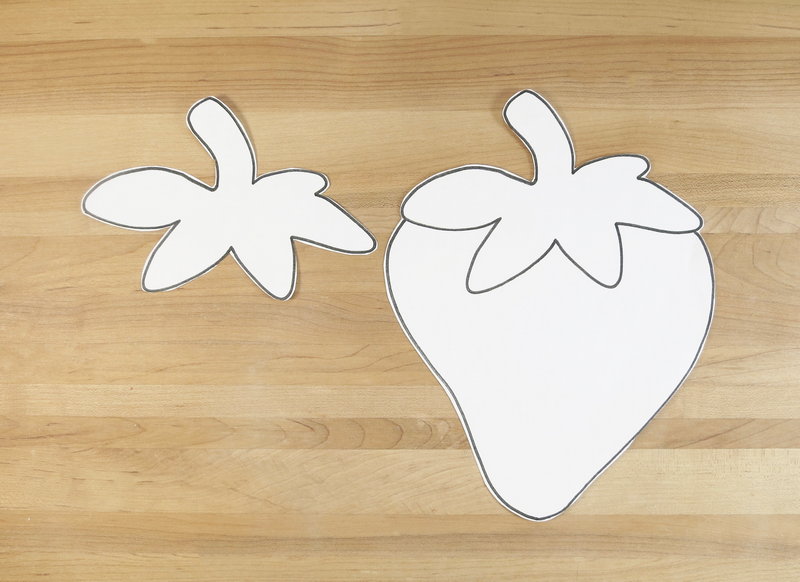
Pattern
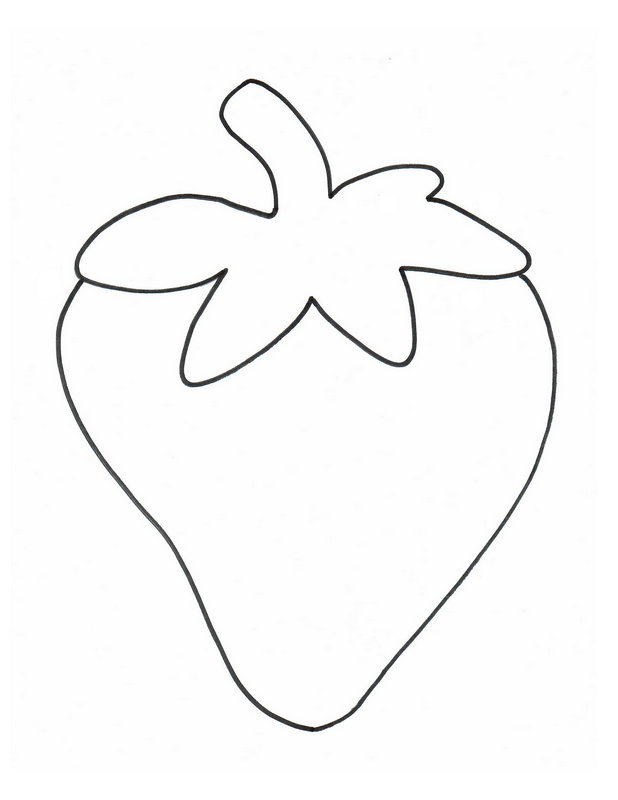
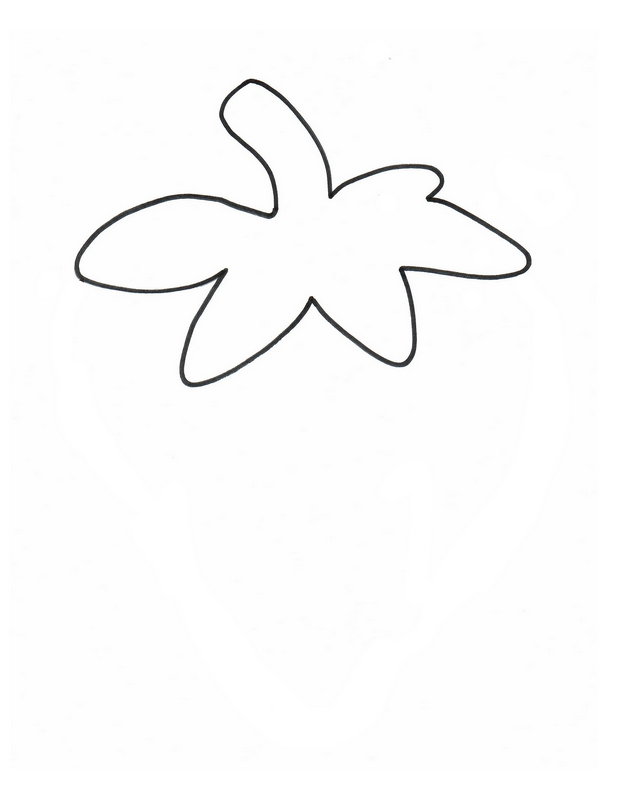
Draw an outline of a simple strawberry shape or use the template provided in this tutorial.
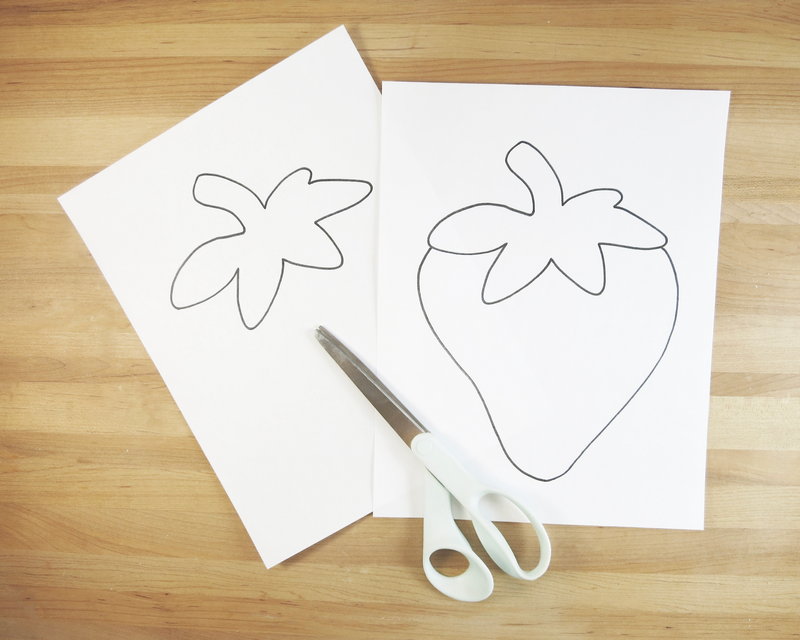
Cut out the strawberry shape and the strawberry top shape templates.
Step 2
Slab
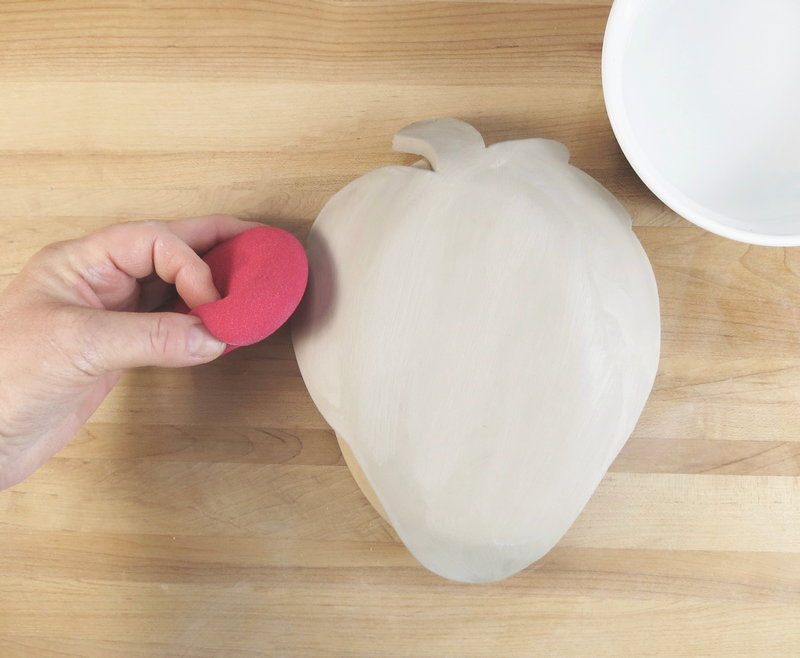
Roll out a 1/4” slab of clay using a rolling pin and measuring sticks.
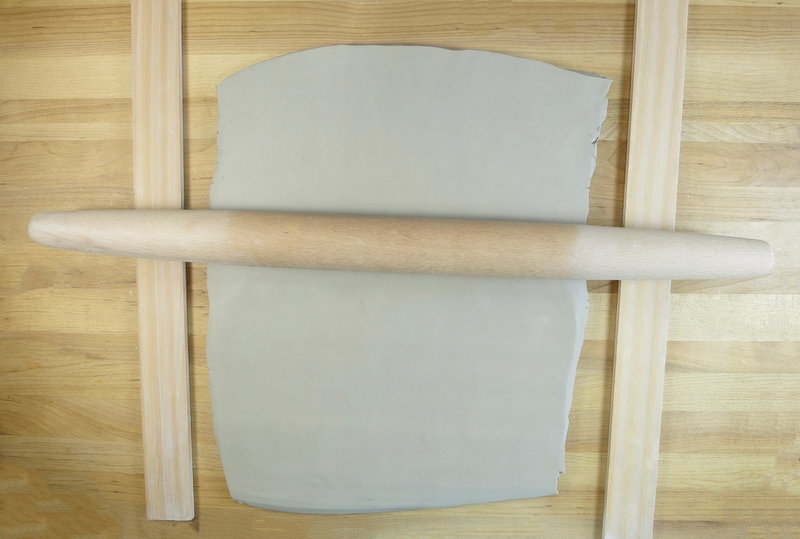
Compress the clay using a rubber rib tool.

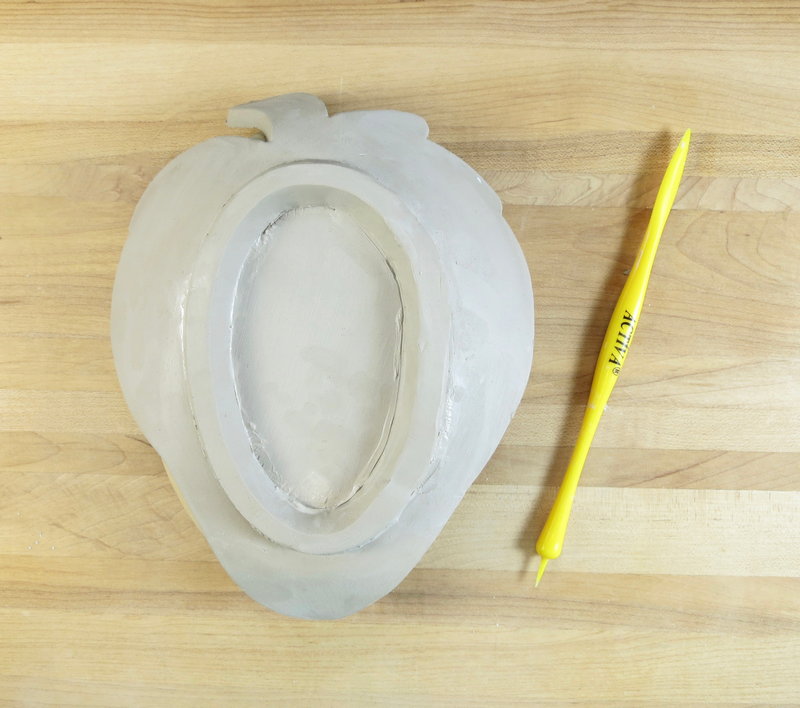
Step 3
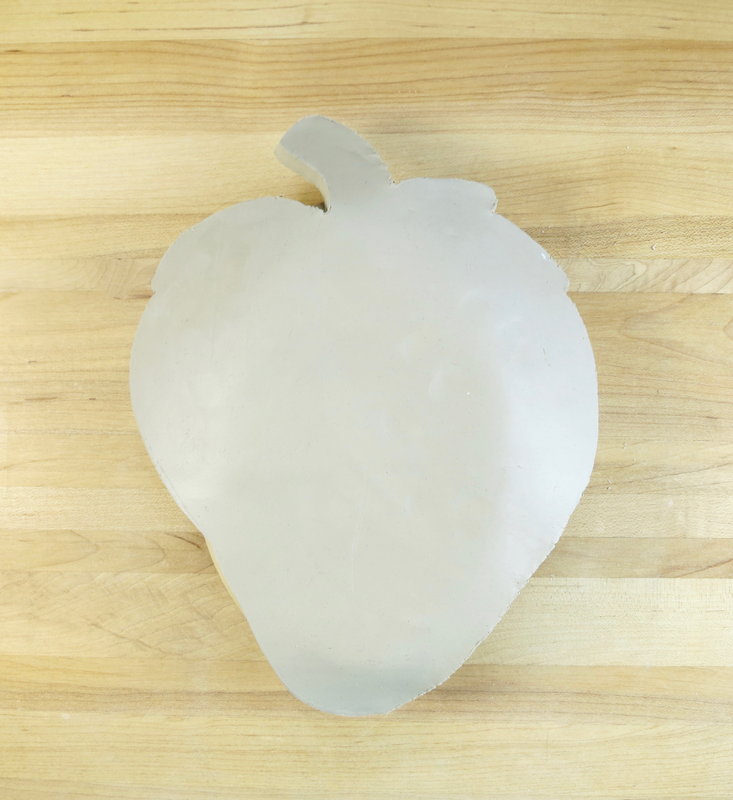
Plate Shape
Place the template on top of the clay slab.
Use a needle tool to cut around the template.
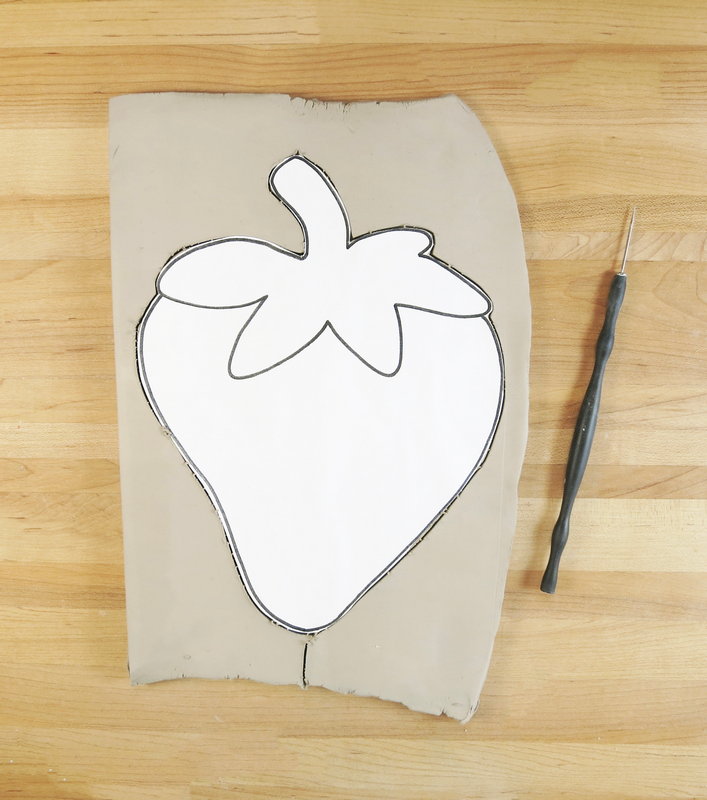
Remove the excess clay from around the template.
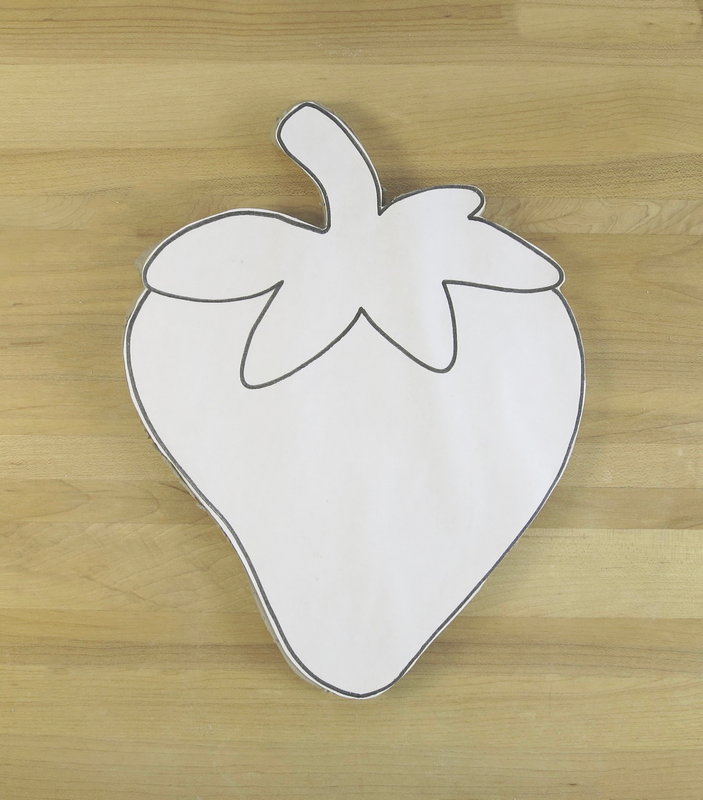
Remove the paper template and discard.
Step 4
Drape
Take the oval shape drape form and slightly elevated it off of the work surface using a block.
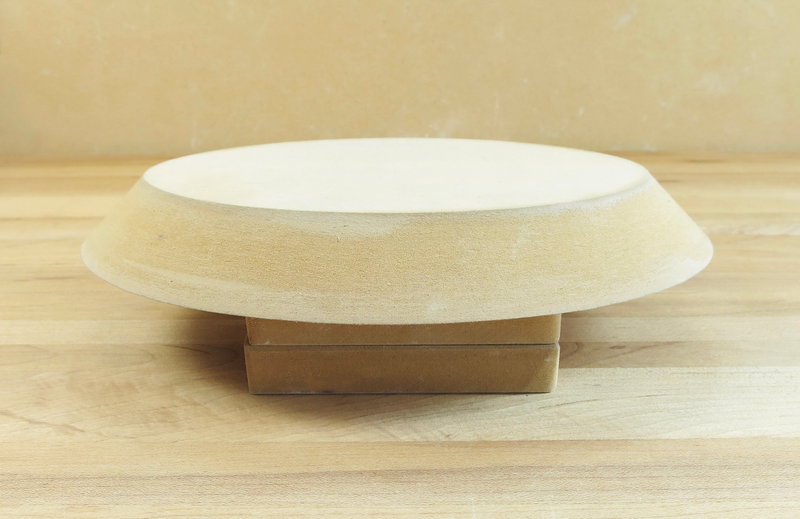
Place the strawberry shaped slab of clay over the form.
Gently press down the clay slab around the oval form below using hands and a damp sponge.
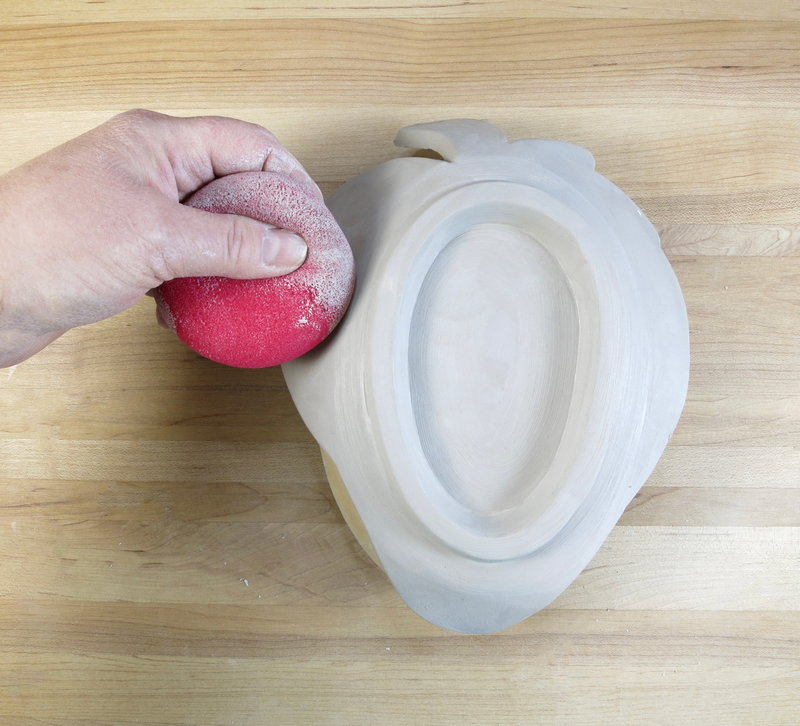
Step 5
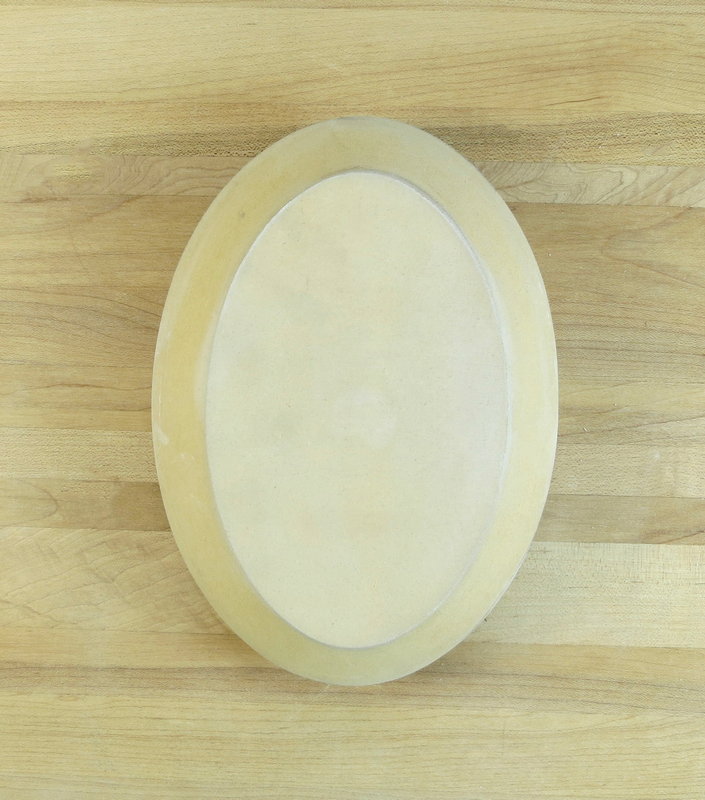
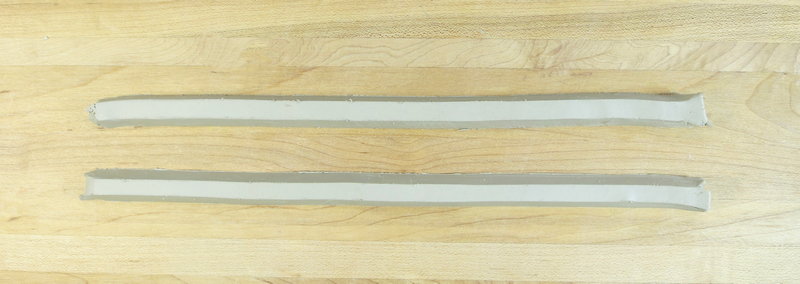
Foot Ring
Use the foot maker tool to cut two strips of clay from the remaining 1/4” flat slab of clay.
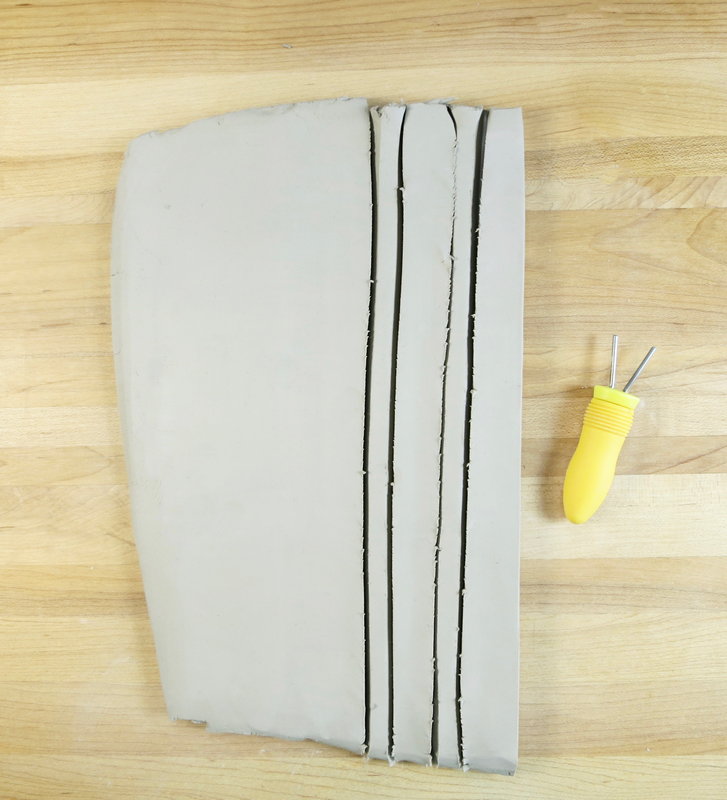
Place the clay strips onto the bottom of the dish to form an oval shape.
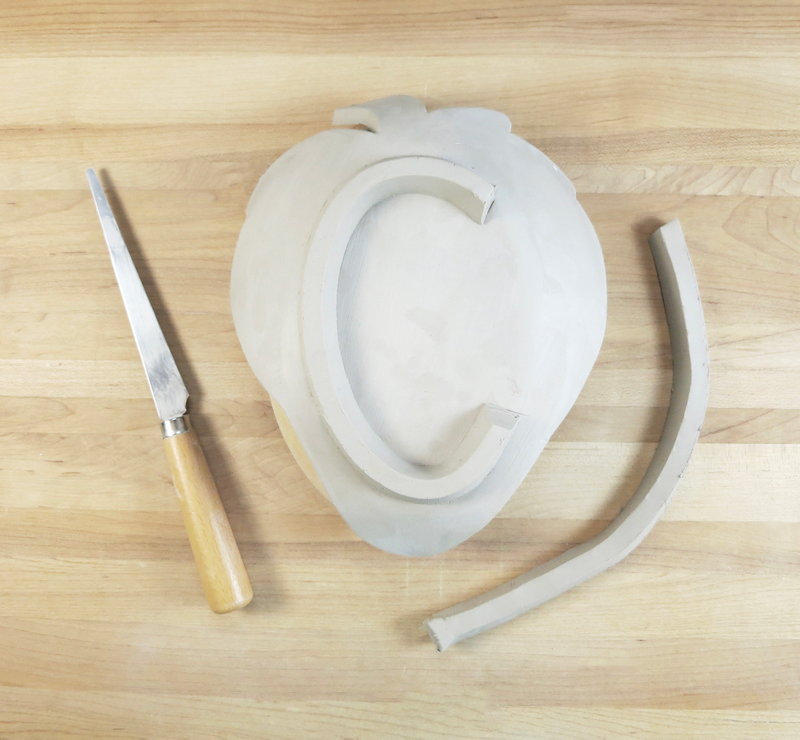
Cut off the excess clay when finished measuring the oval shape.
Score the areas to be joined together using the serrated edge tool.

Apply clay slip over the scoring lines.
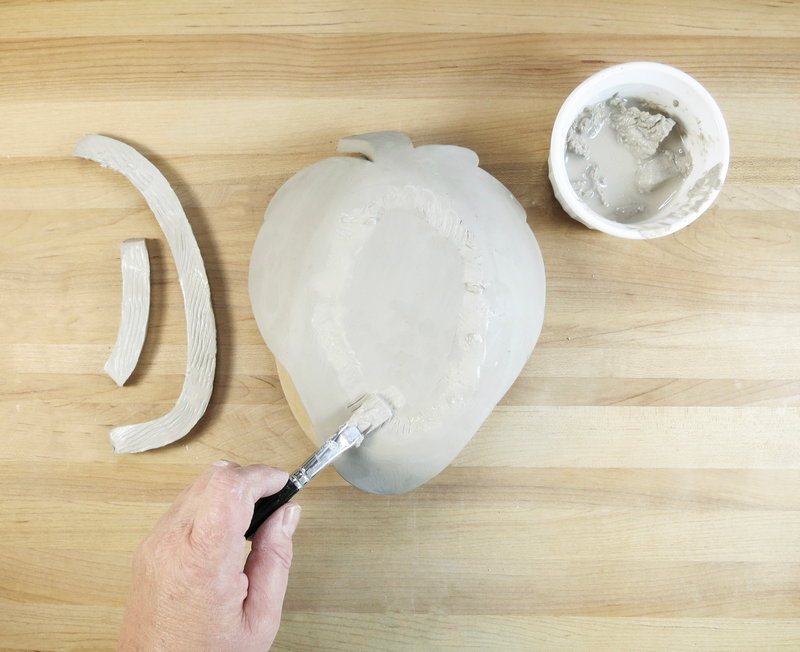
Join the foot ring onto the bottom of the dish.
Smooth the two pieces together with the modeling tool and a damp sponge.
Step 6
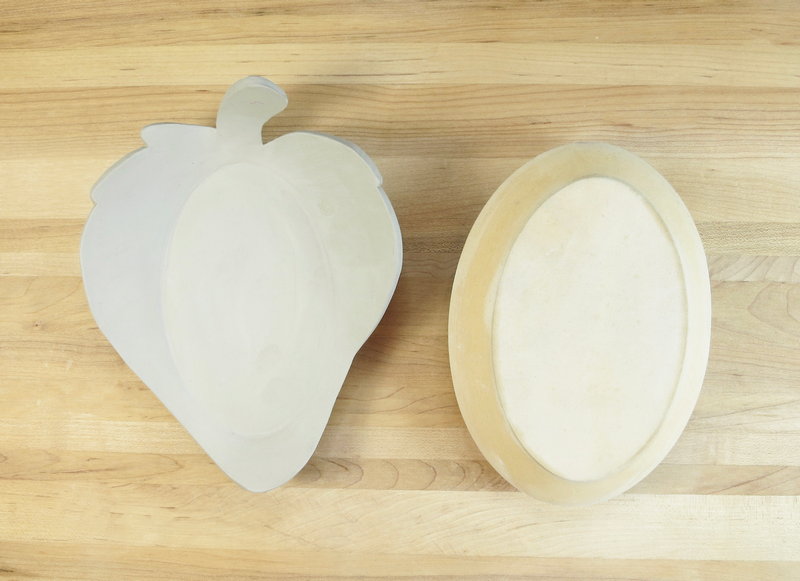
Leather Hard
Allow the clay to become leather hard.
Once leather hard, remove the clay dish off of the drape form.
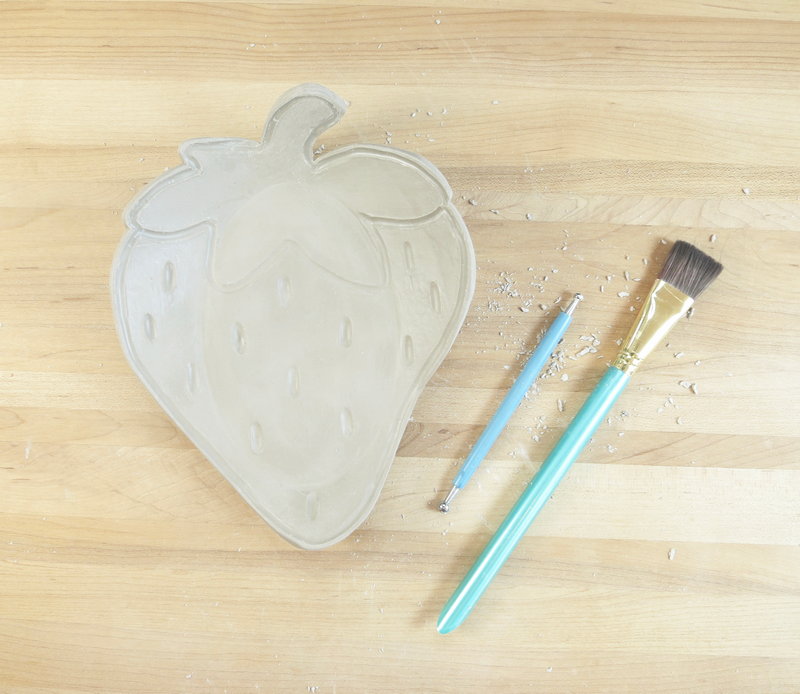
Step 7
Details
Place the strawberry top template on top of the clay dish. Trace the template using the needle tool.
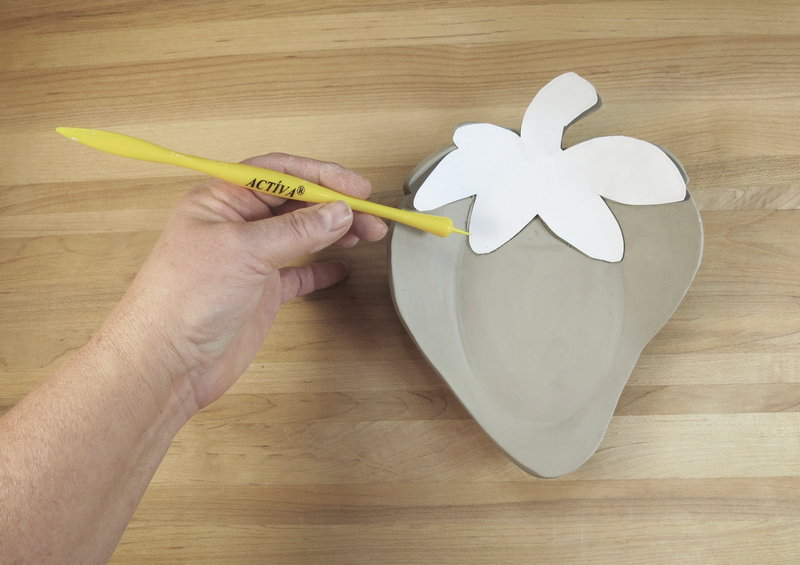
Remove the template and discard.
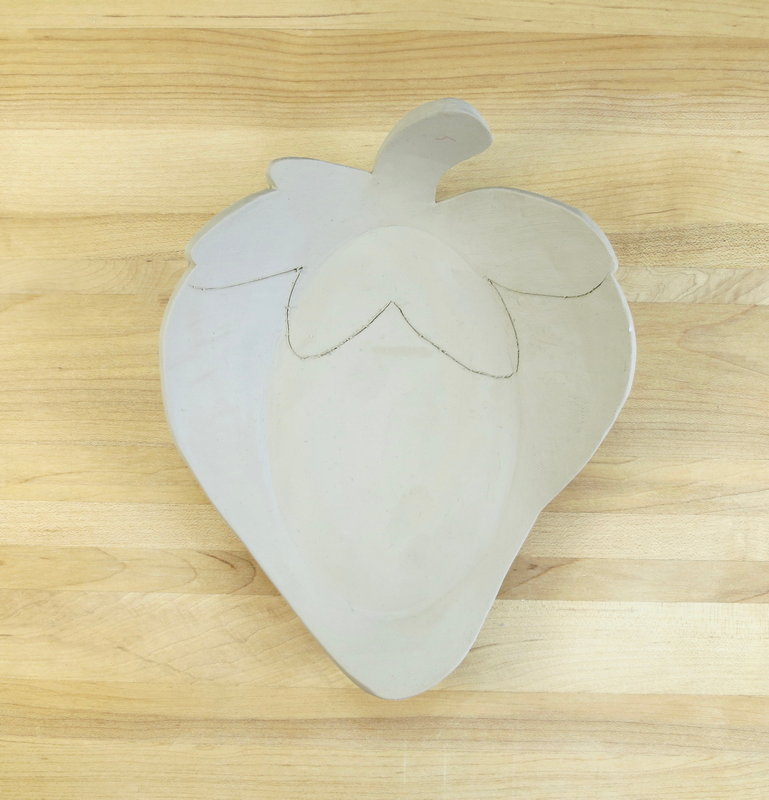
Outline the strawberry top with a ball stylus tool.
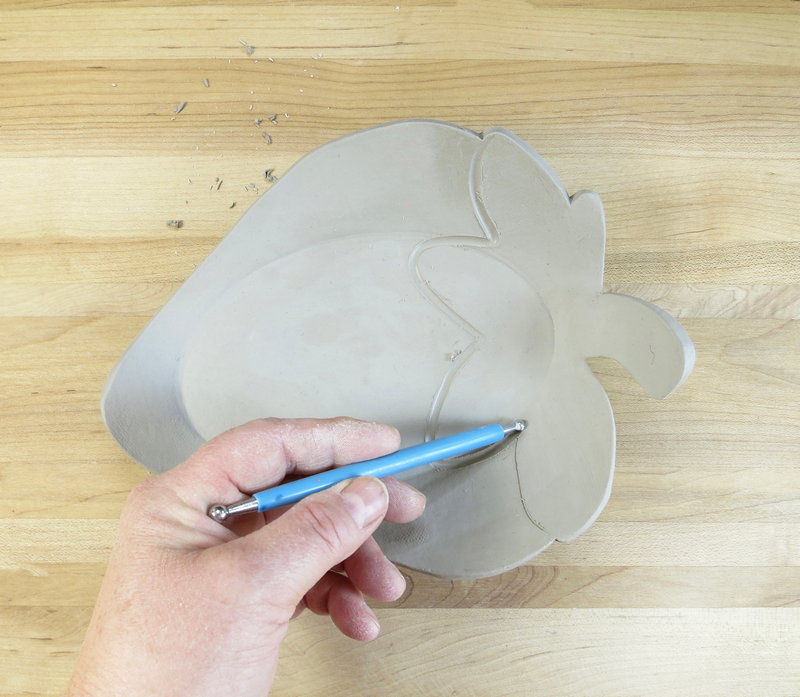
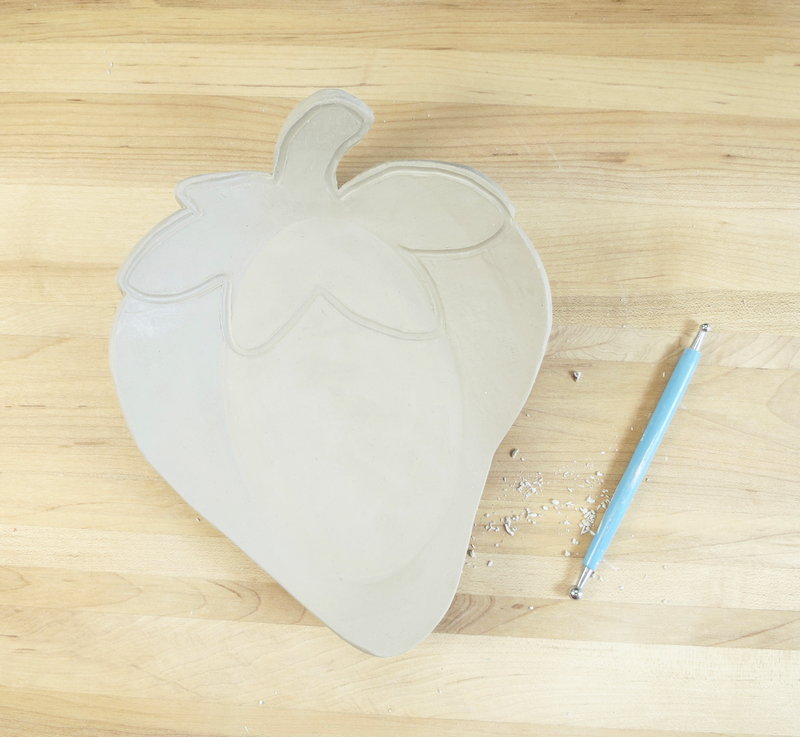
Continue using the ball stylus tool to outline the border of the strawberry shape.
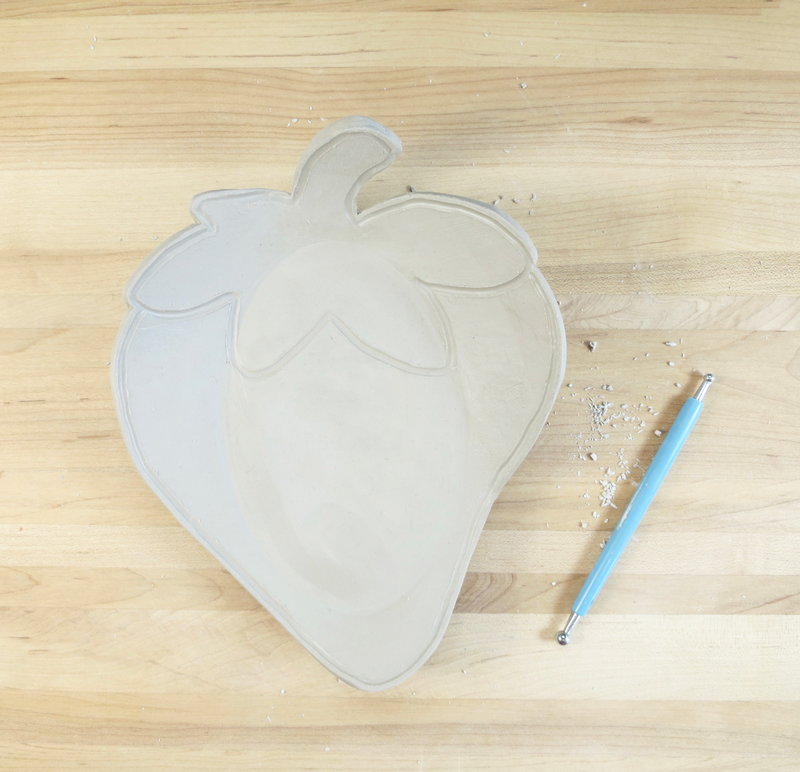
Use the same tool to mark the strawberry’s seeds.
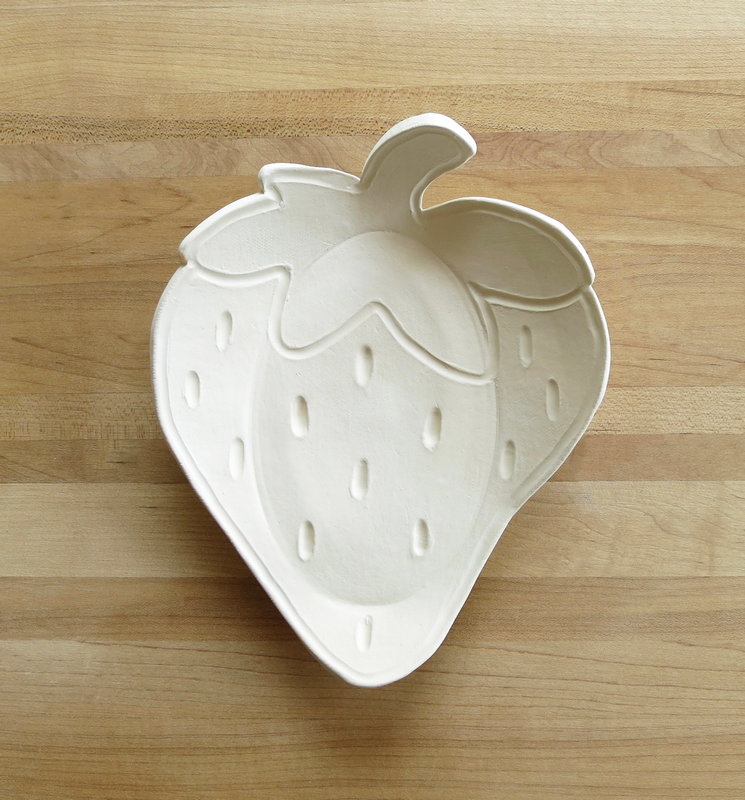
Step 8
Dry
Allow clay to fully dry. Drying time will vary depending on temperature and humidity.
*TIP: To minimize warping, drape a plastic bag over the clay plate and allow the clay to dry slowly.
Step 9
Bisque Fire
Fire clay in the kiln to cone 04.
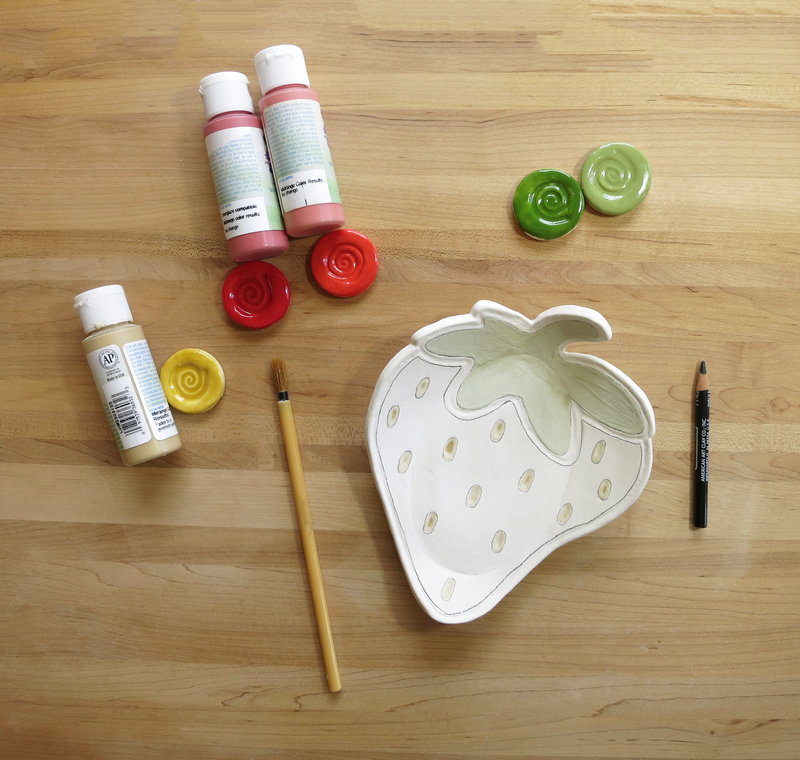
Step 10
Glaze
Apply glaze according to manufacturer’s directions.
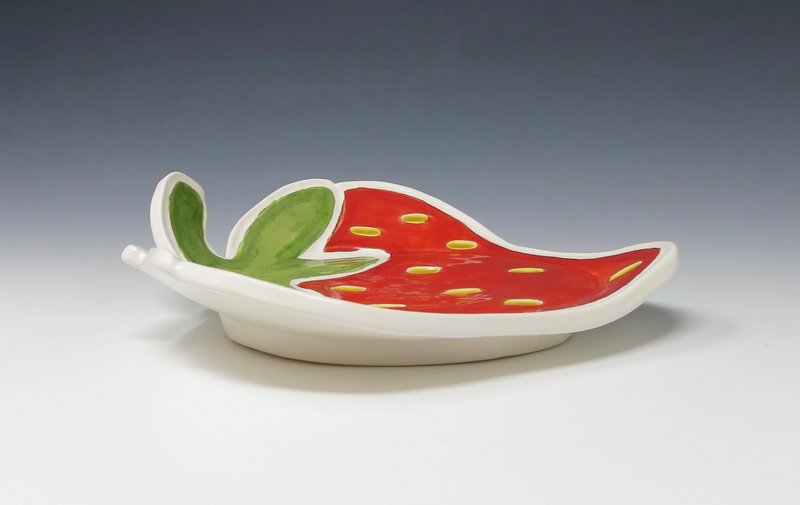
Step 11
Glaze Fire
Fire the glazed piece in the kiln. Follow manufacturer’s firing guidelines to cone 05-06.
TEMPLATES
Click images to download.