Supplies Needed:
- SIO-2® TOFFEE - Caramel Stoneware Clay with Impalpable Grog
- Rolling pin
- 1/2” measuring sticks
- 7” diameter circle template
- Needle clay tool
- Texture tools
- Activ-Tools: Clay Cutters Set
- Sponge
- Water bowl
- Activ-Tools: Clay Tools Set
- Mid fire glaze
- Brush
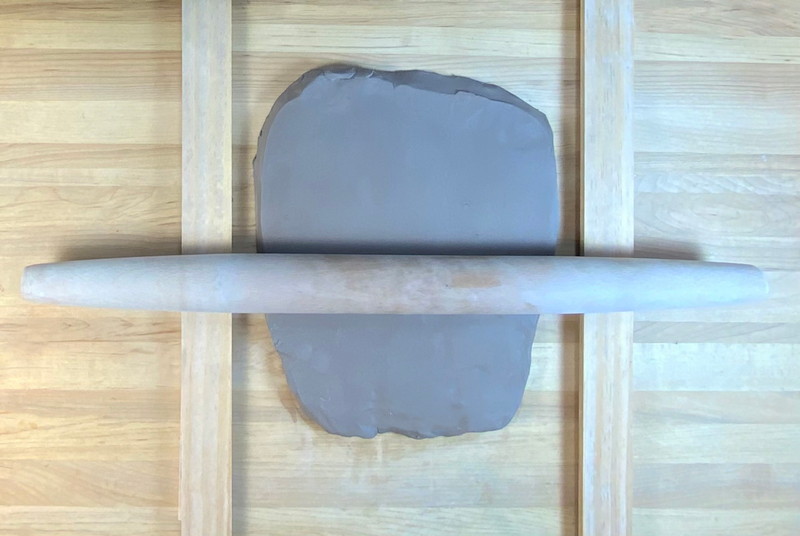
Step 1
Clay Slab
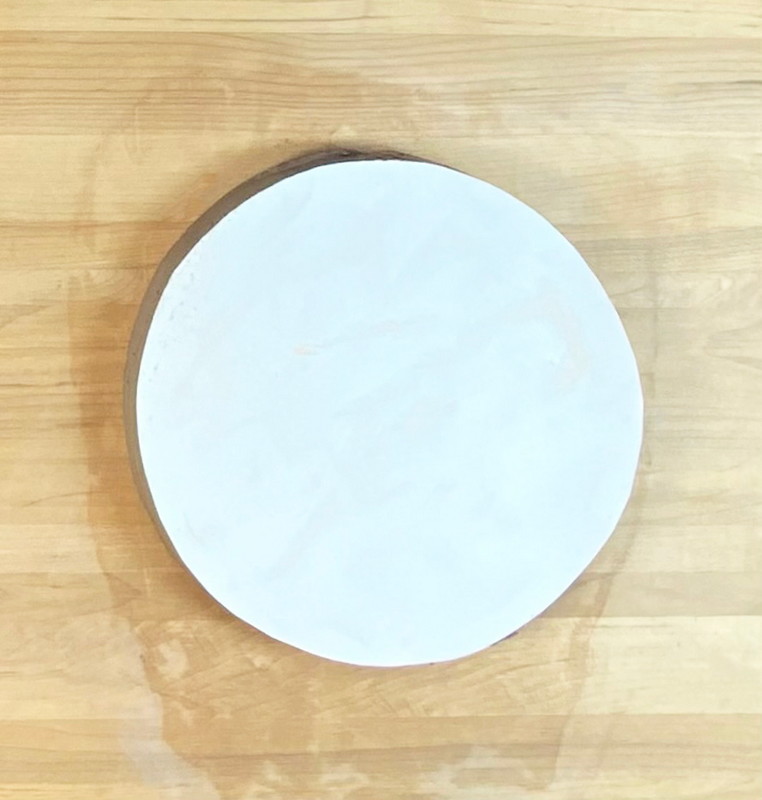
Roll out a 1/2” slab of clay using a rolling pin and measuring sticks.
Step 2
Trivet Shape
Place the circle template on top of the clay slab.
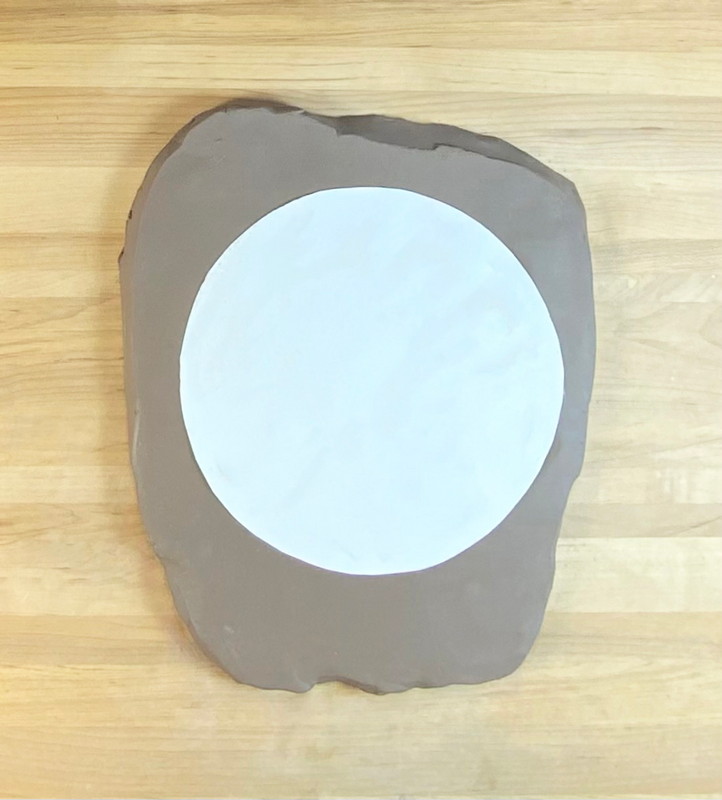
Cut out the circle shape using a needle tool.
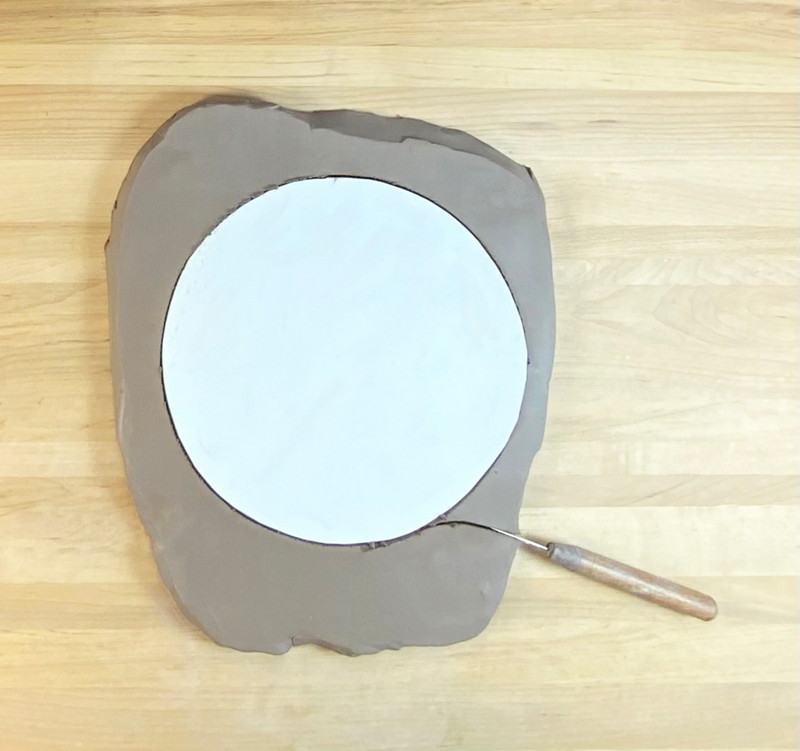
Remove the access clay from around the circle shape.
Step 3
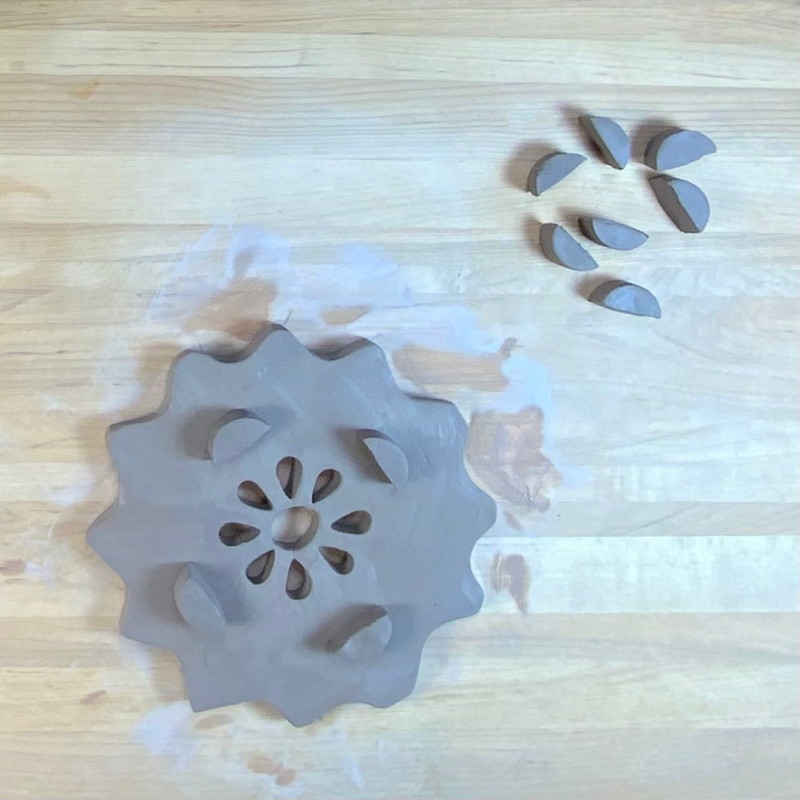
Trivet Design
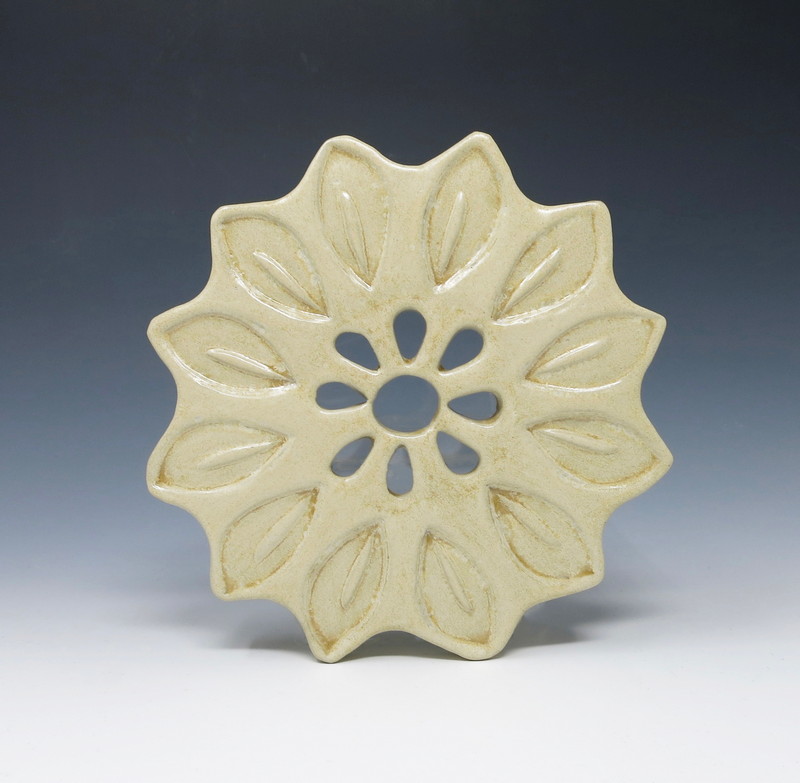
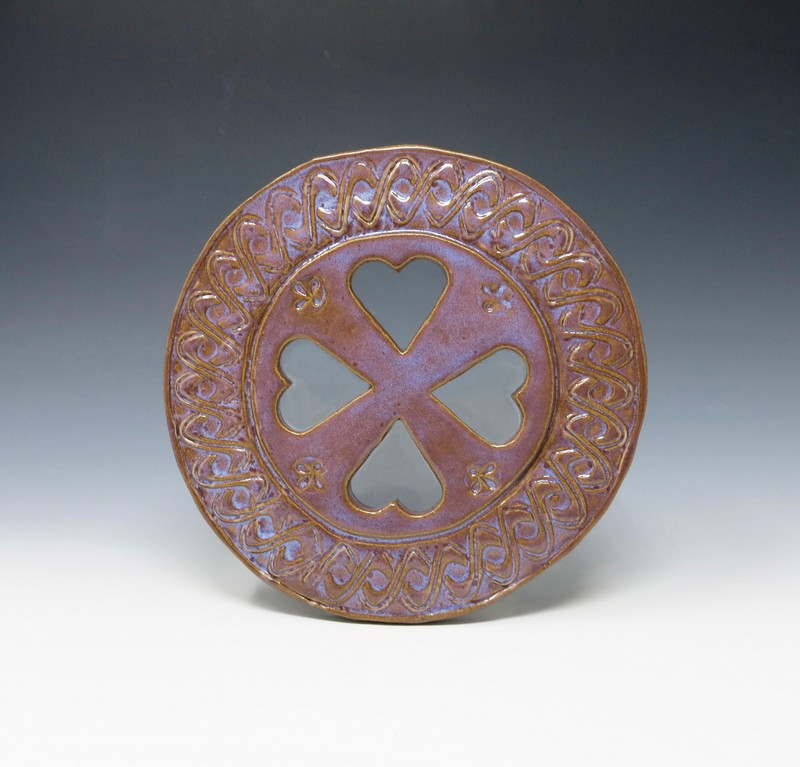
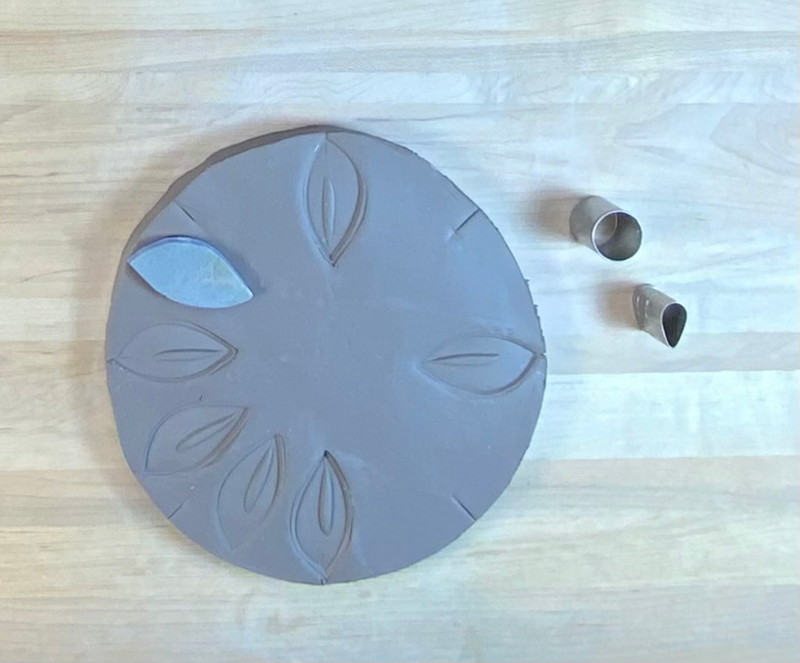
Use the texture tools to indent a design on the clay circle.
Step 4
Air Slots
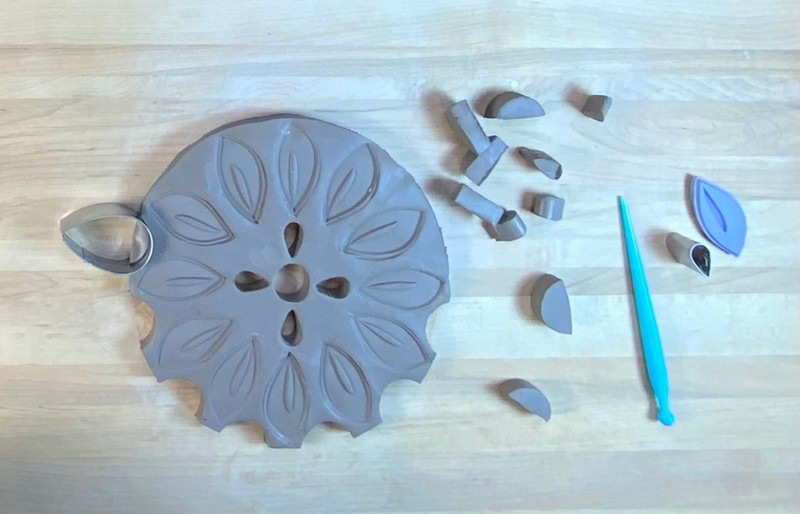
Use the shape cutters to remove clay from the center of the circle shape.
This will create open slots for the air to circulate when a hot objects is placed onto the trivet.
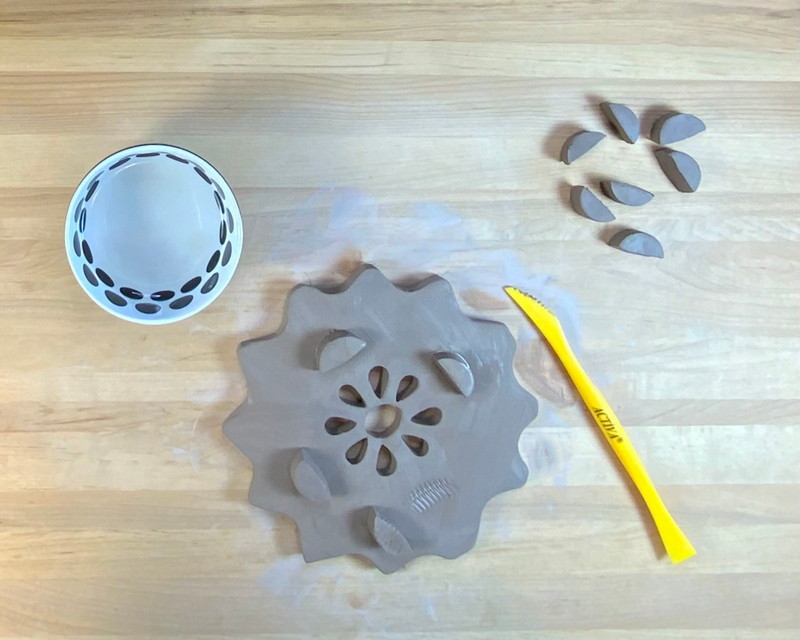
Step 5
Smooth
Use a damp sponge to smooth out any rough areas around the edges of the clay.
Step 6
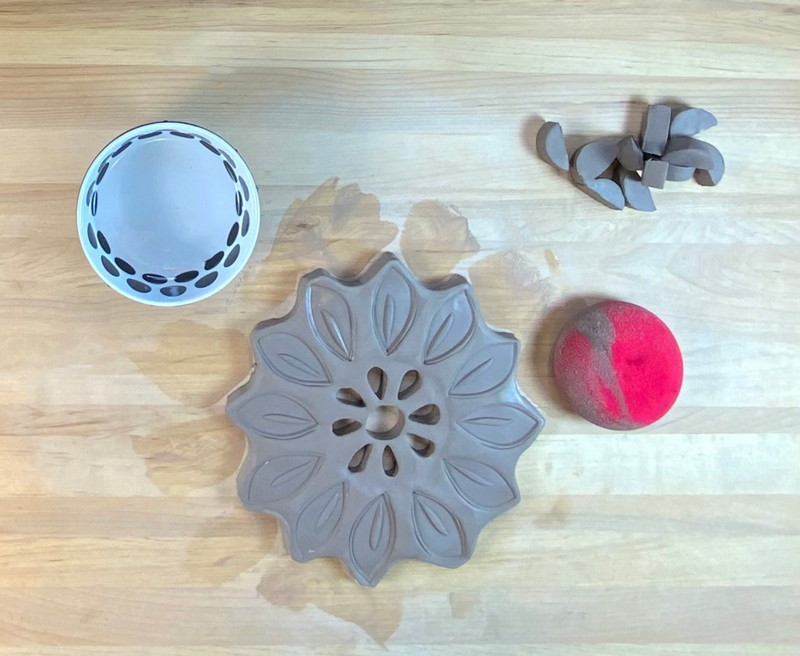
Feet
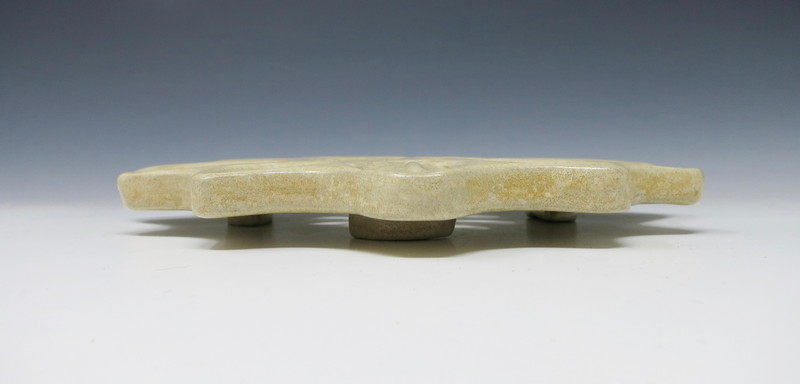
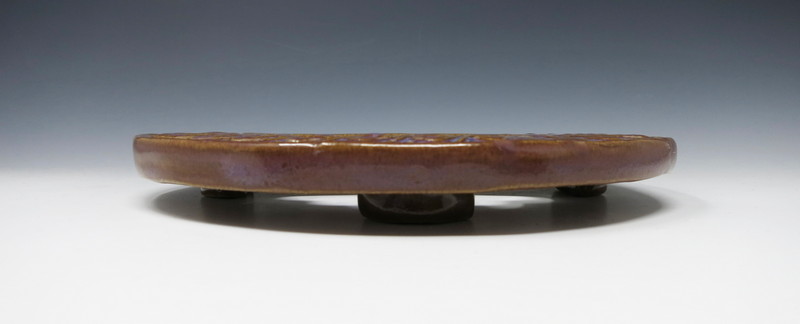
Use the clay cutouts to create the trivet’s feet. Place the clay pieces evenly spaced on the back of the design.
Score each of the clay pieces, add a little water over the score marks and attach them onto the clay trivet.
Step 7
Dry
Allow the clay to fully dry. Drying time will vary depending on temperature and humidity.
*TIP: Drying the clay between two plaster boards will help the clay dry flat.
Step 8
Bisque Fire
Fire the clay trivet in the kiln to cone 04.
Bisque: Cone 04 (1915ºF)
Step 9
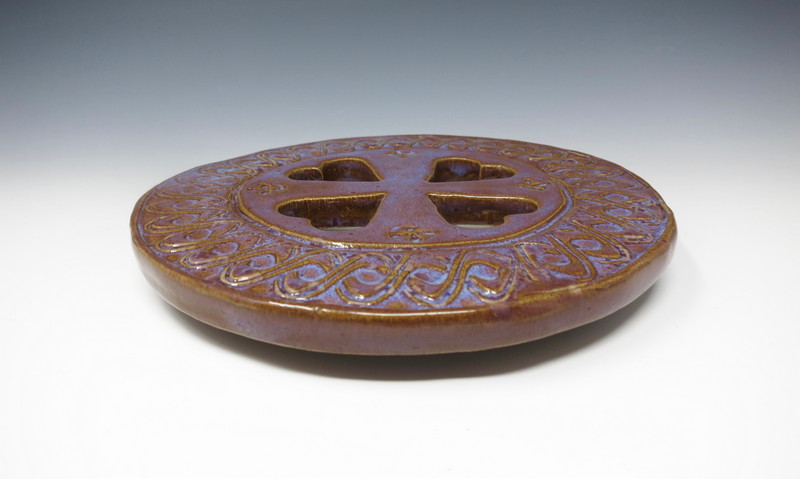
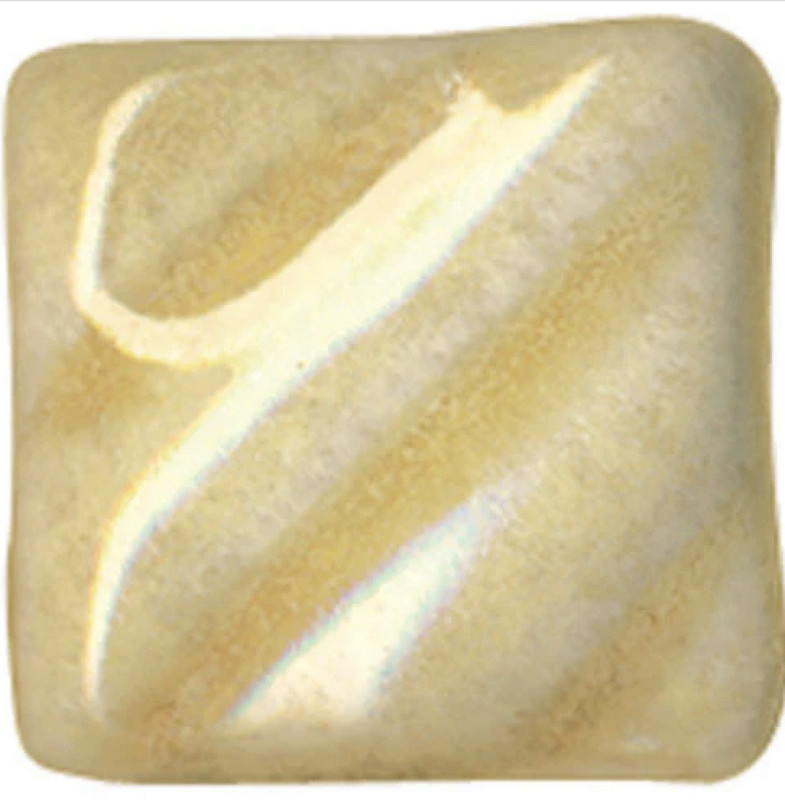
Glaze
Apply glaze to the bisque clay according to manufacturer’s directions.

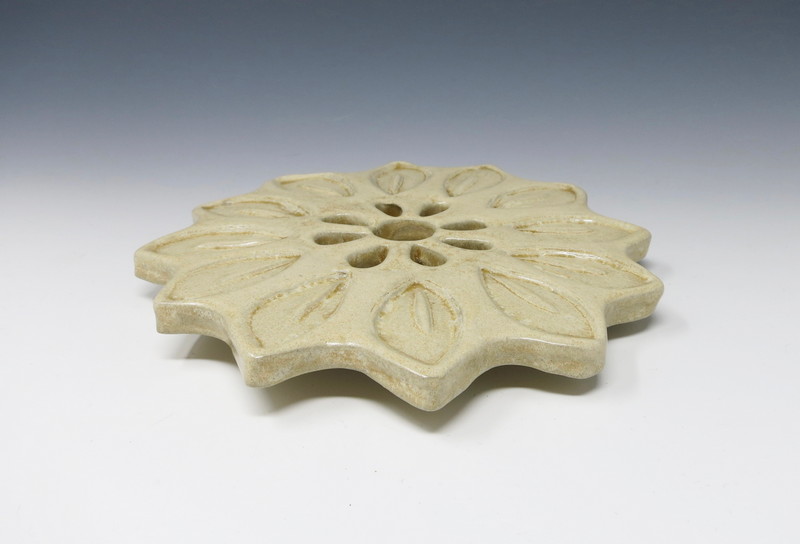
*NOTE: This trivet was glazed with Amaco Potter's Choice Glaze 31 - Oatmeal
Step 10
Glaze Fire
Fire the glazed piece in the kiln. Follow manufacturer’s firing guidelines.
Firing range: 1200-1300ºC / 2192-2372ºF / Cone 5-10