OVERVIEW
Let's create a mask from a person's face. You can ask a friend, family member or subject to sit very still in a chair or lay down on the floor while you perform the following tasks. I highly recommend preparing all materials before beginning to apply Sandtastik's Rappit Plaster Molding Cloth to your subject.
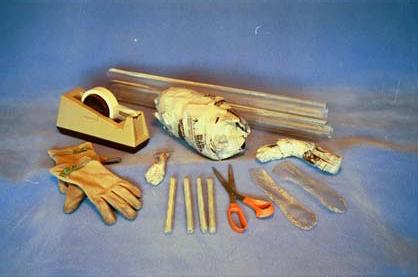
Supplies
- Rappit Plaster Molding Cloth 4" x 15' Roll
- Soft Tissue or Gauze
- Petroleum Jelly
- Decorative Paints
- Crayons
- Colored Pencils
- Scissors
- Water Bowl
- Sandpaper
- Brushes
DIRECTIONS
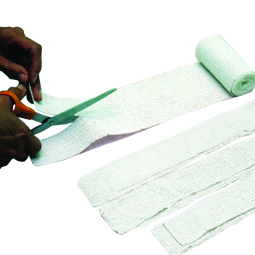 STEP 1 Cut Rappit Plaster Molding Cloth into thin strips and set aside. 5 cm (2") wide x 30 cm (12") long.
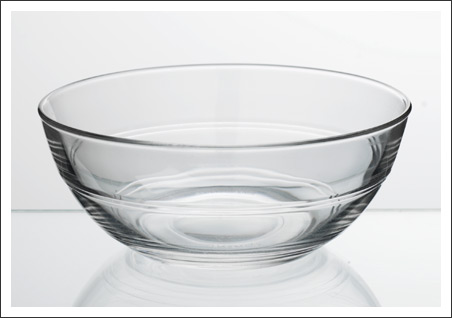 STEP 2 Pour cool water into a wide bowl to a depth of about 1".
NOW YOU'RE READY FOR YOUR FACE
 STEP 3 Cover subject's eyes with soft tissue or gauze. Prepare desired surface of face with a thin layer of petroleum jelly.· This will help to remove finished casting with ease and make clean up a snap.
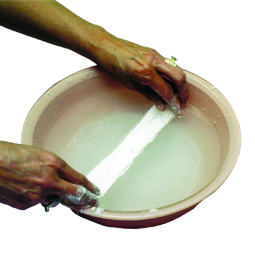
STEP 4 With wet hands, dip a strip of Rappit Plaster Molding Cloth into cool water and place onto subject's face.
HINT: Start with area over the eyes to ensure that tissue or gauze stays in place properly
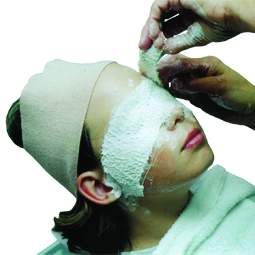 STEP 5 Repeat this process, slightly overlapping previously laid strips, until you obtain desired size and shape.
WARNING: DO NOT COVER NOSTRILS
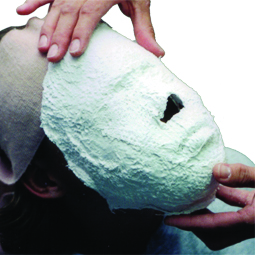 STEP 6 Let dry for a few minutes before attempting to remove from surface. Once removed, shape/finish nose area.
HINT: You can encourage texturizing/smoothly of plaster surface by gently gliding over surface with wet finger tips.
HINT: You can strengthen mask by adding more Rappit Plaster Molding Cloth strips to the inside of mask so as not to distort facial features.
 STEP 7 (Optional) Can be air cured or placed in microwave to dry. (30 sec. intervals)
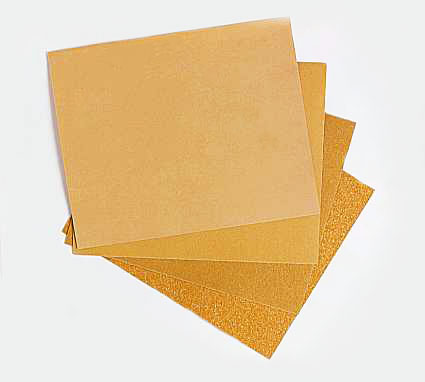 STEP 8 (Optional) Once mask is thoroughly dry, use a fine grit sandpaper and gently sand surface to desired finish.
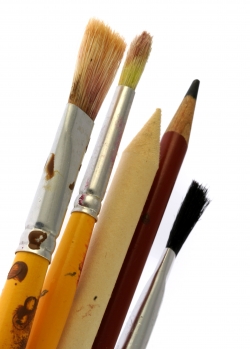 STEP 9 (Optional) Paint and decorate!

STEP 10 (Optional) Feel free to add accessories for a personal touch.