Baby Belly Cast
By Marisa Pawelko

Summary:
Commemorate your impending bundle of joy with a plaster cast of your beautiful baby bump! Makes a perfect project to create with the father to be as a way of bonding before the baby makes her debut! Customize it with colored paint and embellishments to match the nursery decor!
What’s Needed:
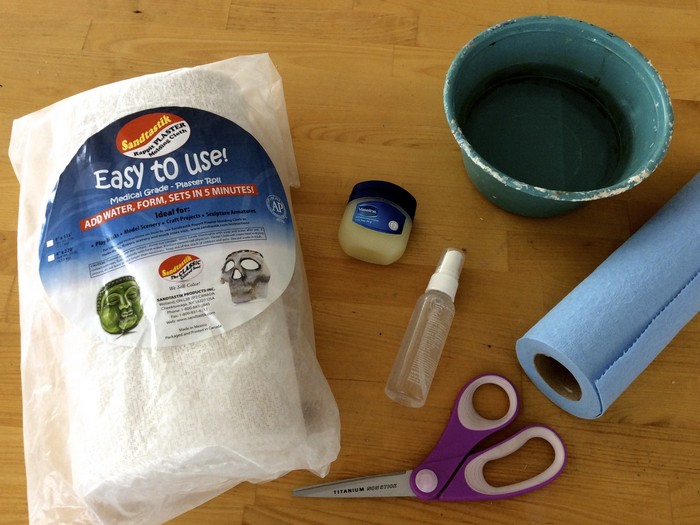
- Sandtastik Rappit Plaster Molding Cloth
- Permastone Break Resistant Casting Material
- Bowl of Warm Water
- Spray Bottle of Warm Water (optional)
- Scissors
- Craft Paint
- Embellishments
- Paintbrush
- Paper Towels
- Permanent Glue
- Grommets
- Wire
- Petroleum Jelly
- Sandpaper
To begin making the structure for the belly cast, gather up your supplies as shown.
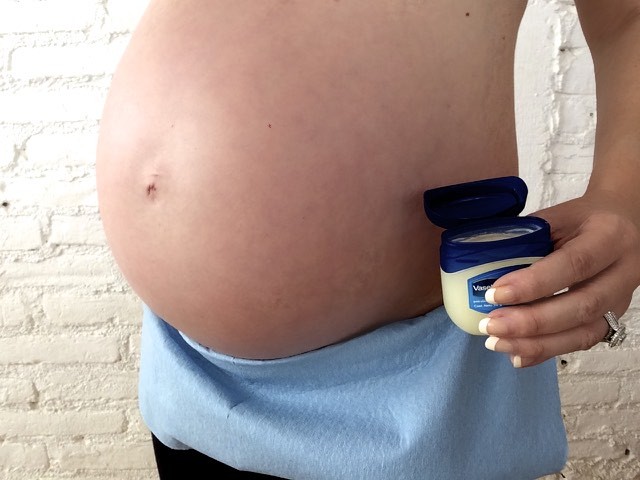
Tuck some paper towels into the waistband of your pants for stain protection. Then apply a thin coating of petroleum jelly to your belly and bust.
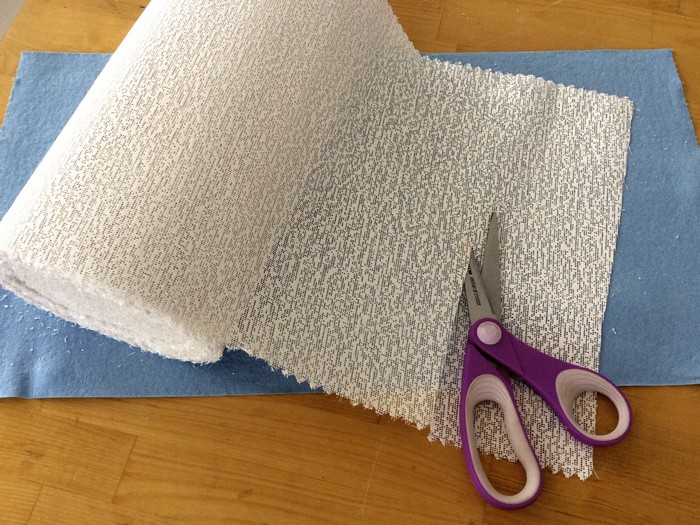
Cut several strips of Sandtastik Rappit Plaster Molding Cloth that are about 4” wide.
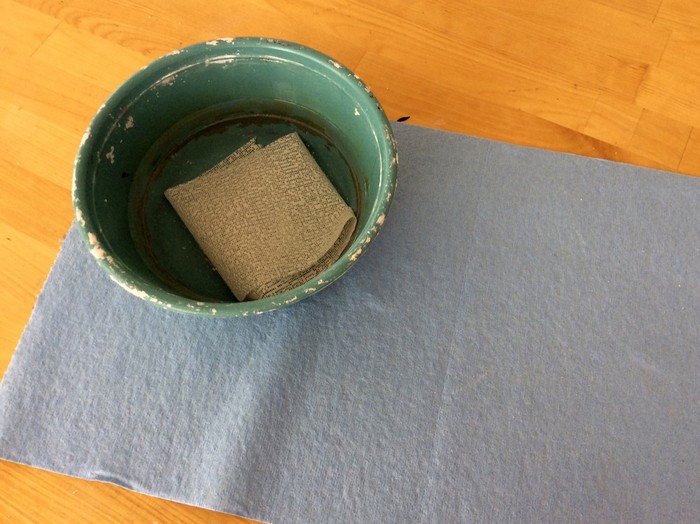
Fill a bowl with warm water.
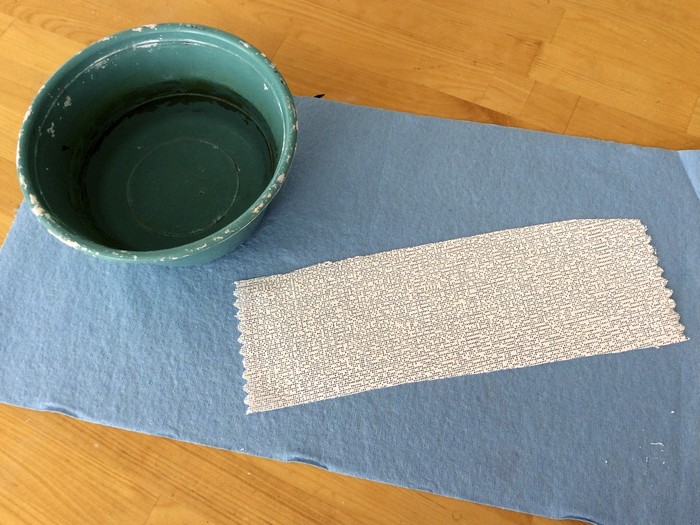
Briefly place the Sandtastik Rappit Plaster Molding Cloth into the water.
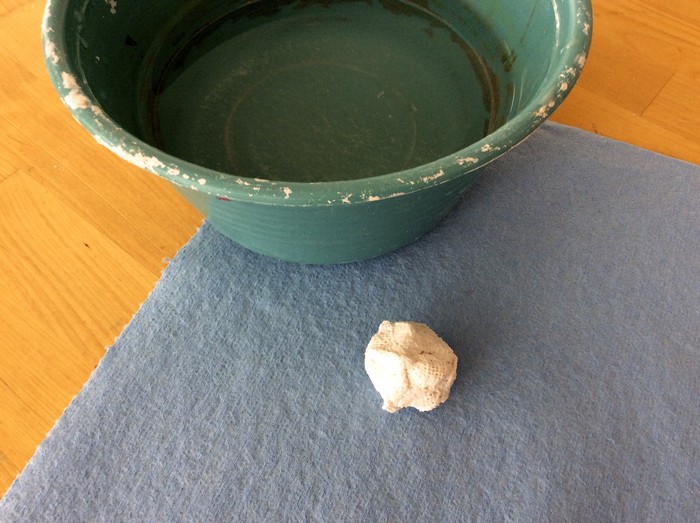
Take the piece out of the water and wring the excess water out by squishing it into a ball.
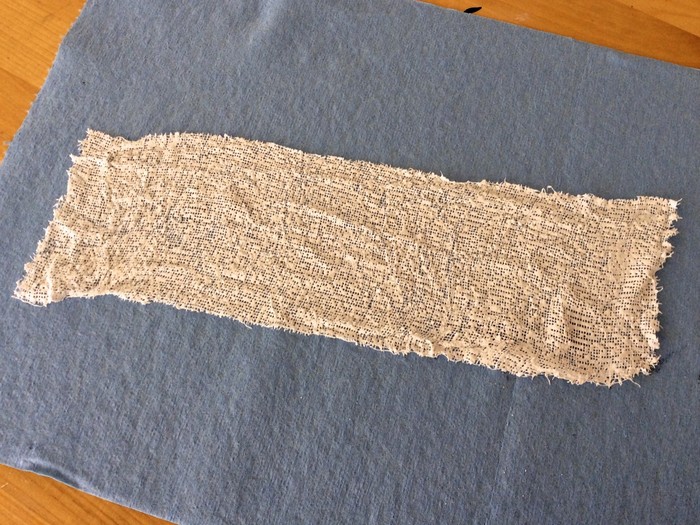
Then spread out the piece as shown.
Carefully lay the piece over your baby bump, smoothing it with your moistened hands.
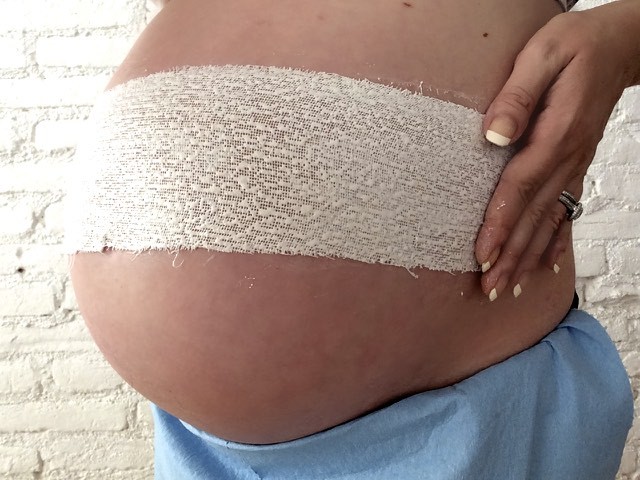
Continue this process until your entire baby bump and bust are covered. As you work, use your moistened hands to blend the edges of the strips together.
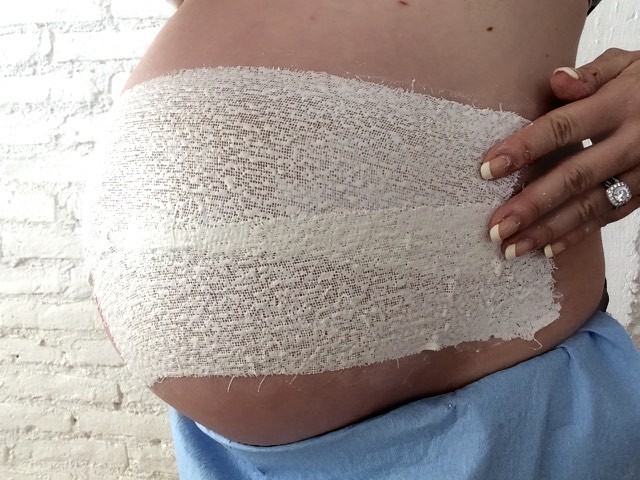
Once you’ve covered your entire baby bump and bust with two layers of strips, step out into the sunshine to speed up the drying process.
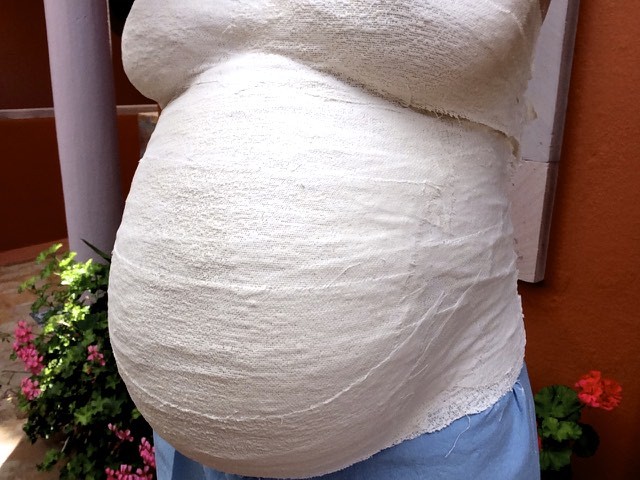
When the cast is dry it will naturally begin to separate from your body. Carefully remove the plaster cast.
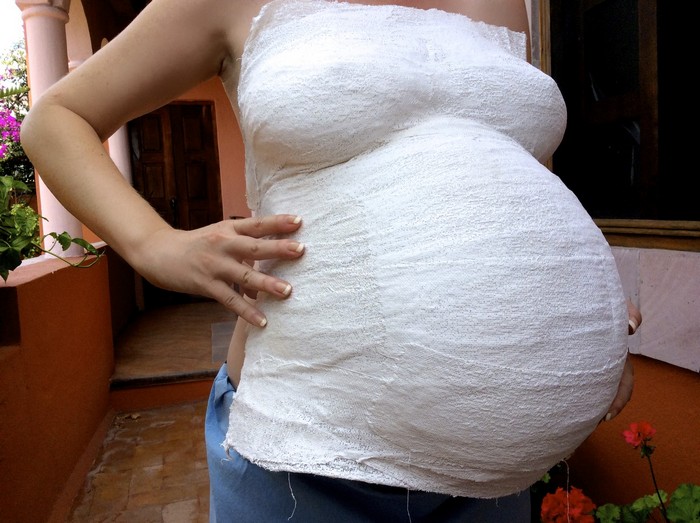
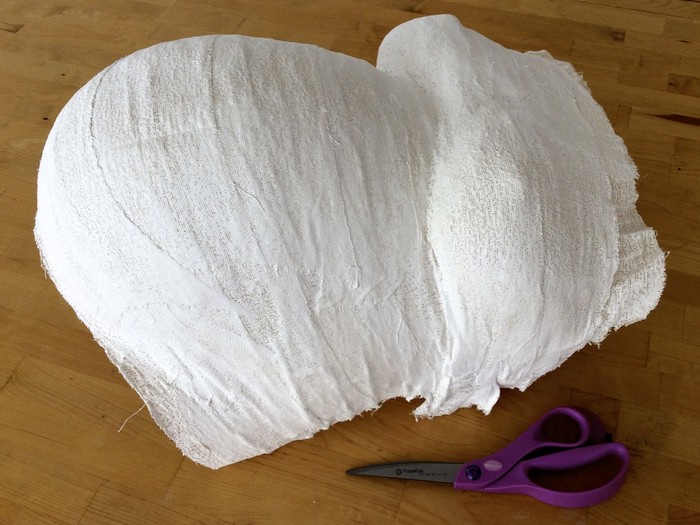
Set the piece in the sunshine to fully dry on the inside.

Once the piece is completely dry, use your scissors to trim away the uneven edges.
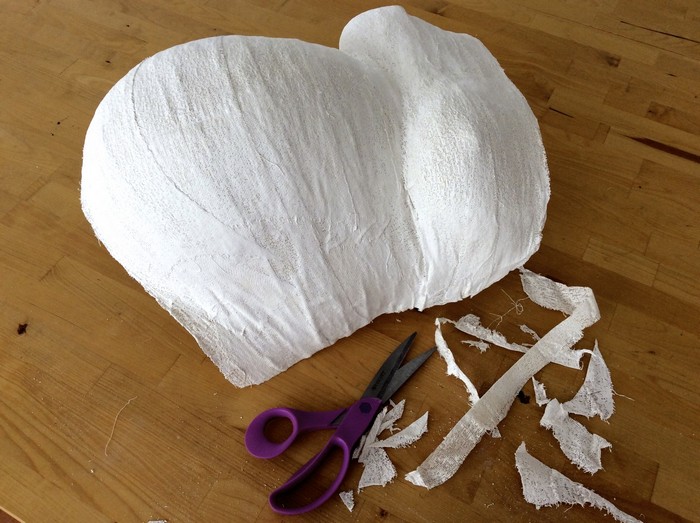
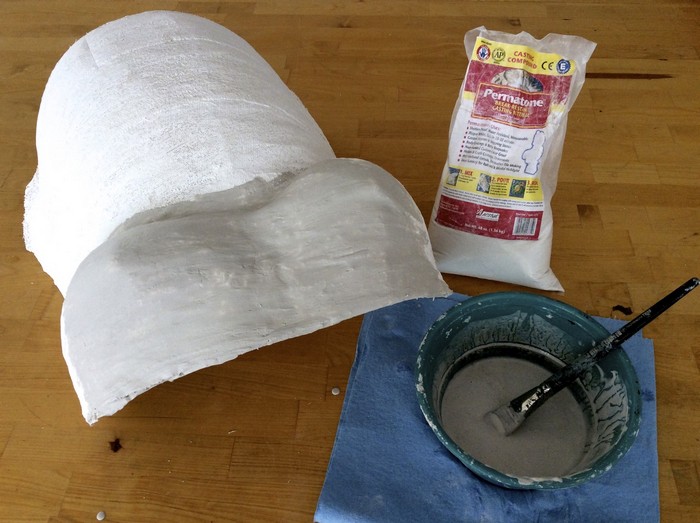
Mix up a batch of Permastone Break Resistant Casting Material by combining cold water with the material. Try to aim for a medium/thin consistency.

Brush a layer of Permastone Break Resistant Casting Material onto the entire outside of the belly cast and set aside to dry.
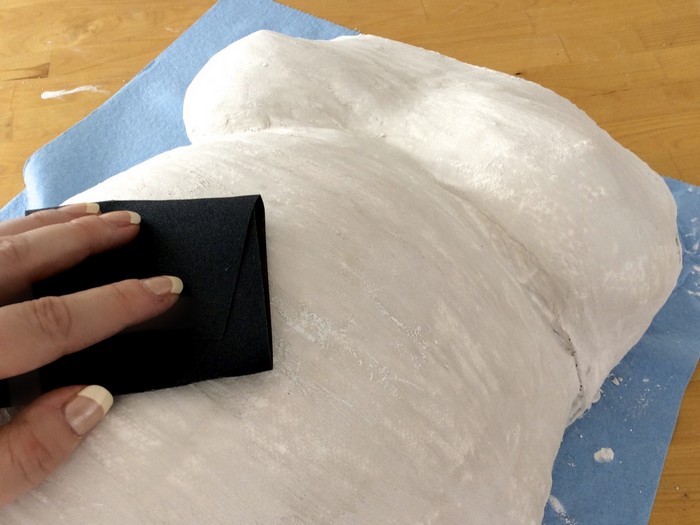
Once dry, smooth out any rough spots with the sandpaper.
Set two grommets onto the back of the piece where the belly meets bust.
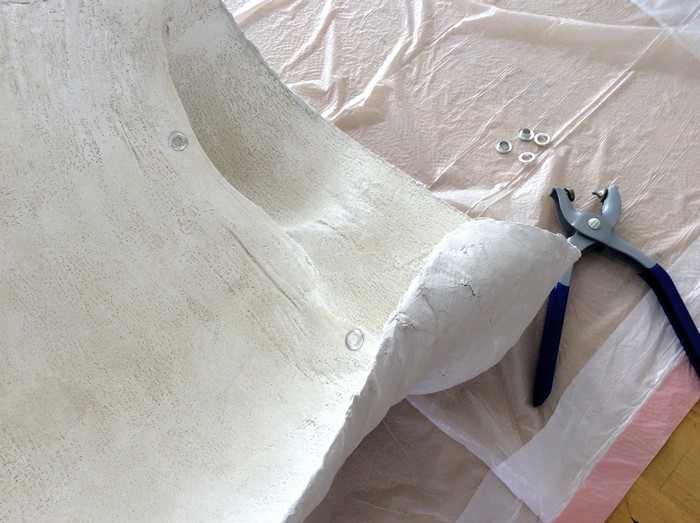
Run and twist a piece of wire through the grommets for hanging.

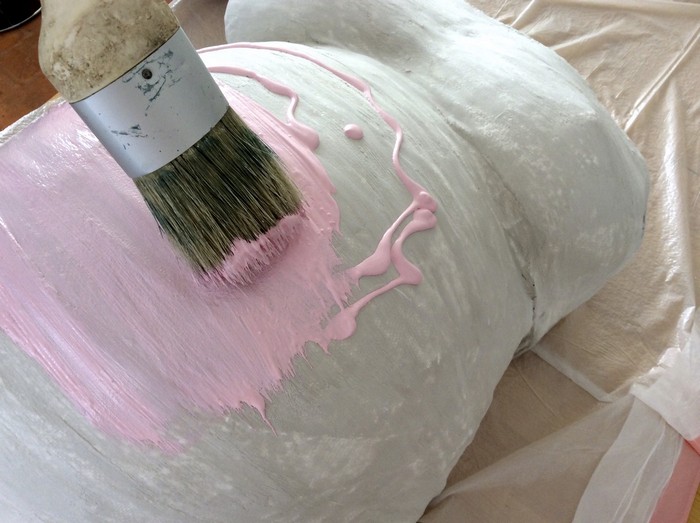
Now you are ready to begin decorating your custom belly cast! Paint the entire belly cast with the color of your choice. Because we are expecting a little girl, we went with a soft baby pink, but feel free to mix it up and make it your own! You can paint it with a picture, designs, add the baby’s name, birthdate, weight or any details you wish to add to celebrate the occasion!
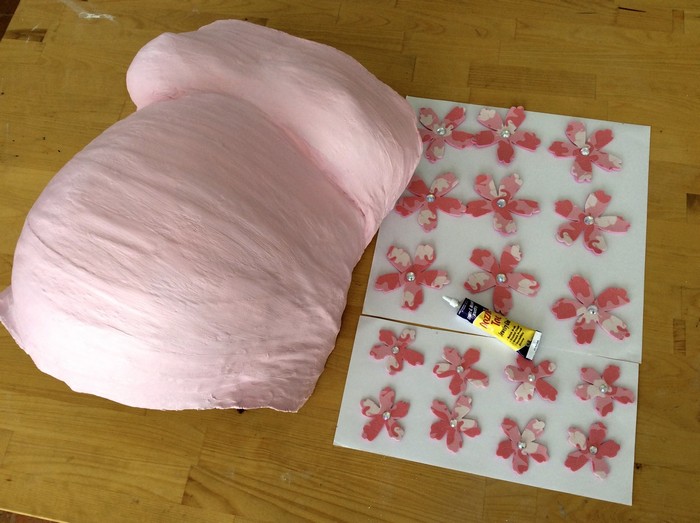
For this belly cast we selected some handmade floral embellishments which we adhered with permanent glue. Other embellishing options could include ribbons, buttons, gems, beads, pearls, trim and more!
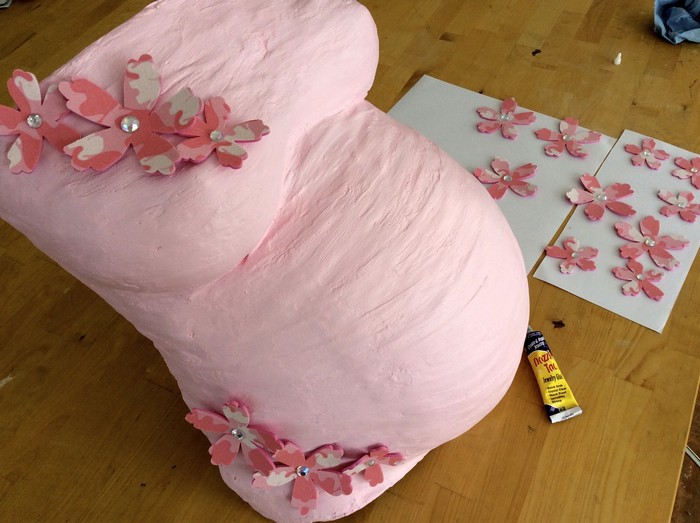
Adhere the embellishments as desired and set the piece aside to dry fully. Once dry hang your beautiful custom creation in the baby’s nursery for a keepsake that will be treasured for years to come!
- ABOUT THE ARTIST -
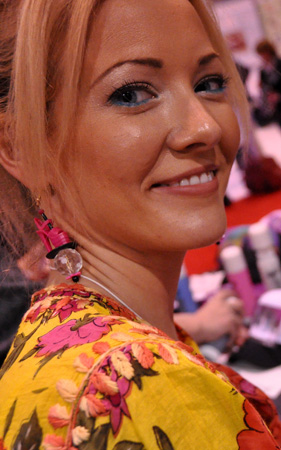
Meet celebrity crafter Marisa Pawelko, winner of the Craft & Hobby Association Indie Craft Contest and the host of “America’s Next Top Crafter™”. Armed with a formal education in furniture design, Marisa used her talents to design products for the gift, toy, fashion and accessories markets before turning her focus to the craft industry. In 2005, sparked with an idea to create a recycled baby memento-keeper out of one of her son’s baby food jars, she founded Modern Surrealist LLC, which quickly developed an international following. Marisa enjoys inspiring crafters on her blog with thrifty project ideas for “upcycling” ordinary objects, into extraordinary custom creations! Her work has been featured by PBS, HGTV, Illinois State Museum and in countless exhibitions and high end boutiques around the world. Modern Surrealist LLC has been providing customers around the globe with individualized and fantastical gifts, crafts and accessories since 2004. Featuring eclectic themes that celebrate your individuality with humor and heart!