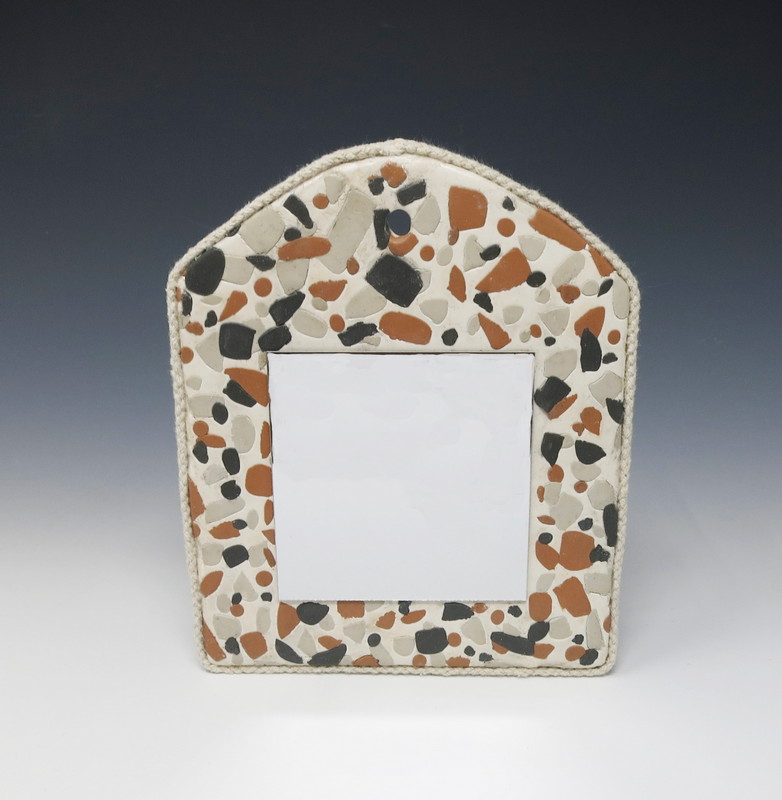
Supplies Needed:
- SIO-2 PLUS Self-Hardening Modeling Clay in bright white, white, terra-cotta, and black
- Activa Clay Rolling Kit
- Canvas or paper towel
- Activa Tools: Clay Tool Kit
- Mirror
- Plastic straw
- Water based sealant
- Square mirror
- Adhesive
- Rope
- Scissors
- Multi-purpose glue
Step 1
Clay Slabs
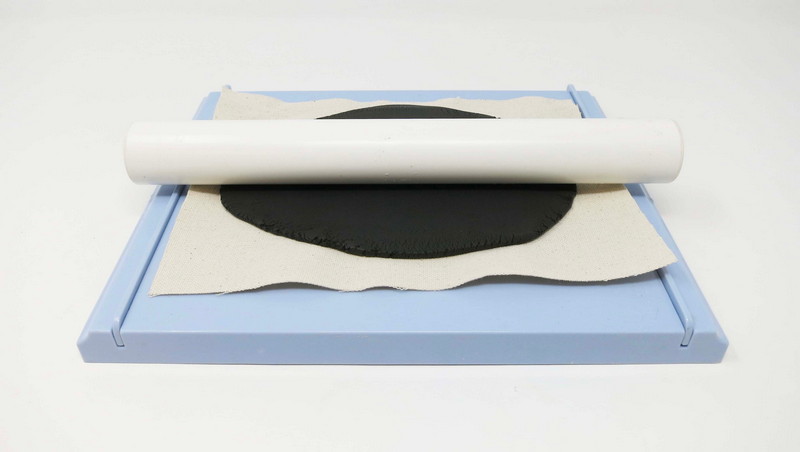
Roll one 1/4” slab of bright white clay using the rolling kit.
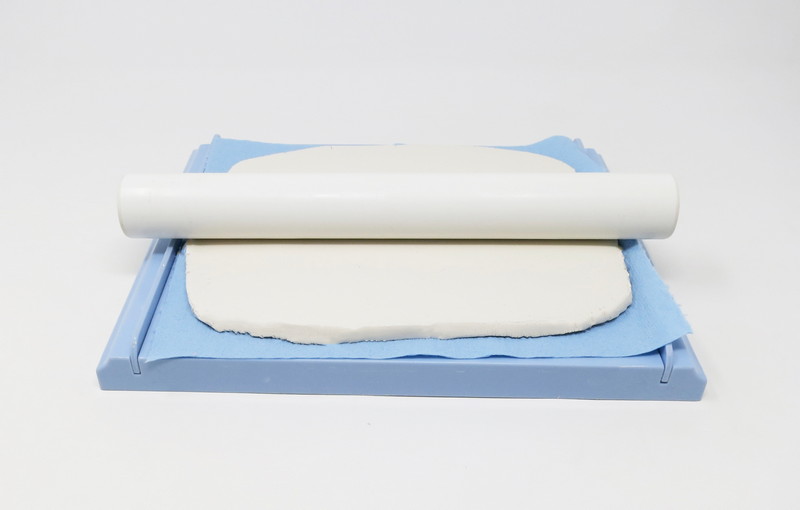
*A piece of canvas or paper towel may be used to avoid the clay from sticking to the surface.
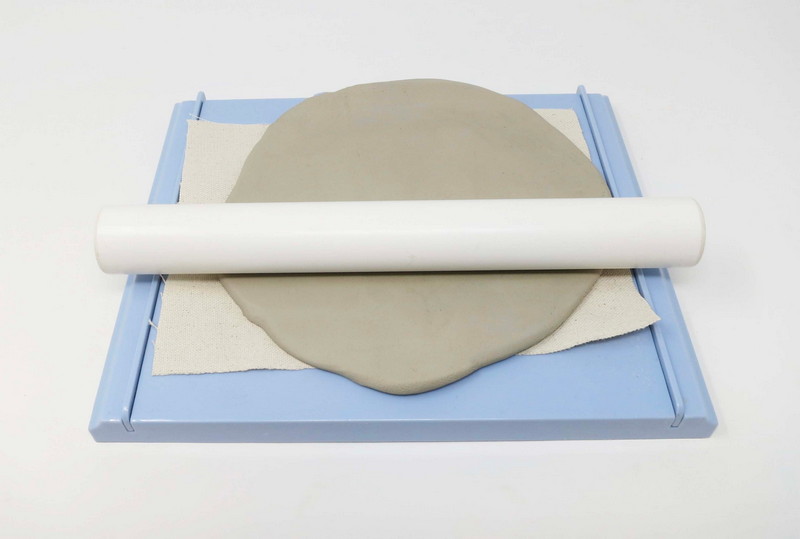
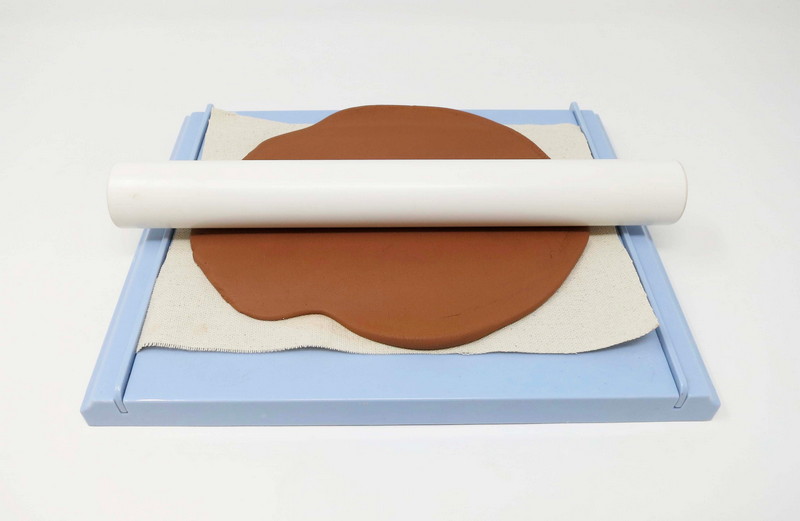
Roll a 3/16” slab of the white, terracotta, and black clays.
Step 2
Clay Pieces
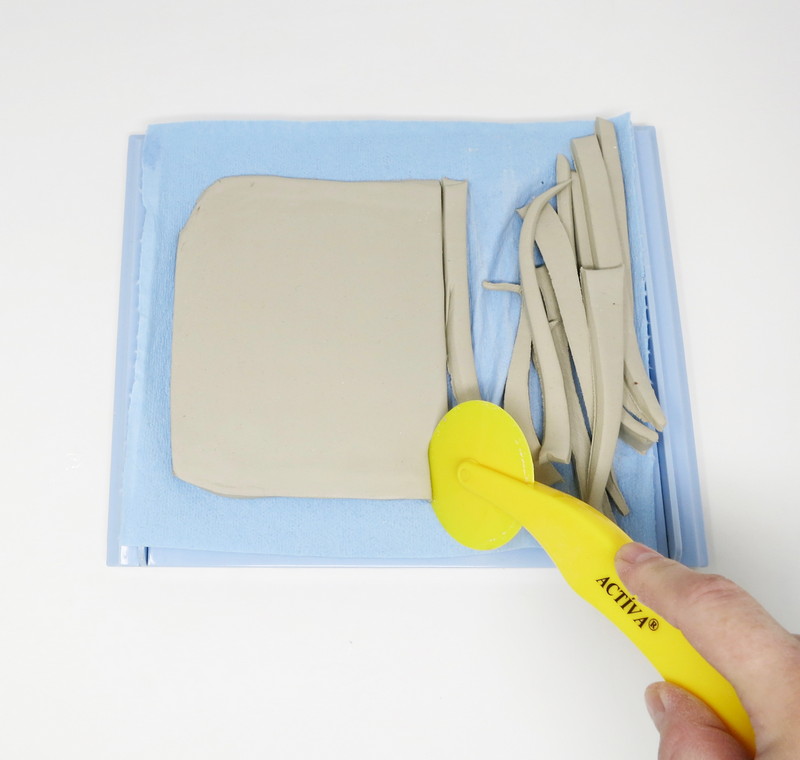
Divide the white, terracotta, and black clay slabs into strips using the clay roller tool.
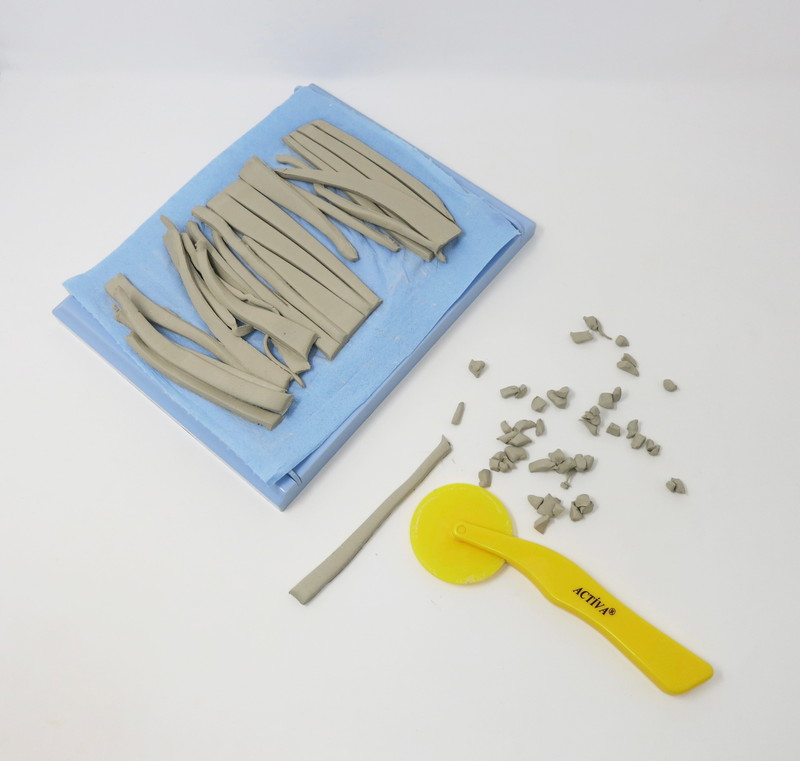
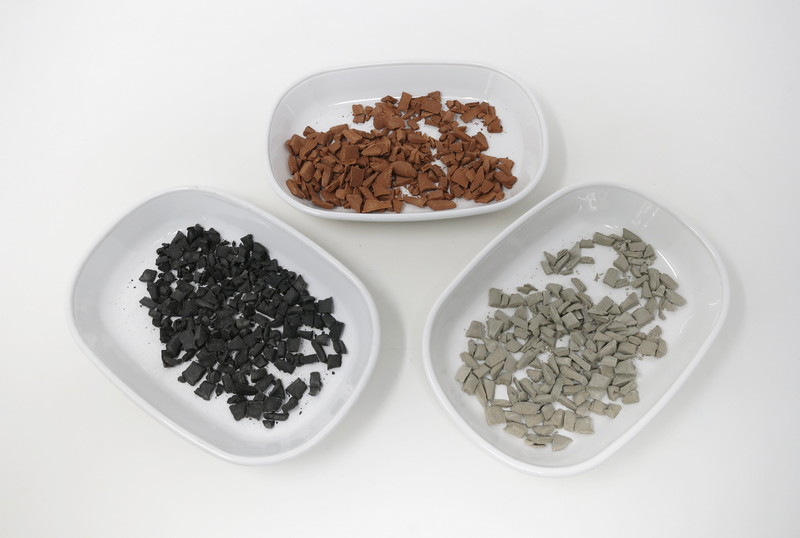
Cut the clay strips into smaller irregular pieces.
Step 3
Arrangement
Trace the mirror shape in the center of the bright white clay slab.
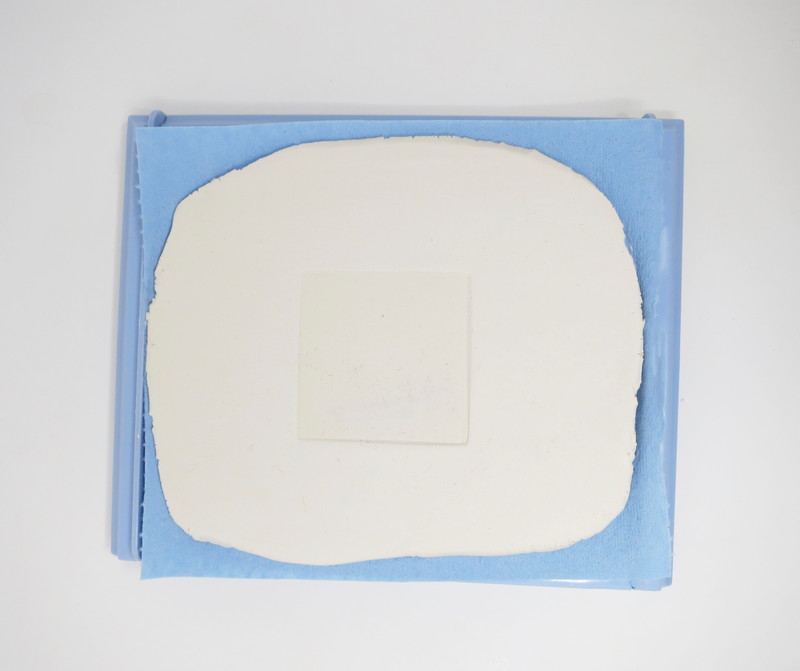
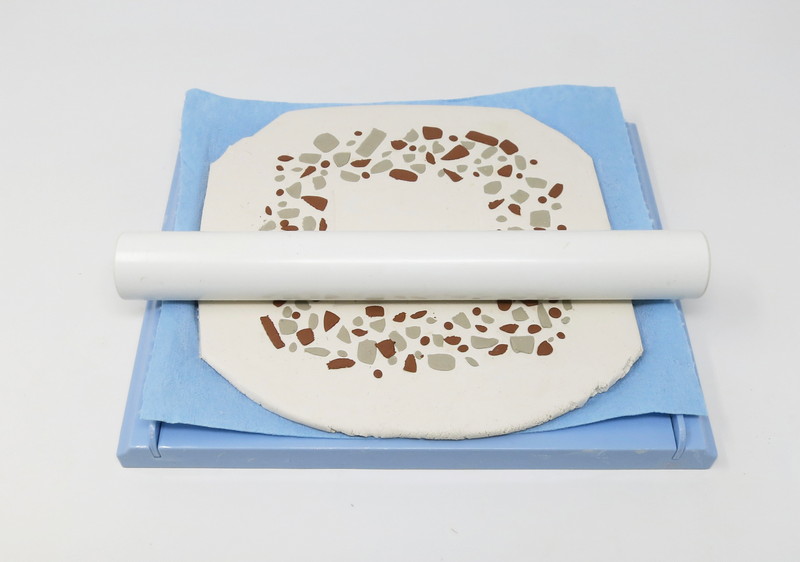
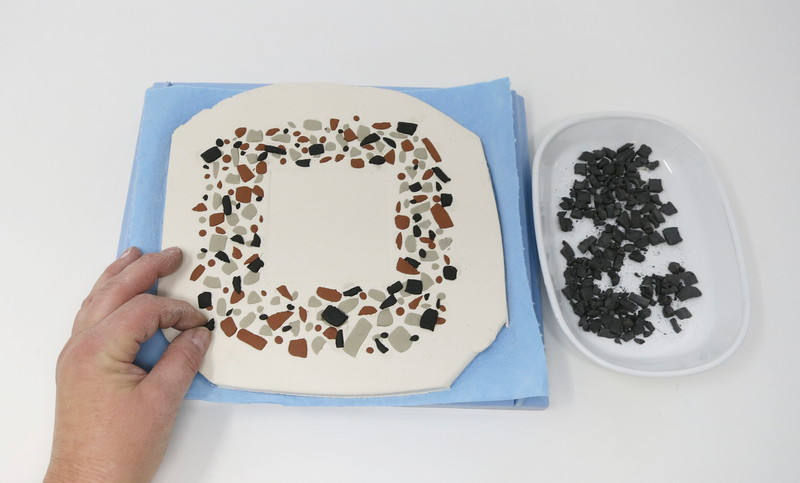
Randomly arrange the white clay pieces around the mirror space in the center of the clay slab.
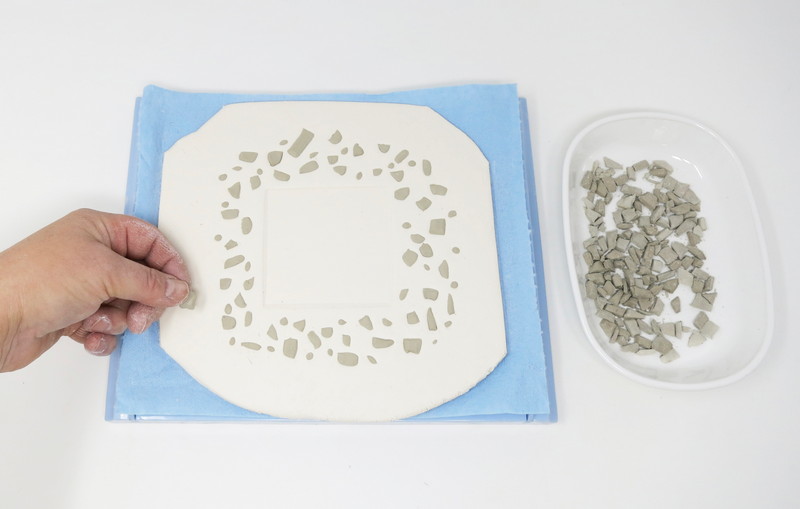
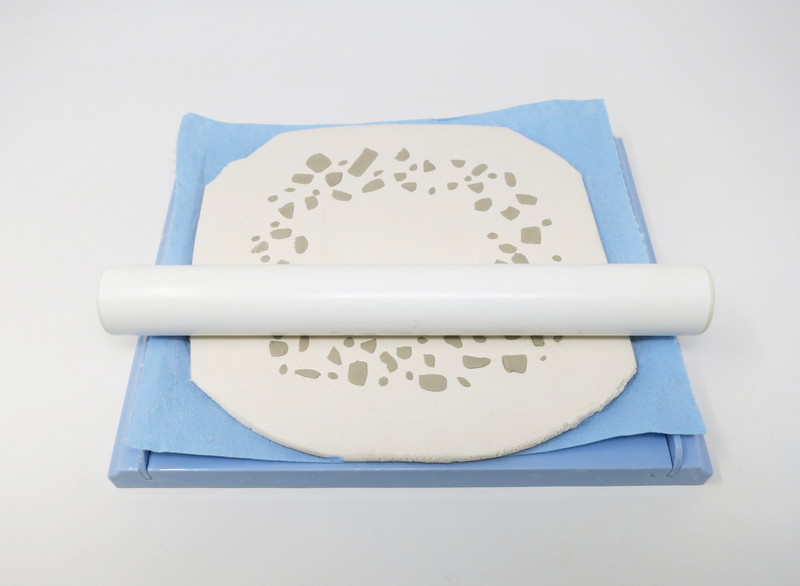
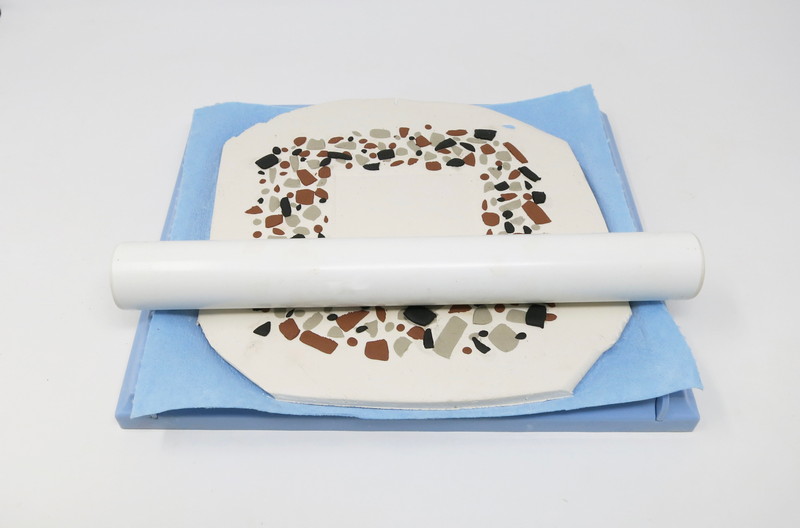
Secure the white clay pieces in place by gently rolling over them with the rolling pin.
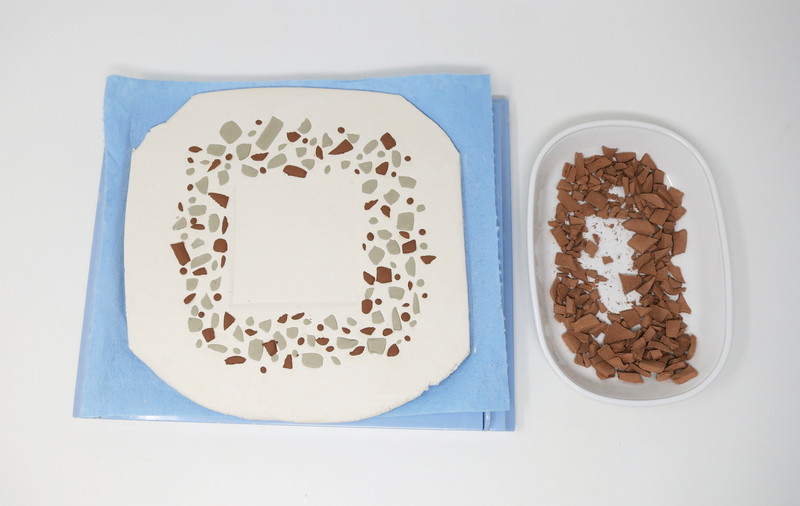
Repeat the process with the terracotta and black clay pieces.
Step 4
Mirror Shape
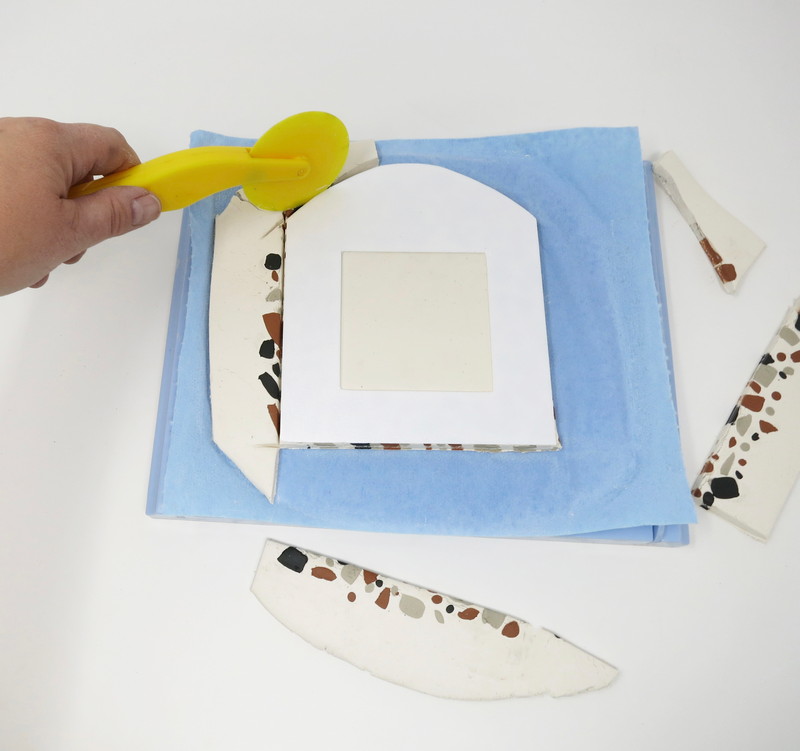
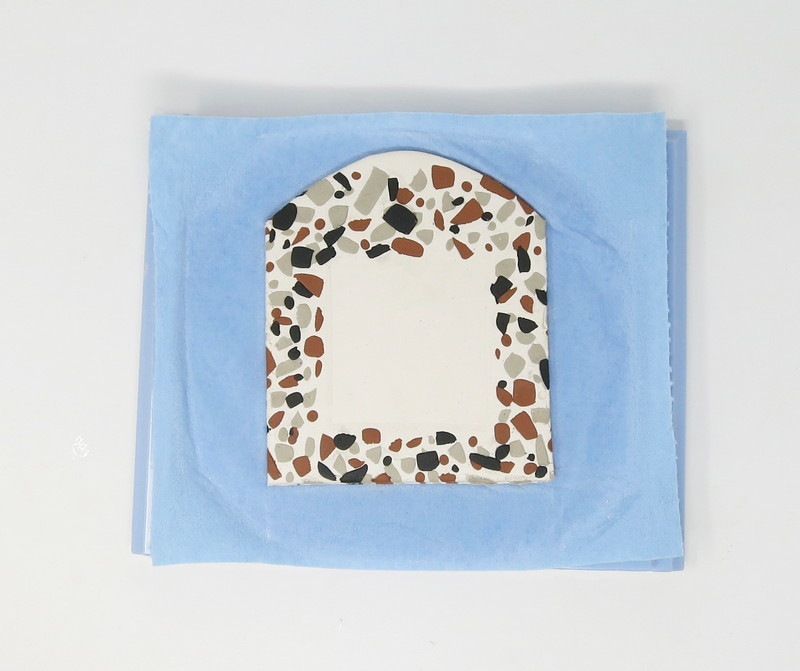
Create a template for the overall mirror shape. The border should extend at least 1” around where the mirror will reside.
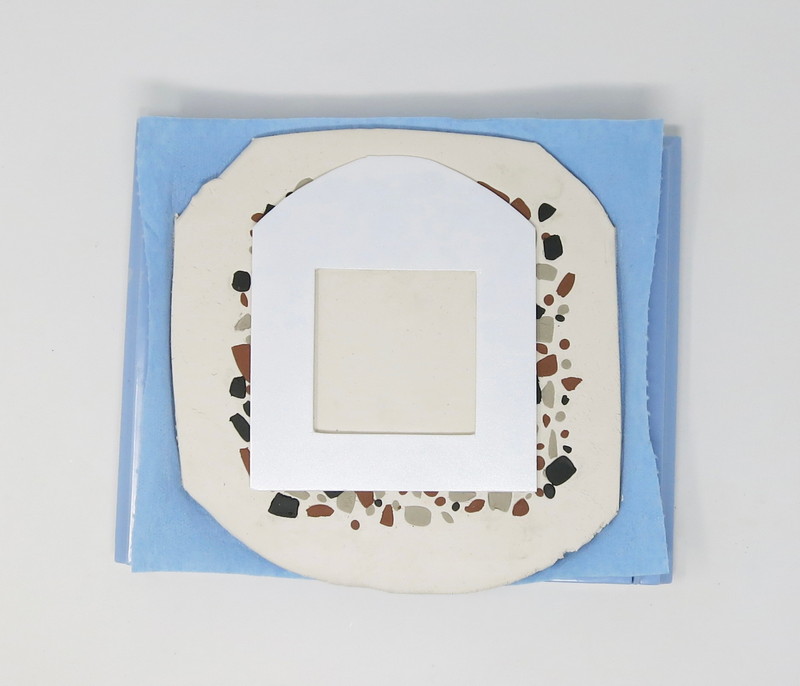
Trim the excess clay around the template using the roller tool.
Step 5
Hole
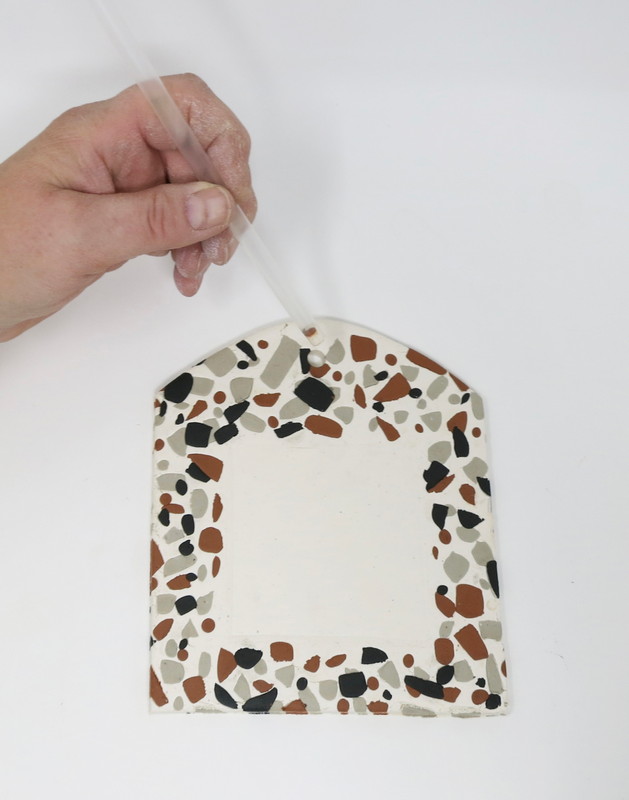
Insert a straw into the top of the mirror shape to remove a small amount of clay, creating a hole for hanging.
Step 6
Dry
Allow the clay to fully dry.
Step 7
Varnish
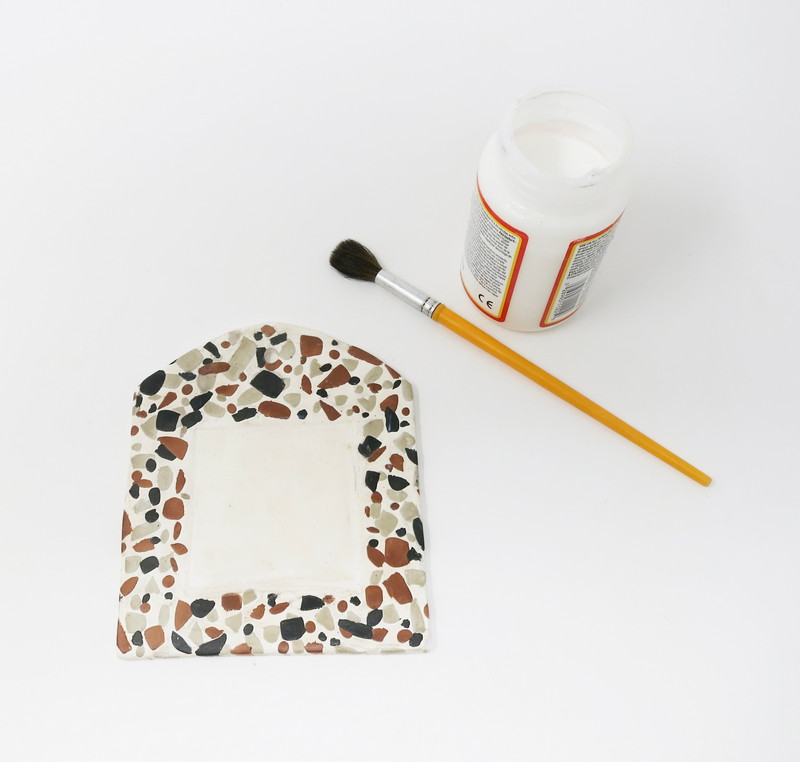
Coat the clay with a layer of clear water based varnish.
Step 8
Mirror
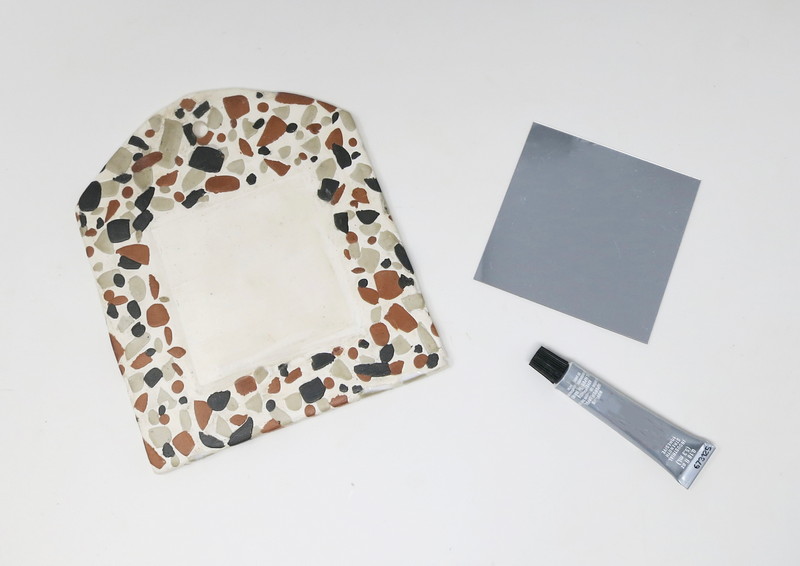
Glue the mirror onto the terrazzo background shape with adhesive.
Step 9
Trim
Cut a piece of rope to fit around the mirror shape.
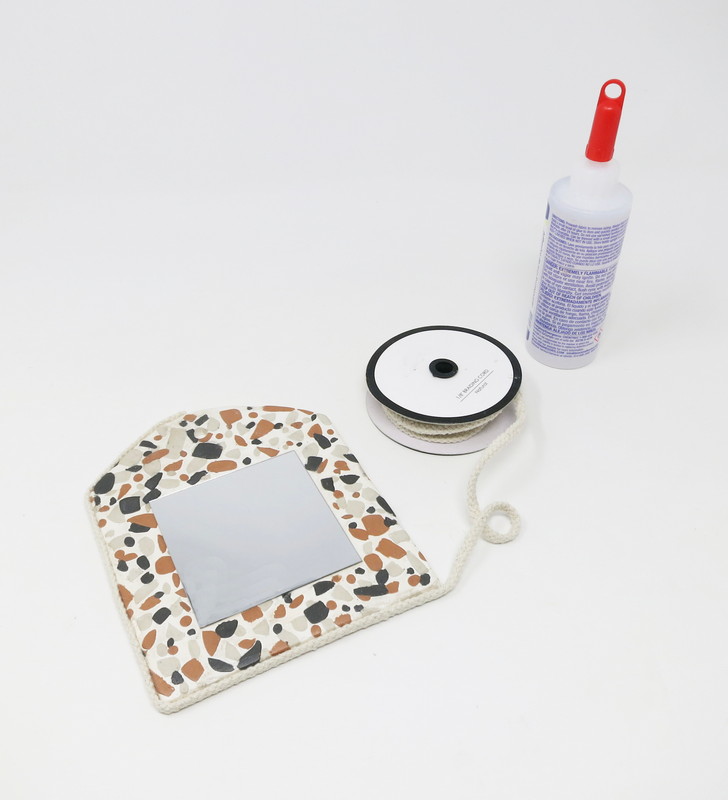
Glue the rope to the mirror shape using multi-purpose glue.
Step 10
Hang
Once the clay has fully dried it is ready to be hung.
