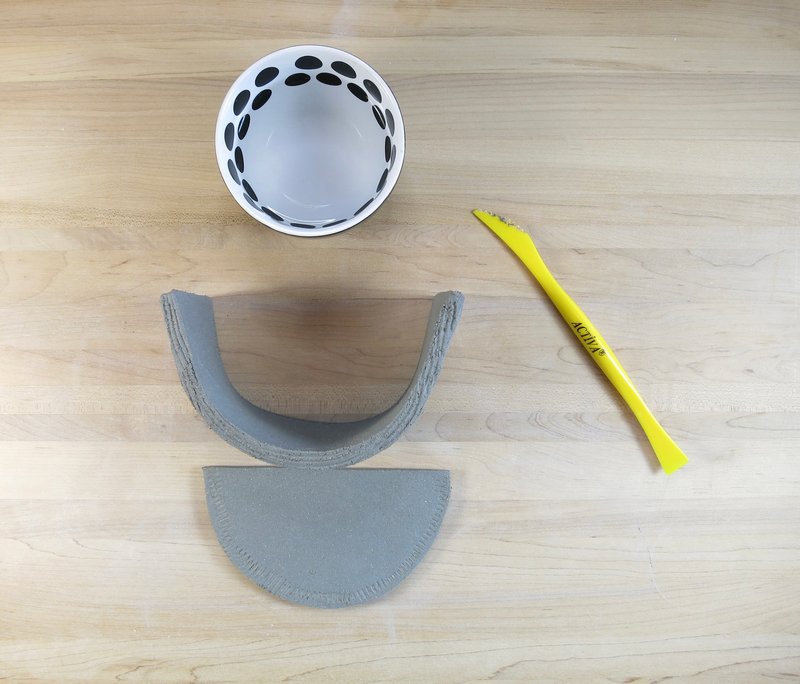
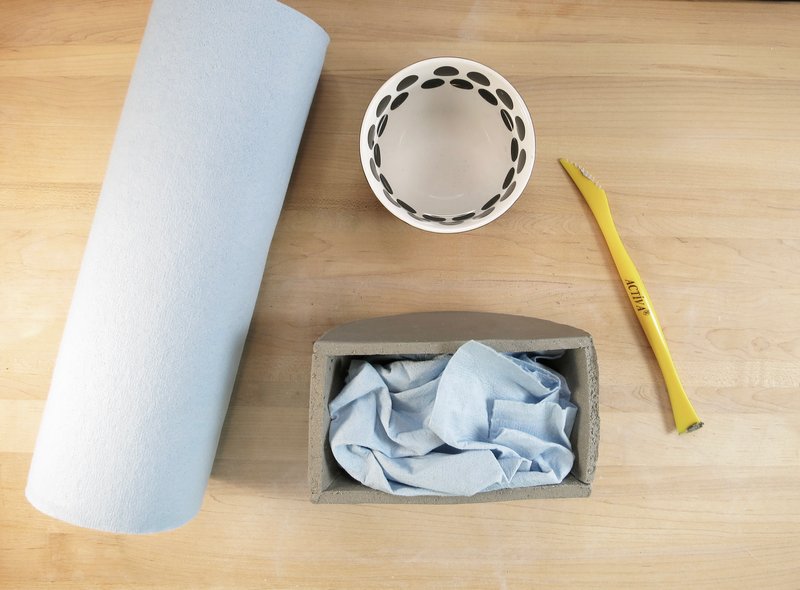
Supplies Needed:
- SIO-2® Zumaia Grey Clay with Fine Grog
- 1/4” Slab measuring sticks
- Rolling pin
- Planter templates: 1/2 circle, rectangle
- Activ-Tools: Clay Tools Set
- Water bowl
- Paper towel
- Clay hole punch
- Glaze
- Paint brush
- String
Step 1
Clay Slab
Roll a large 1/4” slab of clay using a rolling pin and measuring sticks.

Step 2
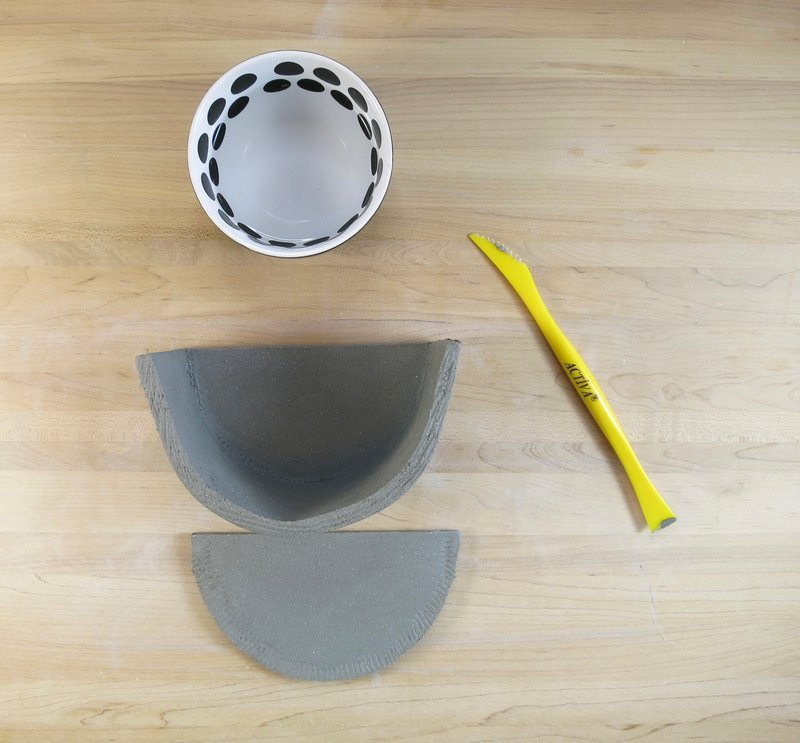
Shapes
Place the planter’s wall and side shape patterns on top of the clay slab.
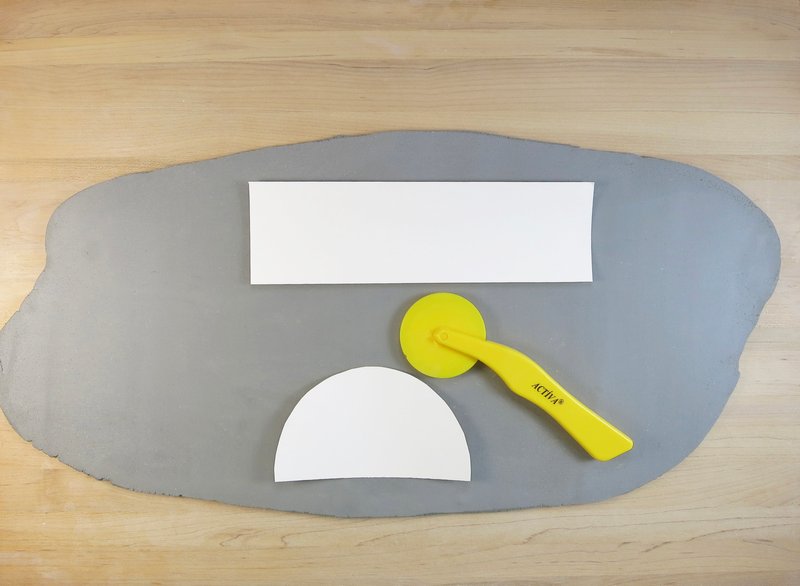
Use the clay roller cutter to cut out the rectangle shape and the two half circle shapes.
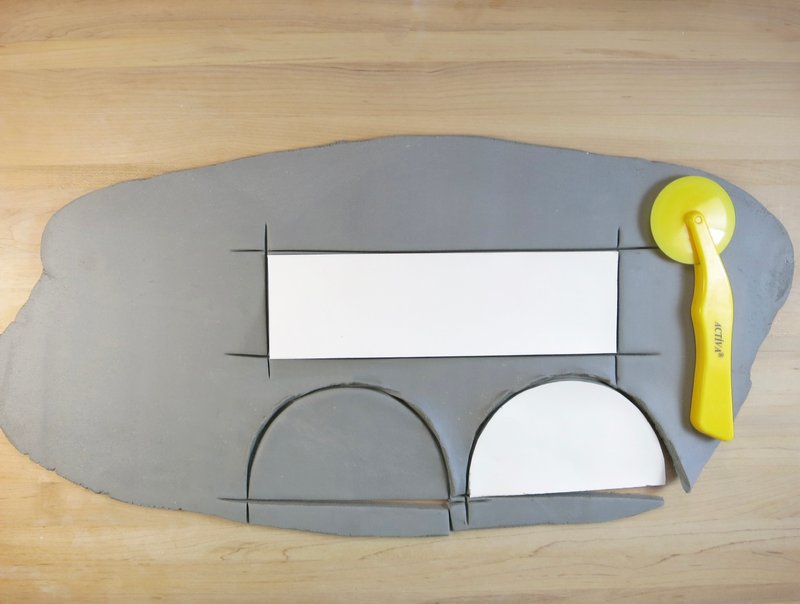
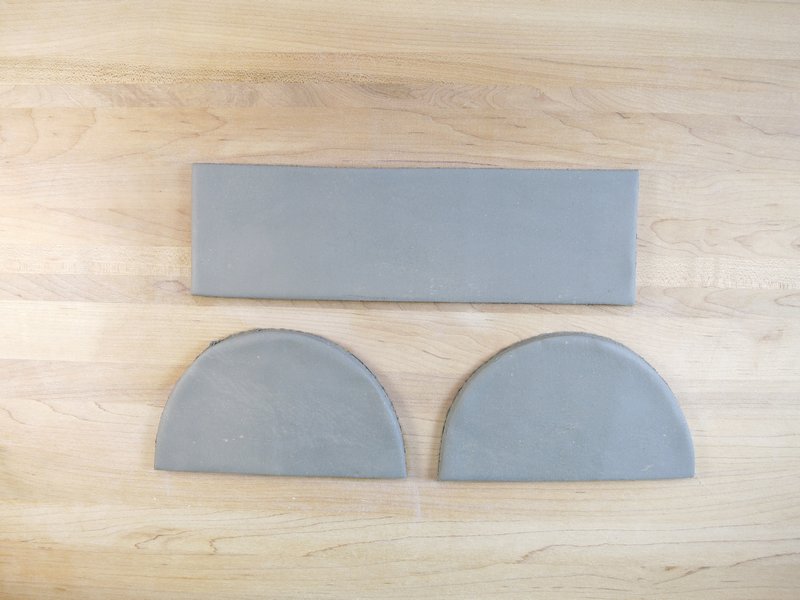
Remove the excess clay from around the cut shapes.
Step 3
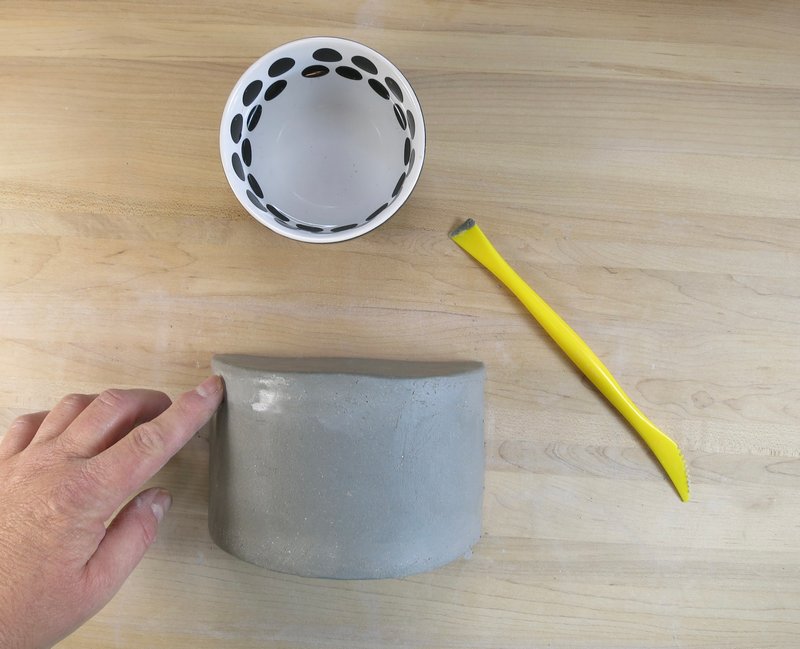
Walls
Bend the rectangular shape into a U shape.
Score one of the edges of the U shaped slabs using the rough cut blade tool.
Score the perimeter of the half circle shape using the rough cut blade tool.
Rub a small amount of water over the scoring lines using wet fingertips.
Place the two slabs of clay together.
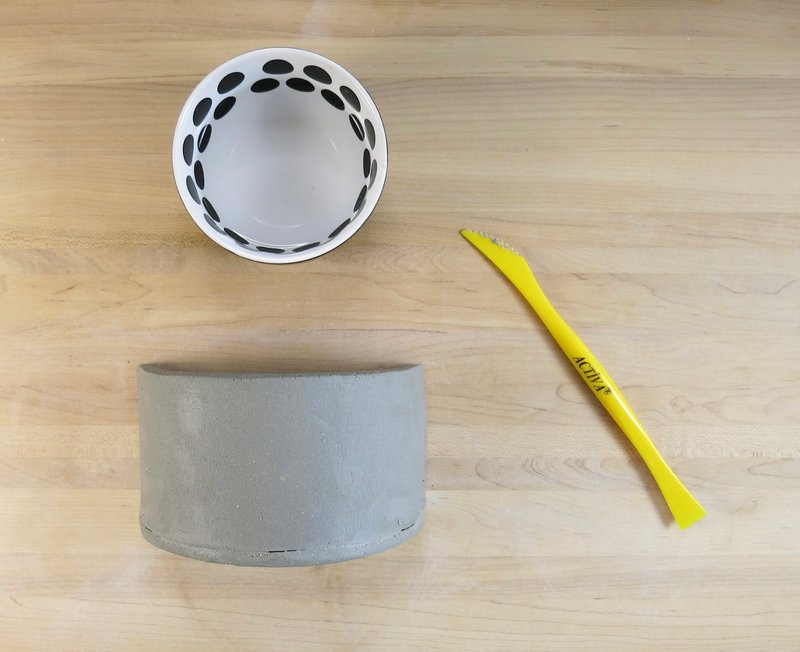
Use the flat edge tool to smooth out the seam between the two clay slabs.
Repeat the process for the second wall of the planter.
Add some crumpled up paper towels to the inside of the form to give it some support.
Turn the entire form upside down. Use the flat edge tool to smooth out the seam between the two clay slabs.
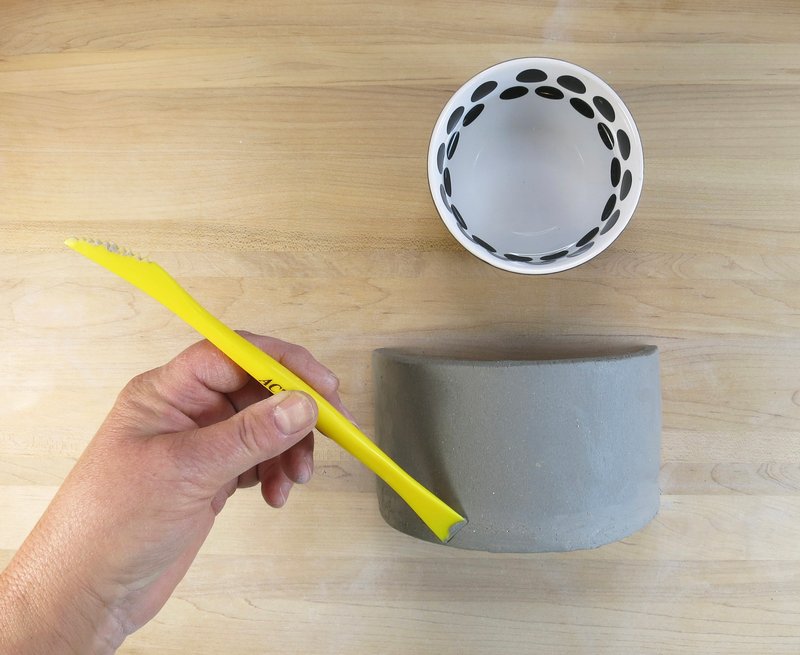
Step 4
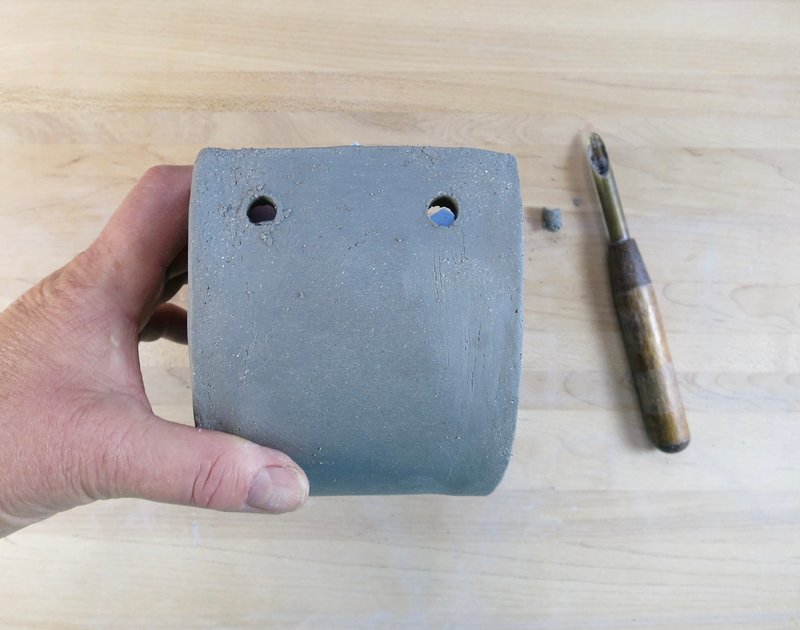
Hanging Holes
Make two holes near the top of the clay form with the hole punch tool.
Repeat the same process on both sides of the planter.
Step 5
Dry
Allow the clay to dry to a bone dry state.
*NOTE: Bone Dry state is where as much water as possible has evaporated out of the clay sculpture.
Drying time will vary depending on temperature and humidity.
Step 6
Bisque Fire
Fire clay in kiln to cone 04.
Step 7
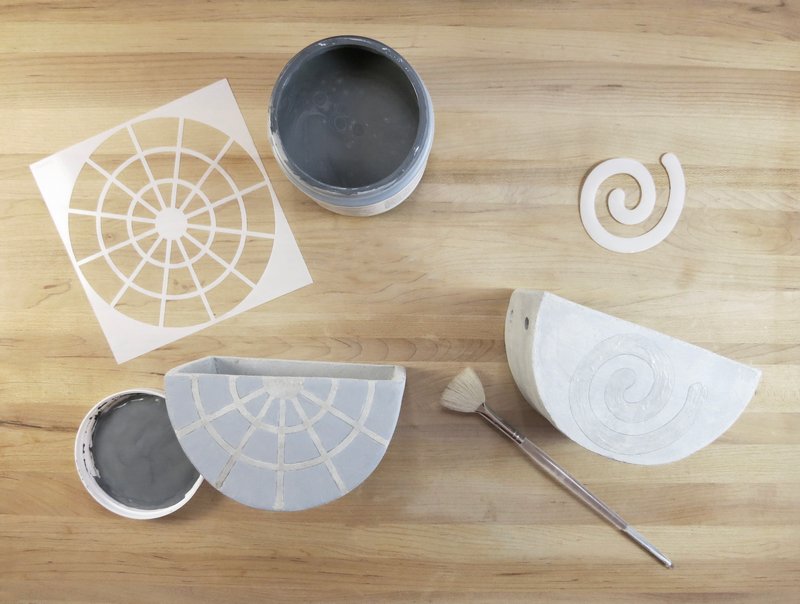
Glaze
Apply glaze according to manufacture’s guidelines.
Step 8
Glaze Fire
Fire the glazed piece in the kiln. Follow manufacturer’s firing guidelines.
Firing range: Cone 6-10 (2269º-2381ºF)
Step 9
String
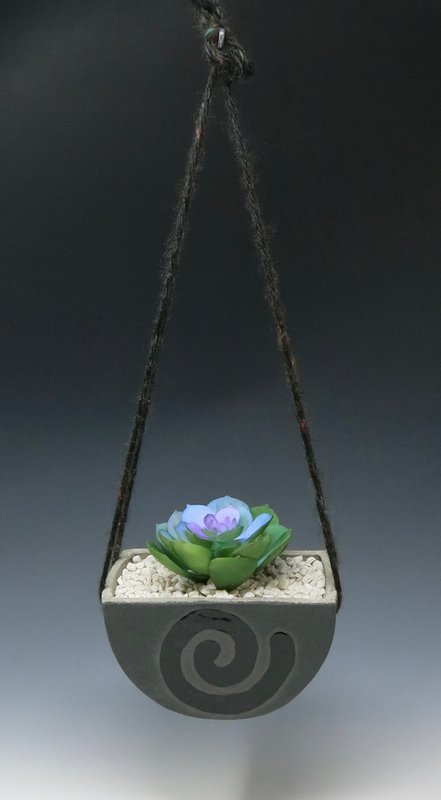
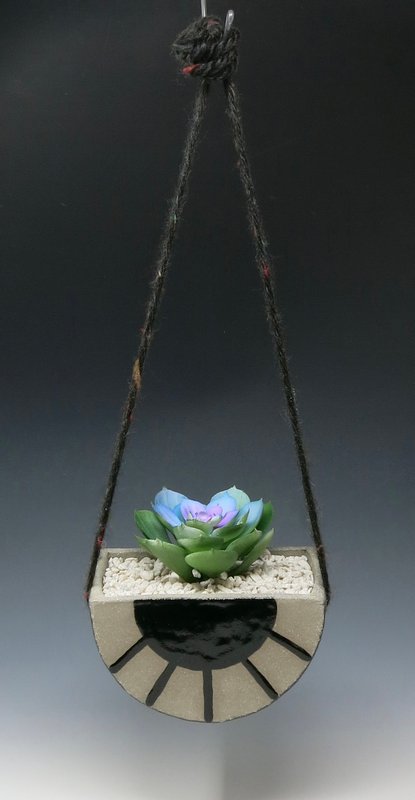
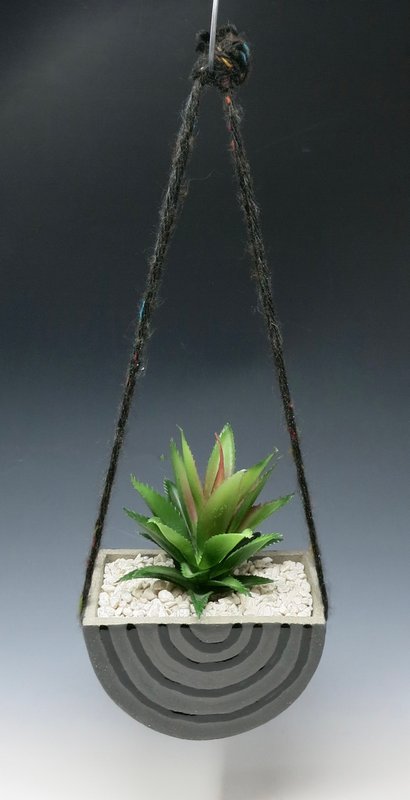
Add string through each side of the hanging holes and tie both pieces of string together in a knot several inches above the top of the planter.

Step 10
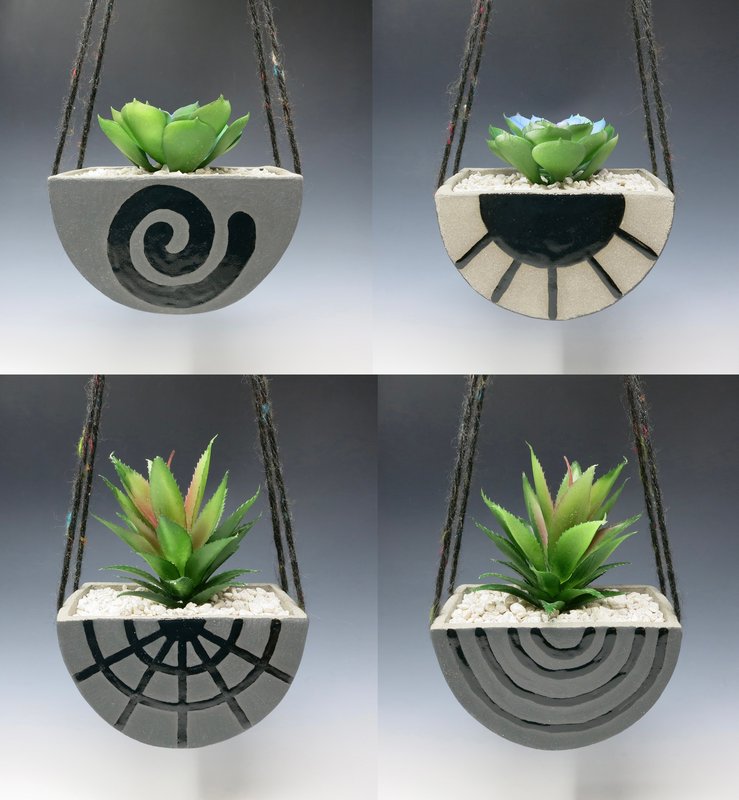
Plant
Add dirt, rocks, and plants to the inside of the planter.