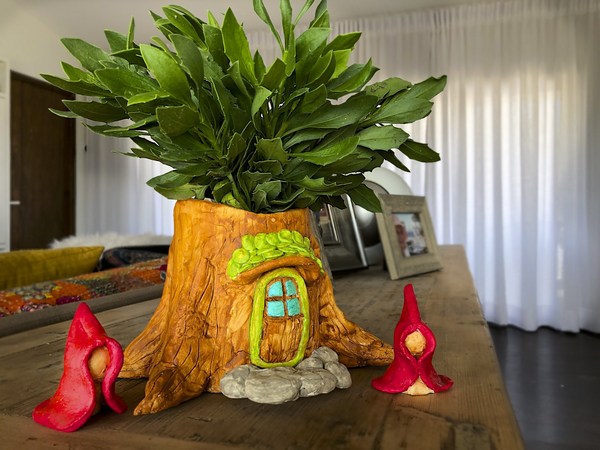
Tree Hollow Centerpiece
By Marisa Pawelko
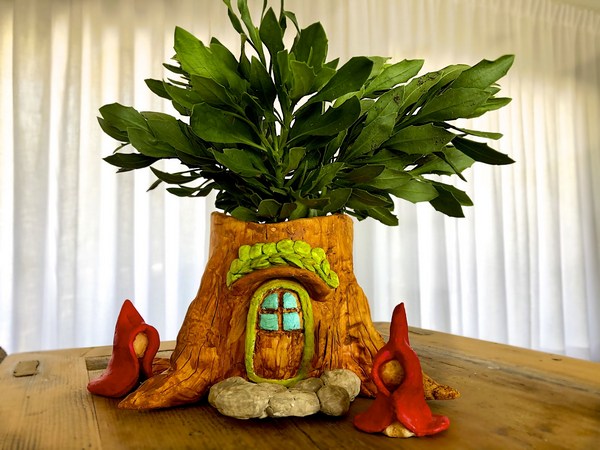
Bring the outdoors in with this whimsical tree hollow centerpiece complete with gnomes and fresh foliage!
What’s Needed:
- Lightweight Air Dry Modeling Clay
- Bowl of Warm Water
- Sandtastik Sand Art Bottle
- Measuring Tape
- Rolling Pin
- Sculpey Modeling Clay Knife
- Craft Paint
- Craft Stain (optional)
- Paint Brushes
- Palette
- Foliage
- Scissors
Steps:
1) Measure the circumference of the bottle and add about 2”
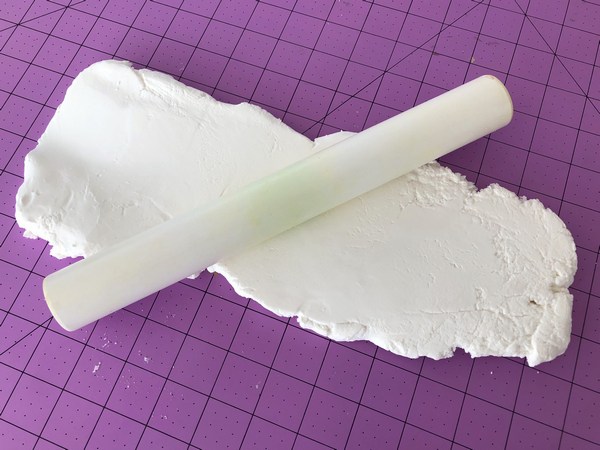
2) Roll out a slab of Lightweight Air Dry Modeling Clay
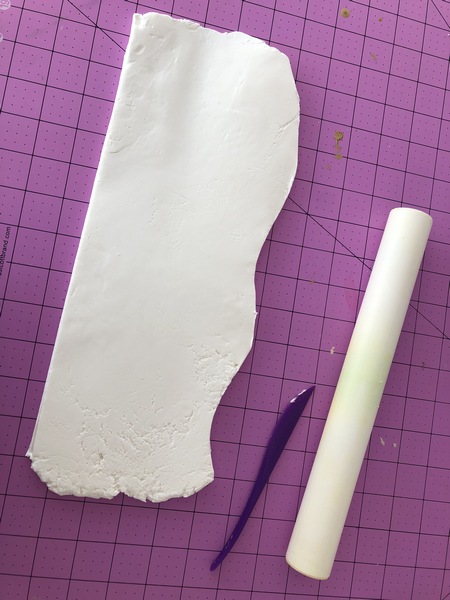
3) Cut the slab as shown to the length you determined in step 1.
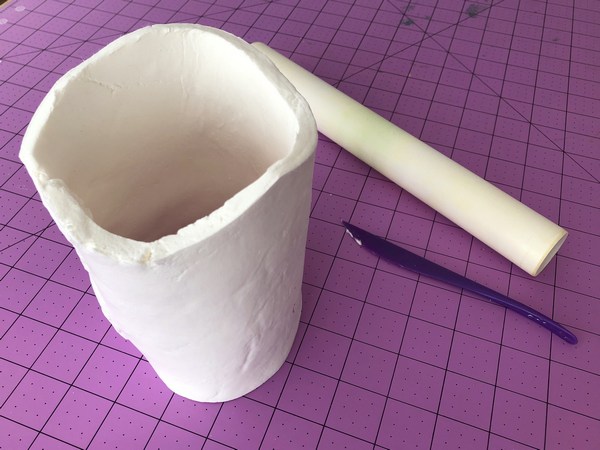
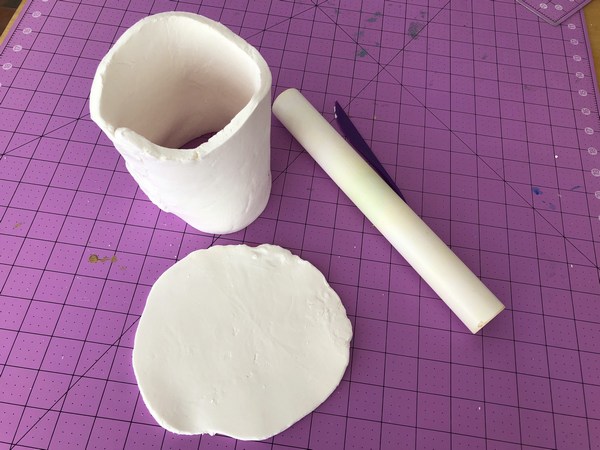
4) Form the slab into a tube by smoothing the ends together. Moisten your fingertips with the water as you work to help join the pieces.
5) Roll out a circular slab of clay slightly larger than the footprint of the tube.
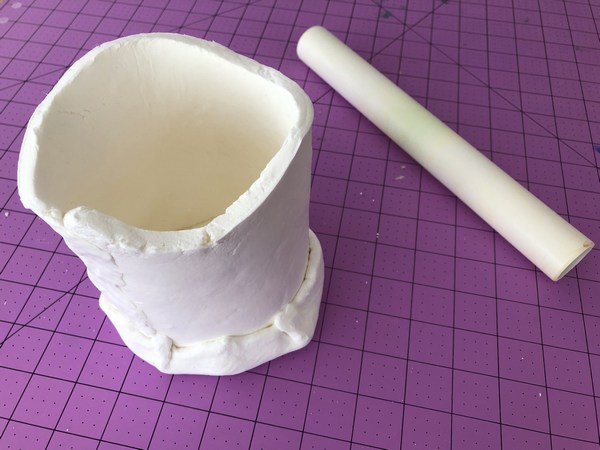
6) Place the tube over the disk and wrap the edges of he disk around to create a closed bottom
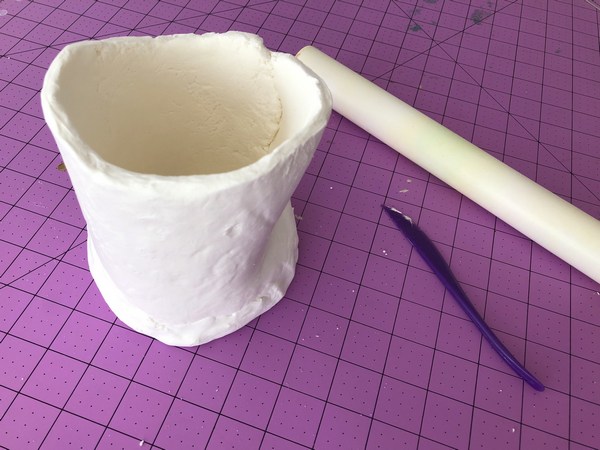
7) Smooth the transition areas with your fingertips and the clay knife.
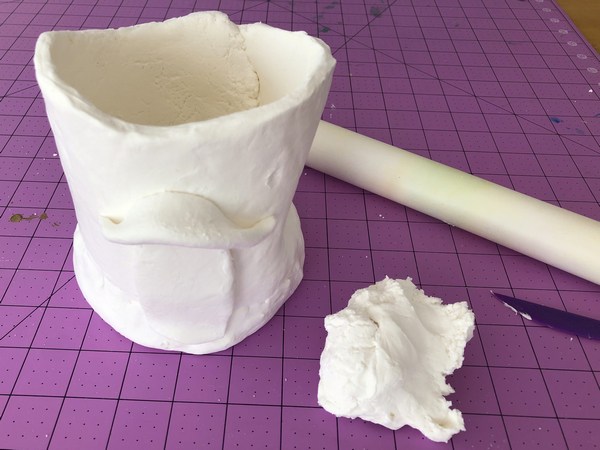
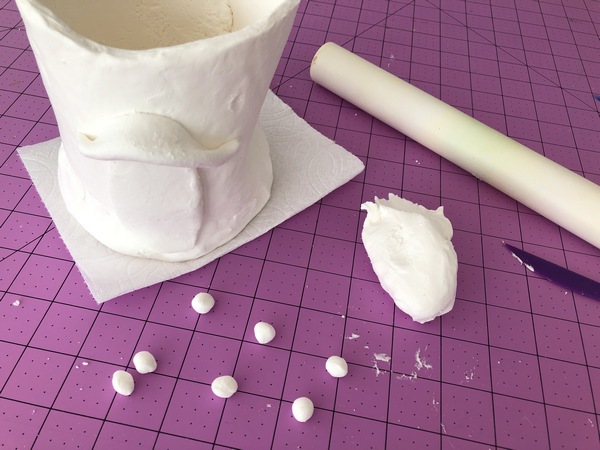
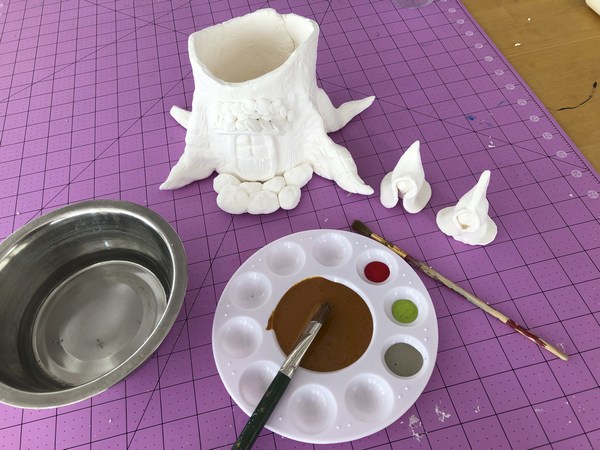
8) Roll and cut another clay slab to create the door and awning, and then adhere them in place.
9) Form several little balls and gently flatten them to create leaf-like shingles for the awning.
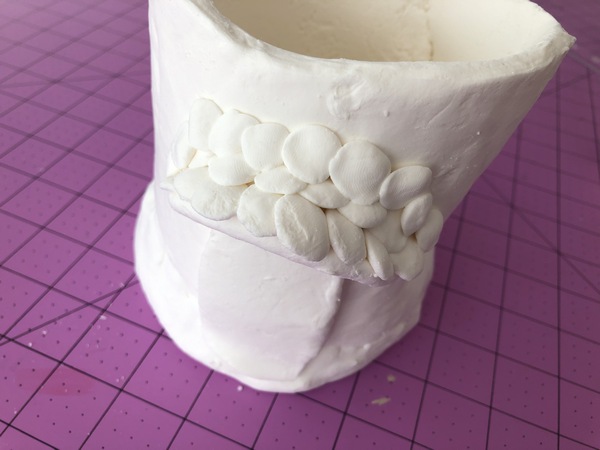
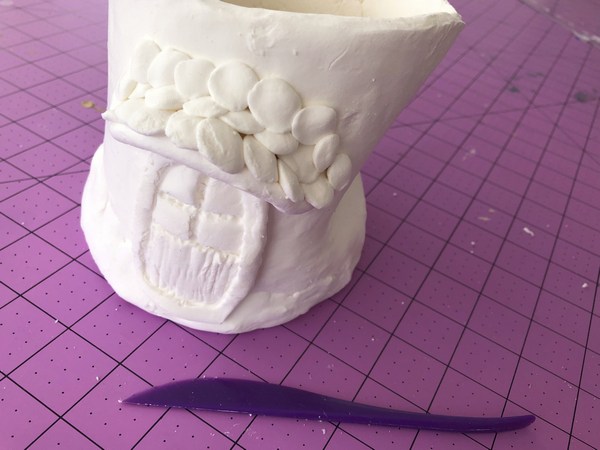
10) Layer and press the shingles into place on the awning.
11) Use your clay knife to create additional detailing on the door
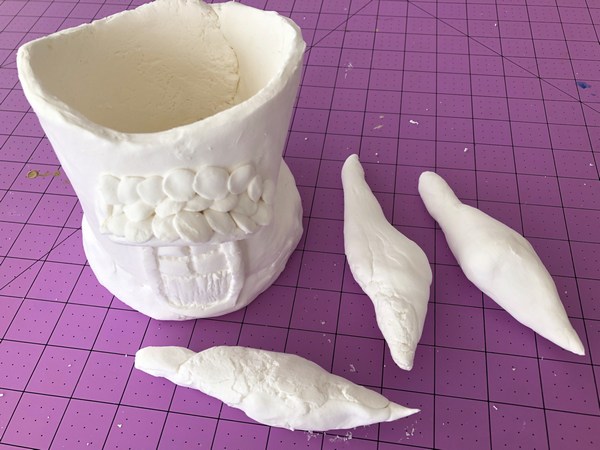
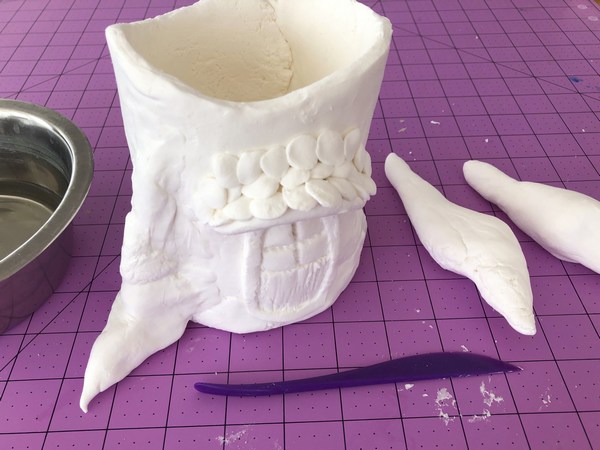
12) Roll out conical roots for the tree as shown.
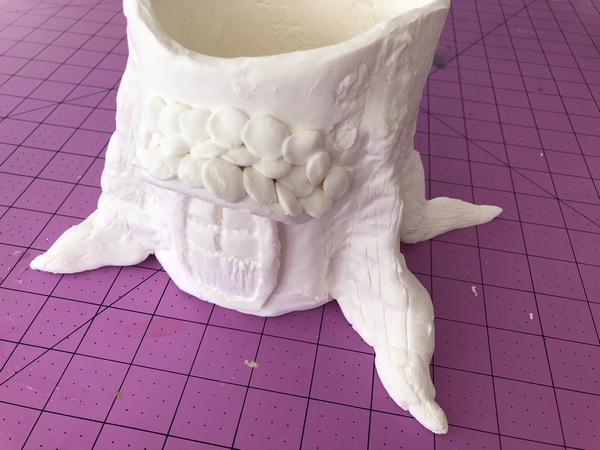
13) Join the roots to the tree trunk. Smooth the transition areas with your fingers.
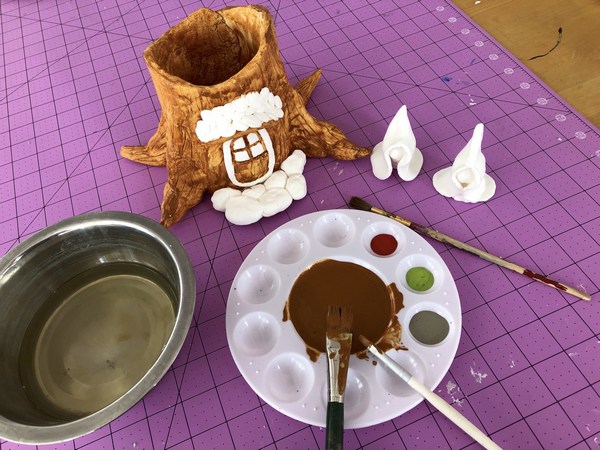
14) Add realistic detailing to the roots and trunk with the knife.
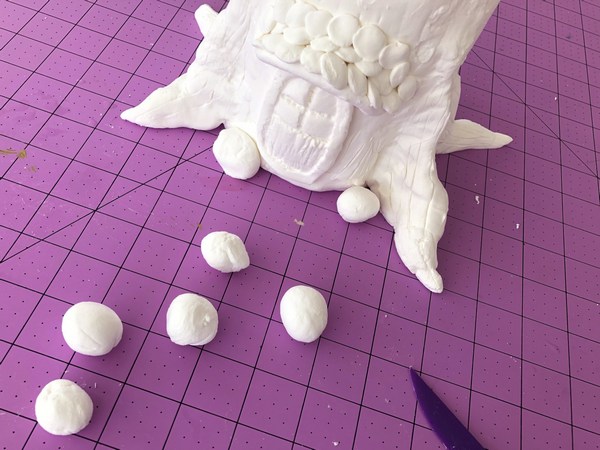
15) Create a stone landing in front of the door by rolling larger balls and flattening them into a formation.
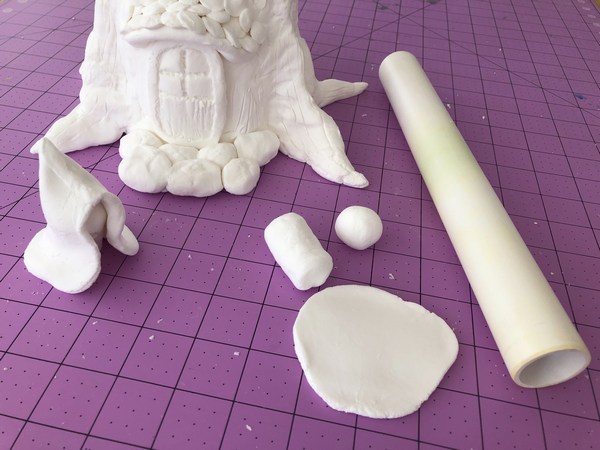
16) To create the gnomes, roll out a ball for the head, a cylinder for the body and a slab for the robe.
17) Assemble the gnomes as shown. Set the whole set aside to dry and select your paint colors.
18) Paint the tree hollow with brown craft stain. If you do not have craft stain you can use watered down paint.
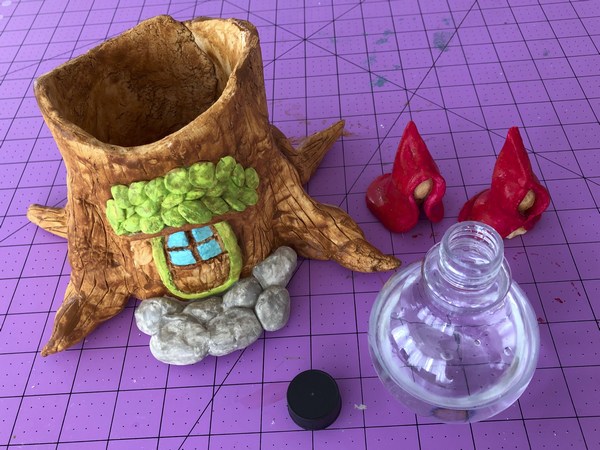
19) Accent the leaf shingles with green paint, then add a little brown on top to give the leaves a mossy dimensional effect. Continue painting the various pieces with your preferred colors. Next fill the Sandtastik Sand Art Bottle partway up with water.
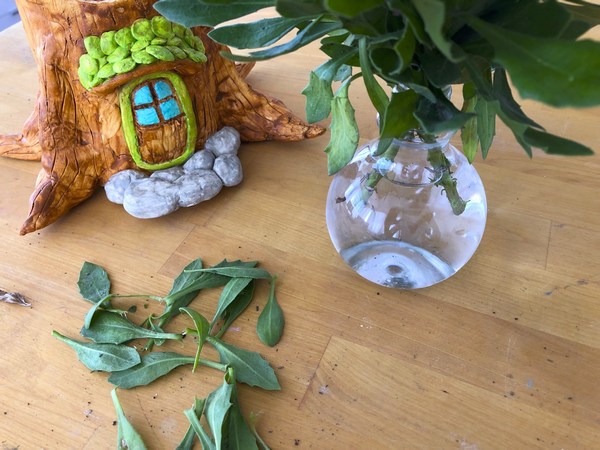
20) Gather foliage from outside.
21) Trim the foliage and arrange it in the bottle. Place the bottle into the center of the tree hollow and delight in your majestic gnome home masterpiece!
- ABOUT THE ARTIST -

Meet celebrity crafter Marisa Pawelko, winner of the Craft & Hobby Association Indie Craft Contest and the host of “America’s Next Top Crafter™”. Armed with a formal education in furniture design, Marisa used her talents to design products for the gift, toy, fashion and accessories markets before turning her focus to the craft industry. In 2005, sparked with an idea to create a recycled baby memento-keeper out of one of her son’s baby food jars, she founded Modern Surrealist LLC, which quickly developed an international following. Marisa enjoys inspiring crafters on her blog with thrifty project ideas for “upcycling” ordinary objects, into extraordinary custom creations! Her work has been featured by PBS, HGTV, Illinois State Museum and in countless exhibitions and high end boutiques around the world. Modern Surrealist LLC has been providing customers around the globe with individualized and fantastical gifts, crafts and accessories since 2004. Featuring eclectic themes that celebrate your individuality with humor and heart!
