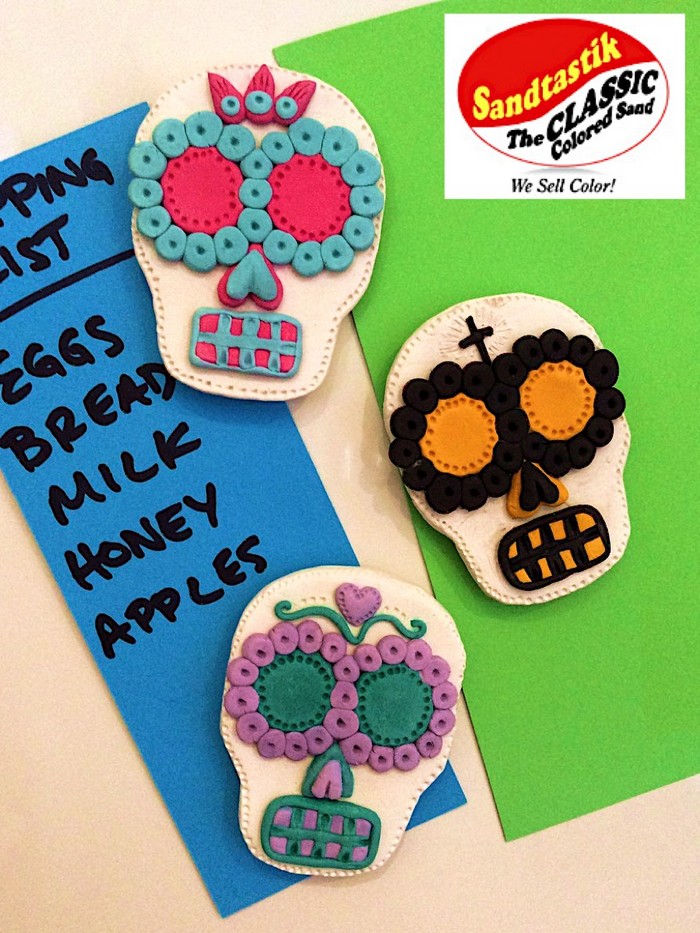
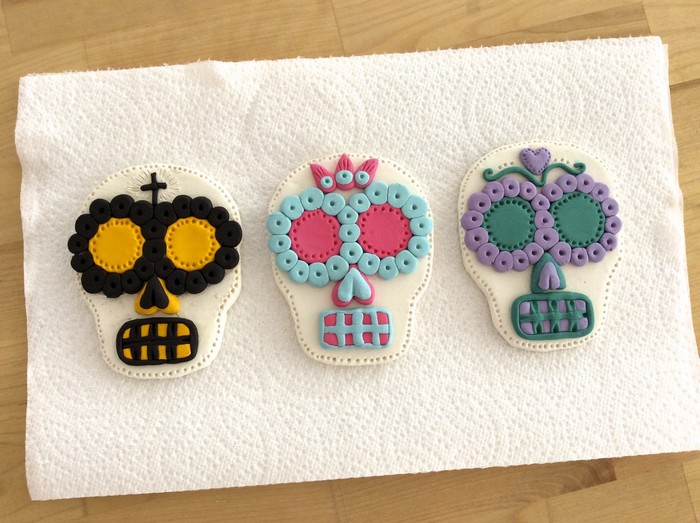
Sugar Skull Magnets
By Marisa Pawelko
Category: Seasonal & Home Decor
Summary:
Day of the Dead is a hot theme all year round with sugar skulls popping up everywhere! Easily create these colorful clay magnets with Sandtastik’s ColorPlus Natural AirDry Clay! The Clay Roller Kit is perfect for creating uniform thickness for all your clay projects and embellishments! ColorPlus Natural AirDry Clay features all of the wonderful benefits of traditional natural clay, while offering new vibrant colors and even the ability to mix custom colors! The creative possibilities are endless!
What’s Needed:
- ColorPlus Natural Air Dry Clay
- Clay Roller Kit
- Clay Sculpting Tool
- Magnets
- Hot Glue
- Water
- Paintbrush
- Paper Towels
- Ziplock Bags
- Skull Stencil, Cookie Cutter or Printout
- Circle Template
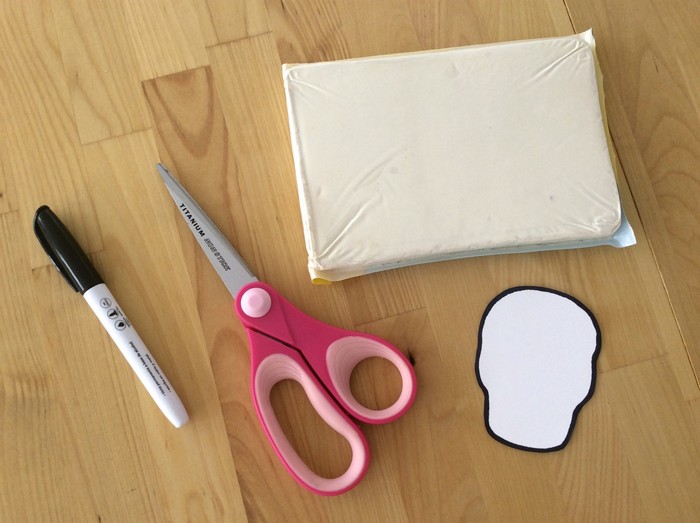
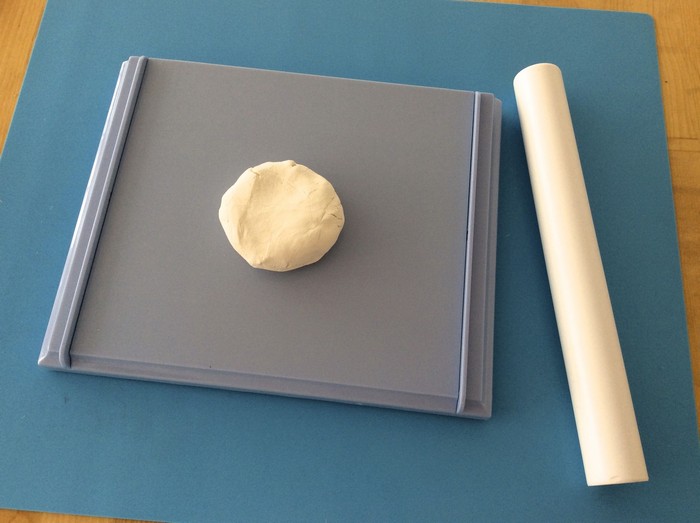
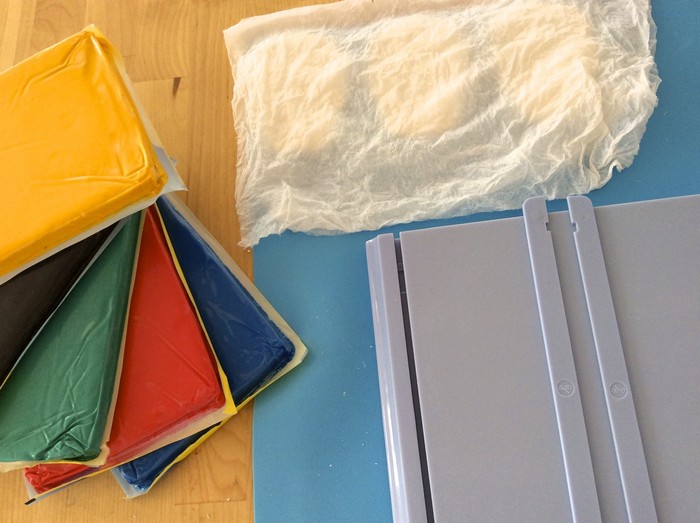
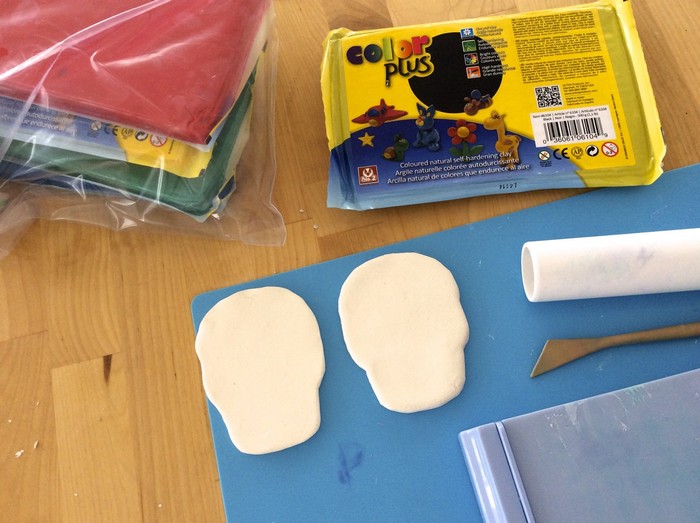
Gather up your supplies and get ready to begin creating your ColorPlus creations!

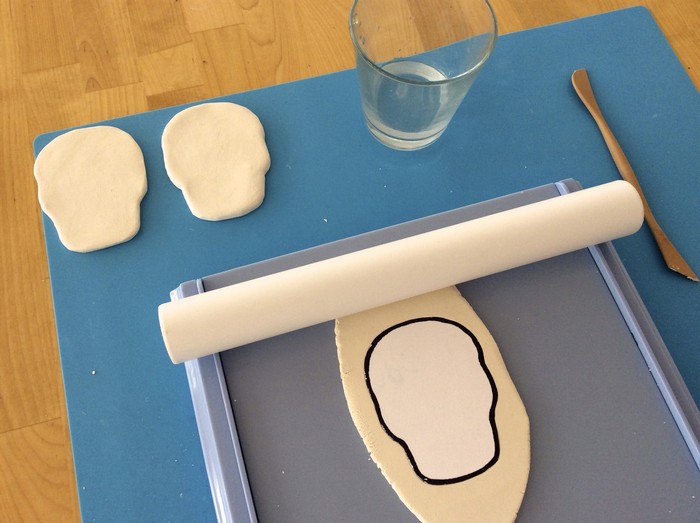
To create the skull bases for your magnets, create a template out of cardstock or if you prefer you can use a stencil or cookie cutter. For these magnets we used white ColorPlus clay for the skulls, but feel free to mix it up and use any color you like!
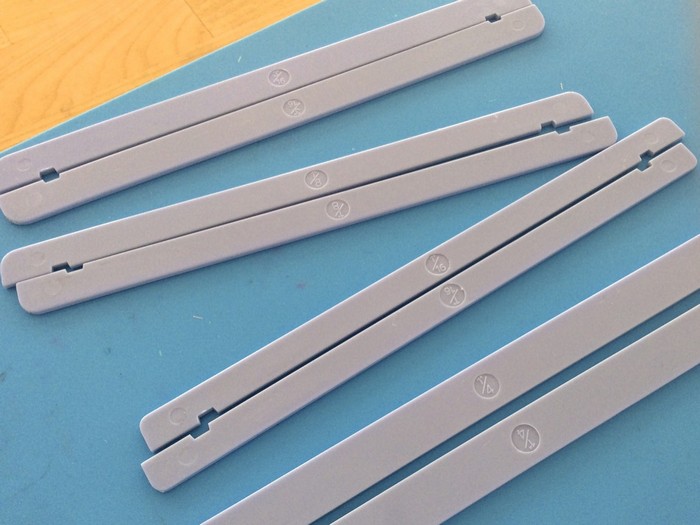
The Clay Roller Kit comes with convenient rails that fit onto the sides of the rolling board, allowing you to roll out uniform sheets of clay in a variety of thicknesses. Each rail shows the measurements, so it’s a super easy and simple system for rolling out consistently uniform sheets.
Place the ¼” rails onto the rolling board.
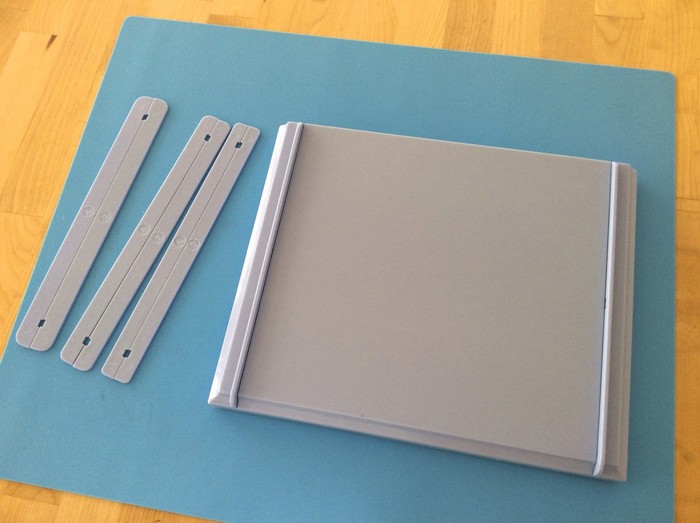
With the included roller, roll out a sheet of the base color for your skull.
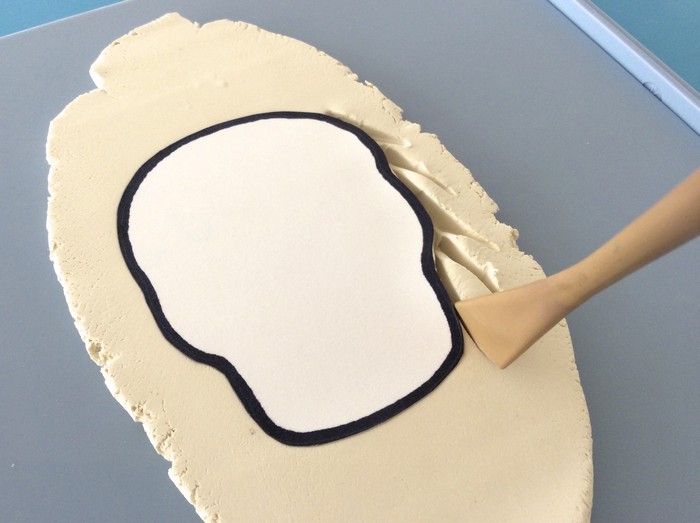
Next place the template onto the slab and roll over it.

With your clay-sculpting tool, trim away the excess clay.
Once you are finished trimming, carefully remove the paper template from the clay.
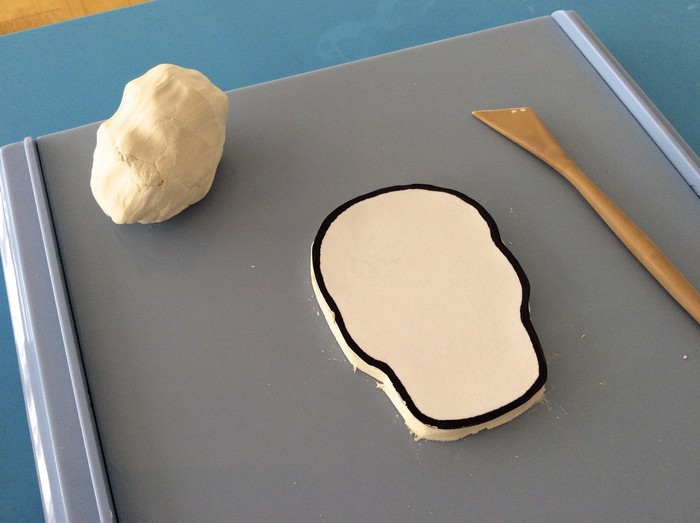
Wet the surface of your project with a little bit of water and smooth out the rough edges with your moistened fingertips.
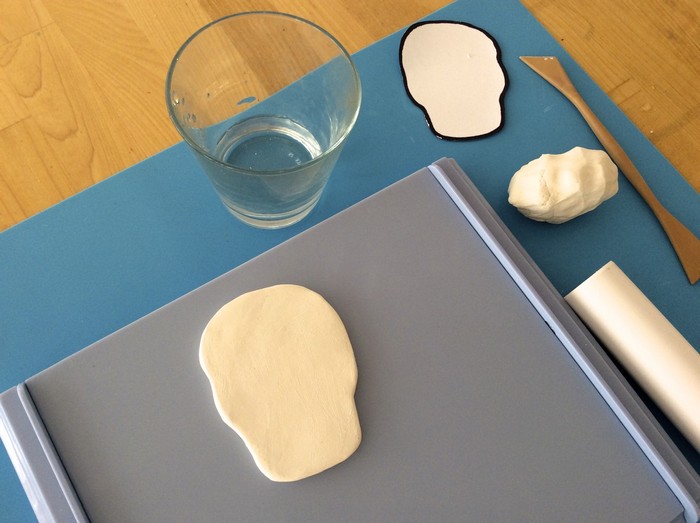
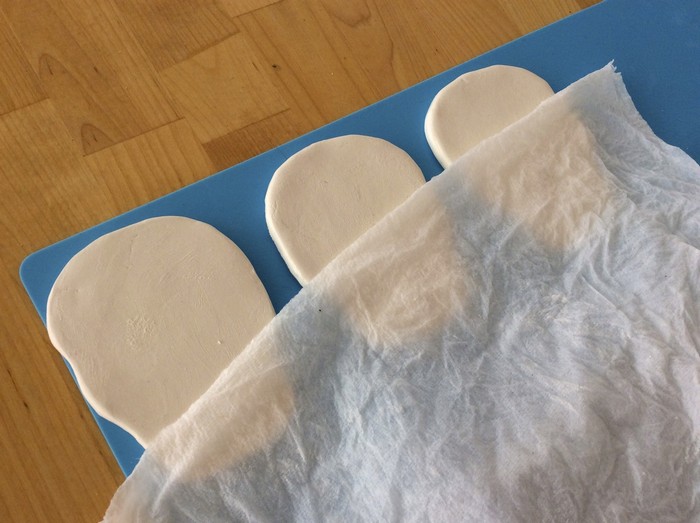
If making a trio of magnets as we did here, repeat the previous steps to create two additional skull bases.
Cover the projects with a moist paper towel to prevent the clay from drying out.
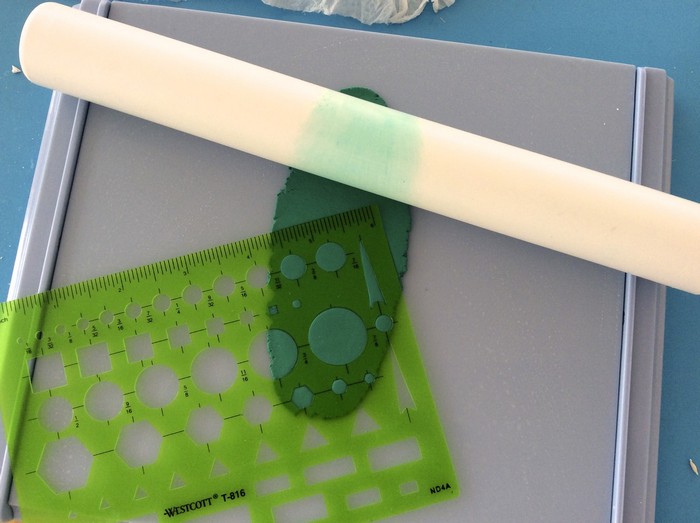
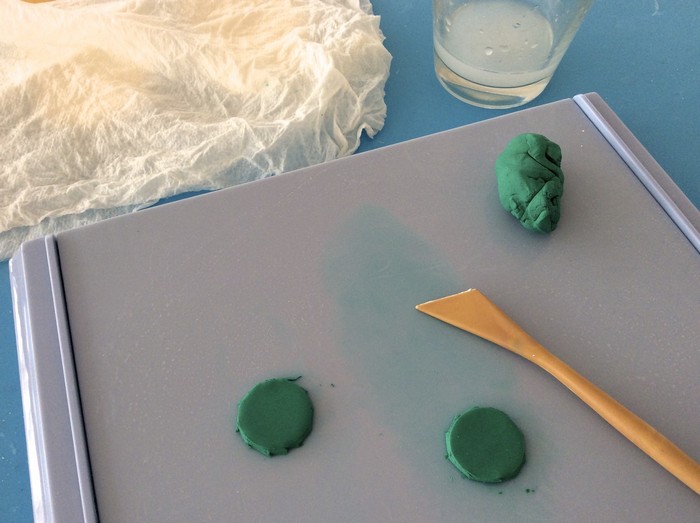
Place the 1/8” rails onto the rolling board. Choose the color for the skull’s eyes and roll out a small slab. Then place a circle template on top of the slab and roll over that to create the circles for the eyes.
Trim away the excess clay and smooth out the edges with your moistened fingertips.
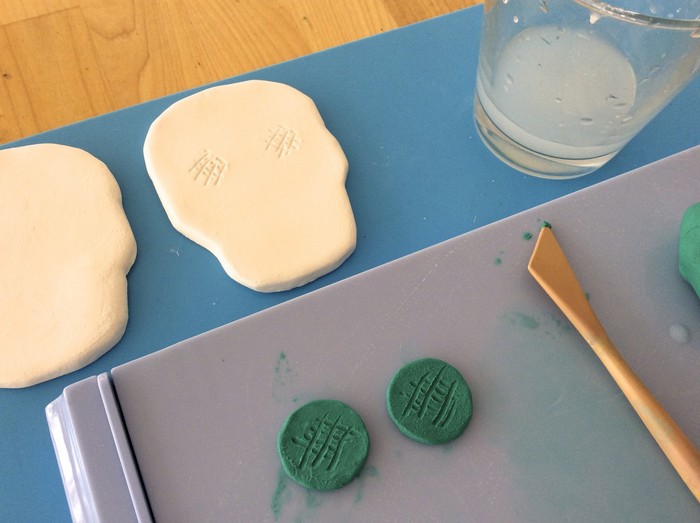
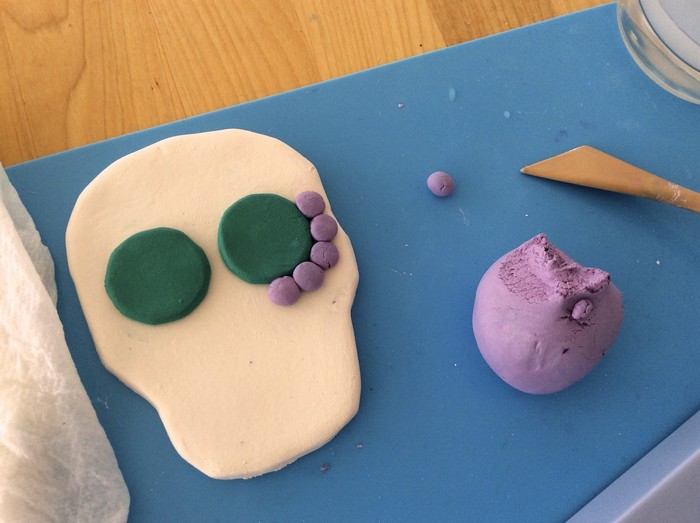
To connect the eyes to the skull, add some cross hatch lines to the skull and the back of the eyes.
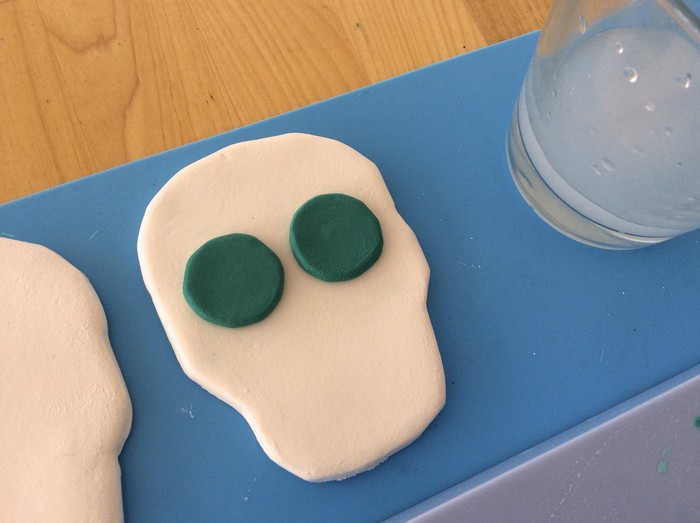
Moisten the back of the circles and position them in place onto the skull.
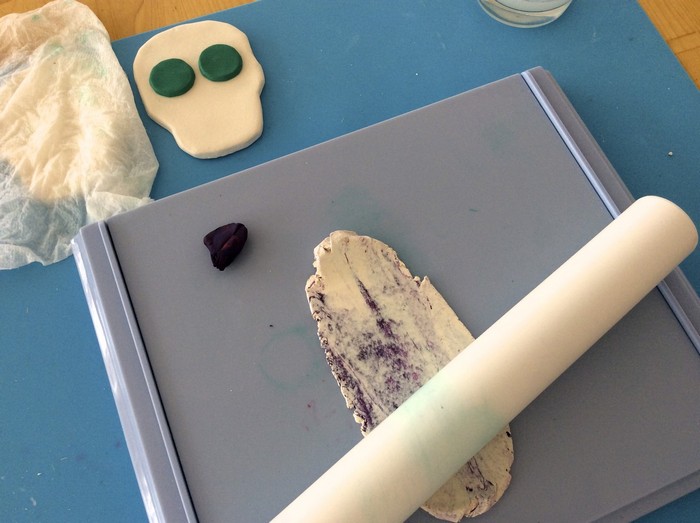
Now you are ready to accent the skull’s eyes with another color. For this design, we created our own shade of lavender by mixing white with a little bit of red and blue.
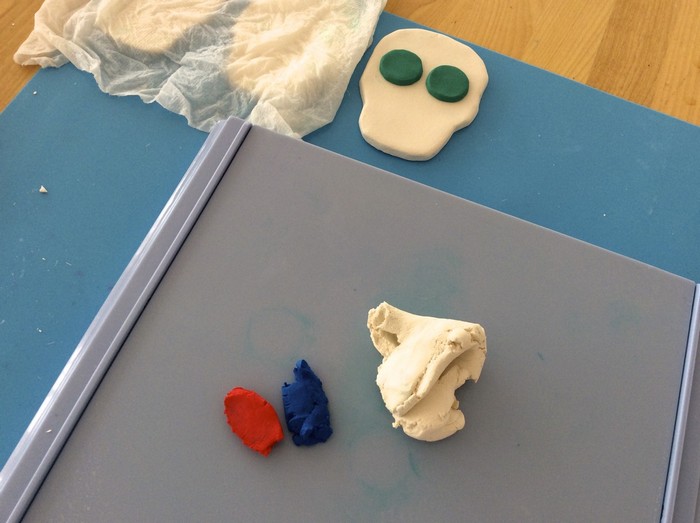
First mix the red and blue to create a dark purple color.

Next mix the some of the purple with the white and roll it out on the rolling board.
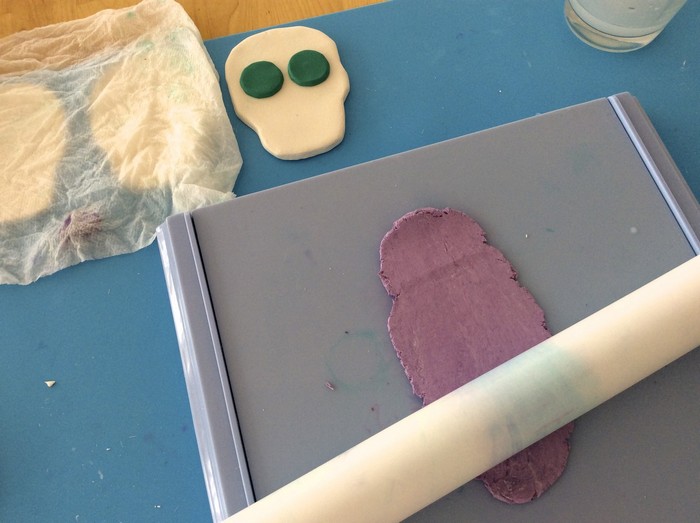
Continue rolling and mixing the clay colors together.
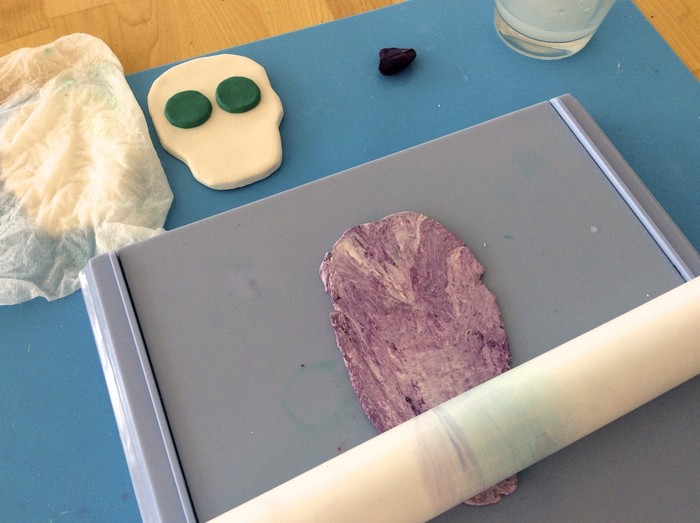
As you go the clay will begin to take on a uniform appearance. Or you can also stop rolling before the colors are fully mixed for a funky marbled effect!
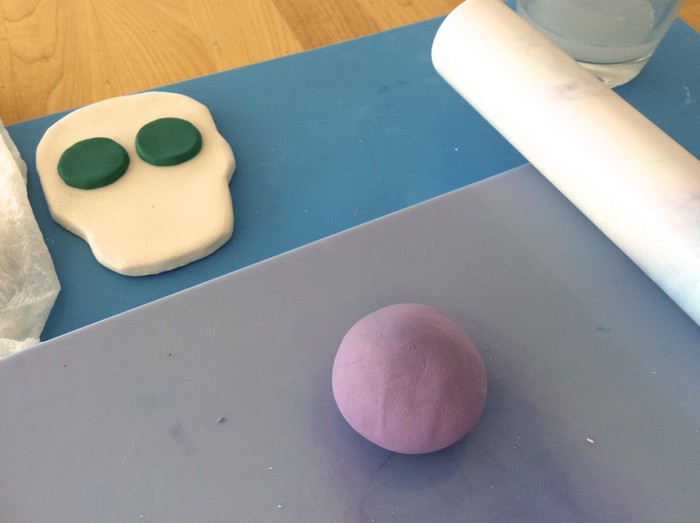
Ball up your custom clay and get ready to start embellishing the eyes!
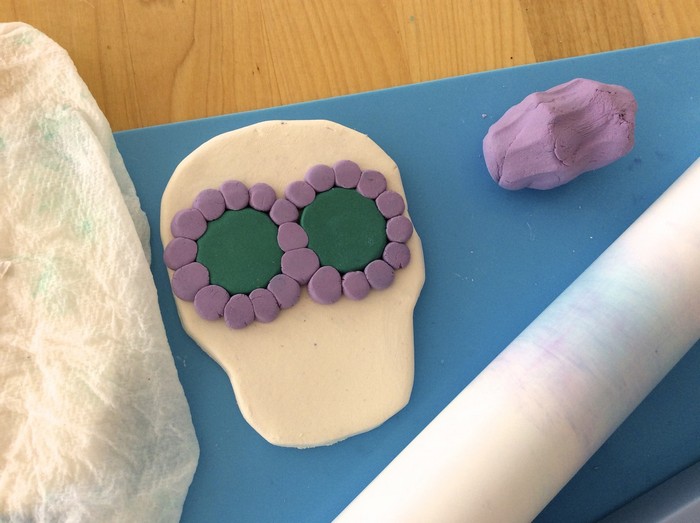
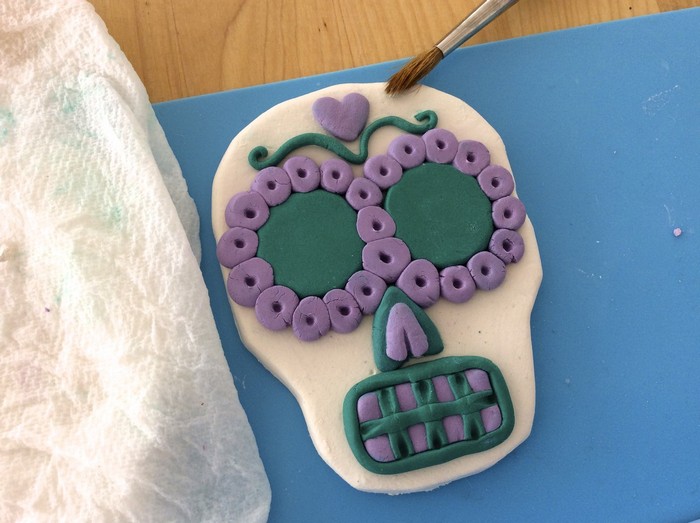
Sculpt little balls to accent the area around the skull’s eyes.
Once you’ve accented all the way around the eyes, carefully roll over the piece to secure the embellishments in place.
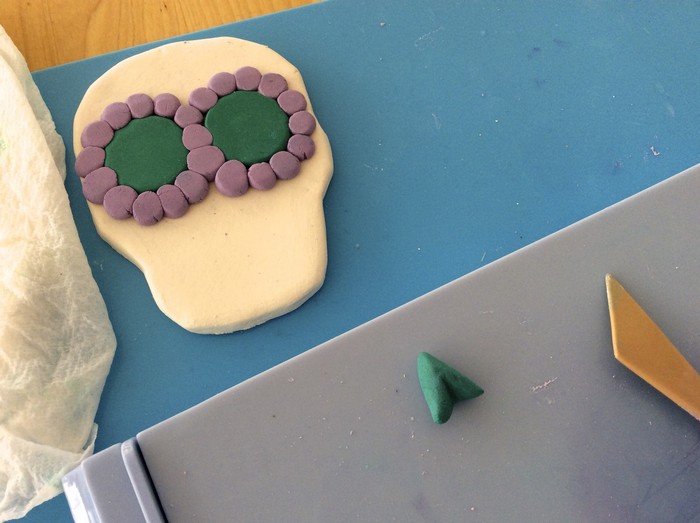
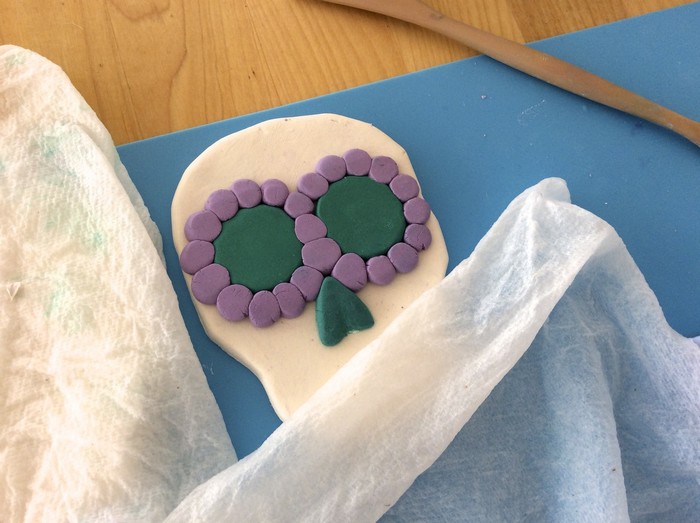
Create a little upside down heart shape out of the same color as the eyes for the nose.
Between steps, cover your work with a moist paper towel.
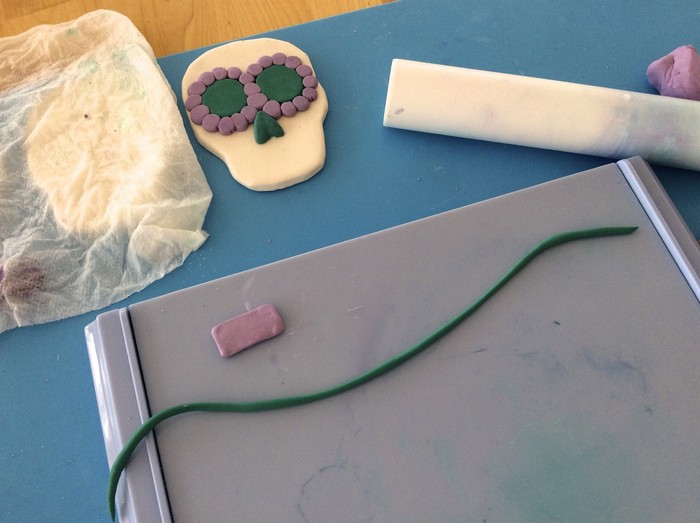
To create the mouth, roll out another slab and cut out a small rectangle.
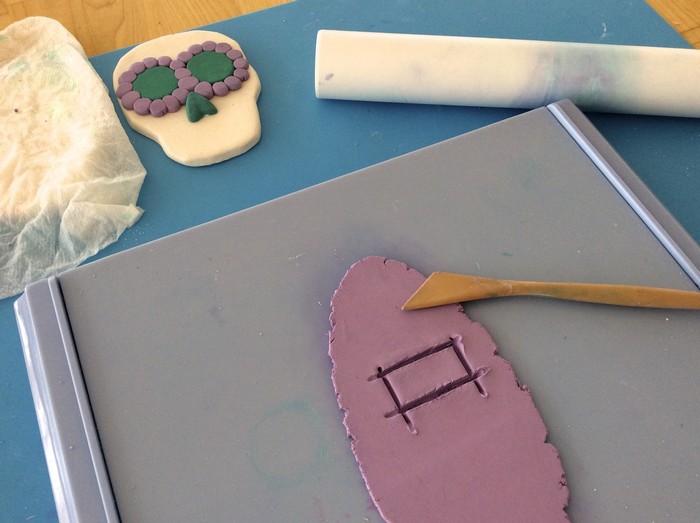
Next roll the contrasting clay into a long thin piece to accent the skull’s teeth.
Create a grid pattern with the contrasting clay for the teeth.
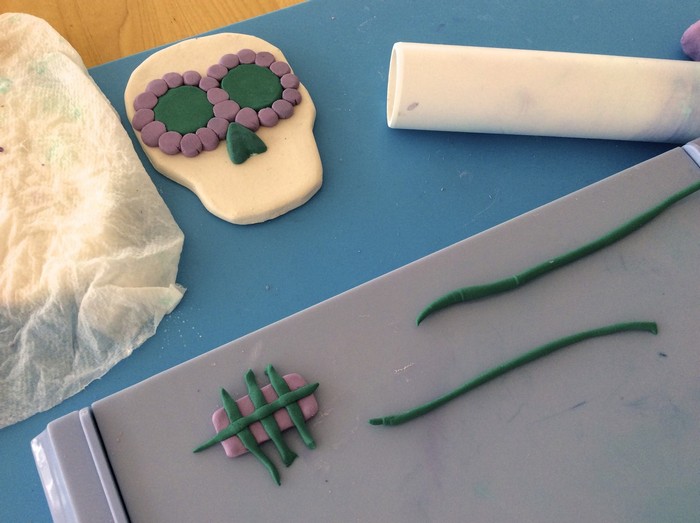
Use the same cross hatching technique to connect the teeth to the scull’s face.
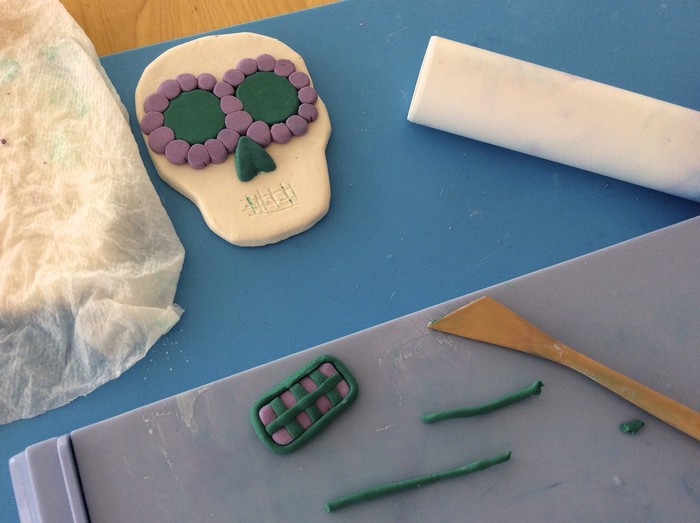
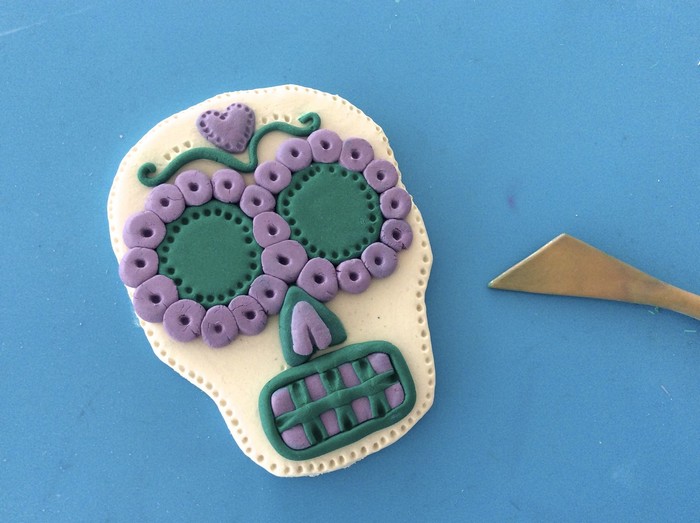
Make another smaller upside down heart shape to accent the nose, and secure it in place.

With the clay-sculpting tool, make little indentations to accent the dots around the eyes.

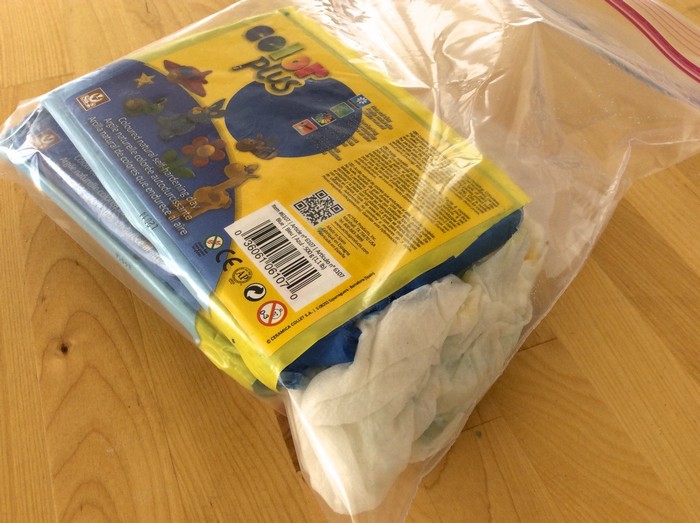
Once you’ve opened your clay it’s good to store it in a ziplock bag with some moist paper towels to keep it nice and soft.
Continue working with these same techniques to embellish the skull to suit your unique sense of style. To keep your project nice and tidy, wipe away any accidental color smudges with a moist paintbrush as you work.
Add more indentations to the piece with the clay-sculpting tool.
Repeat this process to create additional skulls in the colors of your choice.
Once you are finished detailing your skulls, set them aside on a paper towel to dry.
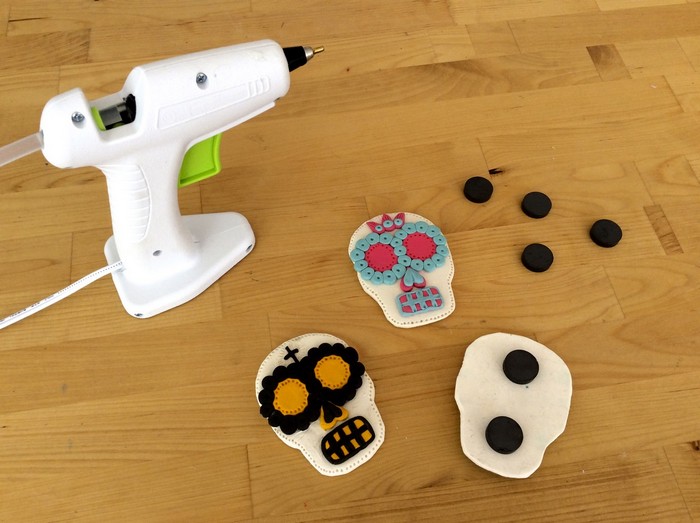
To finish the project off, use some hot glue to attach magnets to the back of the skulls.
- ABOUT THE ARTIST -
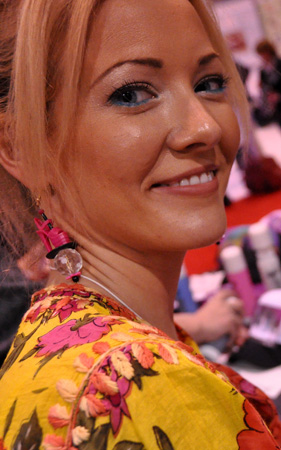
Meet celebrity crafter Marisa Pawelko, winner of the Craft & Hobby Association Indie Craft Contest and the host of “America’s Next Top Crafter™”. Armed with a formal education in furniture design, Marisa used her talents to design products for the gift, toy, fashion and accessories markets before turning her focus to the craft industry. In 2005, sparked with an idea to create a recycled baby memento-keeper out of one of her son’s baby food jars, she founded Modern Surrealist LLC, which quickly developed an international following. Marisa enjoys inspiring crafters on her blog with thrifty project ideas for “upcycling” ordinary objects, into extraordinary custom creations! Her work has been featured by PBS, HGTV, Illinois State Museum and in countless exhibitions and high end boutiques around the world. Modern Surrealist LLC has been providing customers around the globe with individualized and fantastical gifts, crafts and accessories since 2004. Featuring eclectic themes that celebrate your individuality with humor and heart!