Materials Needed:
- Sandtastik® White and Terracotta Air Dry Modeling Clay
- Sculpey® Clay Starter 3pc Tool Kit
- Clay extruder
- Sponge
- Water bowl
- Acrylic paint
- Paint brush
- Natural feathers
- Glue
Step 1
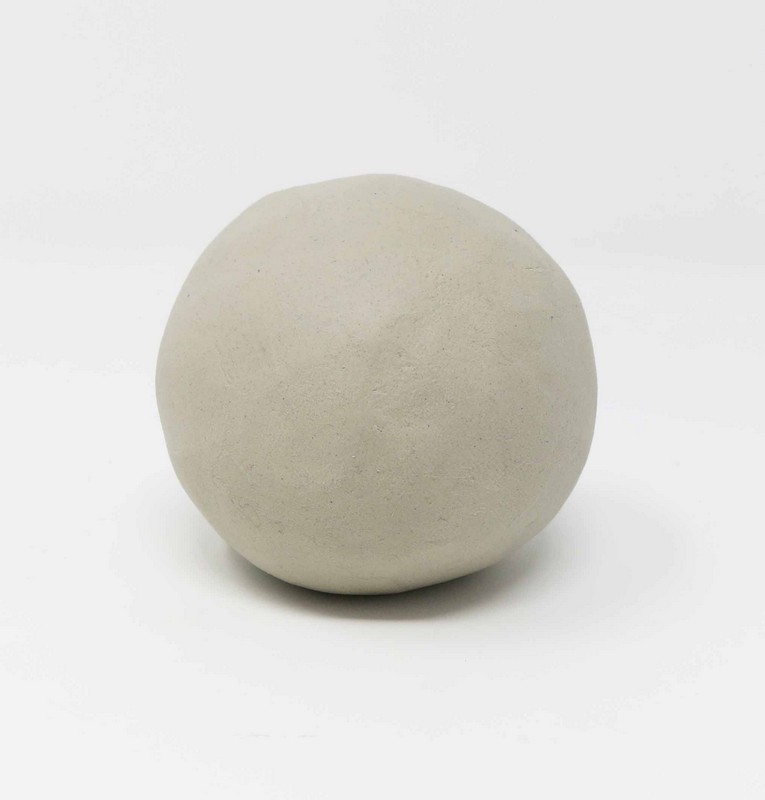
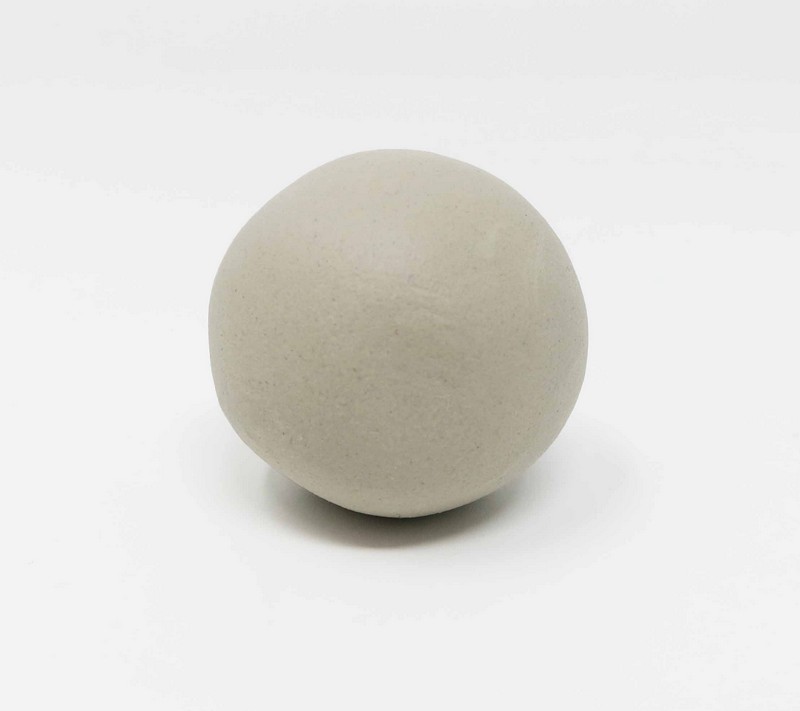
Body
Roll a large sphere out of clay.
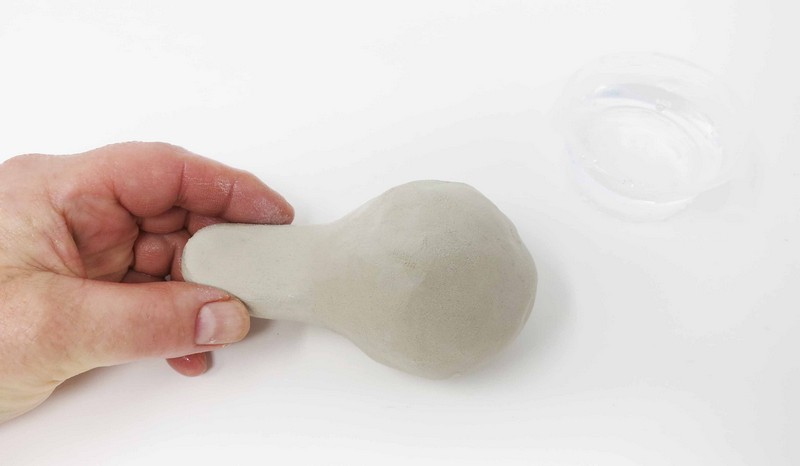
Step 2
Tail
Squeeze and pull out one side of the sphere to form a long and pointed tail.
Step 3
Head
Roll a small sphere out of clay.
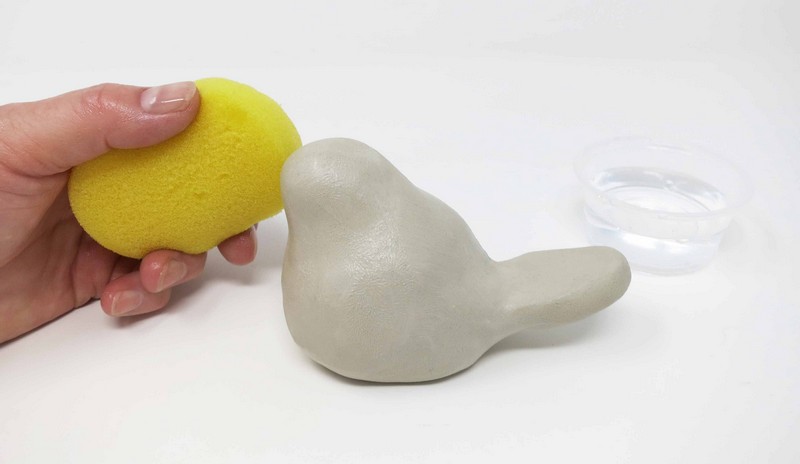
Join the head onto the body using the flat knife tool.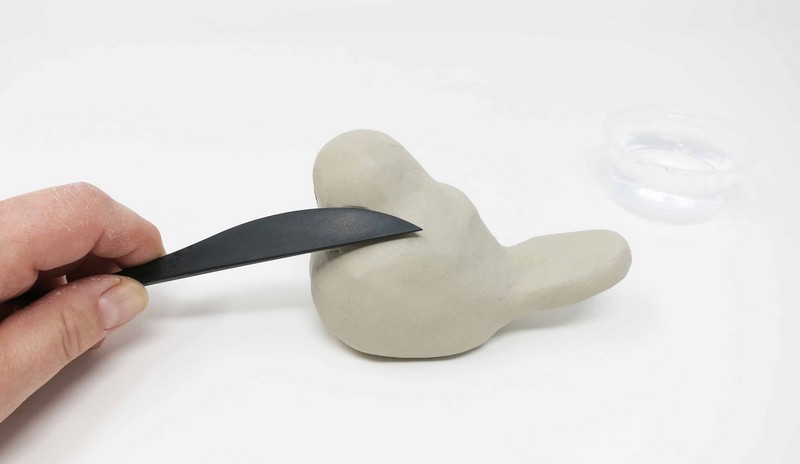
Smooth out any bumps in the clay with a damp sponge.
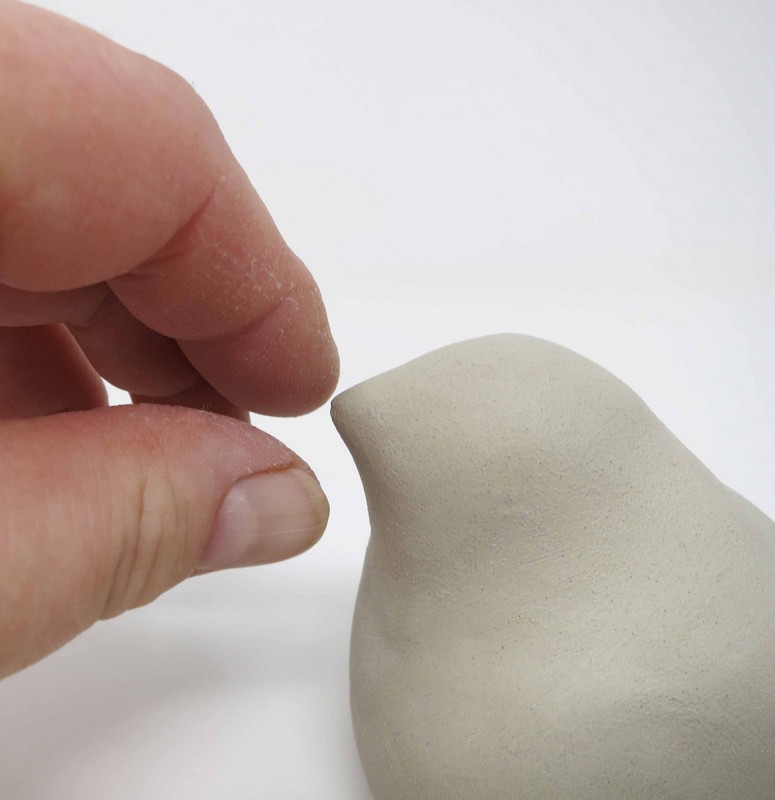
Step 4
Beak
Pinch out a small beak using fingertips.
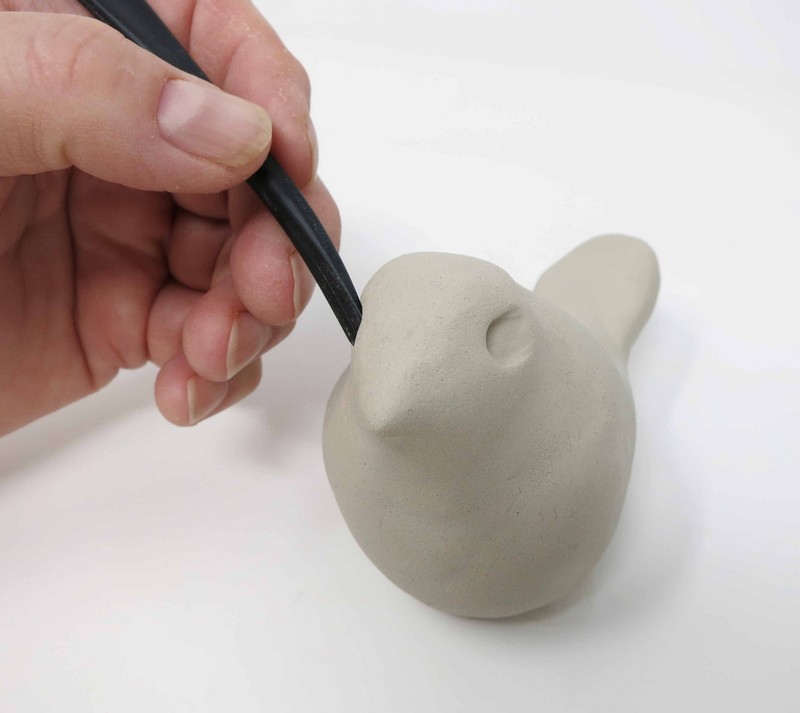
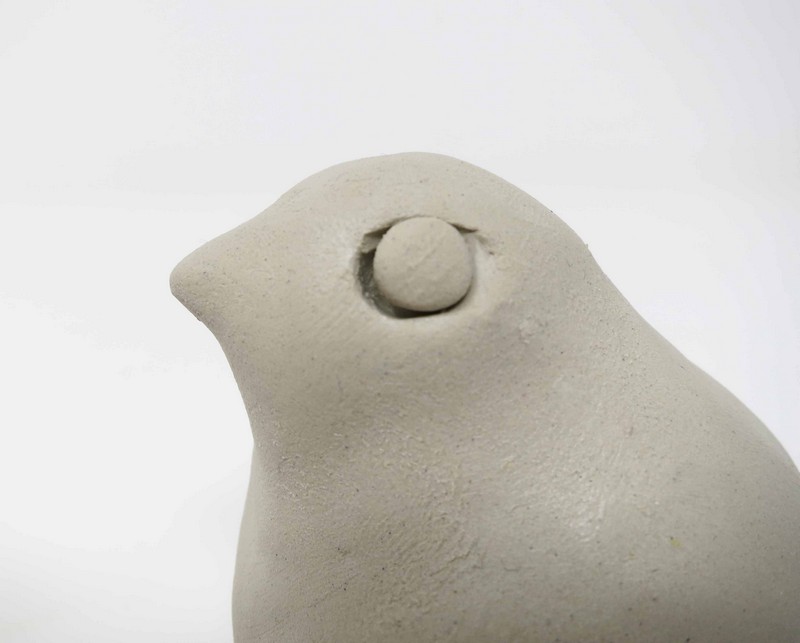
Step 5
Eyes
Indent the back of the knife tool into the clay on both sides of the bird’s beak to form eye sockets. Roll two small spheres and insert them into each eye socket.
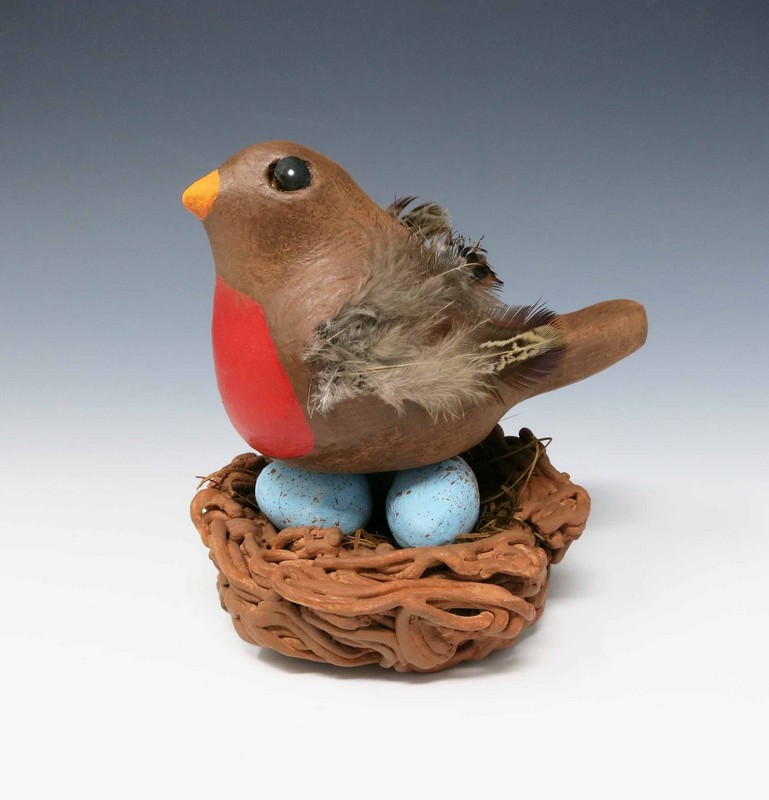
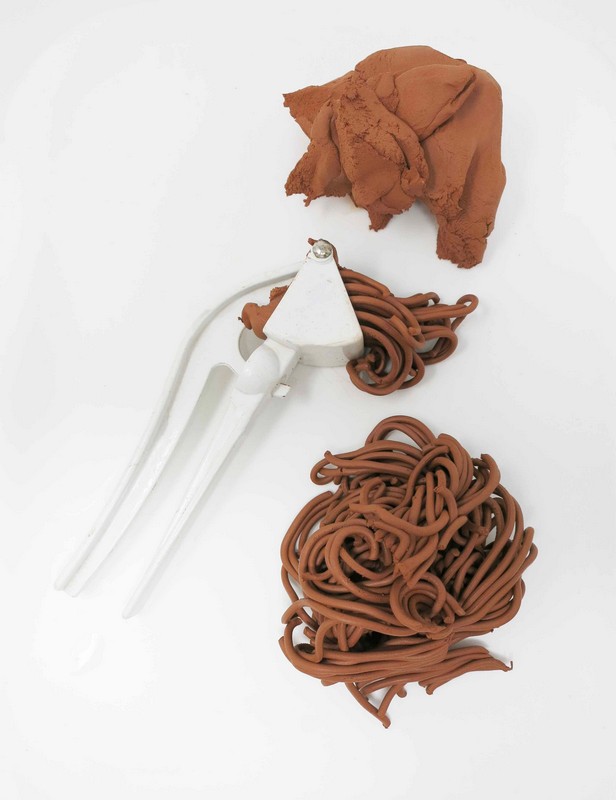
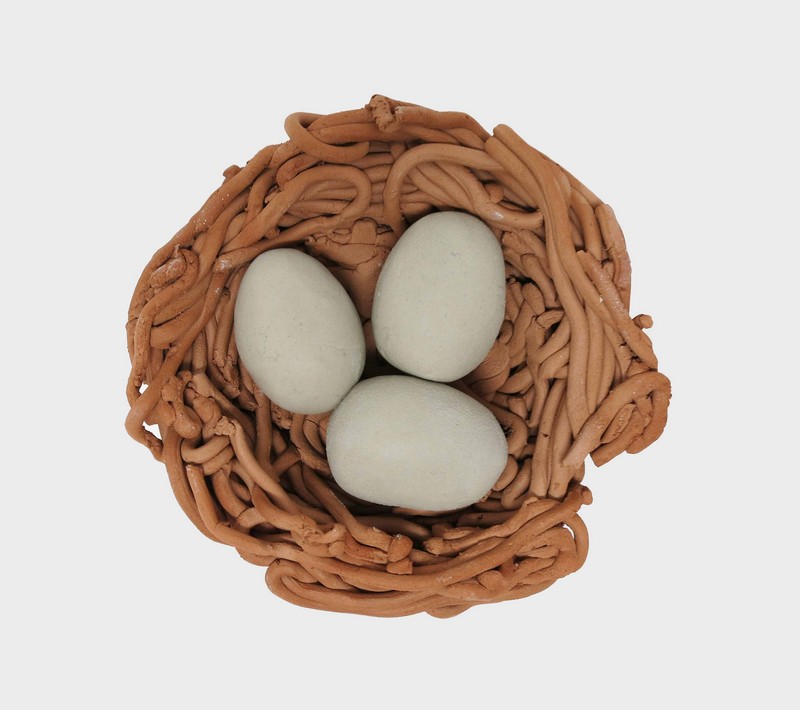
Step 6
Nest
Press moist brown clay through the extruder tool.
Gather the long strands of clay and form them into a bowl shape.
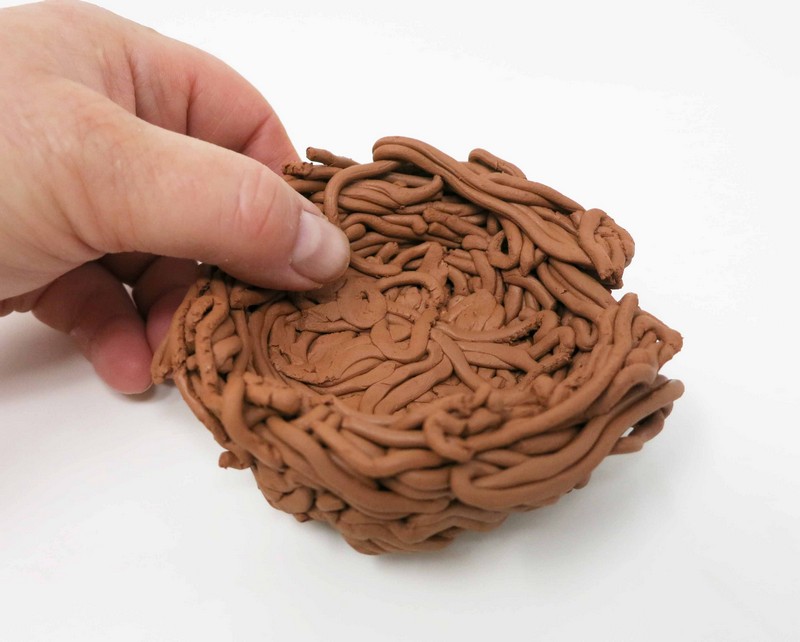
Shape several egg forms out of white clay and place them inside the bird’s nest.
Step 7
Dry
Allow the clay to dry for 24 hours before painting. As the clay dries it will gradually become whiter and whiter. It is considered fully dry when it is no longer cool to the touch.
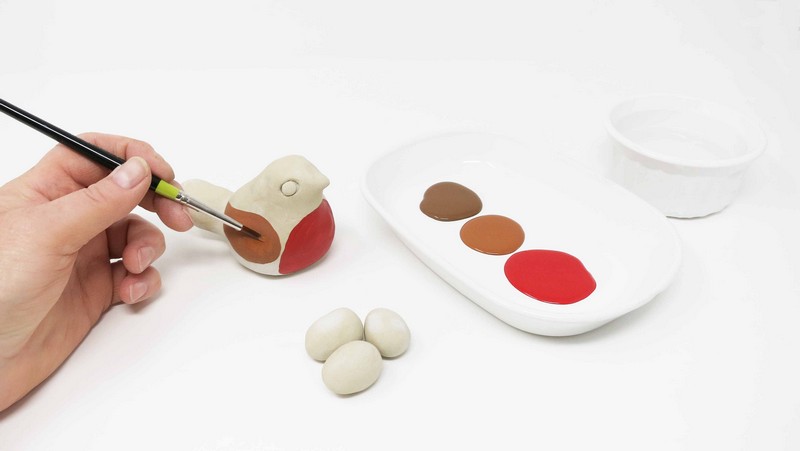
Step 8
Paint
Paint the sculpture using acrylic paint.
-web.jpg)
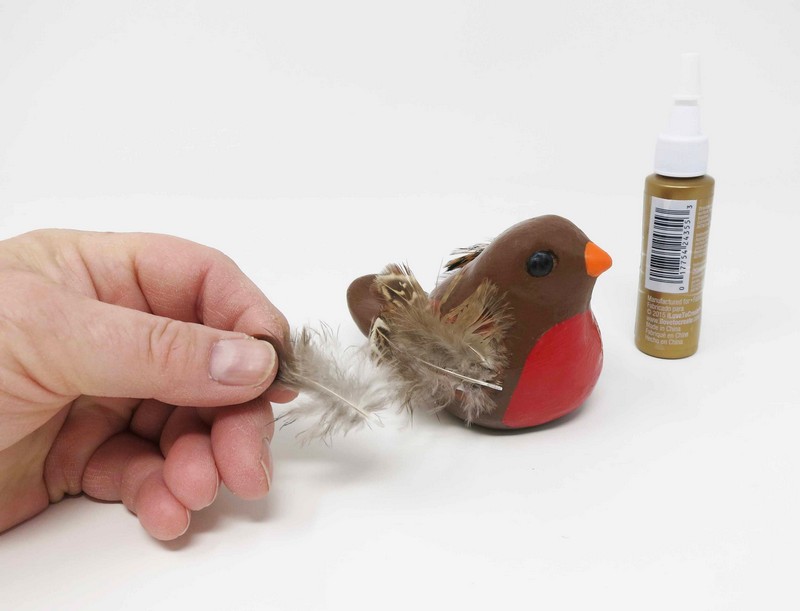
Step 9
Wings
Glue real feathers onto the sides of the bird’s body to create the wings.