OVERVIEW
Learn how to make a Santa Claus Mobile
Supplies
- Activa Activ-Clay 1 LB White
- Sculpey Clay Tool Set
- Ribbon
- Fishing Line or String
- Water
- Baby Powder
- Pencil
- Hobby Paints
- Scissors
- Paint Brushes
- Printer
- Rolling Pin
Directions
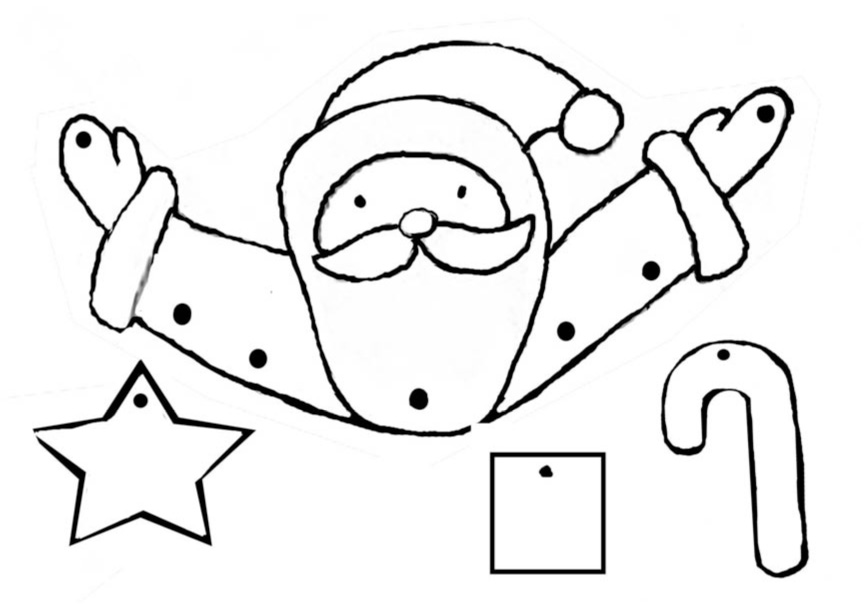 STEP 1 Enlarge pattern to desired size. Click on image to view printable page. Resize image with your printers properties menu.
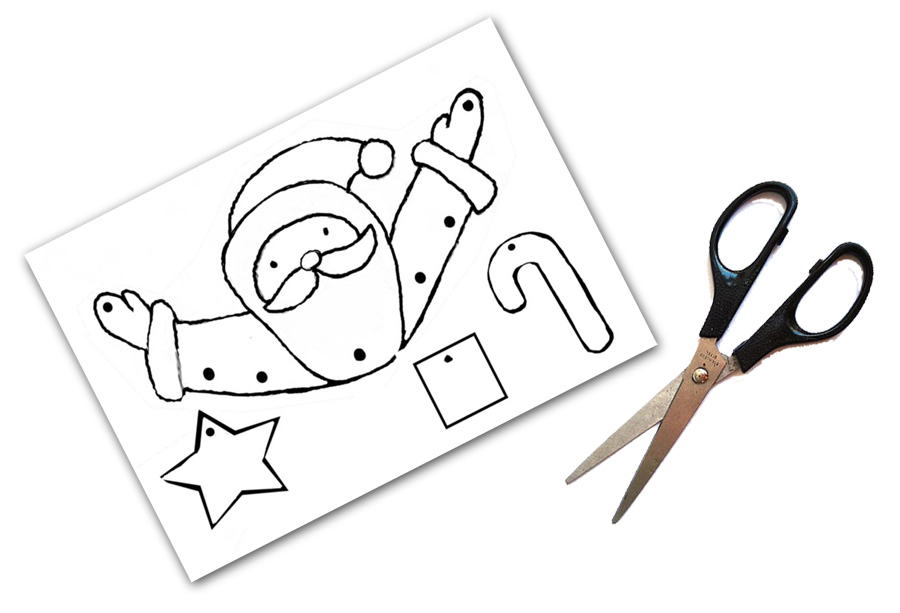 STEP 2 Cut out each pattern with your scissors and set aside. In this project blog, we are using a star, a rectangle to represent a wrapped Christmas present and a candy cane. Feel free to design your own shapes.
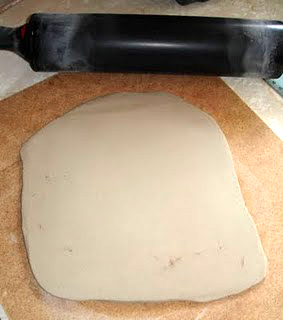 STEP 3 Roll out Activ-Clay with a rolling pin until about 1/2" thick and long enough to fit your patterns.
TIP: Lightly dust your work surface with baby powder to allow easy handling.
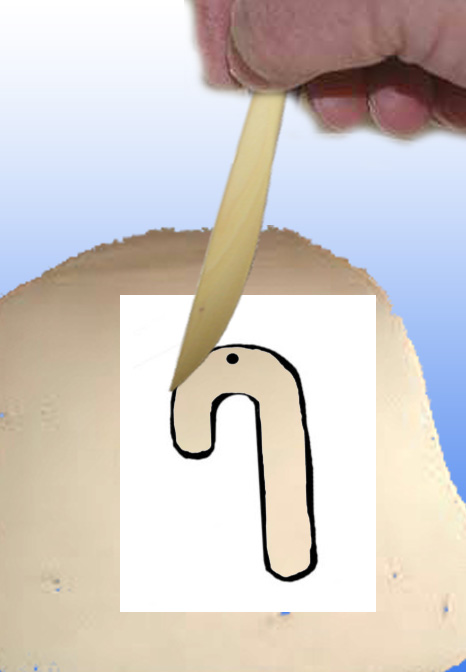 STEP 4 Using your clay cutting knife or plastic knife, cut out shapes. Smooth all edges with wet fingers.
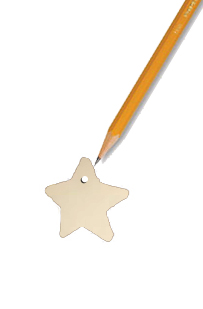 STEP 5 Pierce holes close to the top of each shape about 1/8" in diameter using a pencil tip or whatever else is on-hand. Pierce holes in Santa Claus's beard, arms and mittens. Set your creations in safe place and allow them to dry.
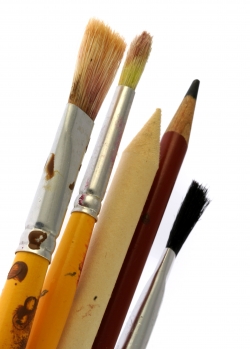 STEP 6 Paint and decorate!
TIP: Paint one side first and allow to dry. Then, paint the other side with the same or slightly different pattern. Shapes are meant to spin around on string.
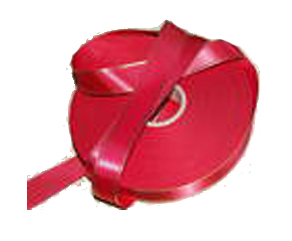 STEP 7 Cut a length of ribbon long enough to hang mobile. Tie one side to each of Santa's mittens.
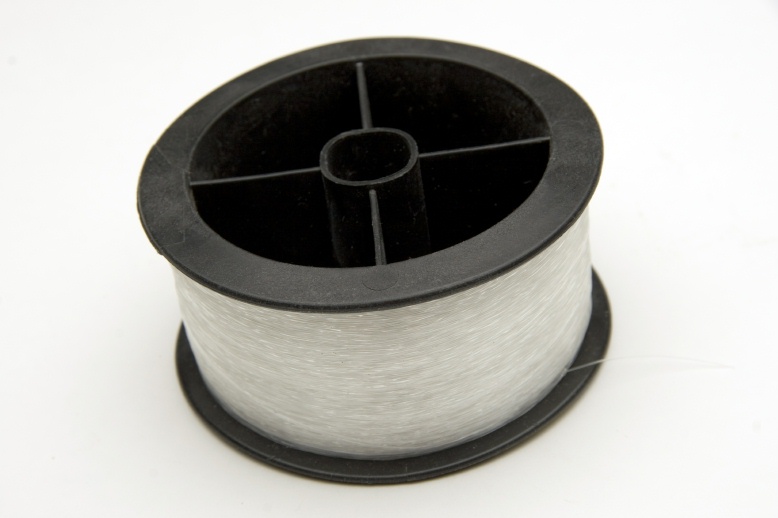 STEP 8 Cut different lengths of string or fishing line for your creations to dangle on. Tie one end to Santa and the other to each of your sculpted shapes.
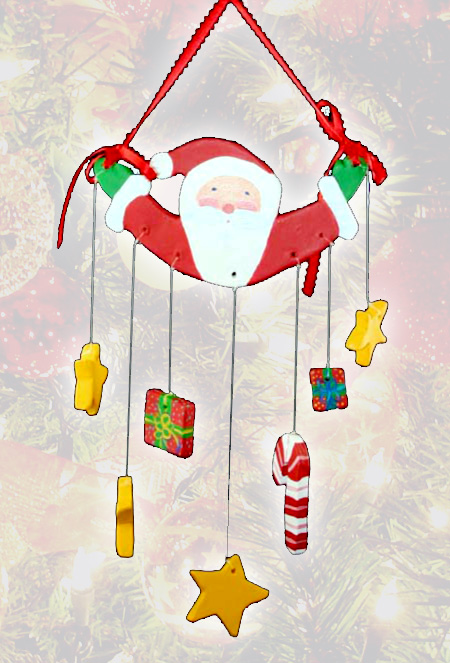 STEP 9 Find a great spot to hang your Santa Claus Mobile up!