Materials Needed:
- Sandtastik White Air Dry Modeling Clay
- Sculpey® Clay Starter 3pc Tool Kit
- Water Bowl
- Acrylic Paint
- Brushes
- Black Marker
Step 1
Body
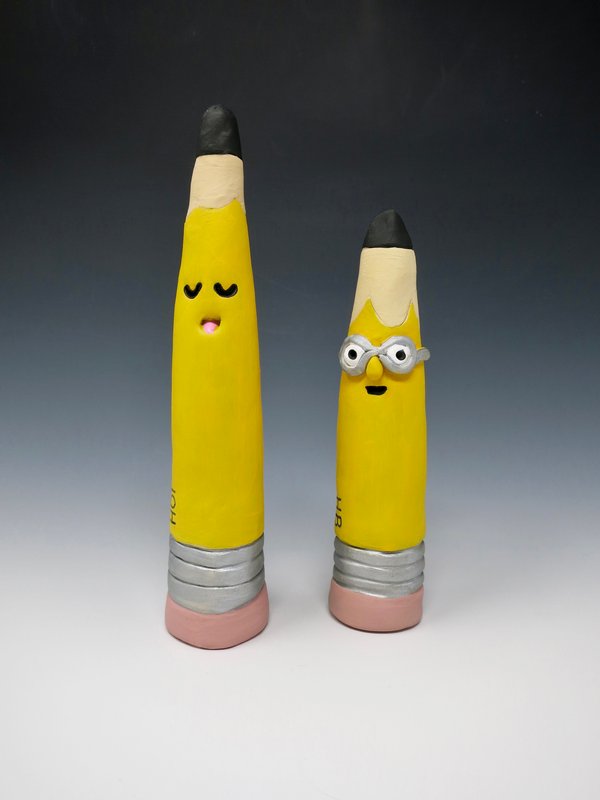
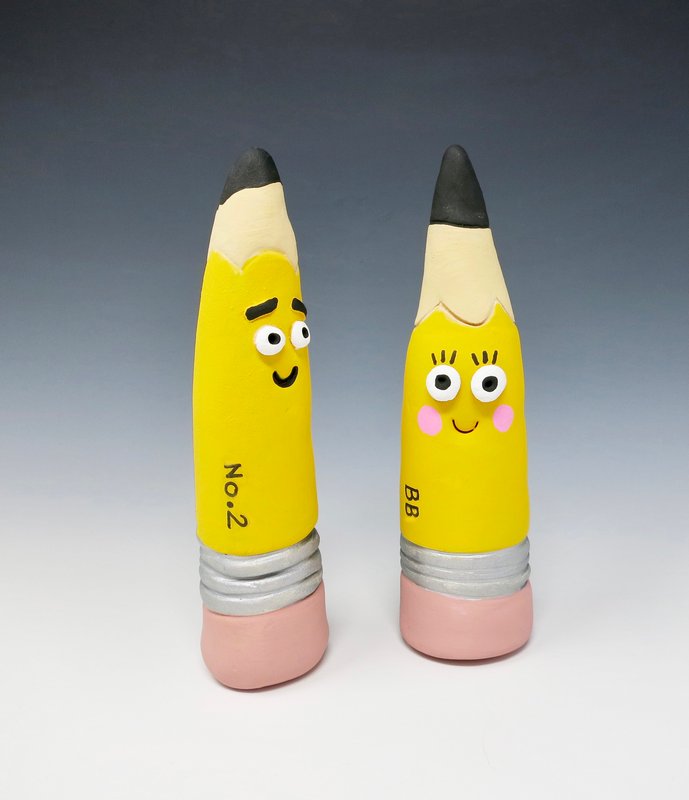
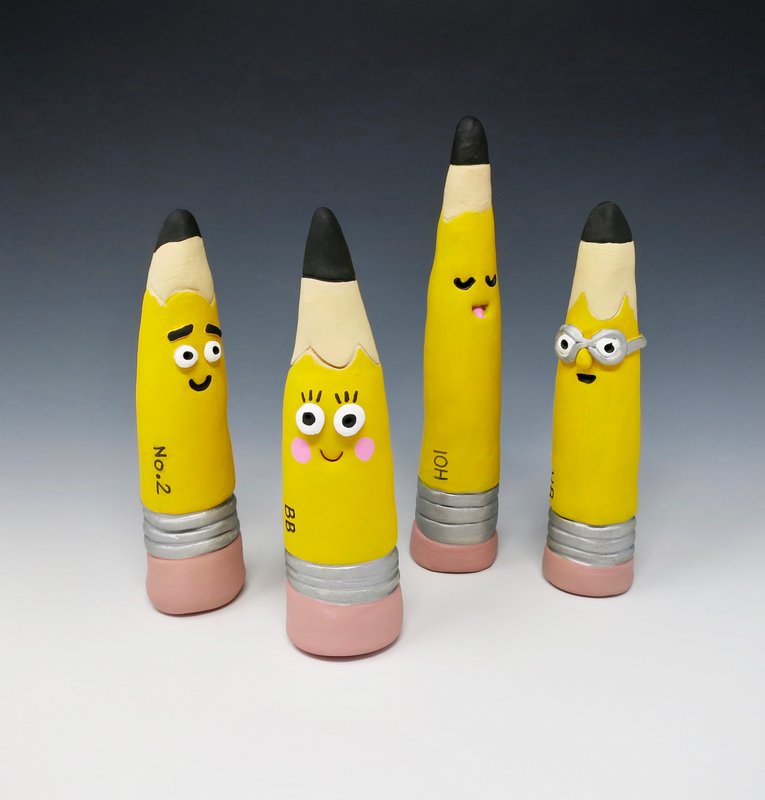
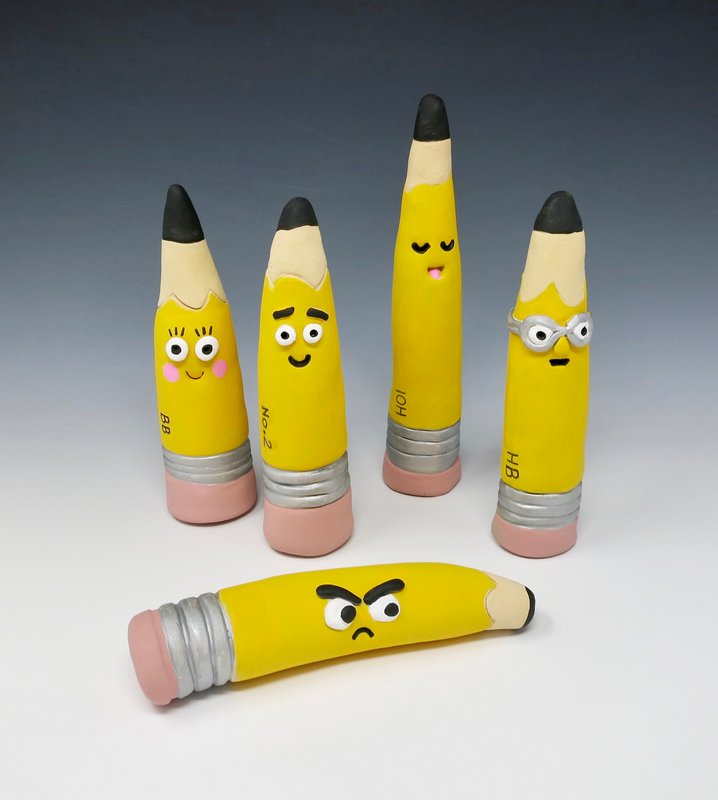
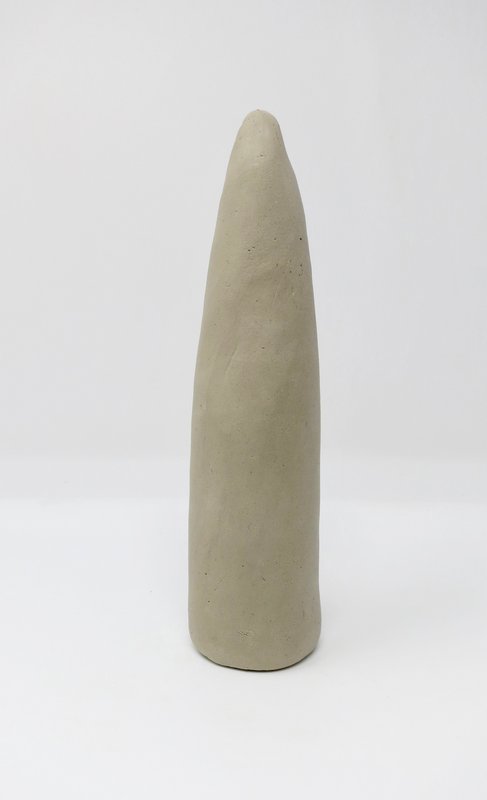
Roll a thick cone out of clay.
Step 2
Eraser
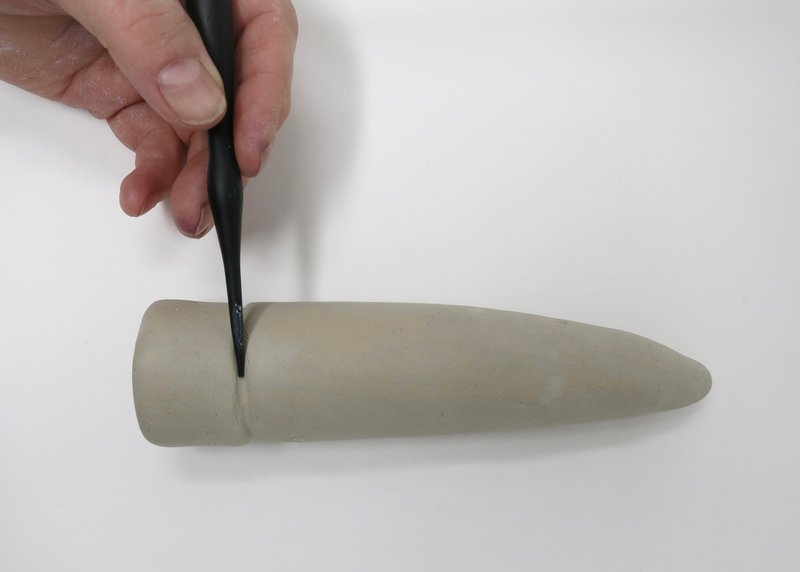
Indent a line all around the bottom section of the cone to form the pencil’s eraser.
Step 3
Ferrule
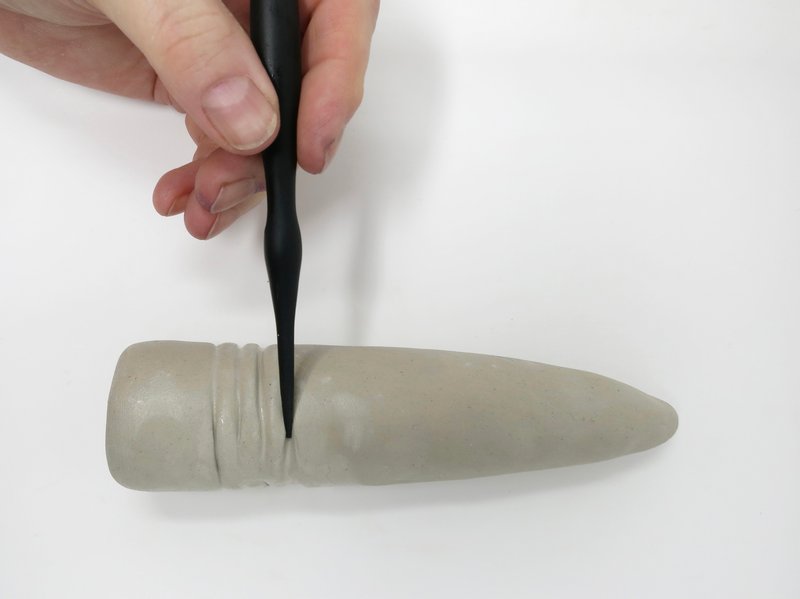
Indent three lines close together above the eraser line to form the pencil’s ferrule.
Step 4
Wood
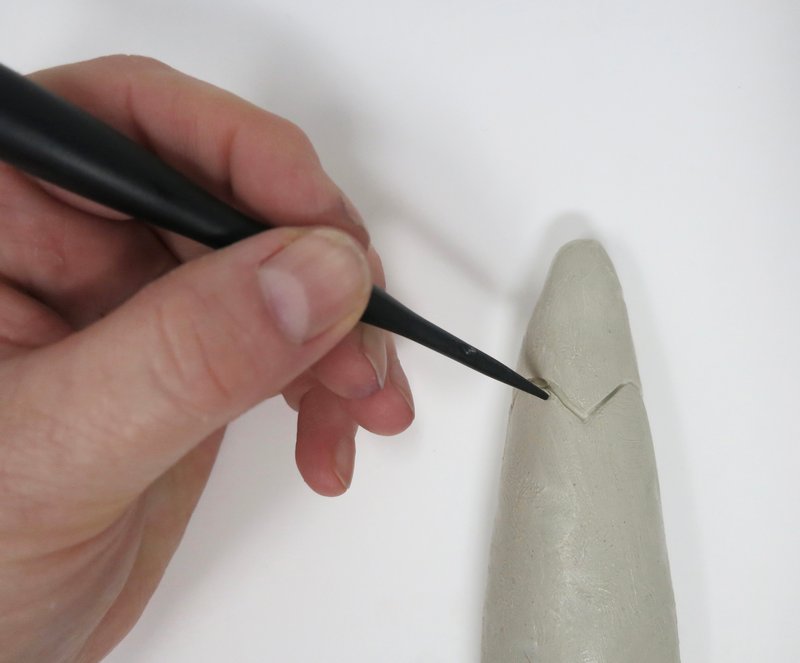
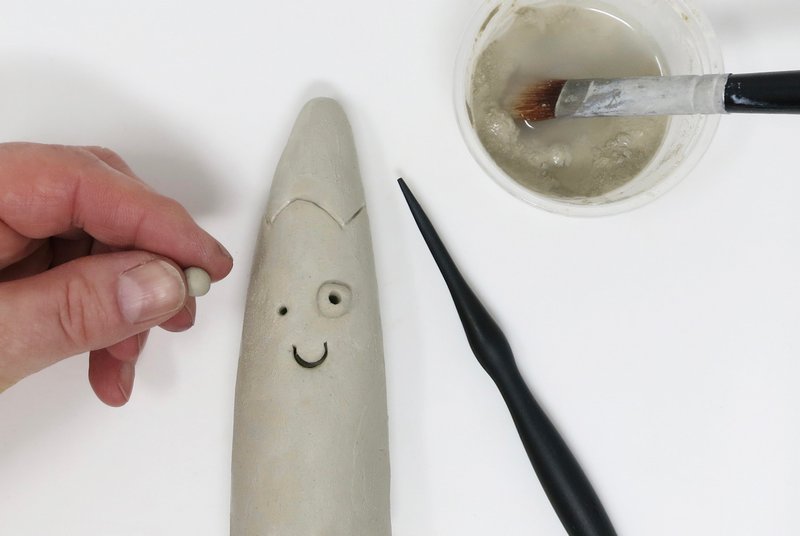
Lightly draw a bumpy line near the tip of the cone to form the pencil’s wood.
Step 5
Face
Create an expressive face by drawing or adding on additional clay pieces.
Step 6
Dry
Allow the clay to dry for 24 hours before painting.
Step 7
Paint
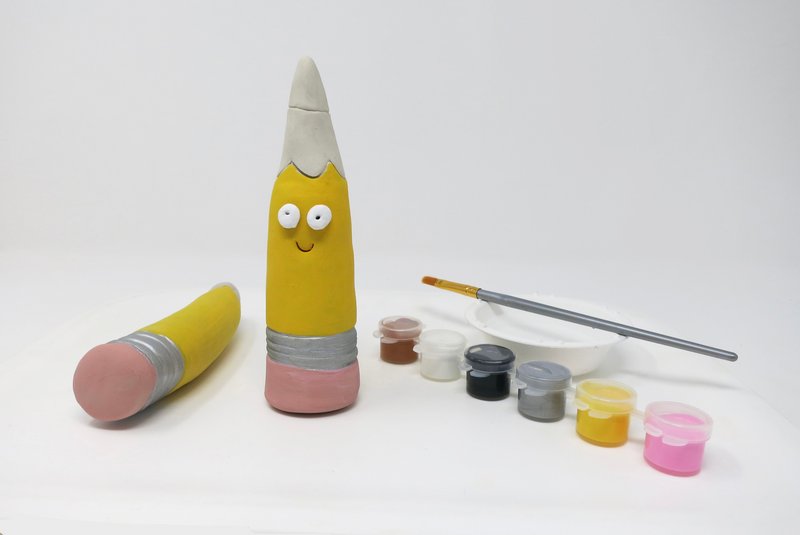
Color the sculpture using acrylic paints.
Step 8
Details
Use a thin black marker to draw on the pencil’s lead number. Pencils are graded in the following order: 9H, 8H, 7H, 6H, 5H, 4H, 3H, 2H, H, F, HB, B, 2B, 3B, 4B, 5B, 6B, 7B, 8B, 9B, 9xxB.
