Materials Needed:
- Sandtastik® Brown Air-Dry Modeling Clay
- Sculpey® Clay Starter 3pc Tool Kit
- Water Bowl
- Pipe Cleaners
- Wood Plaque
- Wood Stain
- Acrylic Paints
- Brush
- Craft Adhesive
- Hanging Hardware
Step 1
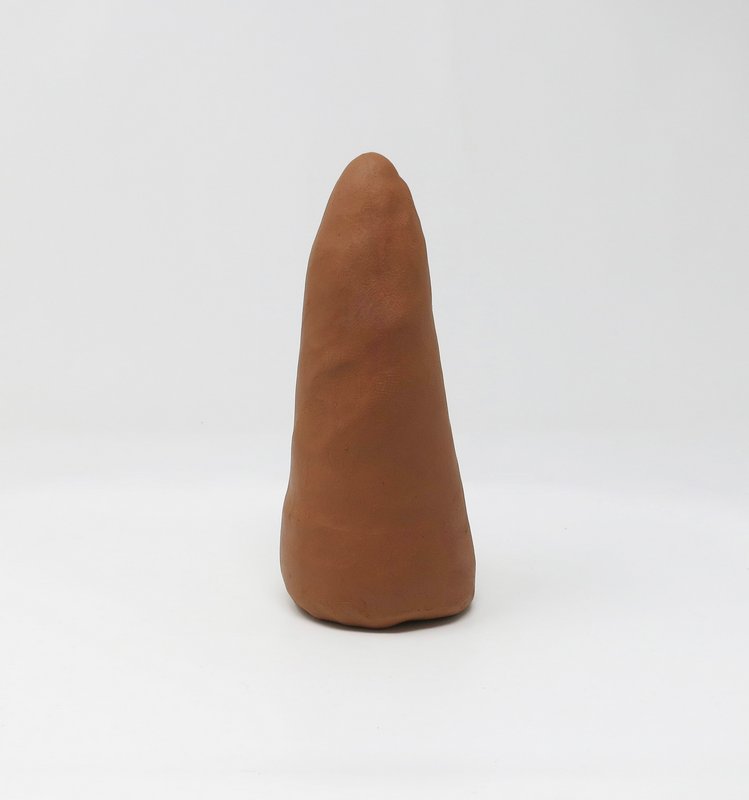
Bust
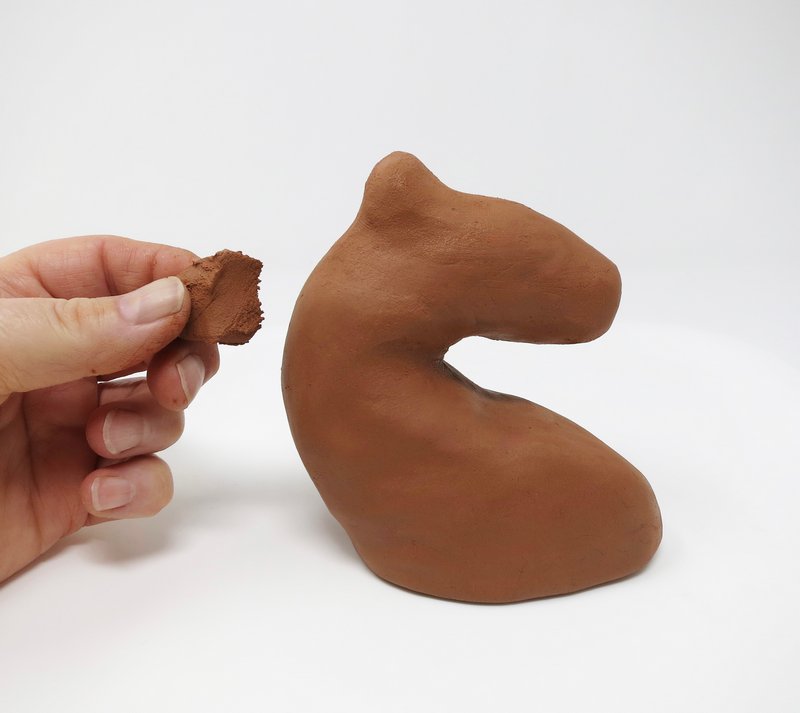
Form a large cone for the deer’s head and neck.
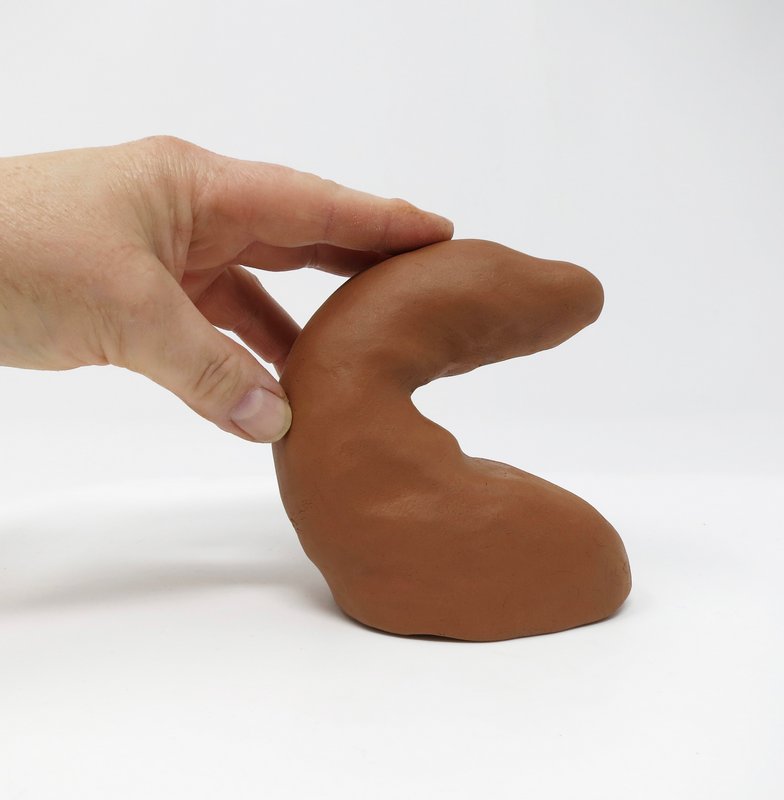
Bend the tip of the cone down until it forms a curve similar to the letter C. Allow the bottom of the cone to slightly collapse. This will serve as the neck of the deer and provide a flat surface to be mounted on the display plaque.
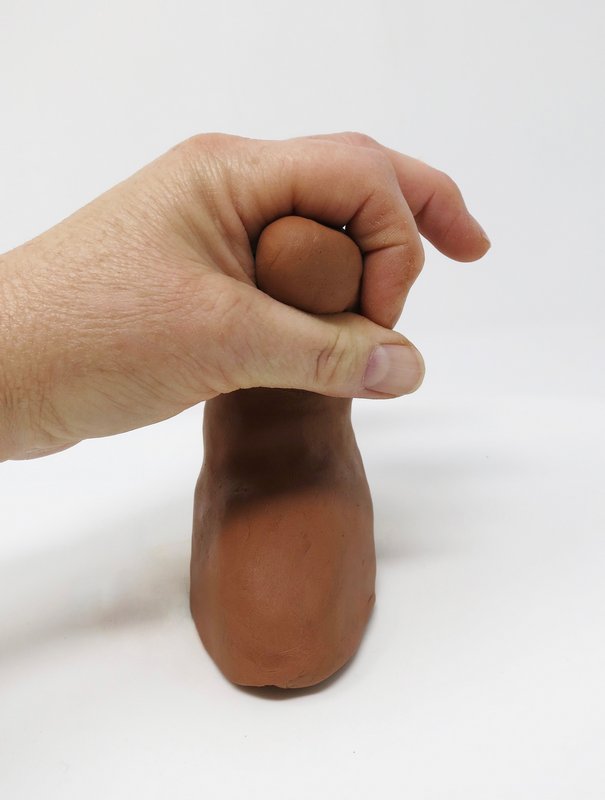
Squeeze the end of the cone between fingertips.

Step 2
Head
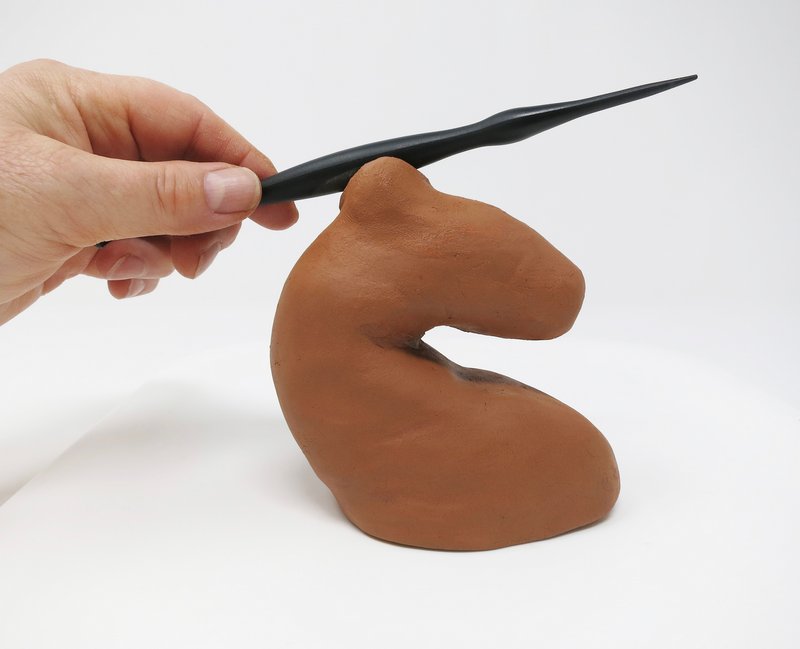
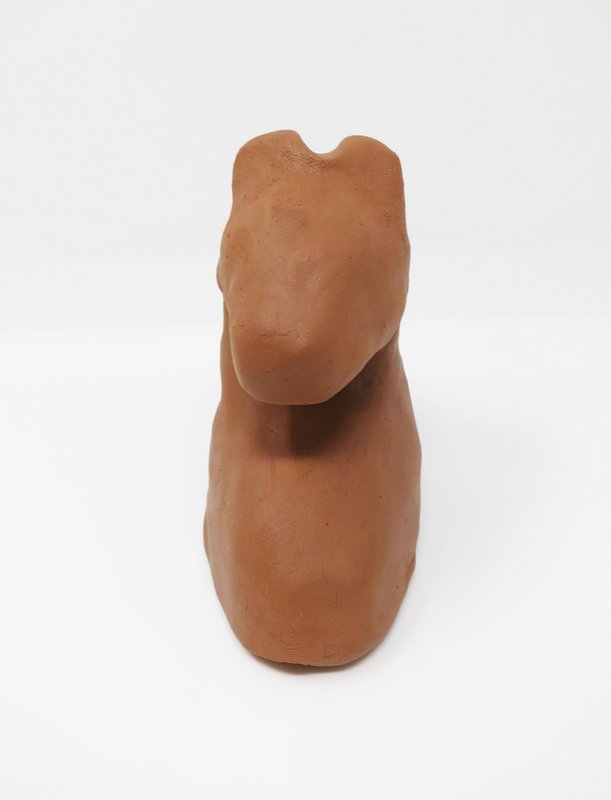
Add additional clay to the top of the bent cone to form the head shape.
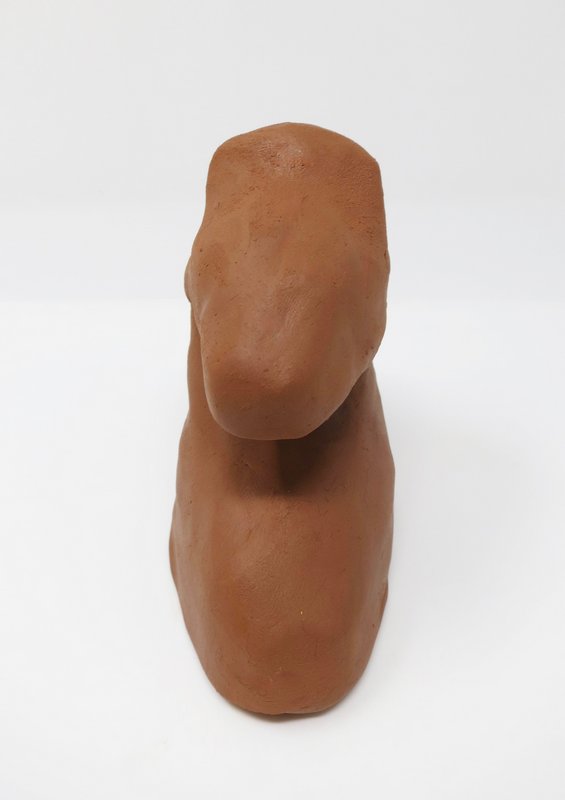
Indent the middle of the clay with the side of the rounded tool to create two bumps.
Step 3
Ears
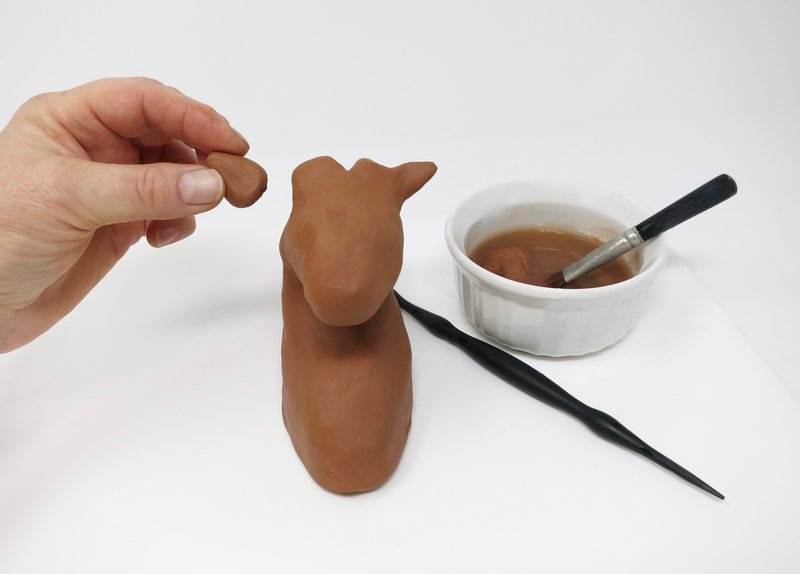
Form two small cones and score and slip them on either side of the bumps on the top of the head. Smooth them onto the head.
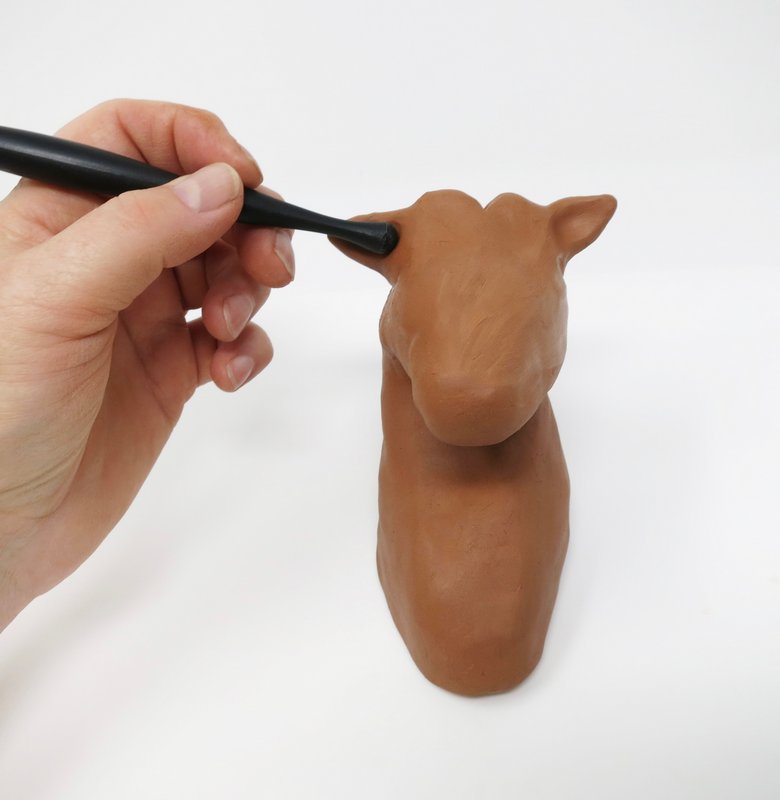
Indent the ball stylus tool into each cone to form the inside of the ears.
Step 4
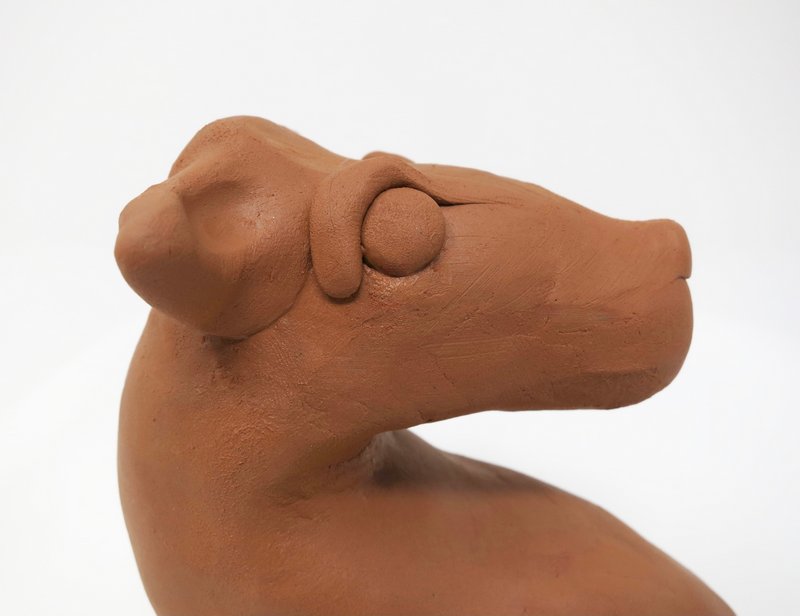
Eyes
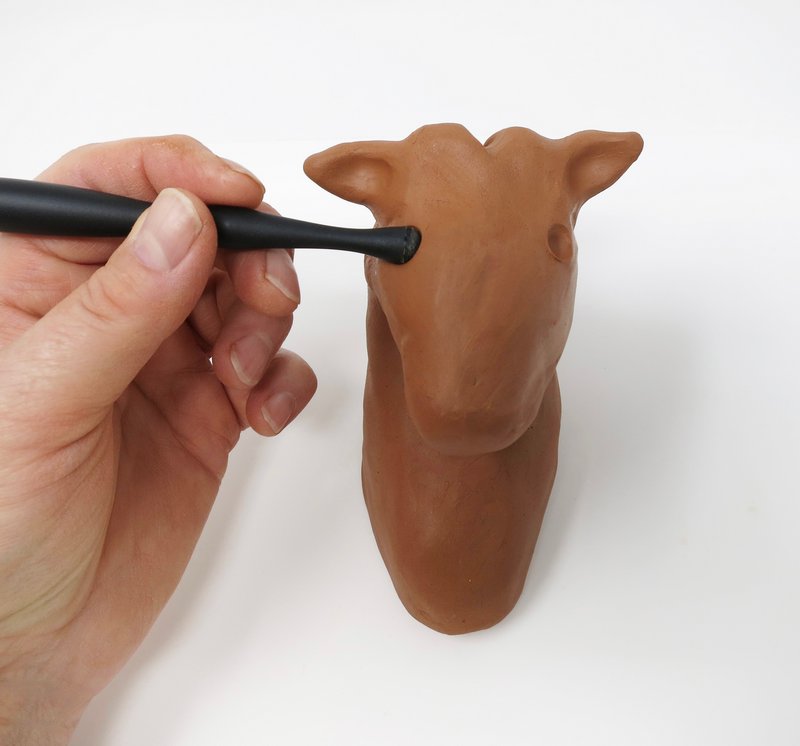
Indent the ball stylus tool below each ear.
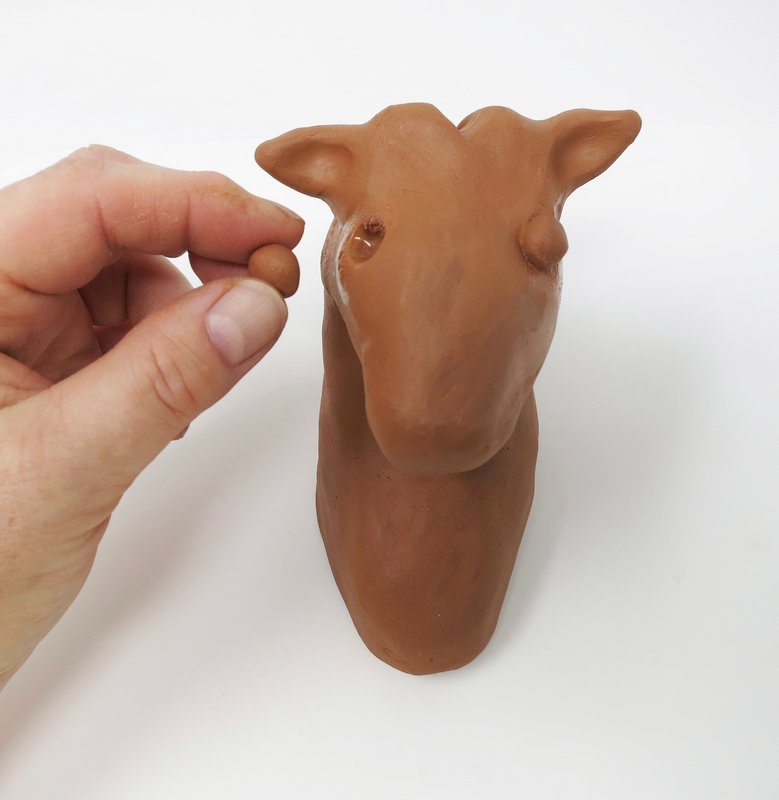
Roll two tiny spheres for the eyes. Dampen the eye sockets with water and insert the spheres into the clay cavities.
Roll two tiny cylinders and attach them above each eye.

Step 5
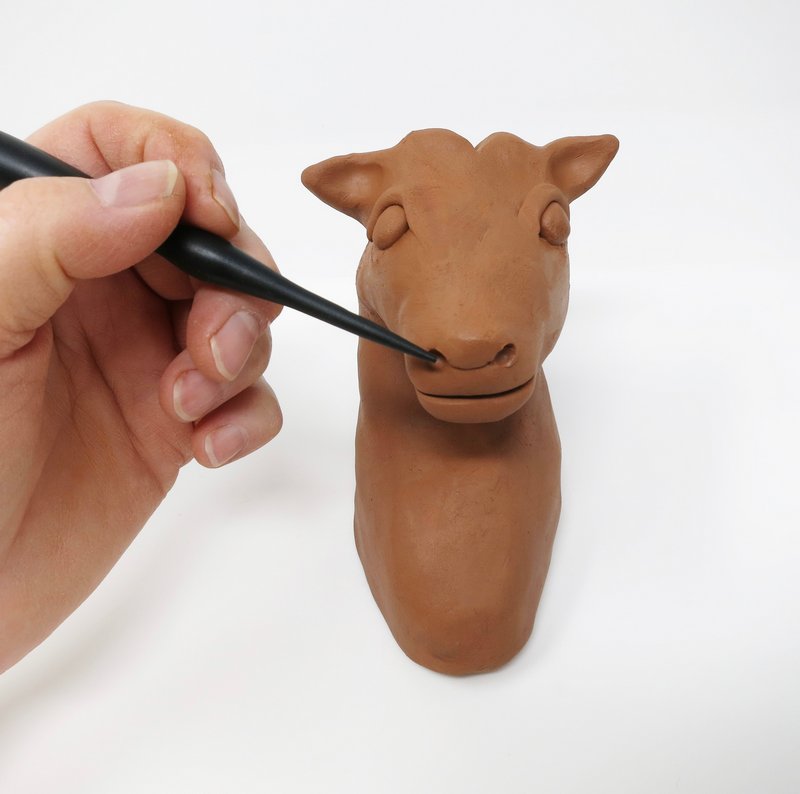
Nose
Add a tiny bit of clay onto the end of the head for form a small bump for the deer’s nose.
Indent the nostrils with the pointed tool.
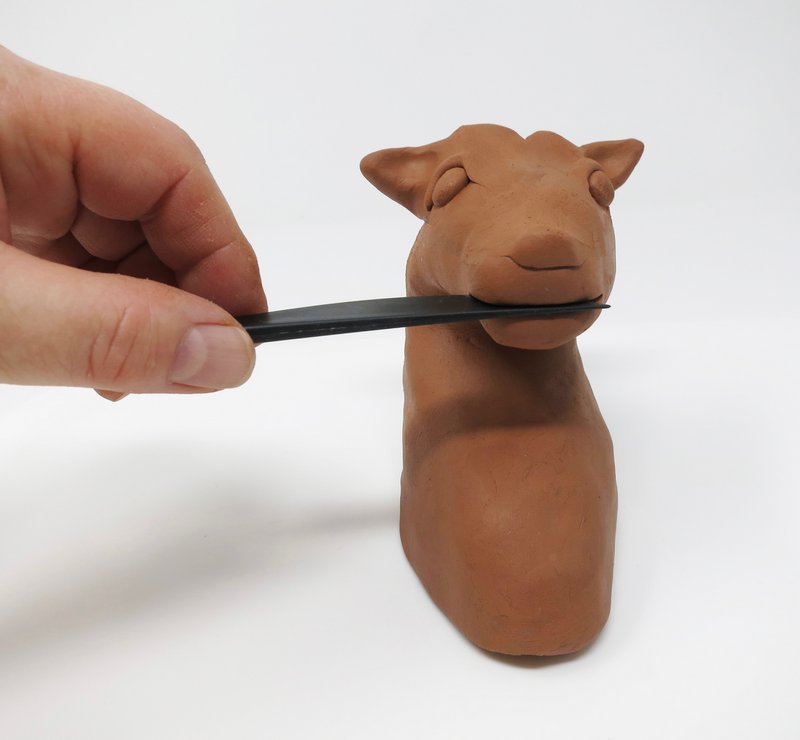
Step 6
Mouth
Make a cut line into the tip of the head to form the deer’s mouth.
Step 7
Antlers
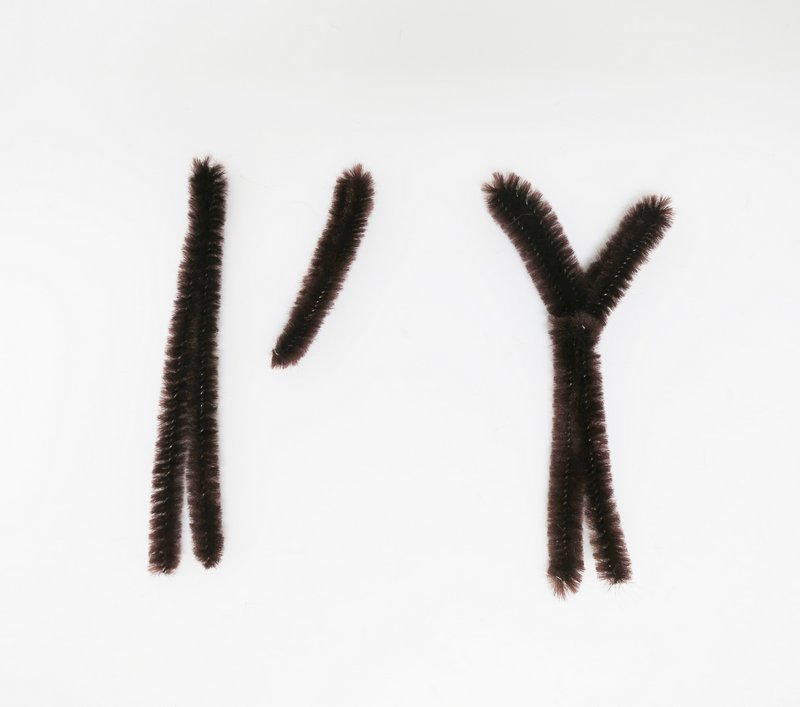
Cut 1 pipe cleaner in half and fold each piece in half.
Cut 1 pipe cleaner into 4 parts and fold each piece in half.
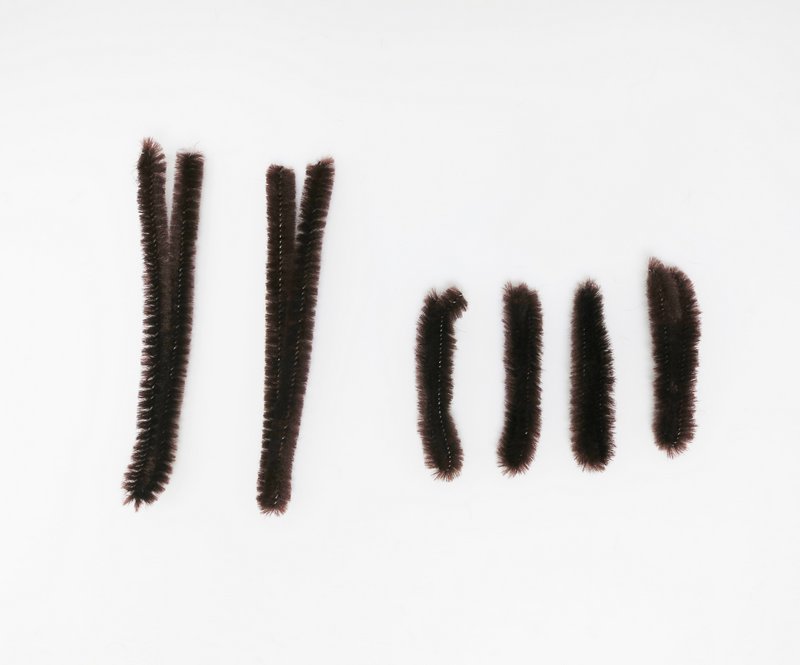
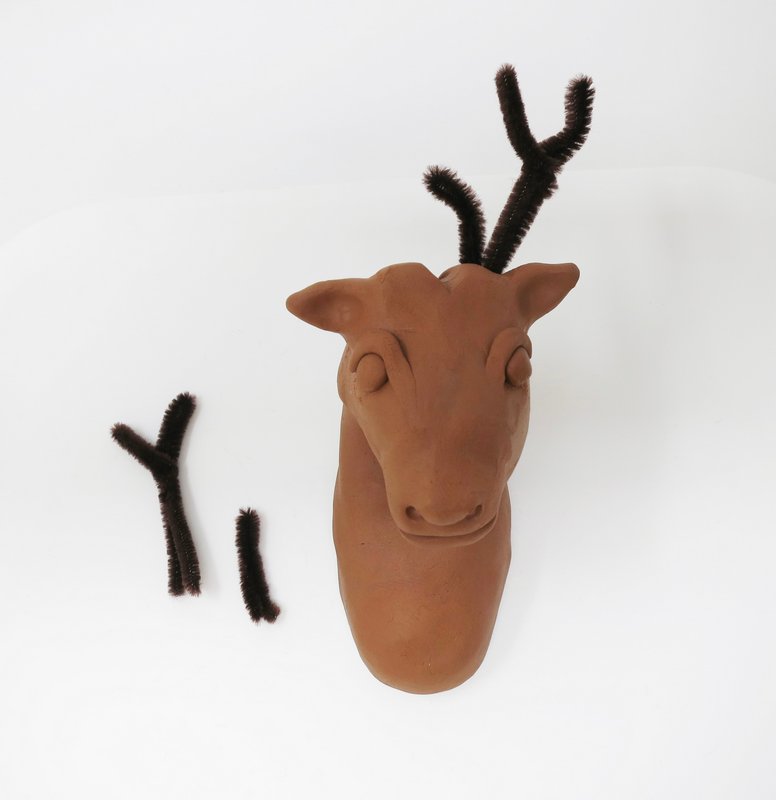
Join on quarter pipe cleaner section to the larger pipe cleaner to form the letter Y.
Insert the pipe cleaners into the clay between the two ears.
Step 8
Dry
Allow the clay to dry for 24 hours before painting.
Step 9
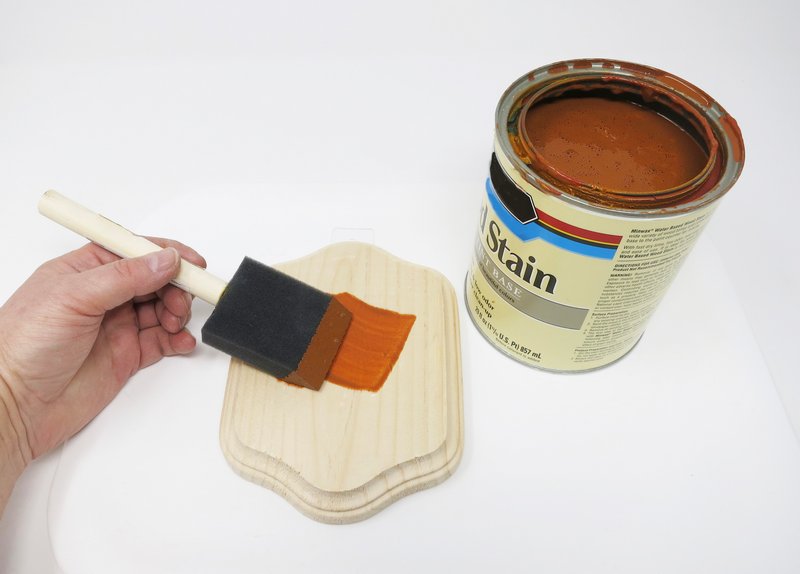
Plaque
Stain the wood plaque.
Step 10
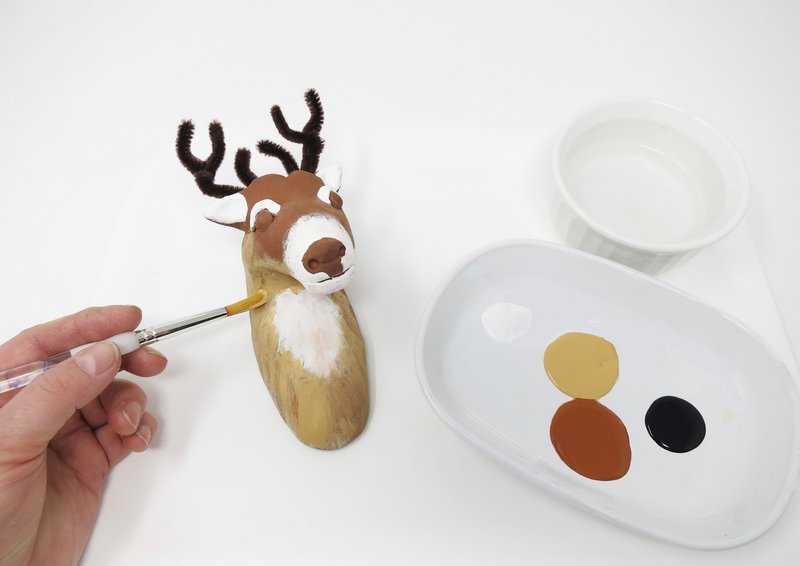
Paint
Dry brush paint colors onto the clay leaving some of the natural clay color to showing.
Step 11
Mount
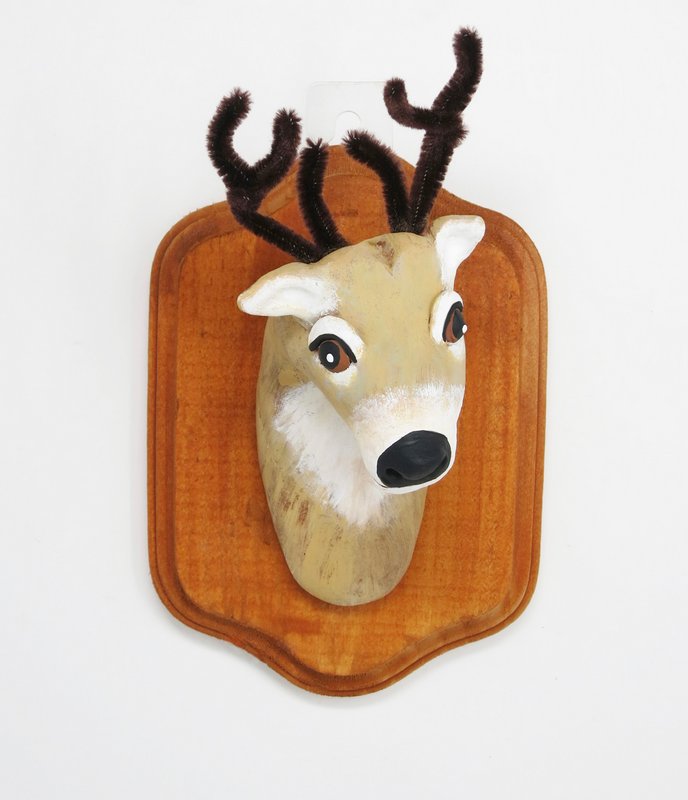
Attach the clay deer head onto the wood plaque using craft adhesive. Attach handing
hardware to the back.
Step 12
Display