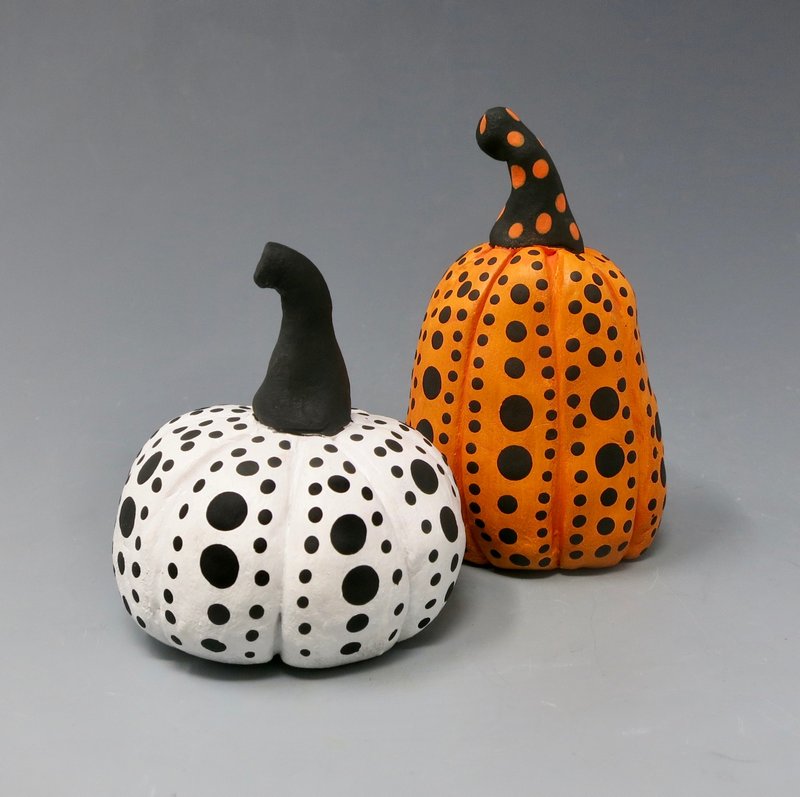
Supplies:
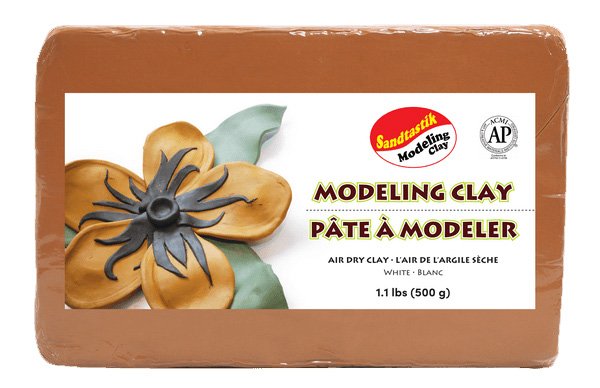
- Sandtastik® Air Dry Modeling Clay - Terracotta
- String
- Pointed Clay Tool
- Small Bristle Brush
- Small Water Dish
- Acrylic Paint
- Paint Brush
- Mod Podge
Preparing Your Clay
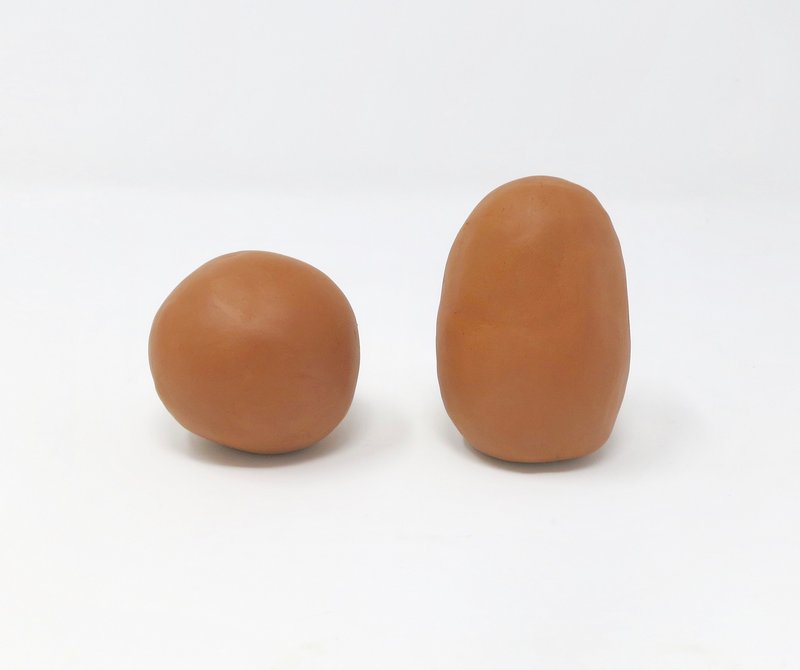
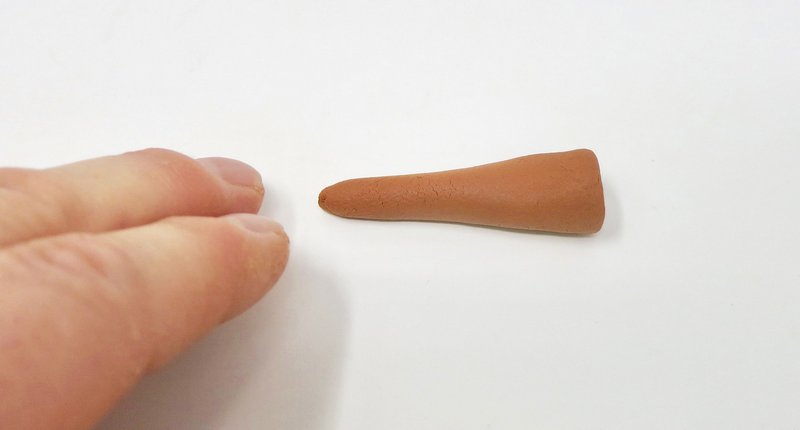
Roll:
- 1 large sphere or egg form
- 1 small cone
Step 1
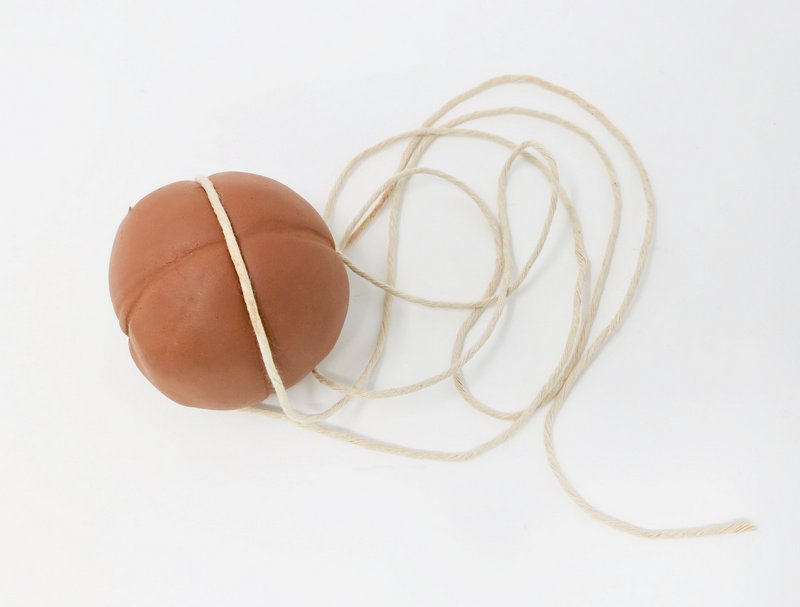
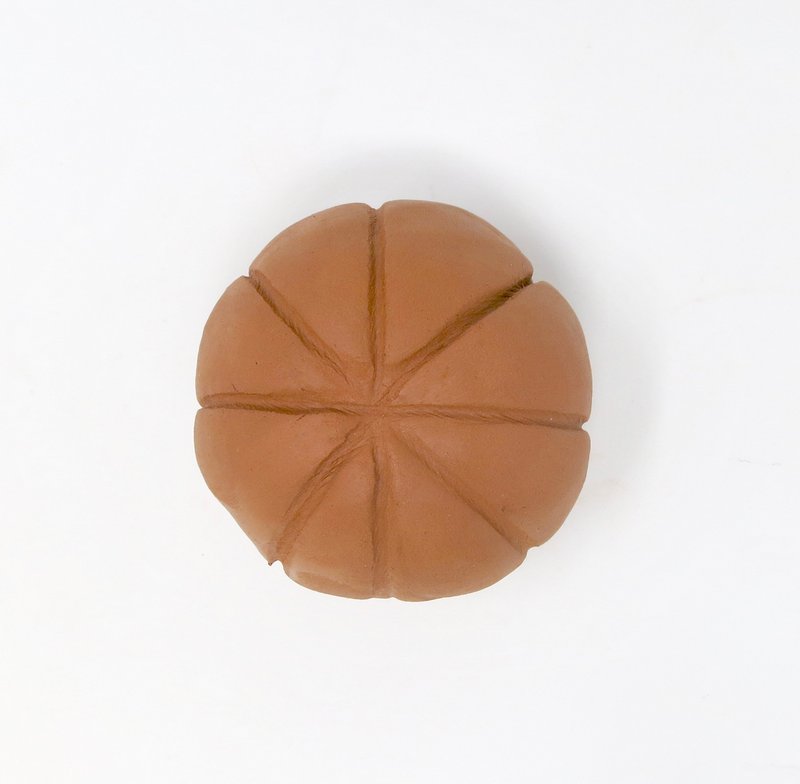
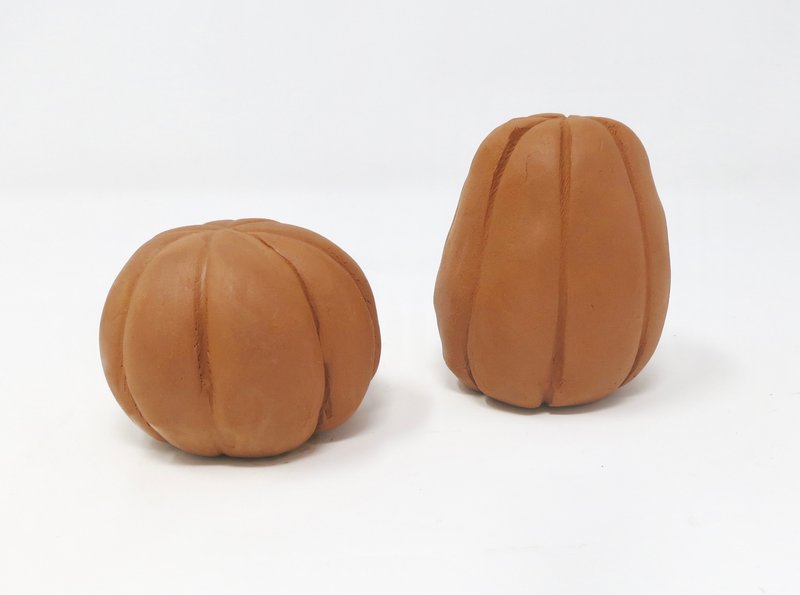
Ridges
Indent the string into the clay form to create a ridged texture.
Step 2
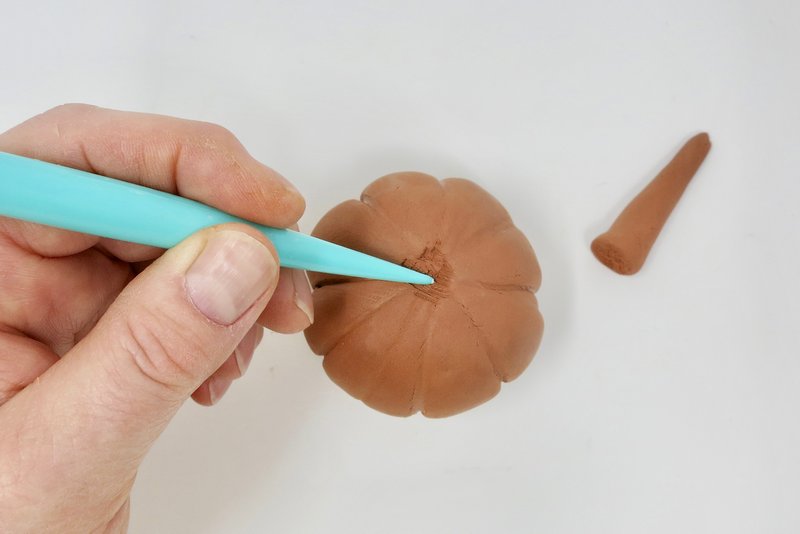
Score
Score the top of the pumpkin form by drawing lines with a pointed tool. This
technique roughs up the clay pieces and helps them stick together like velcro.
Step 3
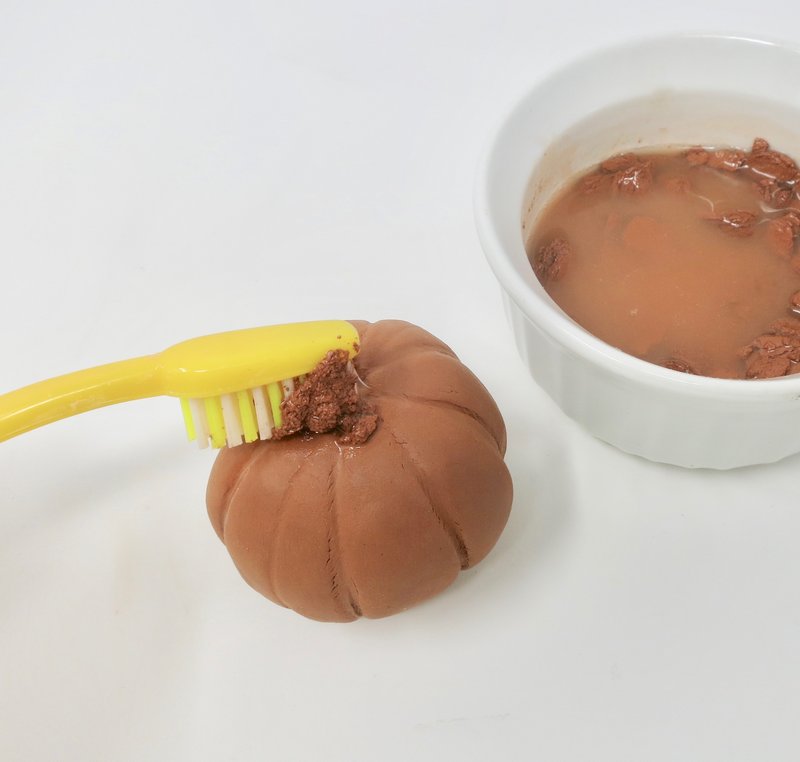
Slip
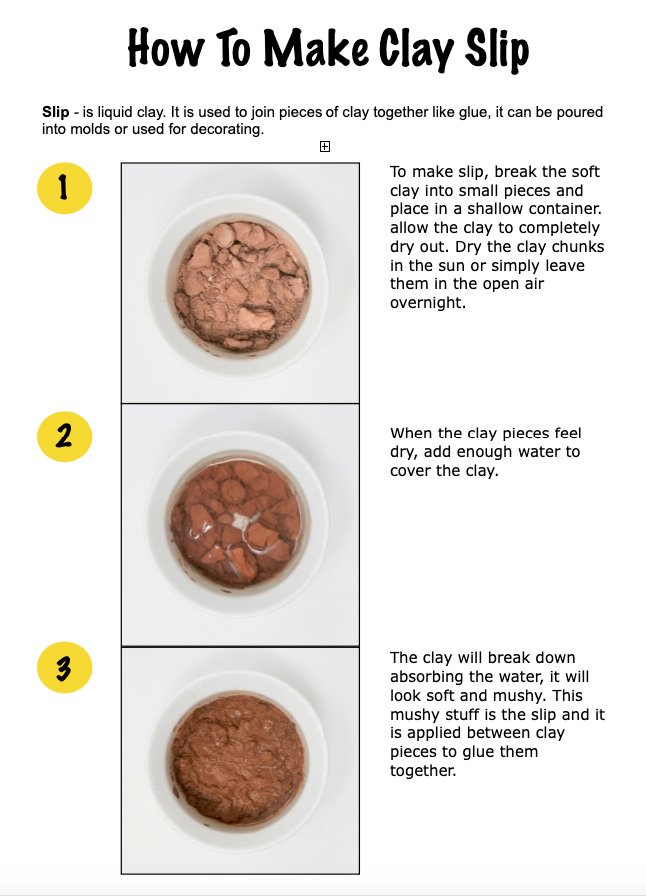
Dip the brush into the water and scrub it back and forth over the scored lines. This will make the clay into slip and will act like a glue.
Step 4
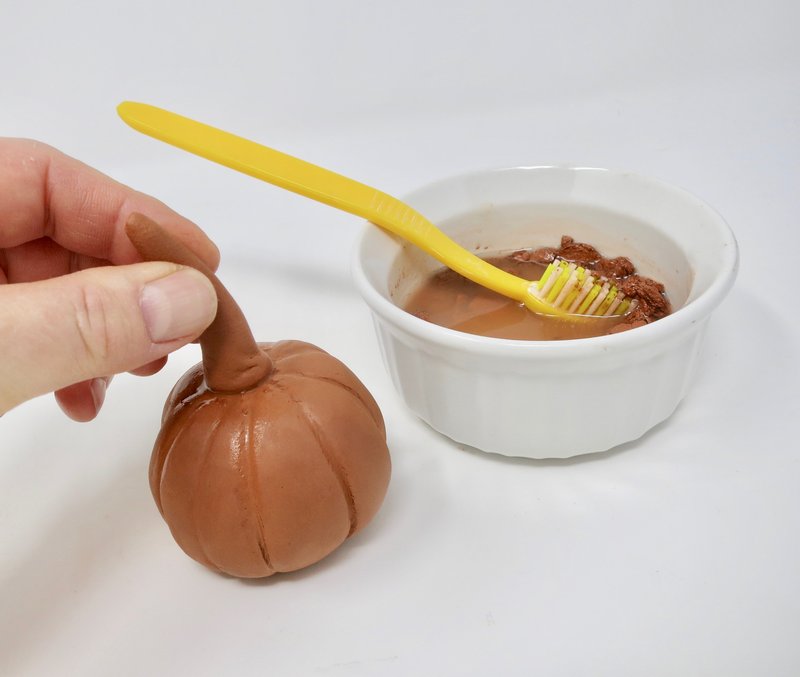
Attach
Connect the stem to the pumpkin. Smooth the bottom of the stem onto the pumpkin form.
Step 5
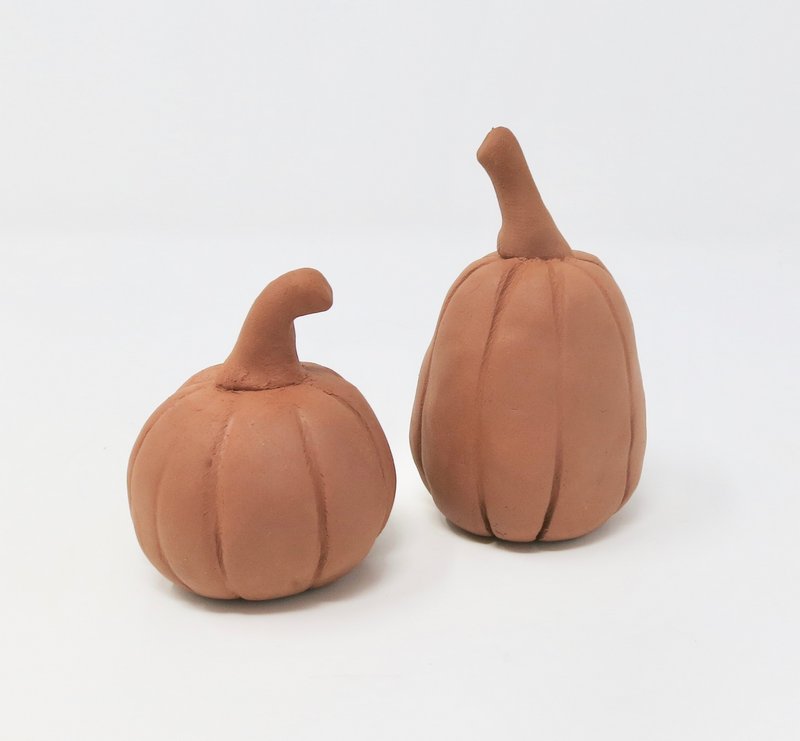
Dry
Allow the clay to dry for 24 hours before painting it.
Step 6
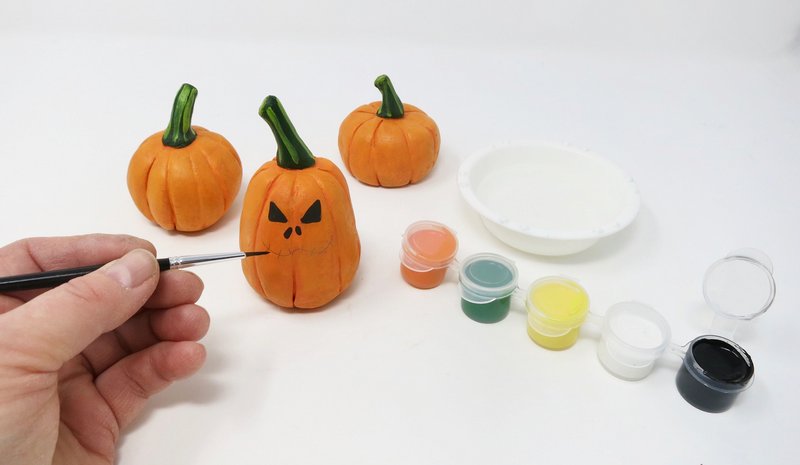
Paint
Paint the clay in the preferred style.
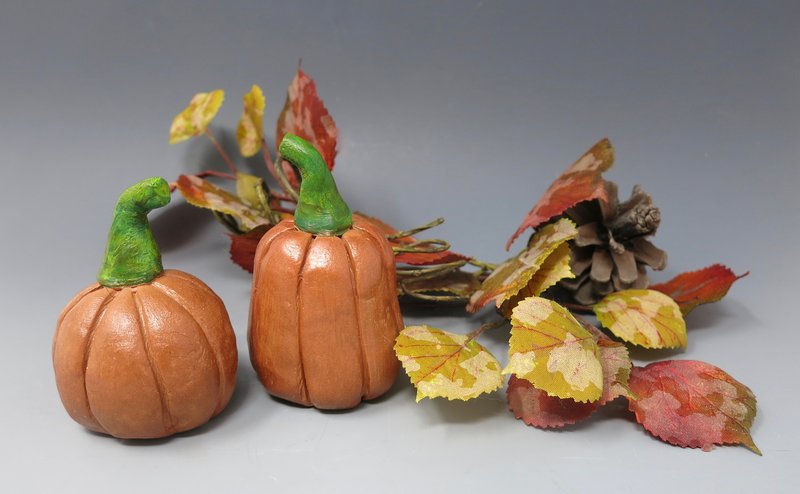
Realistic Style
Painted to look like a real pumpkin found in nature.
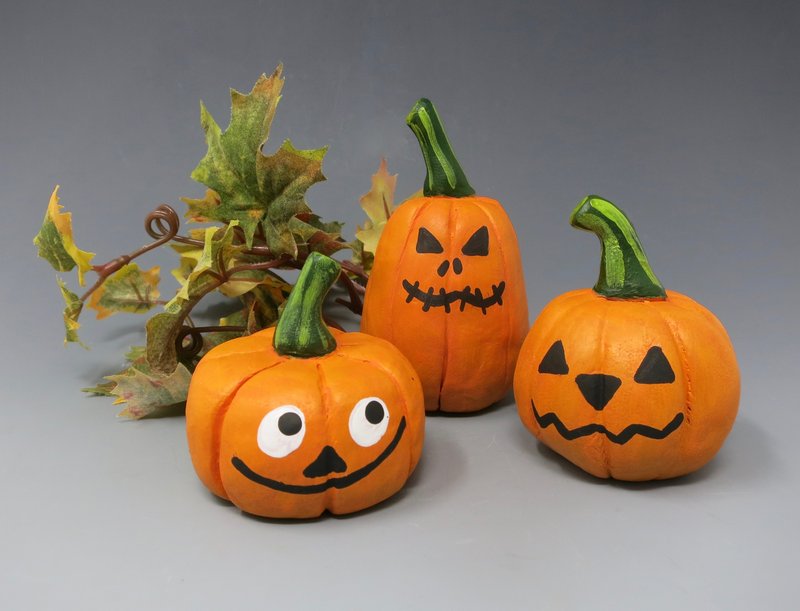
Expressive Style
Painted with a facial expression.
Abstract Style
Painted with a design.
