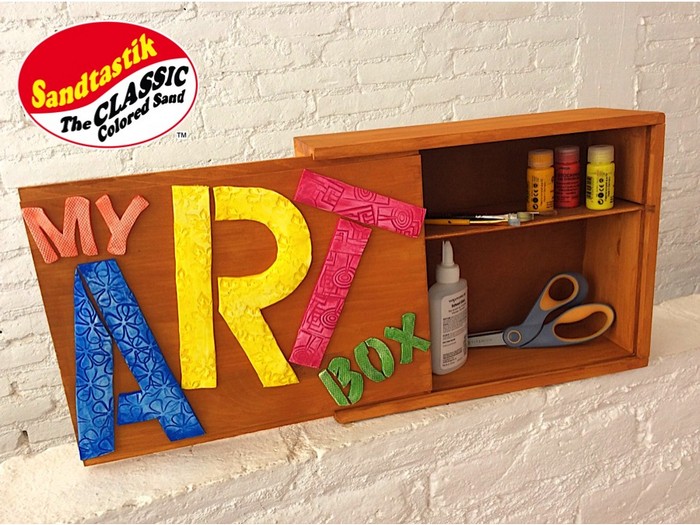
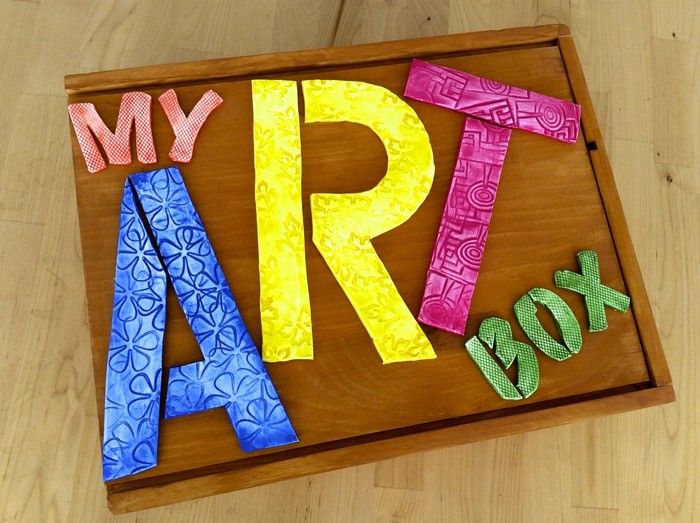
My Art Box
By Marisa Pawelko
Category: Kids Crafts
Summary:
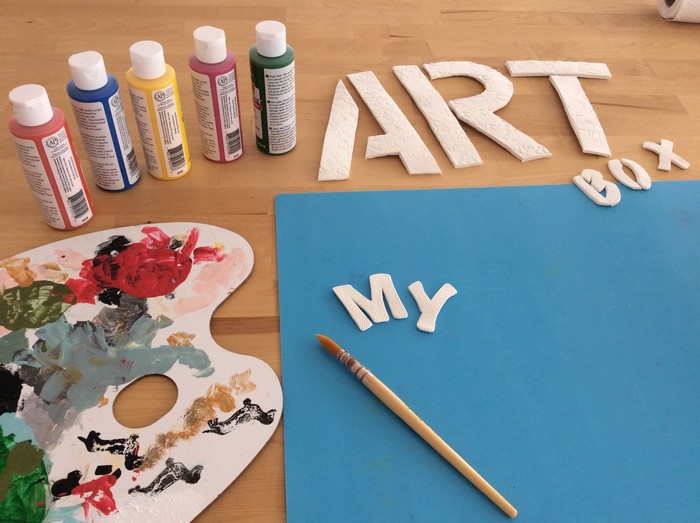
Get artsy and organized at the same time! Store your original creations or art supplies in a box that is unique as you are! Embellish your box with embossed letters made with Sandtastik’s smooth Premier Light Weight Stone Clay!
What’s Needed:
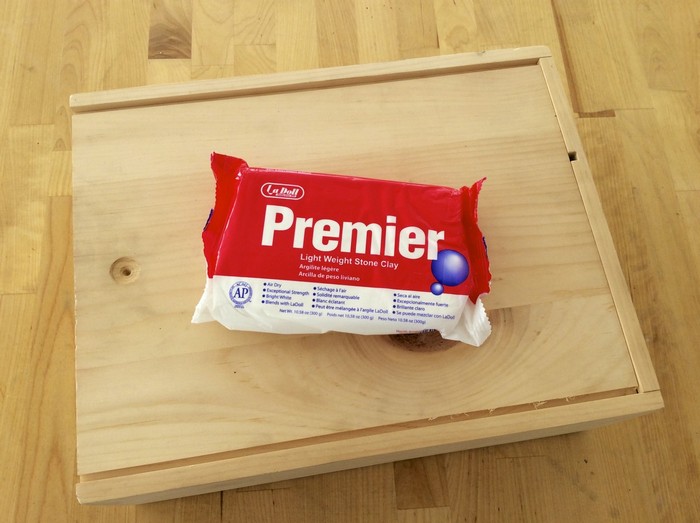
- Premier Light Weight Stone Clay
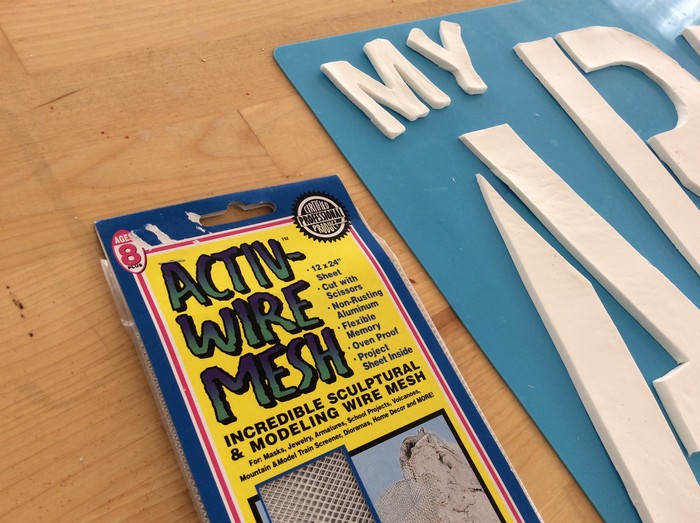
- Activ-Wire Mesh
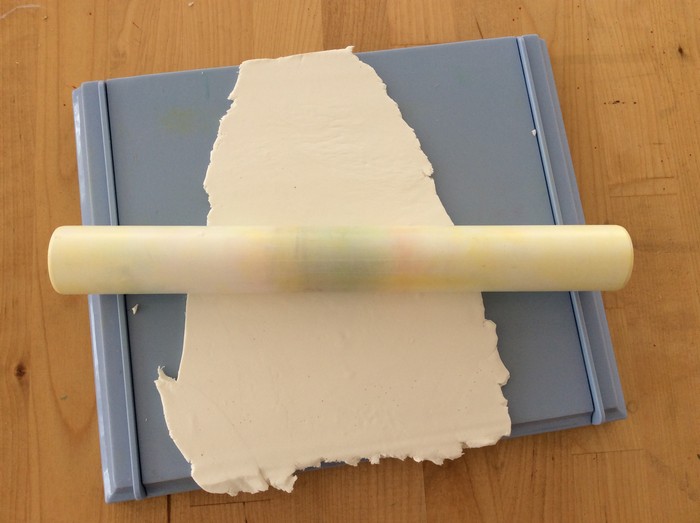
- Clay Roller Kit
- Wooden Storage Box
- Rubber Stamps
- Hot Glue
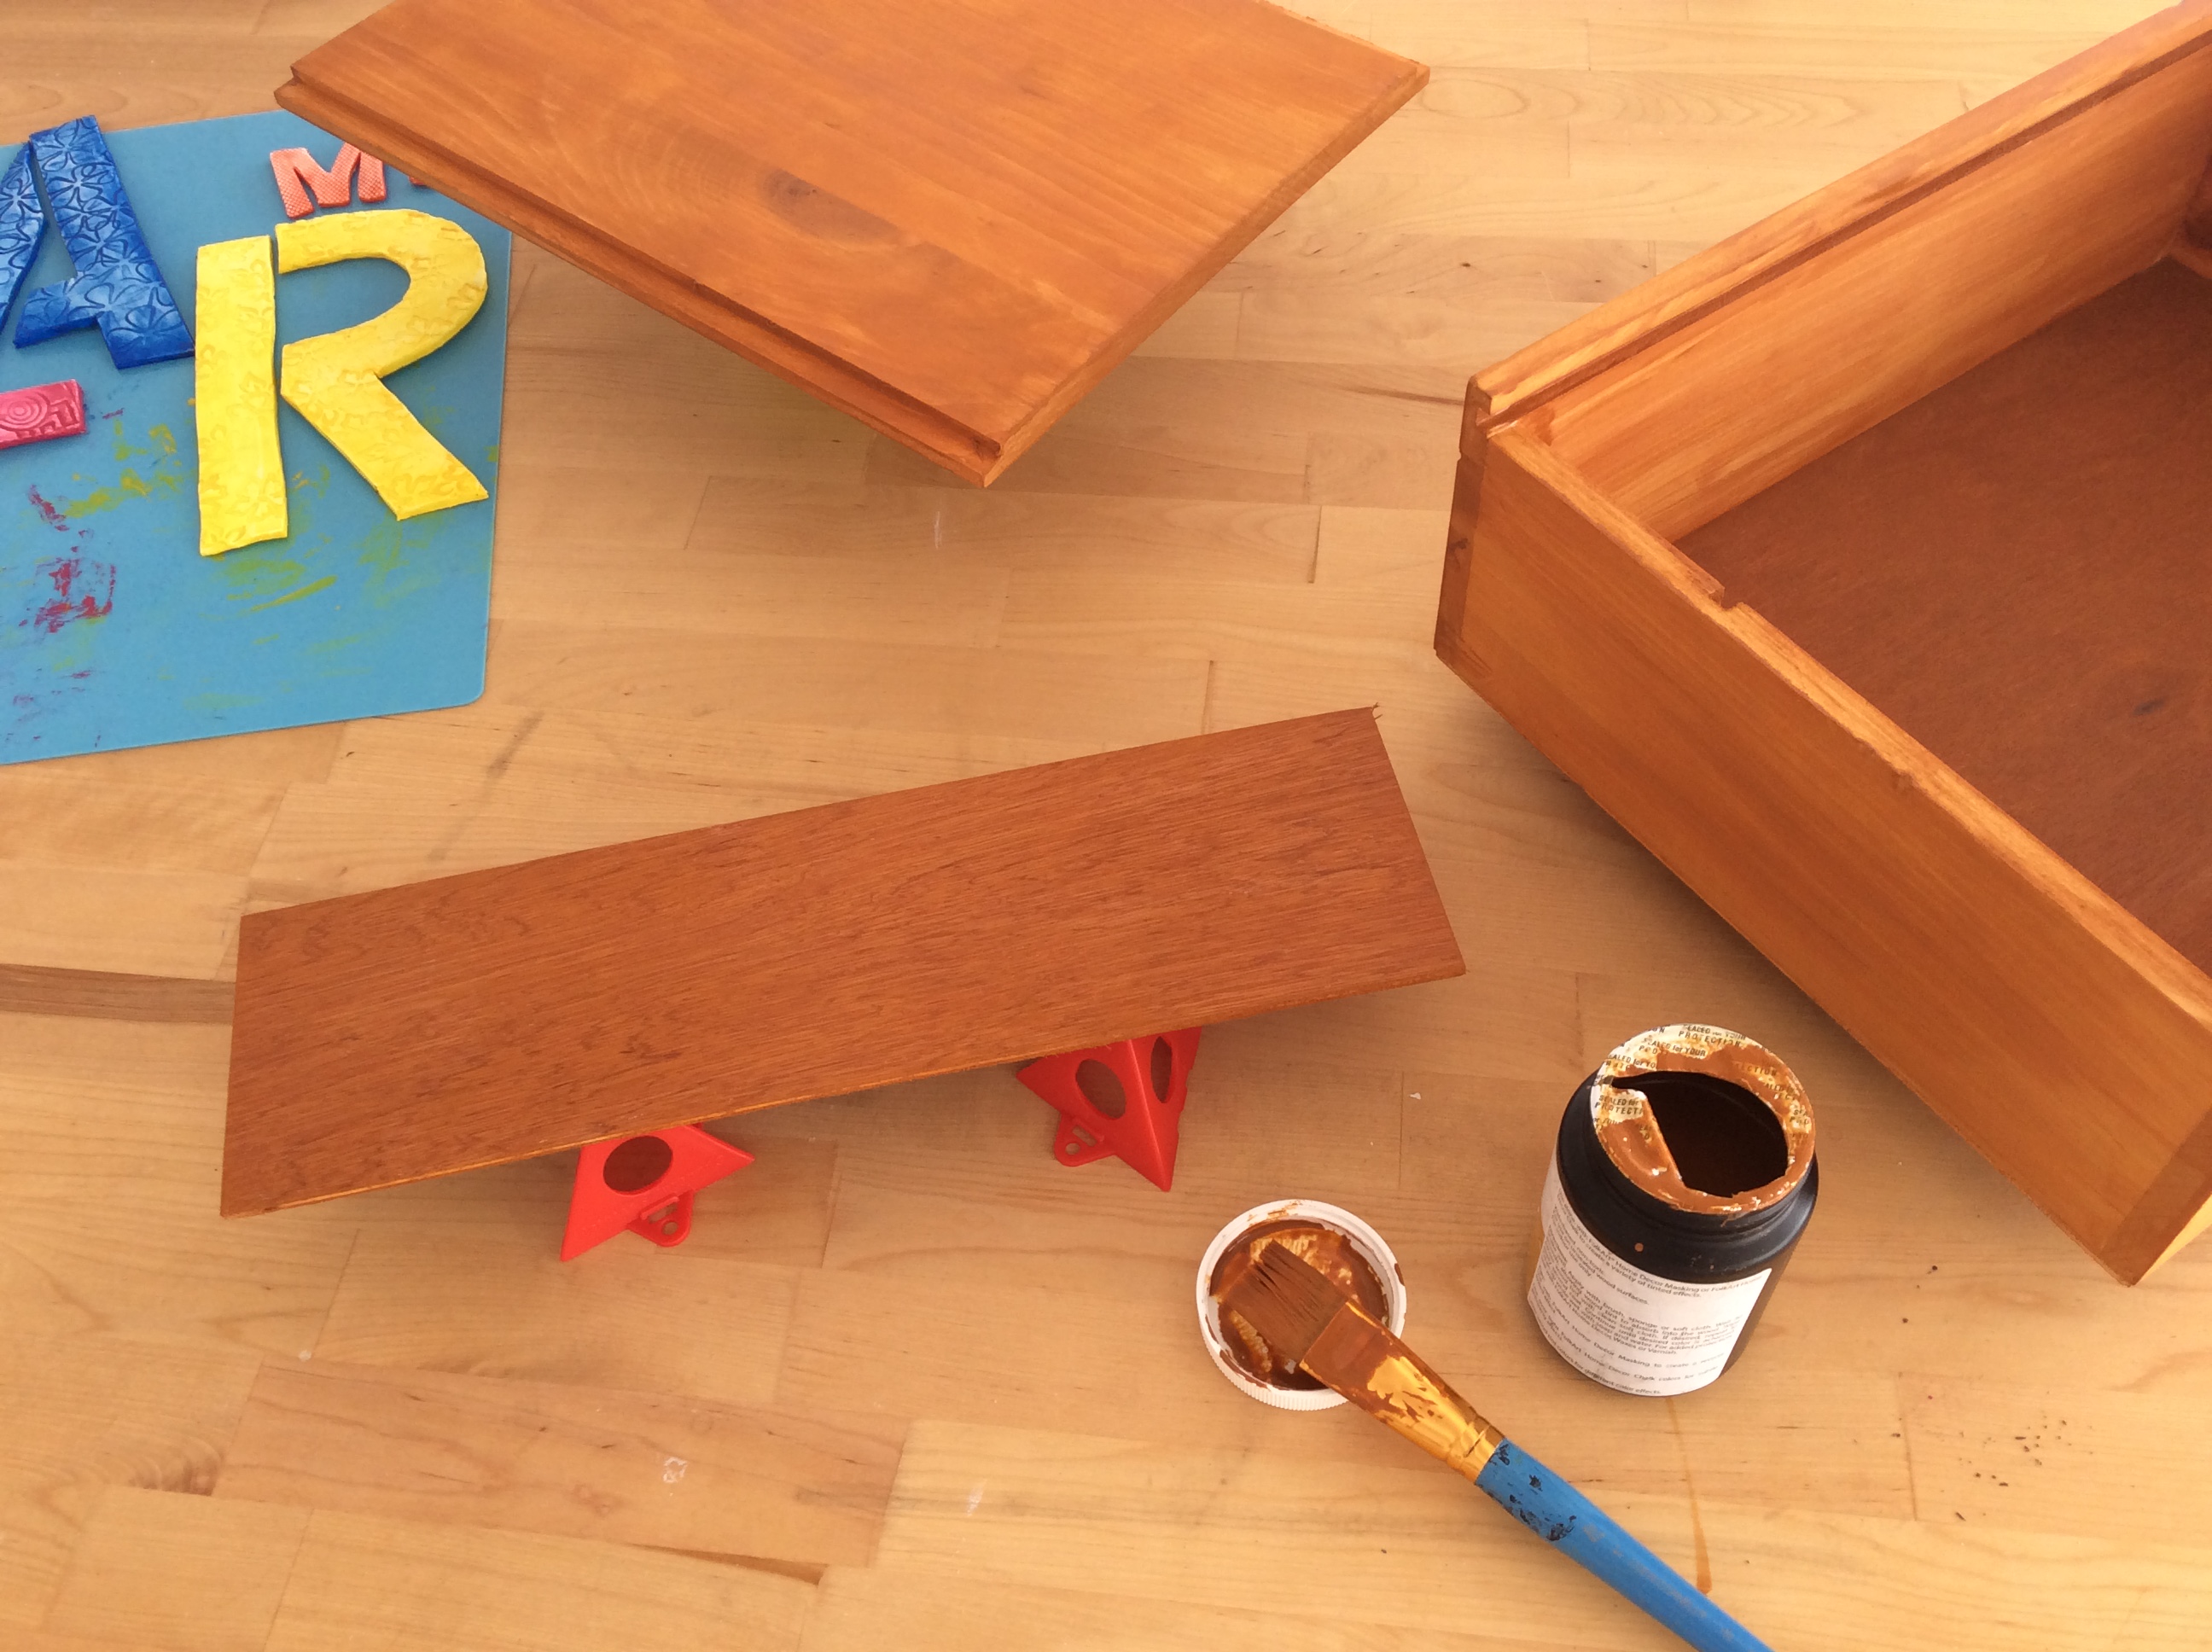
- Wood Stain
- Acrylic Craft Paint
- Letter Stencils
- Clay Modeling Tool
Begin with Sandtastik’s new blank wooden storage box.
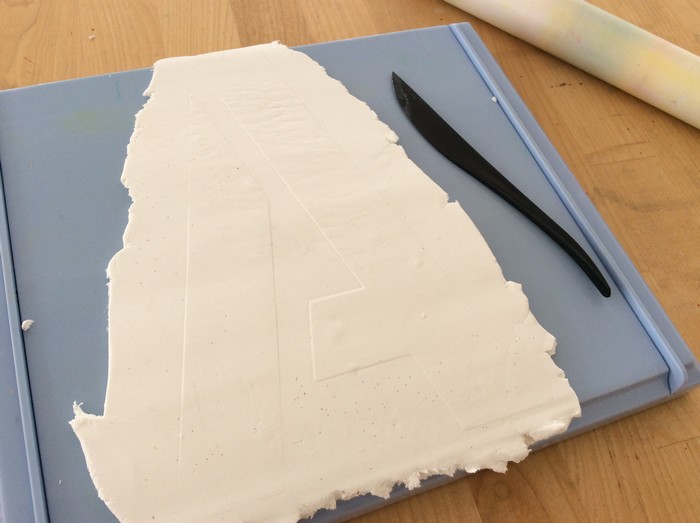
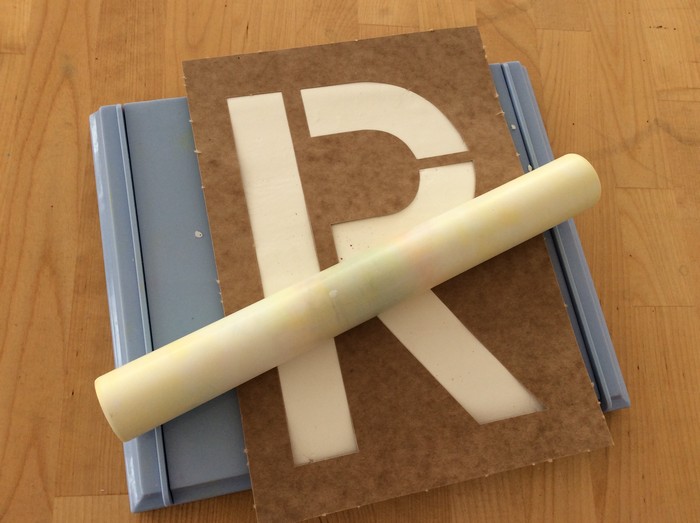
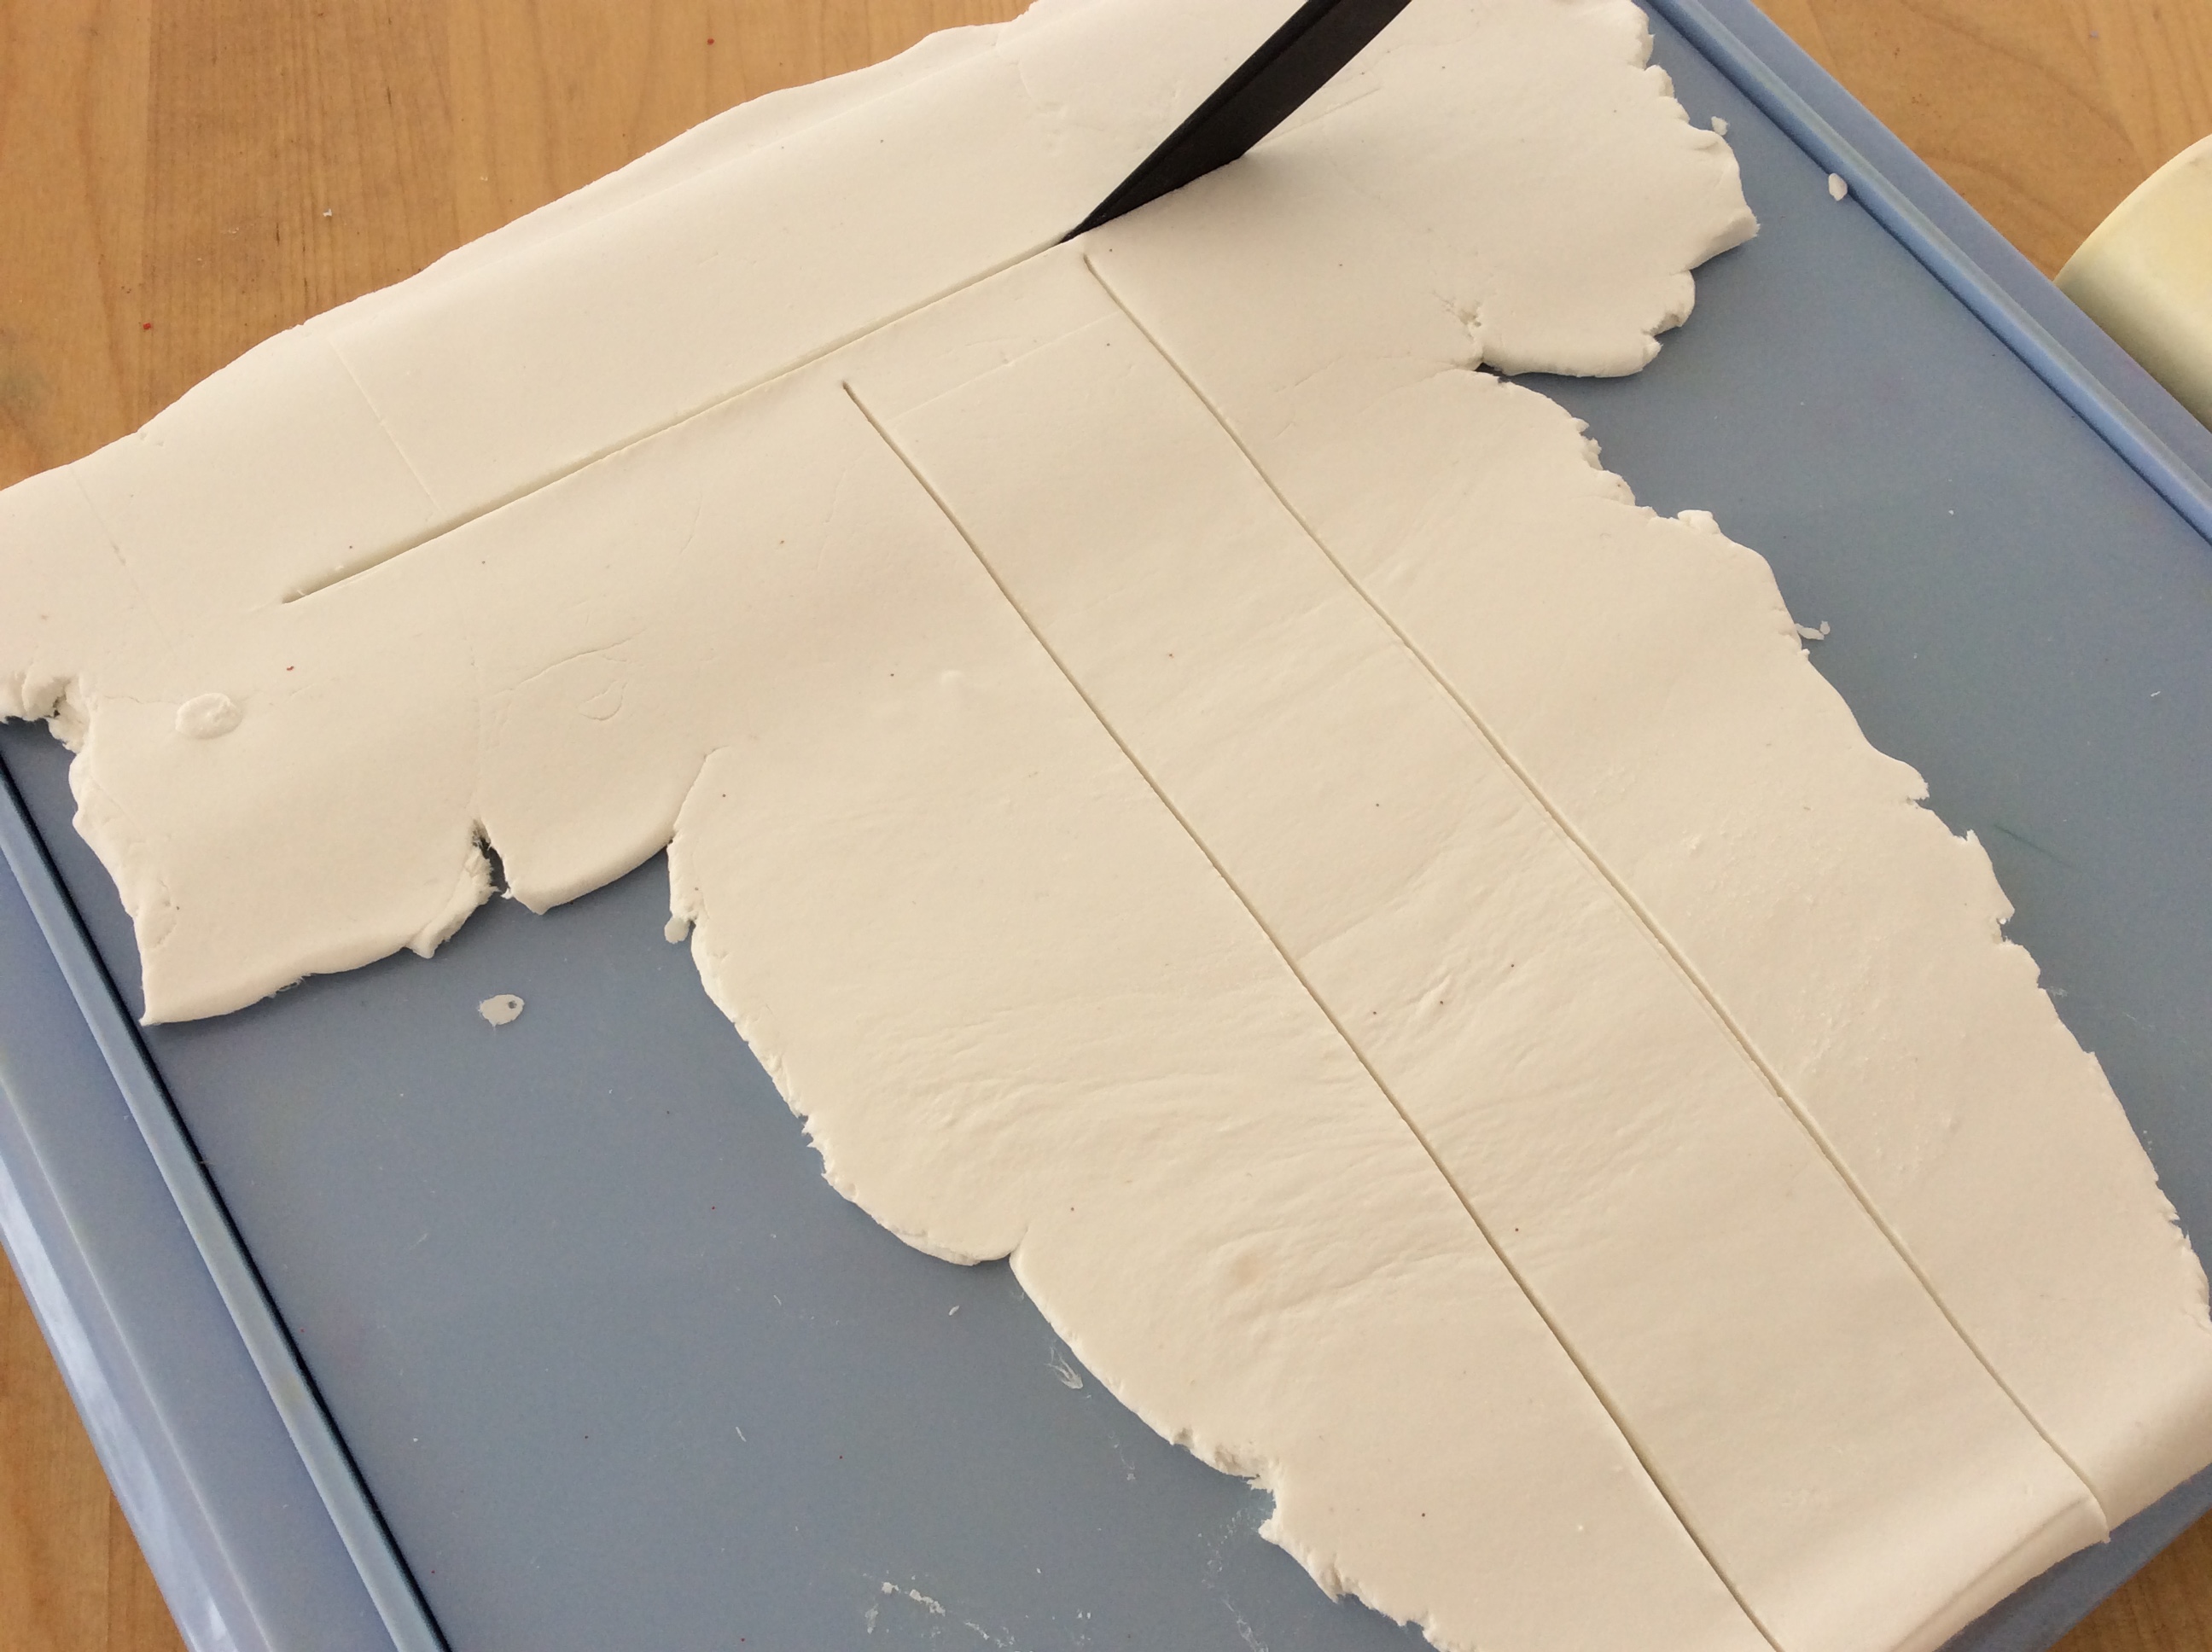
With the Clay Roller Kit, roll out a slab of Premier Light Weight Stone Clay. For these letters we used the 3/16” rails.
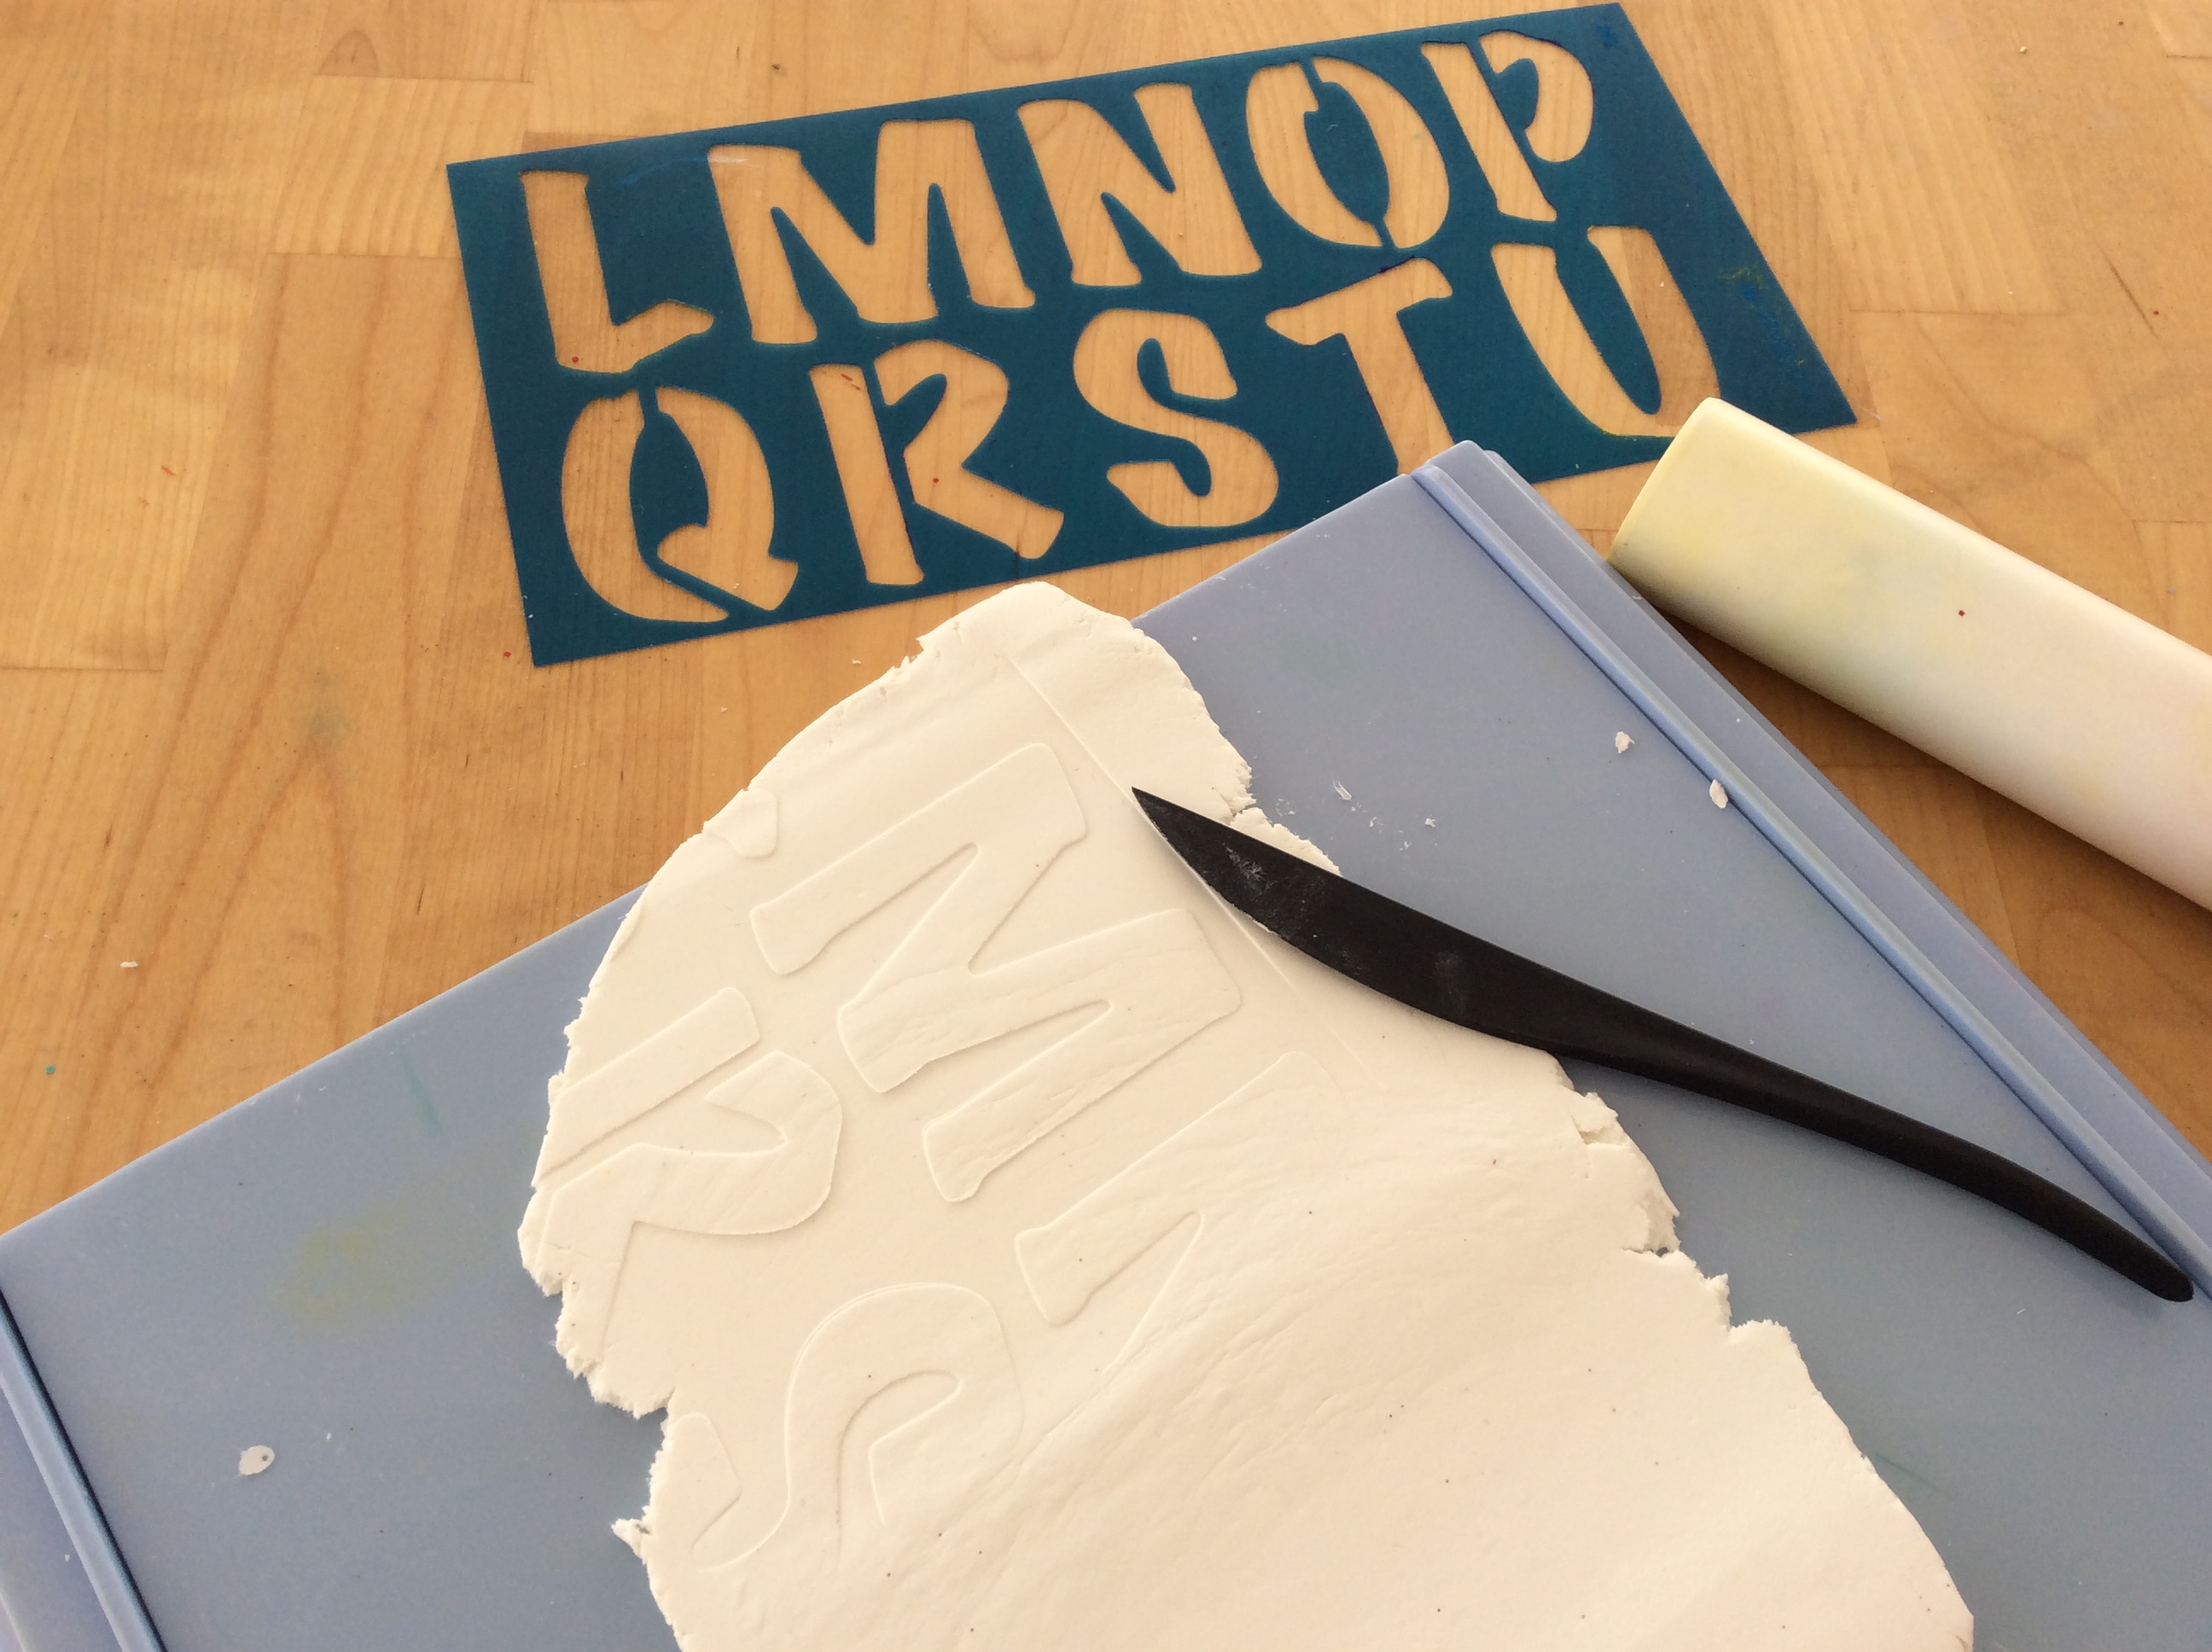
Place the letter stencil on top of the slab and roll over it to create an impression of the letter.
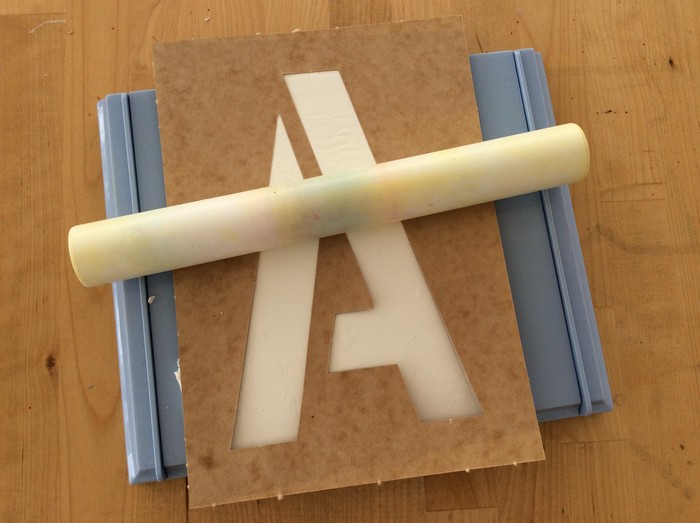
Trim the excess clay from around the letter with the clay modeling tool.
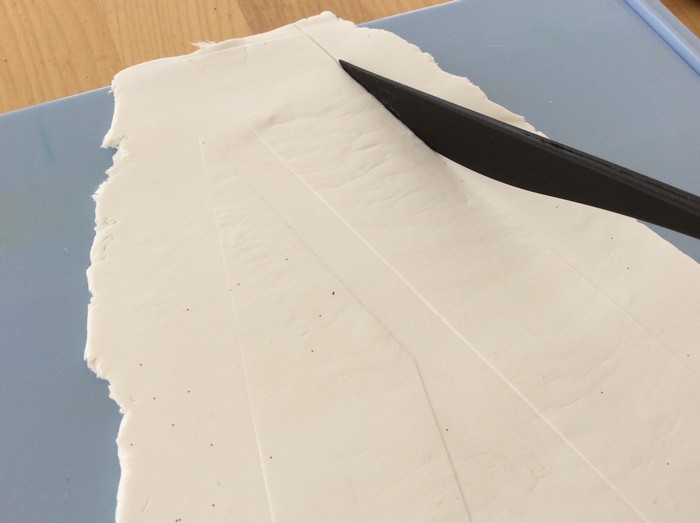
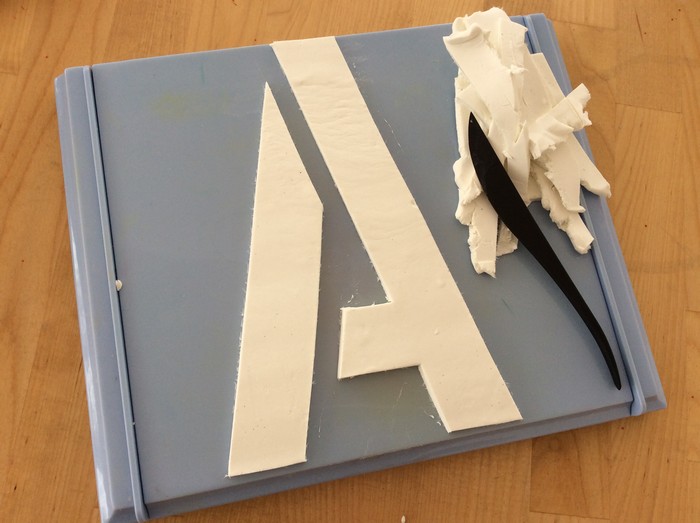
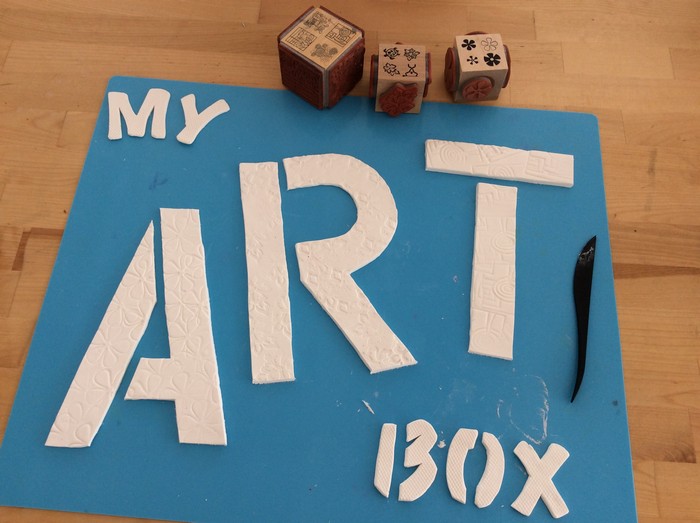
Repeat this process until you have created all the large letters for your design.
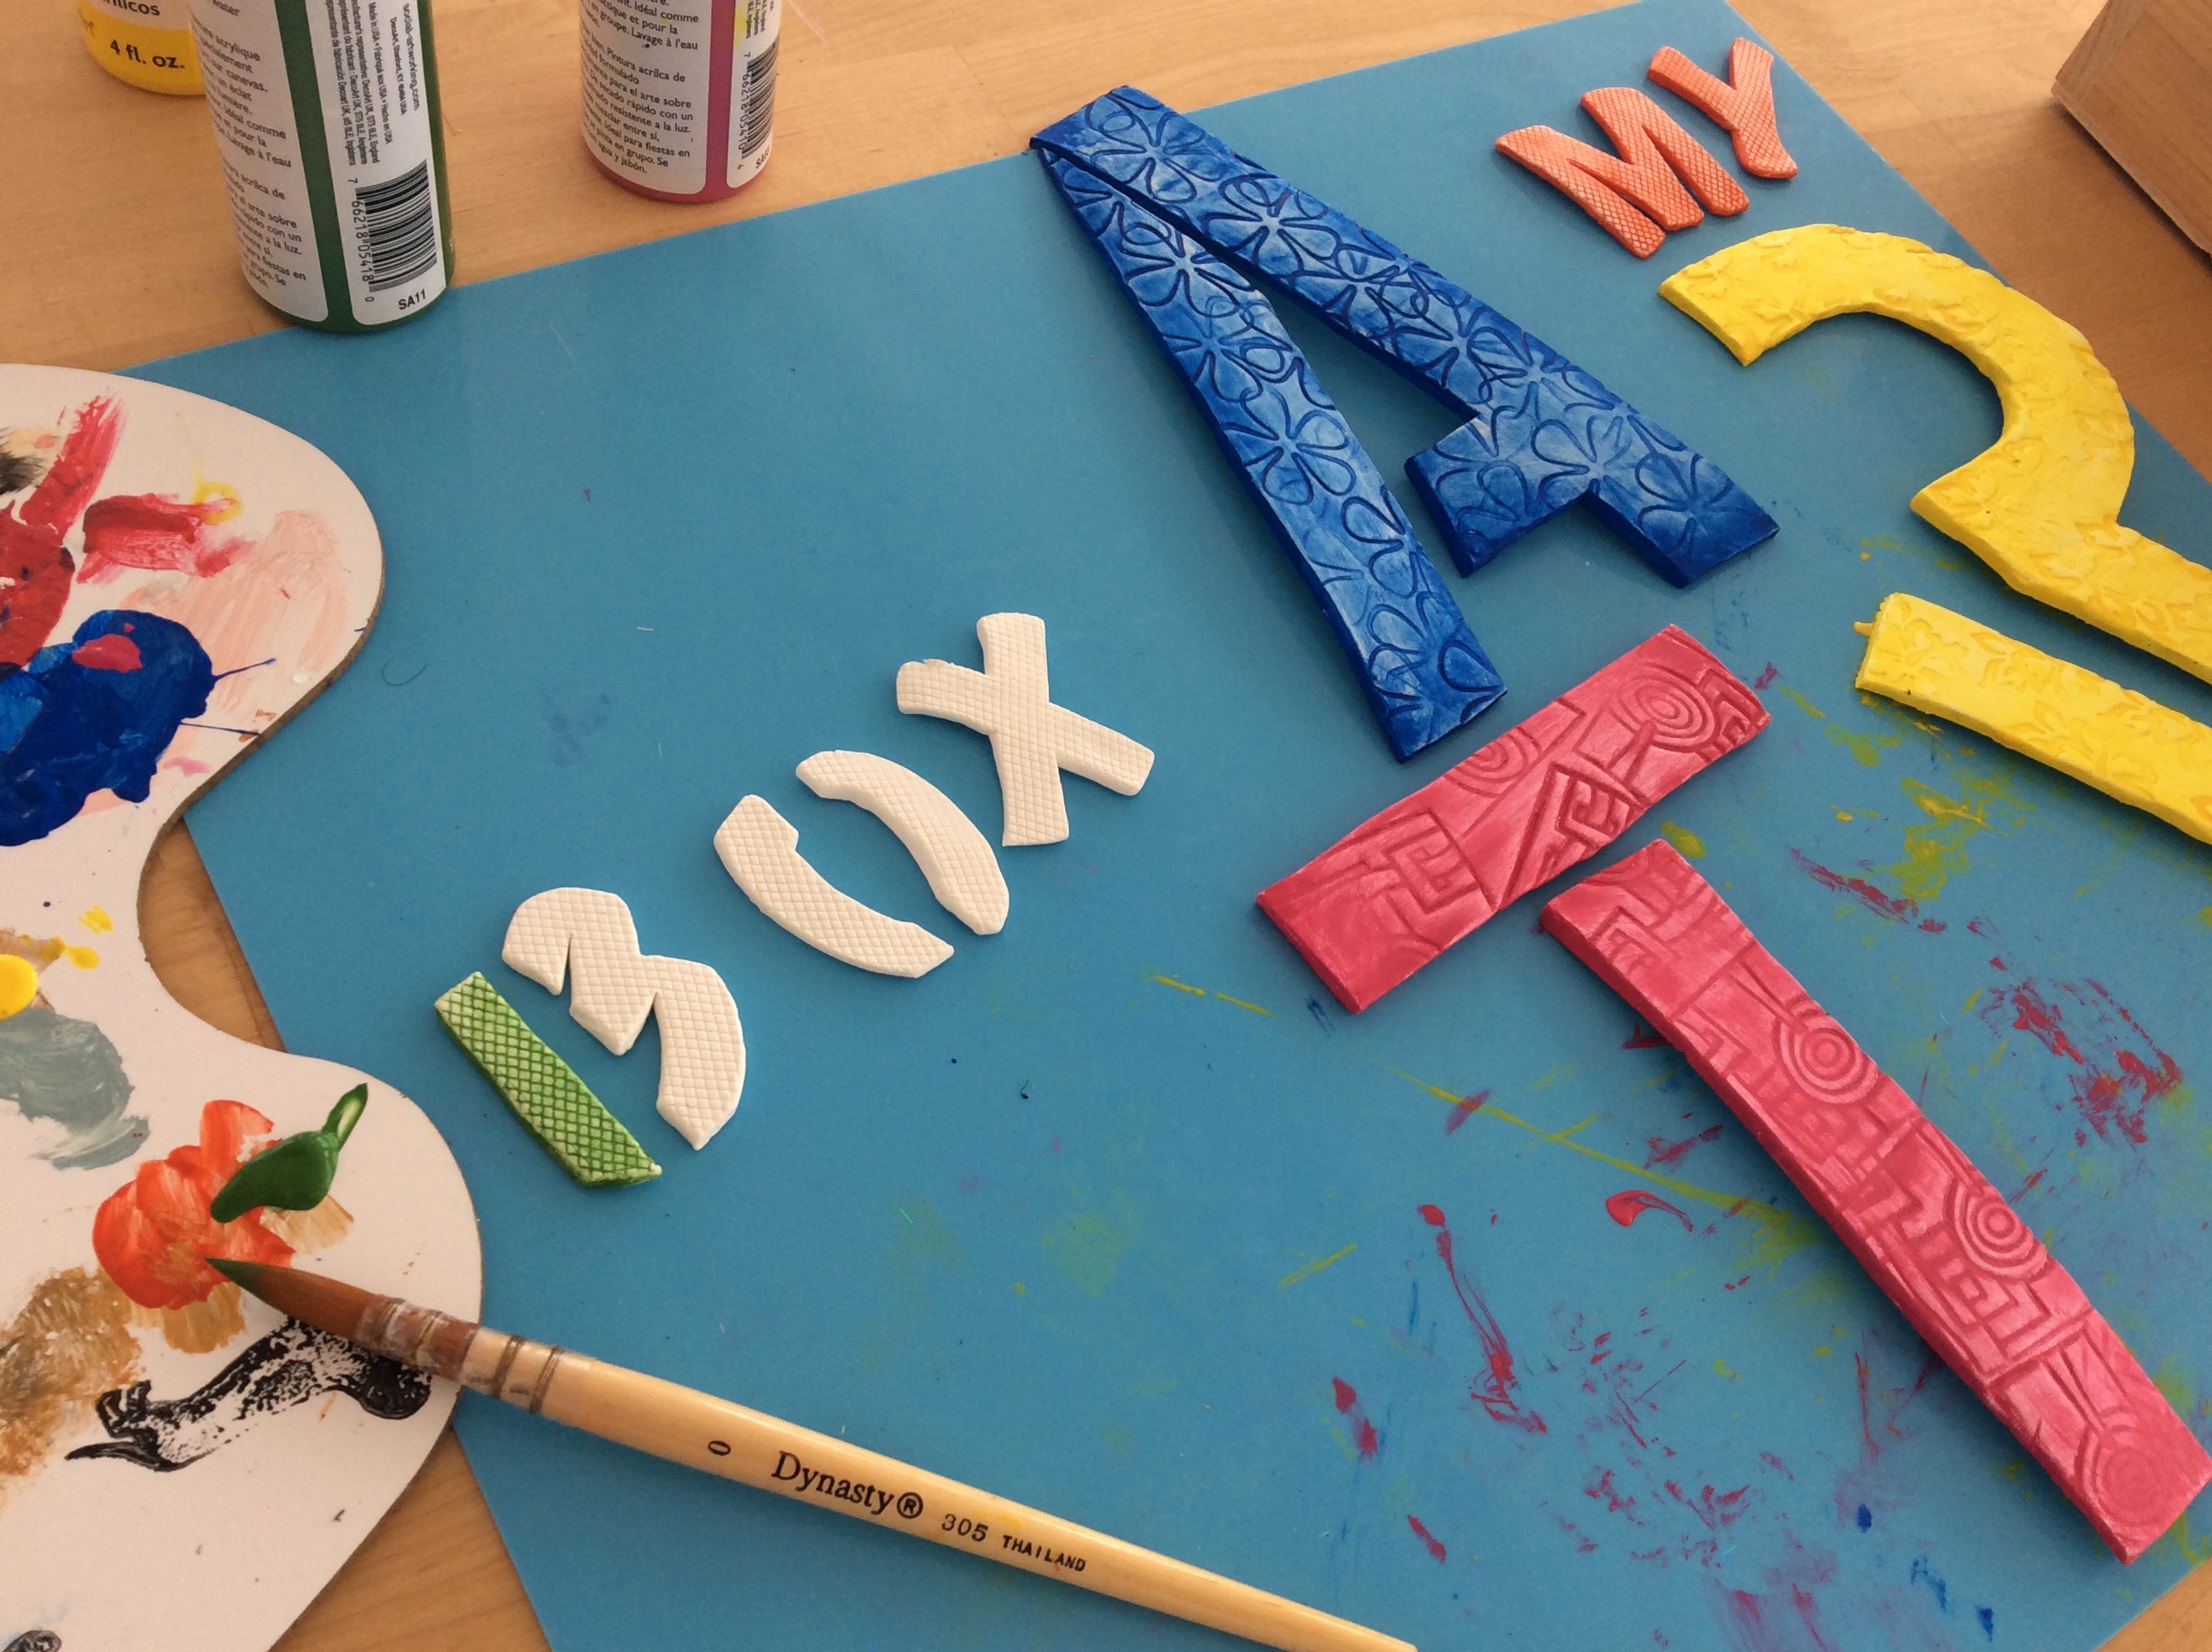
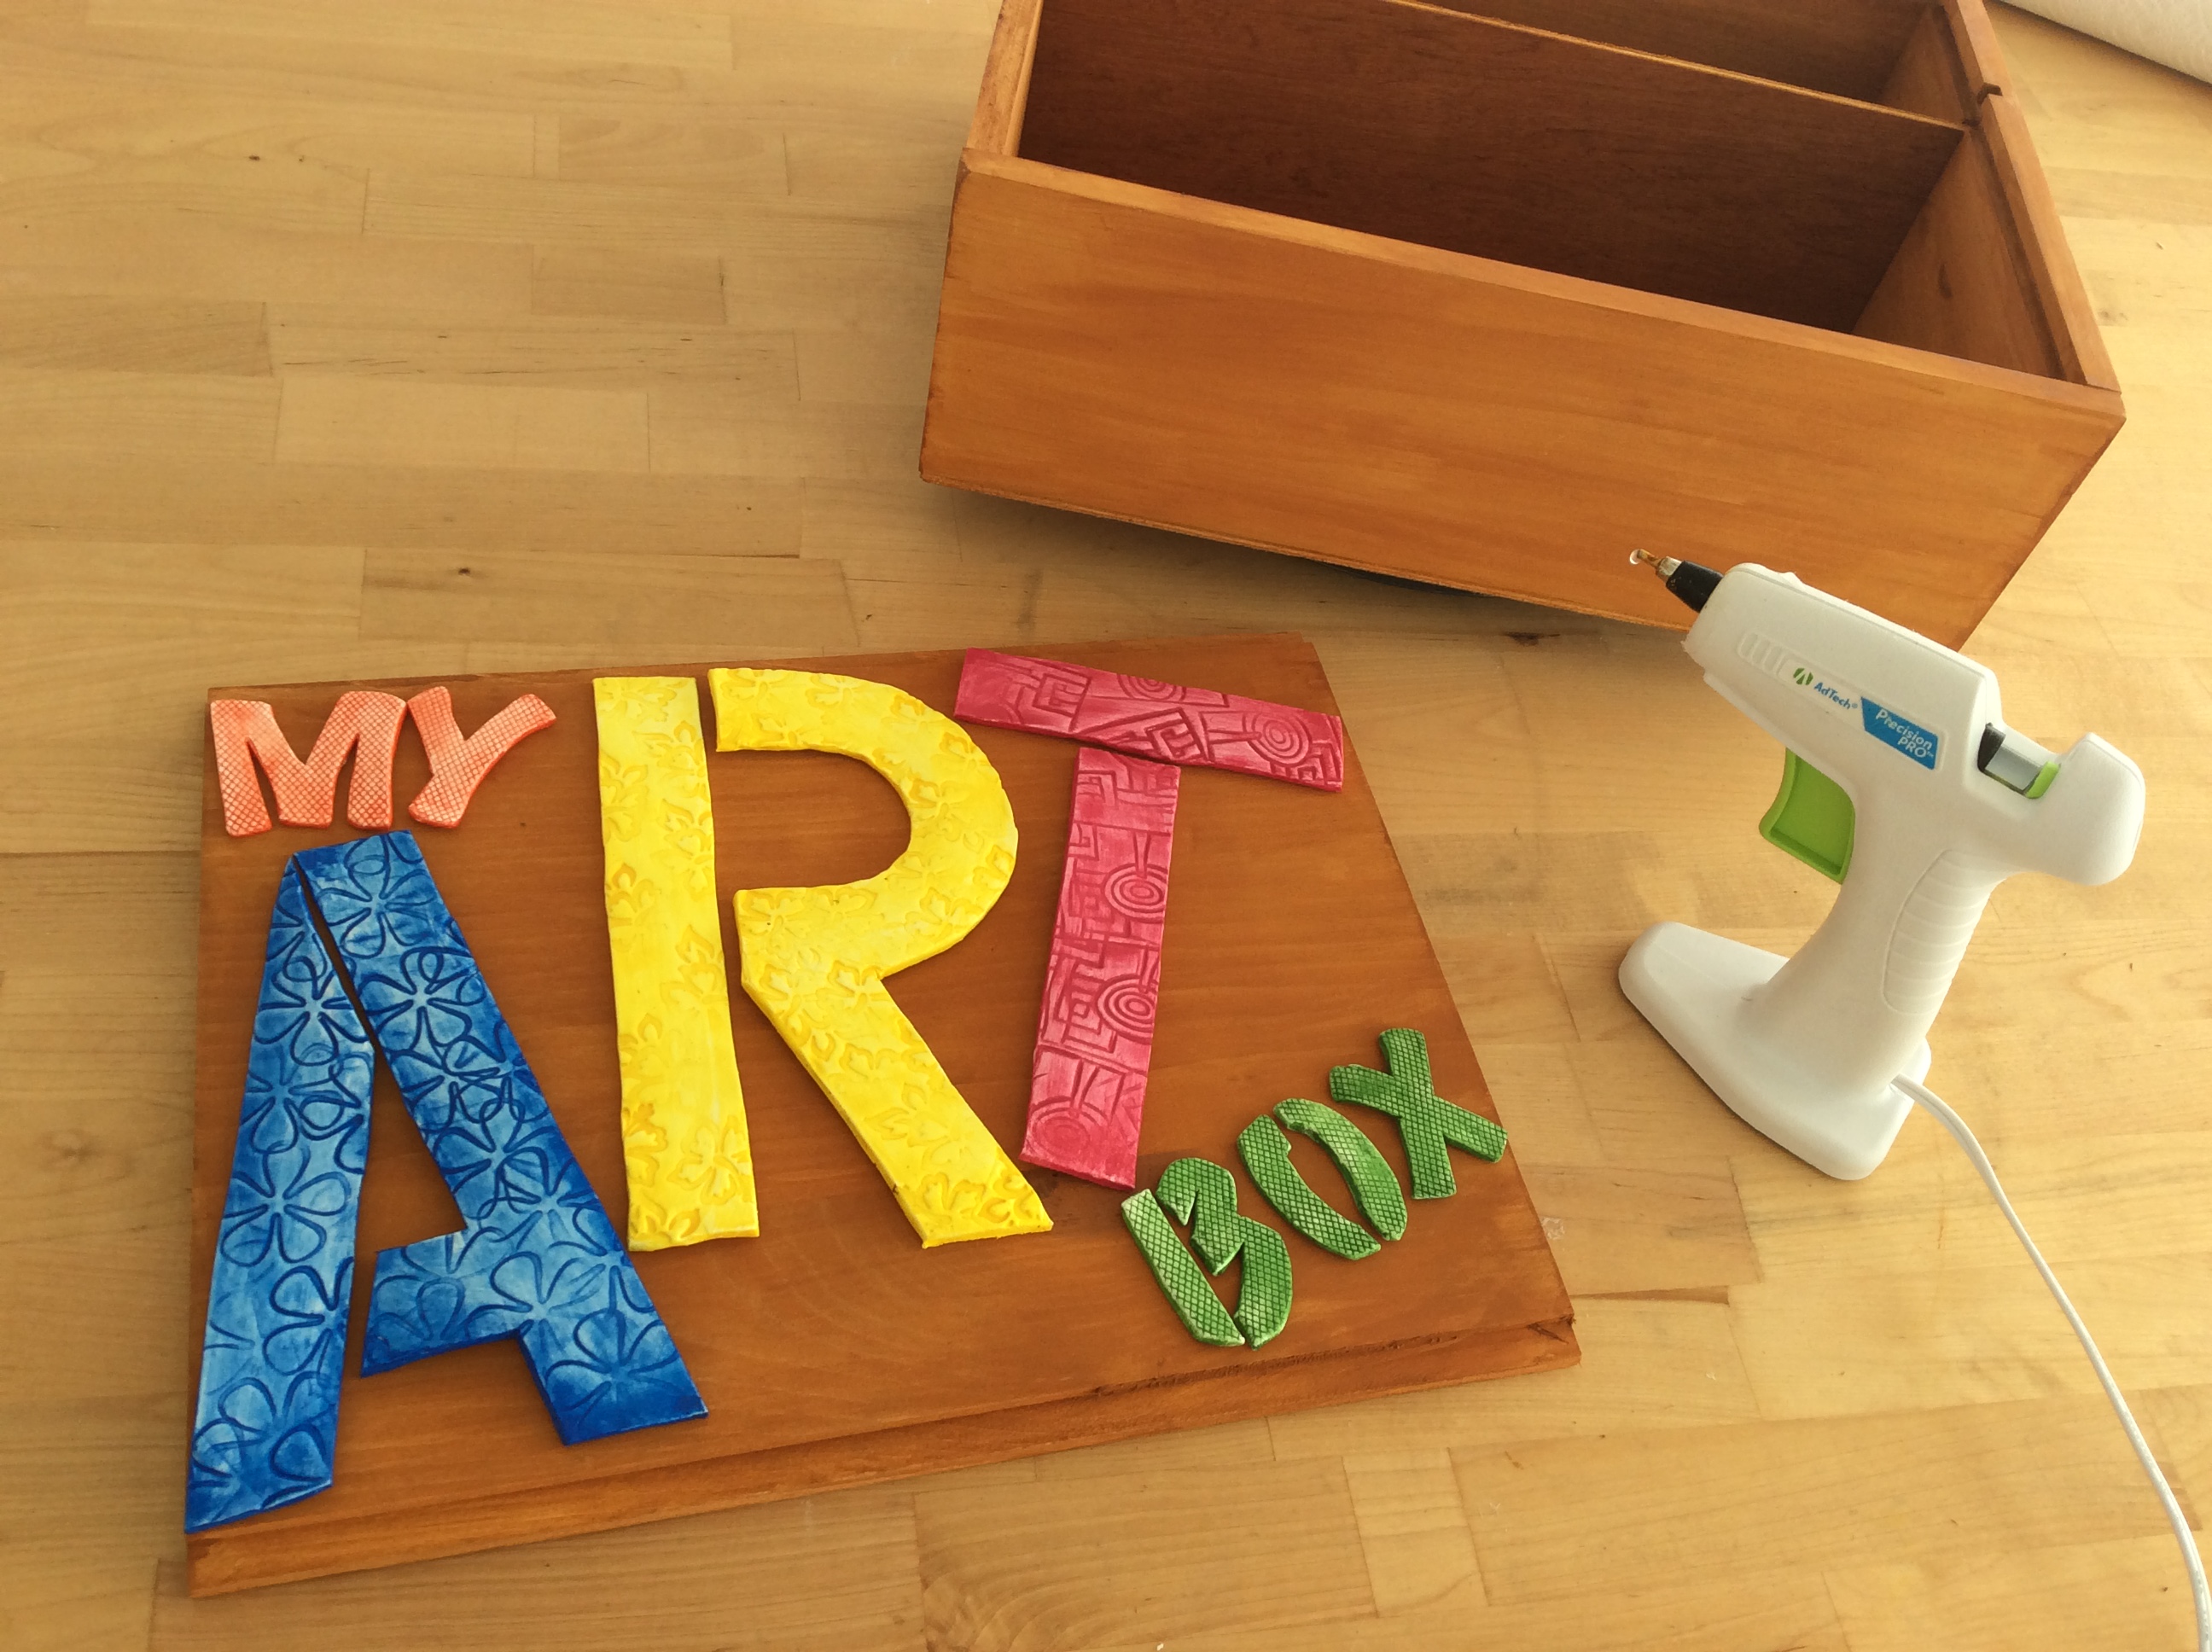
Set the large letters aside and repeat this same process for the smaller letters. For this design we spelled the words “My Art Box” but feel free to mix it up and make it your own by adding a favorite phrase, shapes or even your name.
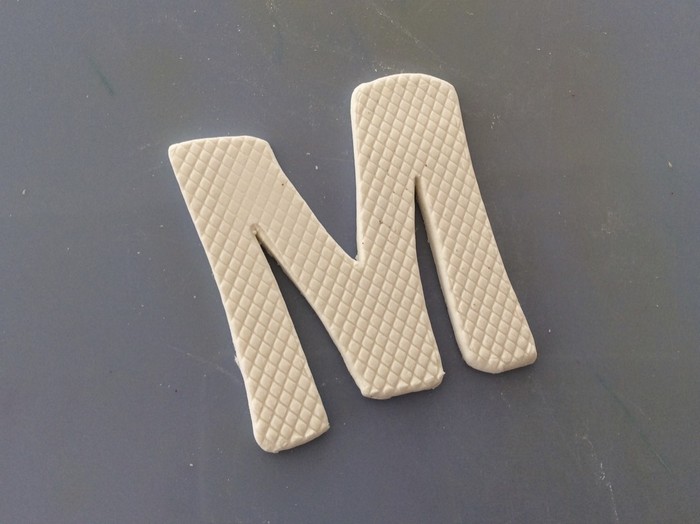
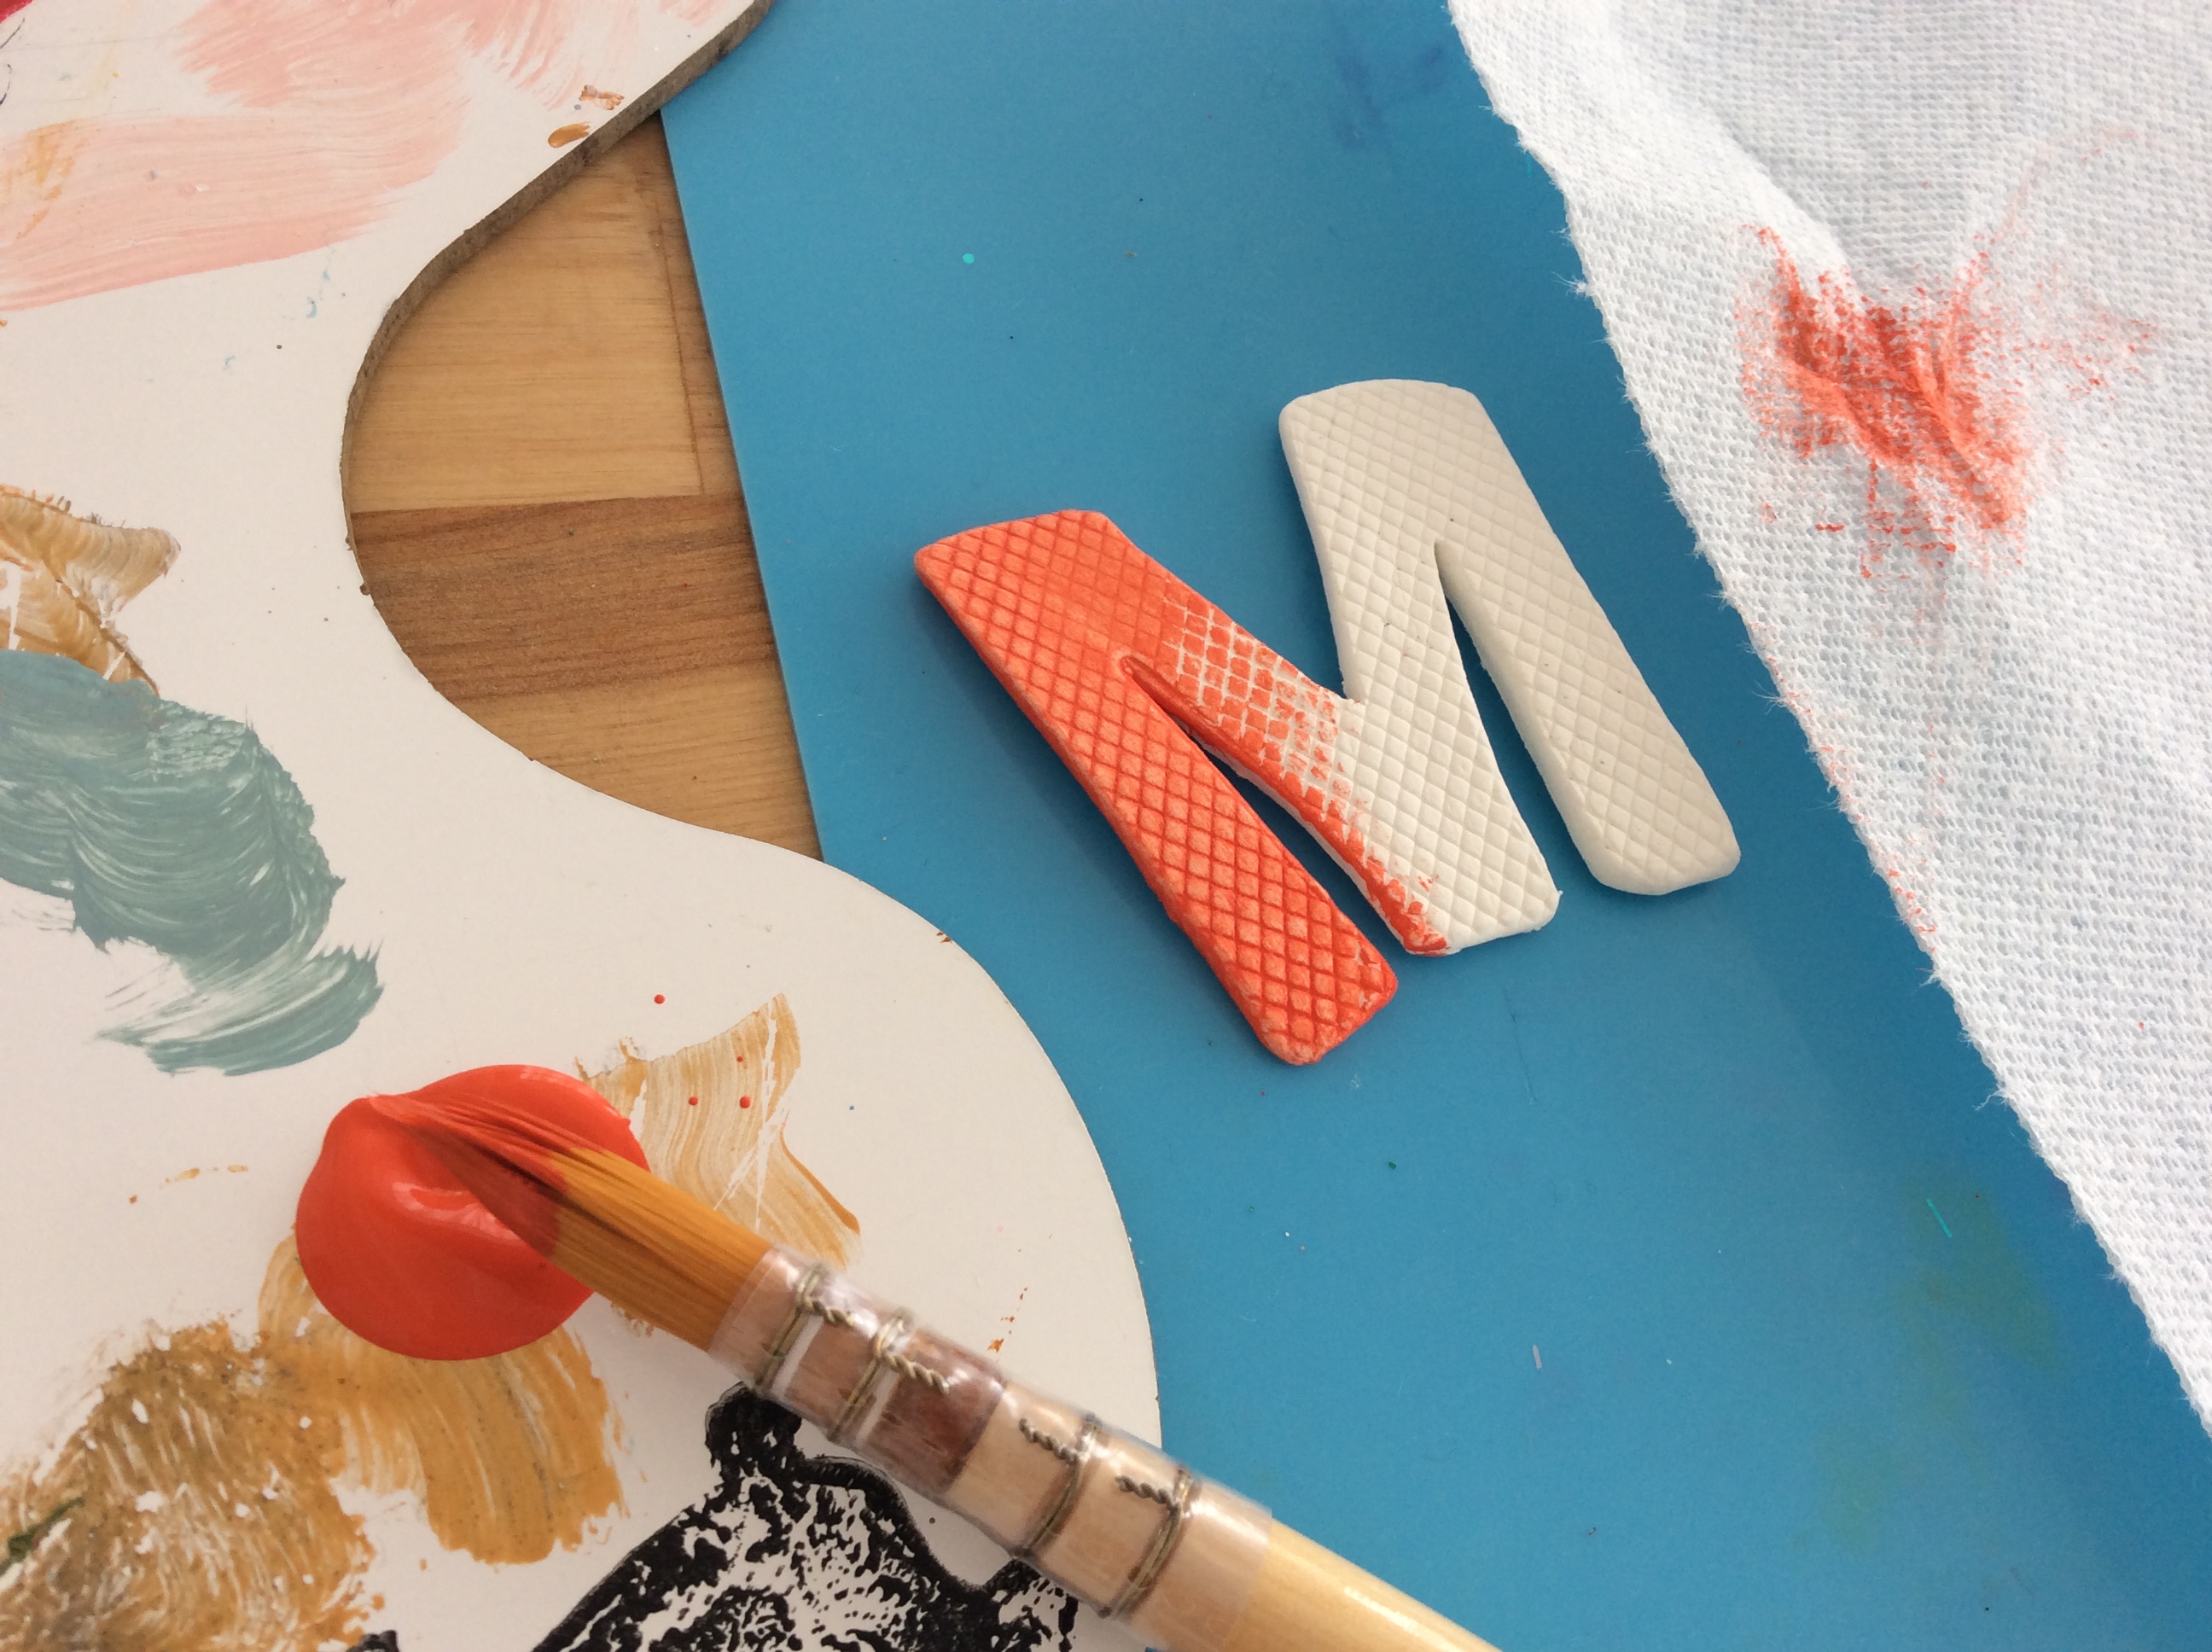
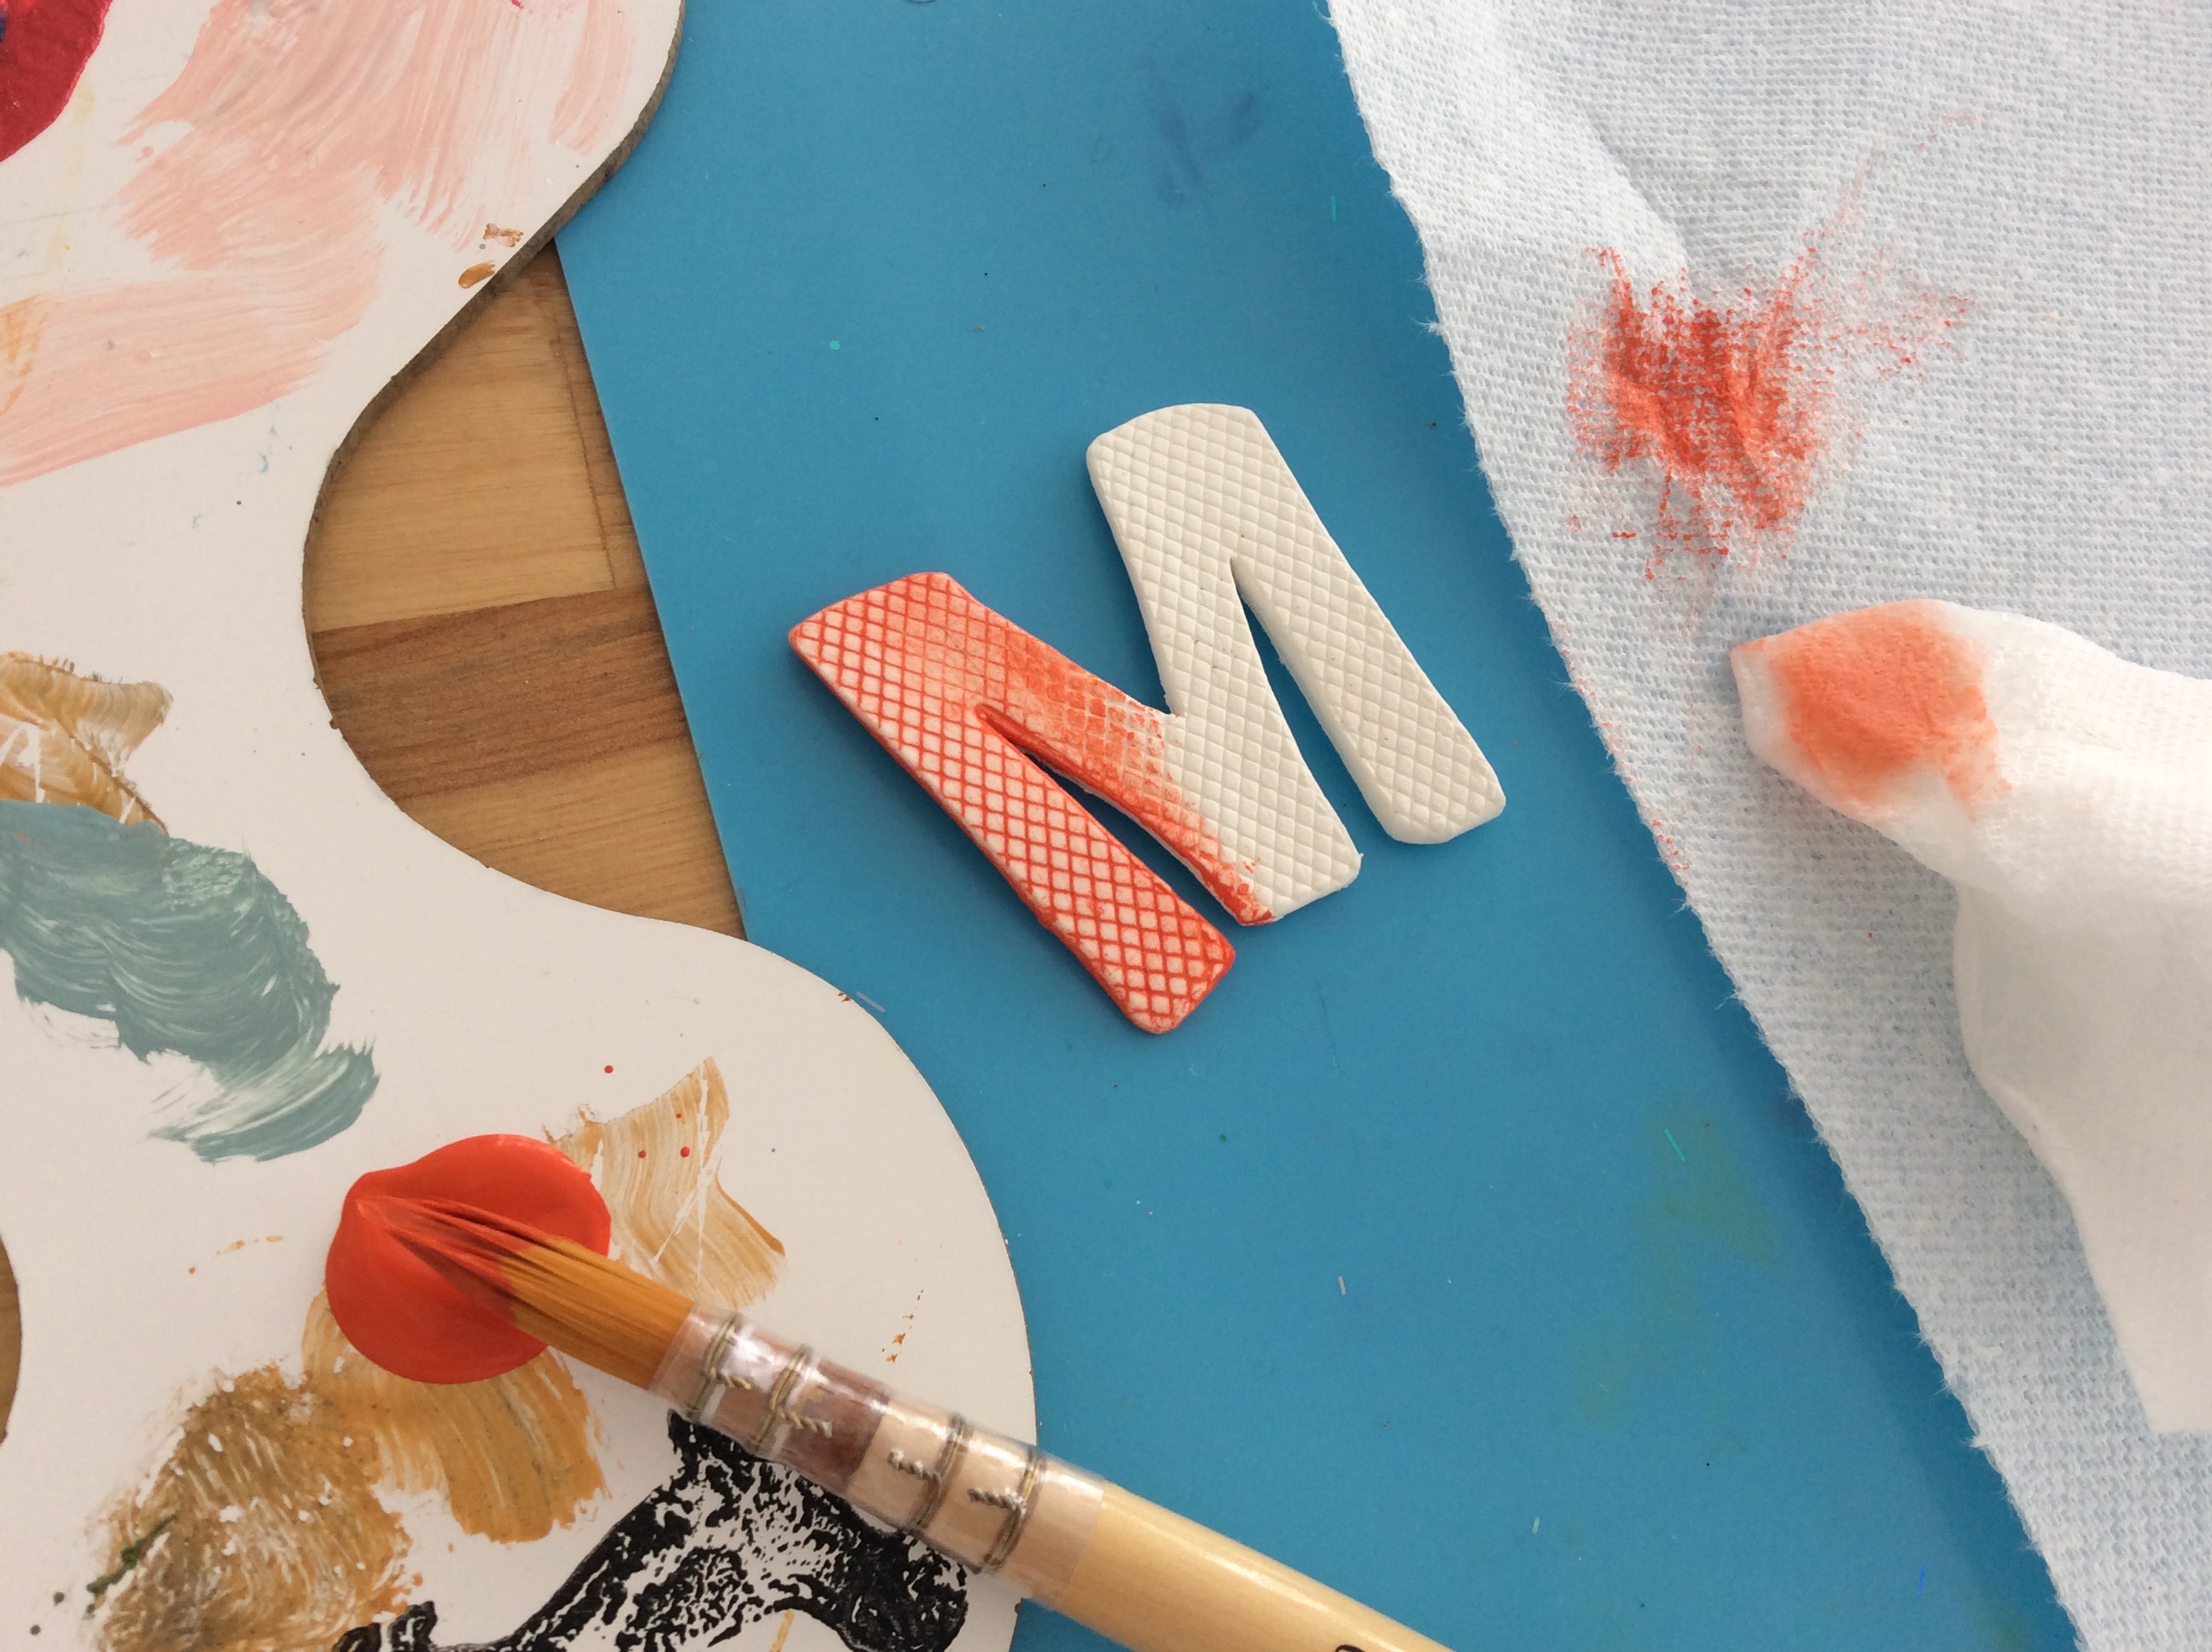
Now you are ready to begin texturizing the letters. For the smaller letters, we added texture with Activ-Wire Mesh.
Simply cut a piece of mesh large enough to cover the letter.
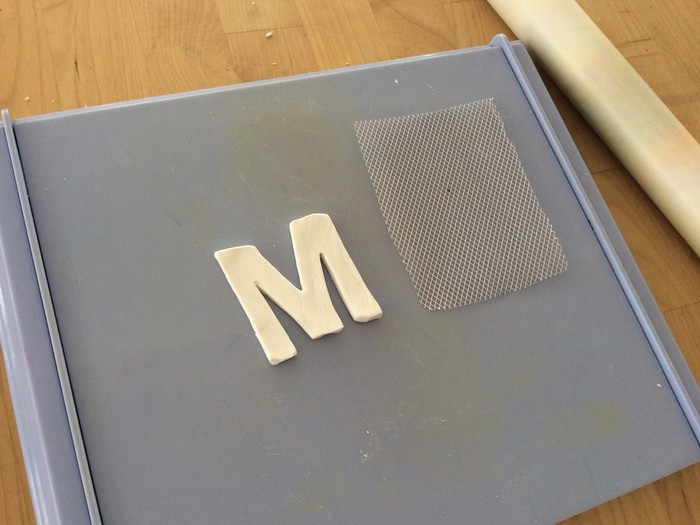
Place the mesh over the letter on the Clay Roller Kit.
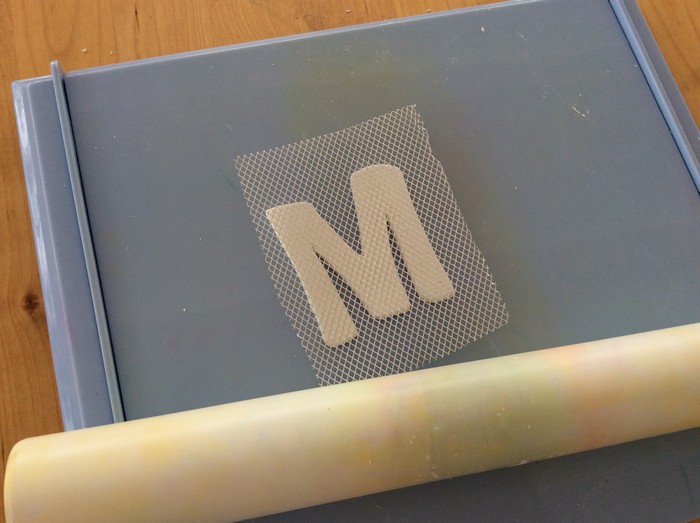
Roll over the mesh to create the textured impression on the letter. Repeat this process for all of the small letters.
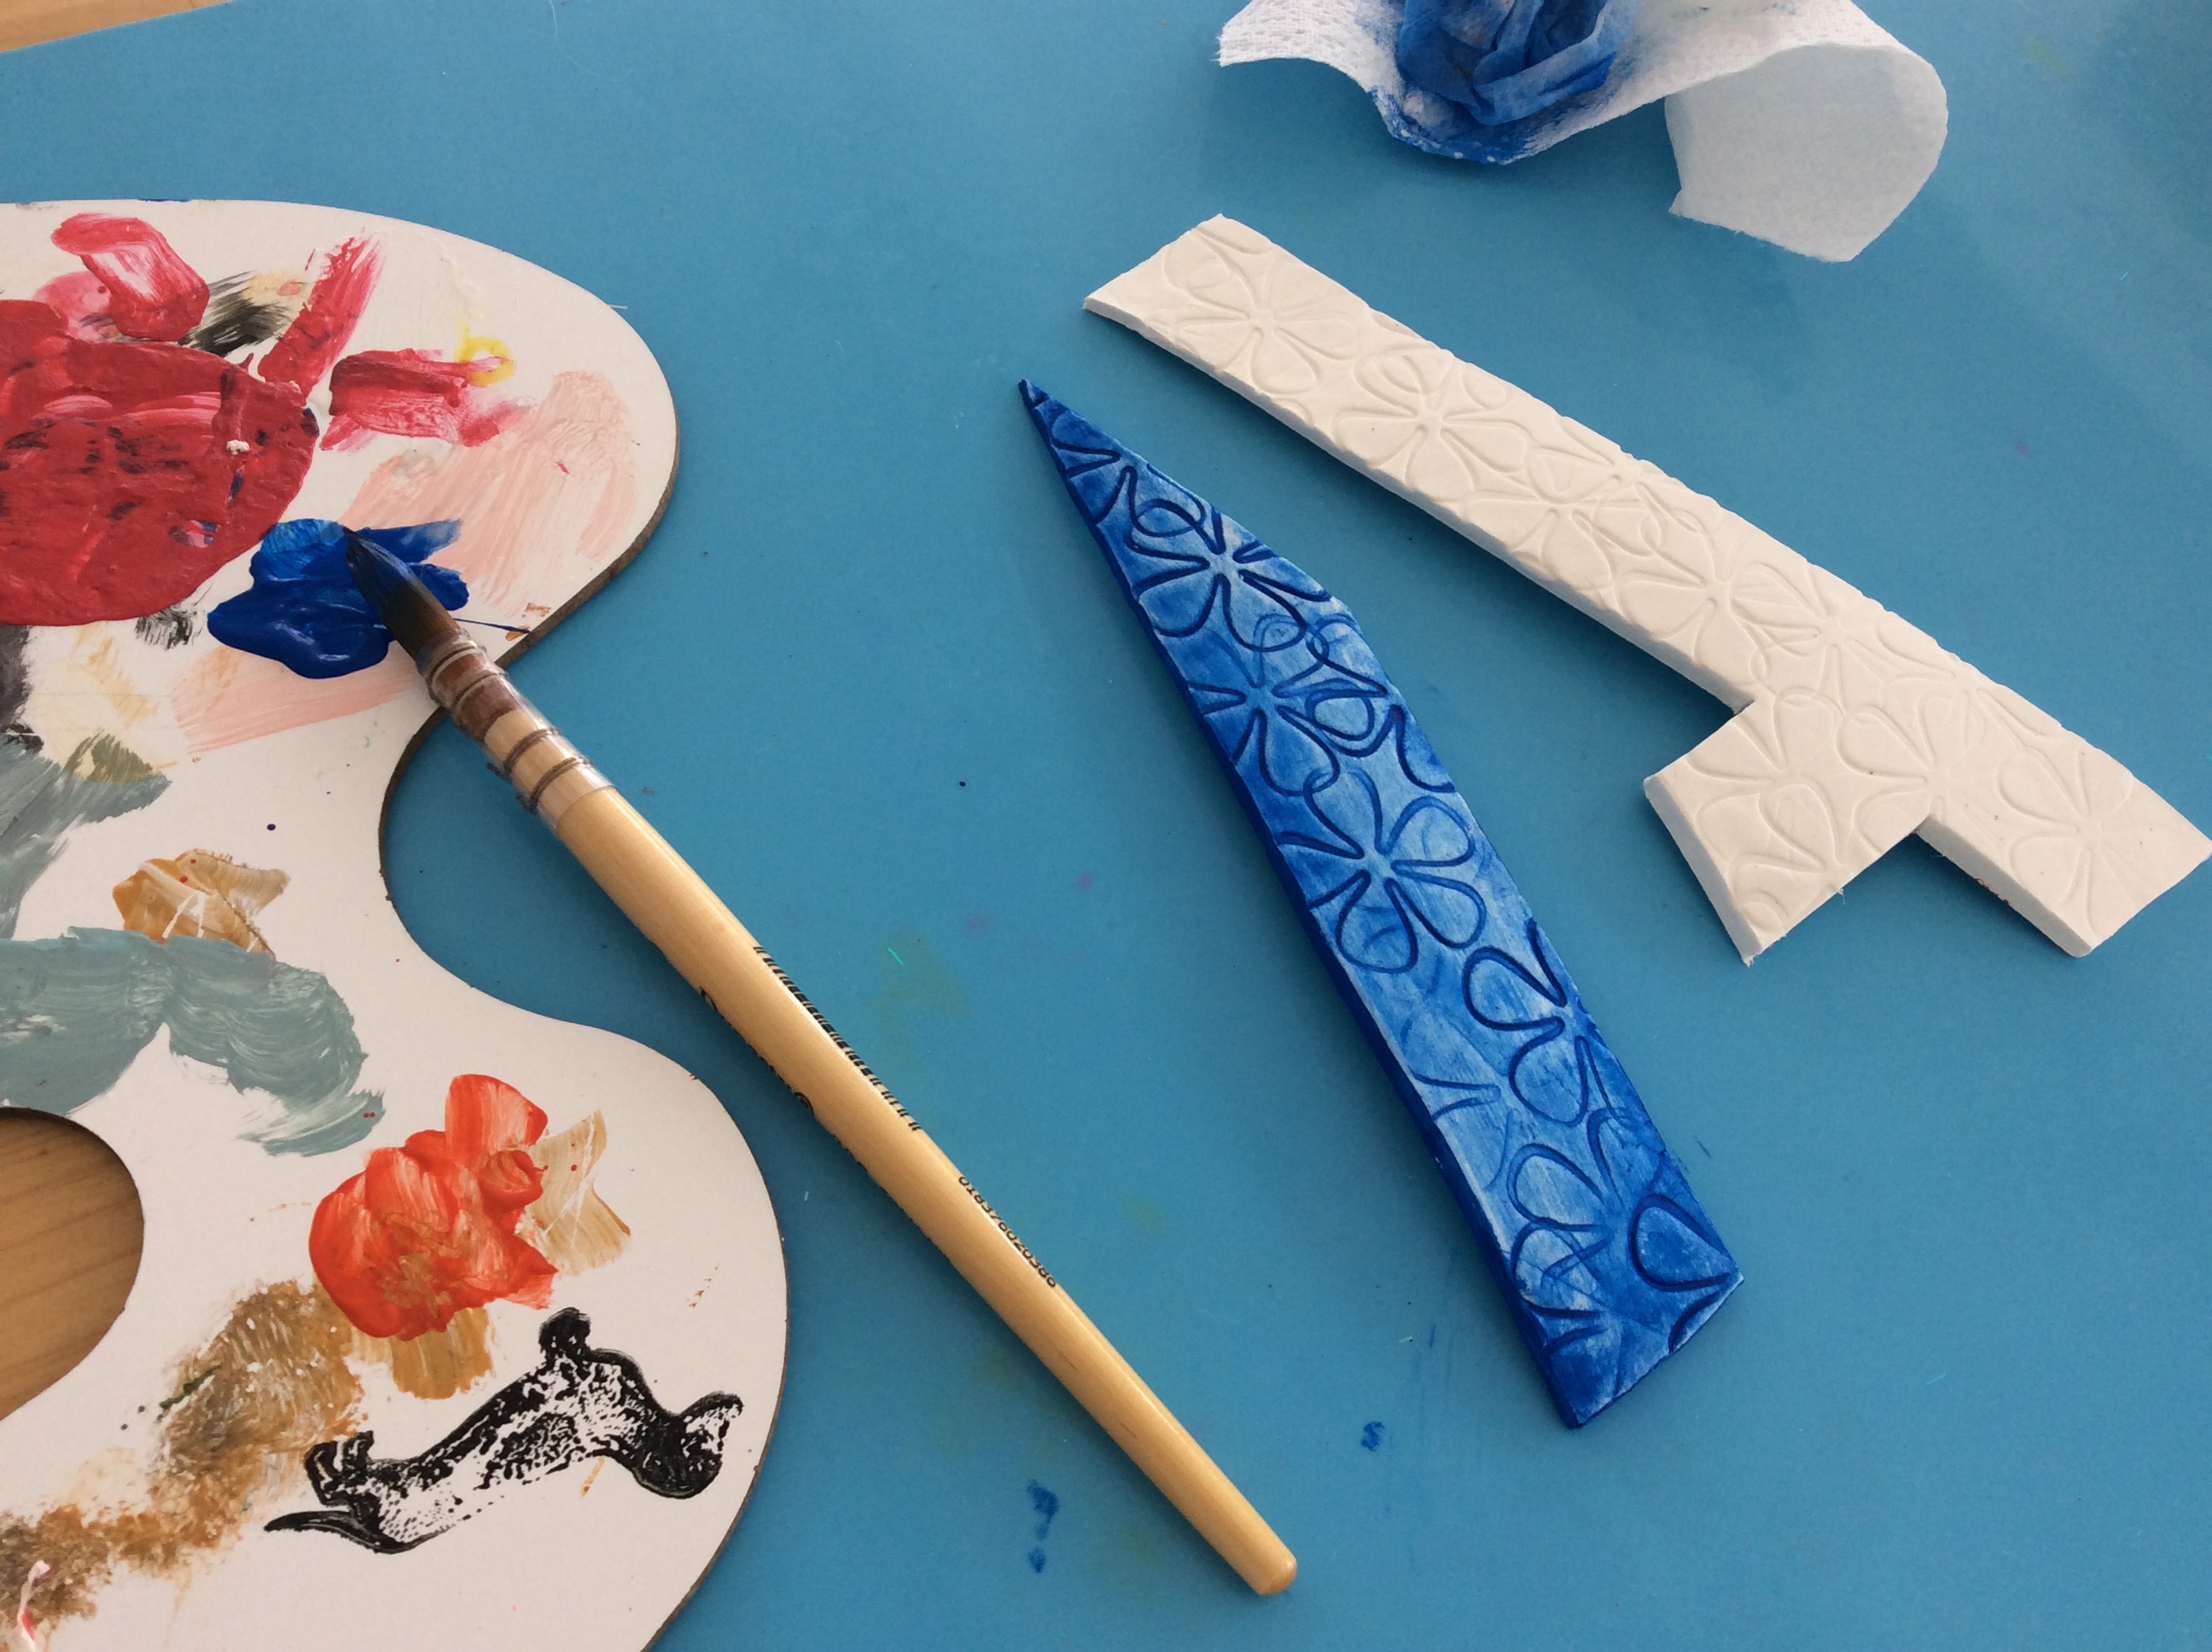
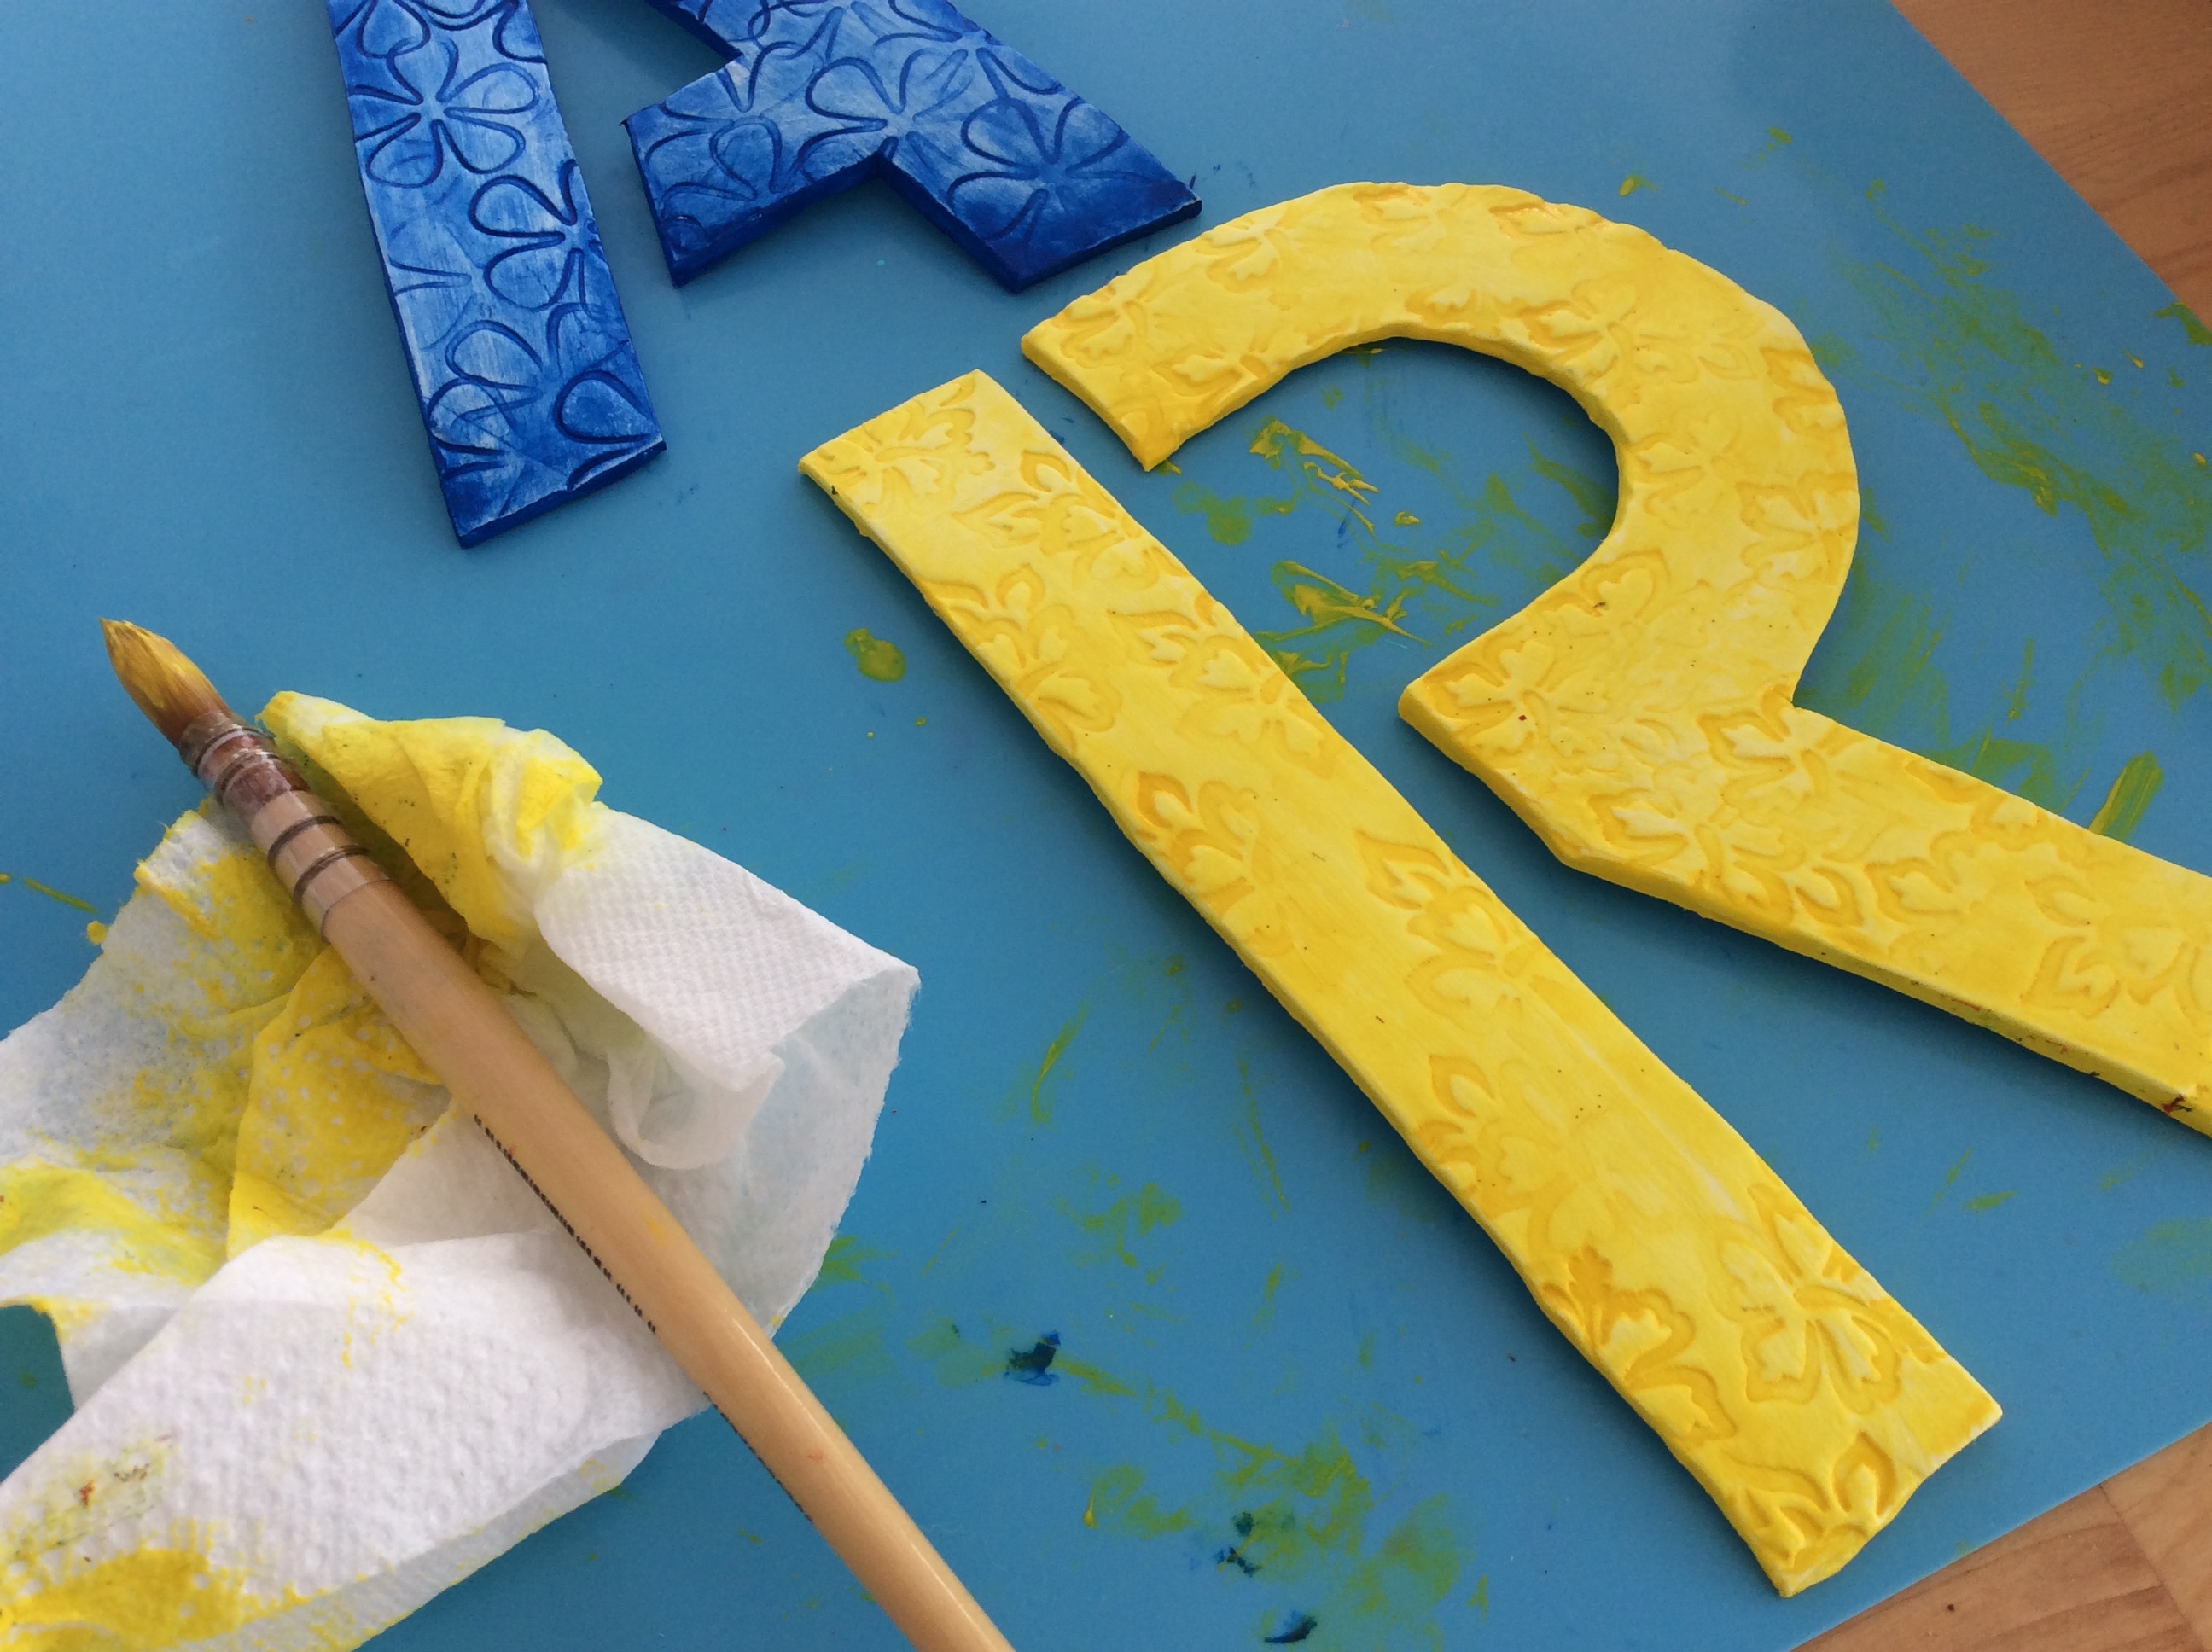
For the large letters, we added texture with rubber stamps.
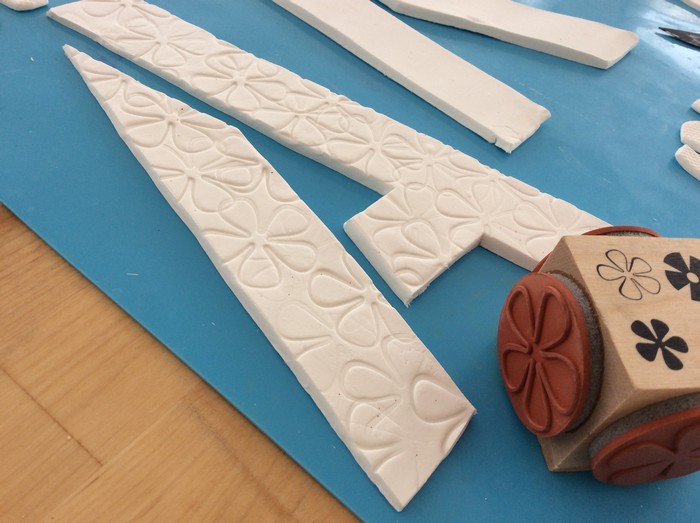
Once you’ve texturized all the letters, set them aside to dry.
Once dry, you are ready to begin colorizing your letters with the acrylic craft paint.
For a interesting dimensional look, paint the letters with craft paint and wipe away the excess paint with paper towels. First wipe with a dry paper towel, then wipe again with a moist paper towel. This process brings out the beauty of your textured dsigns!

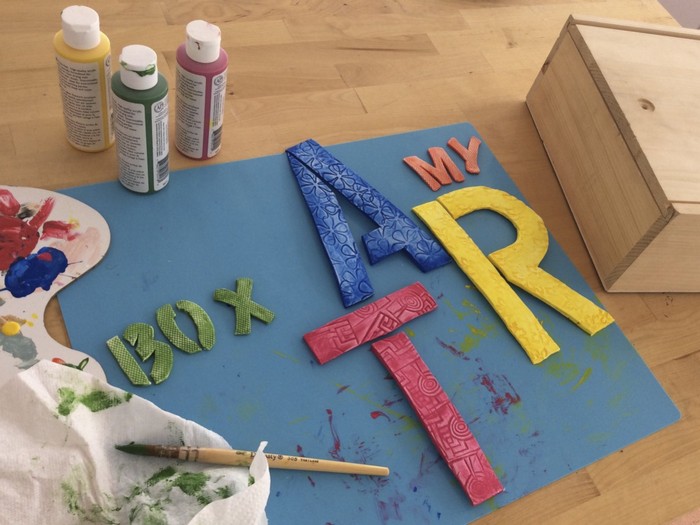
Repeat this process for the large letters.
Set the painted letters aside to dry while you work on staining your wooden box.
Brush a layer of wood stain on the box.
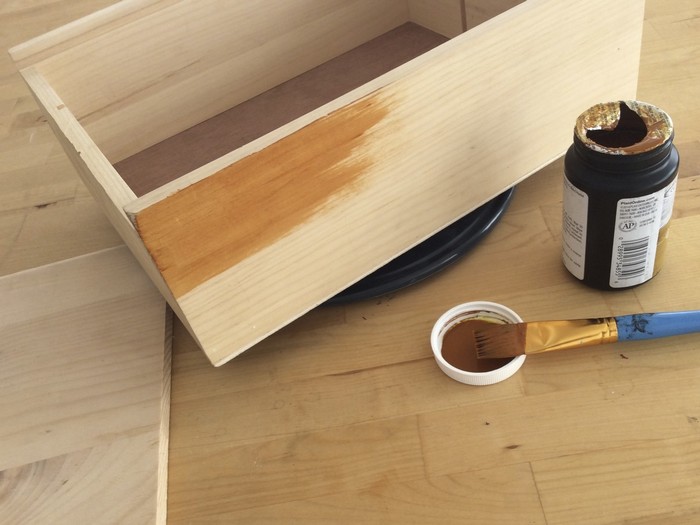
Be sure to stain all sides of the box including the inside and back of the box and lid.
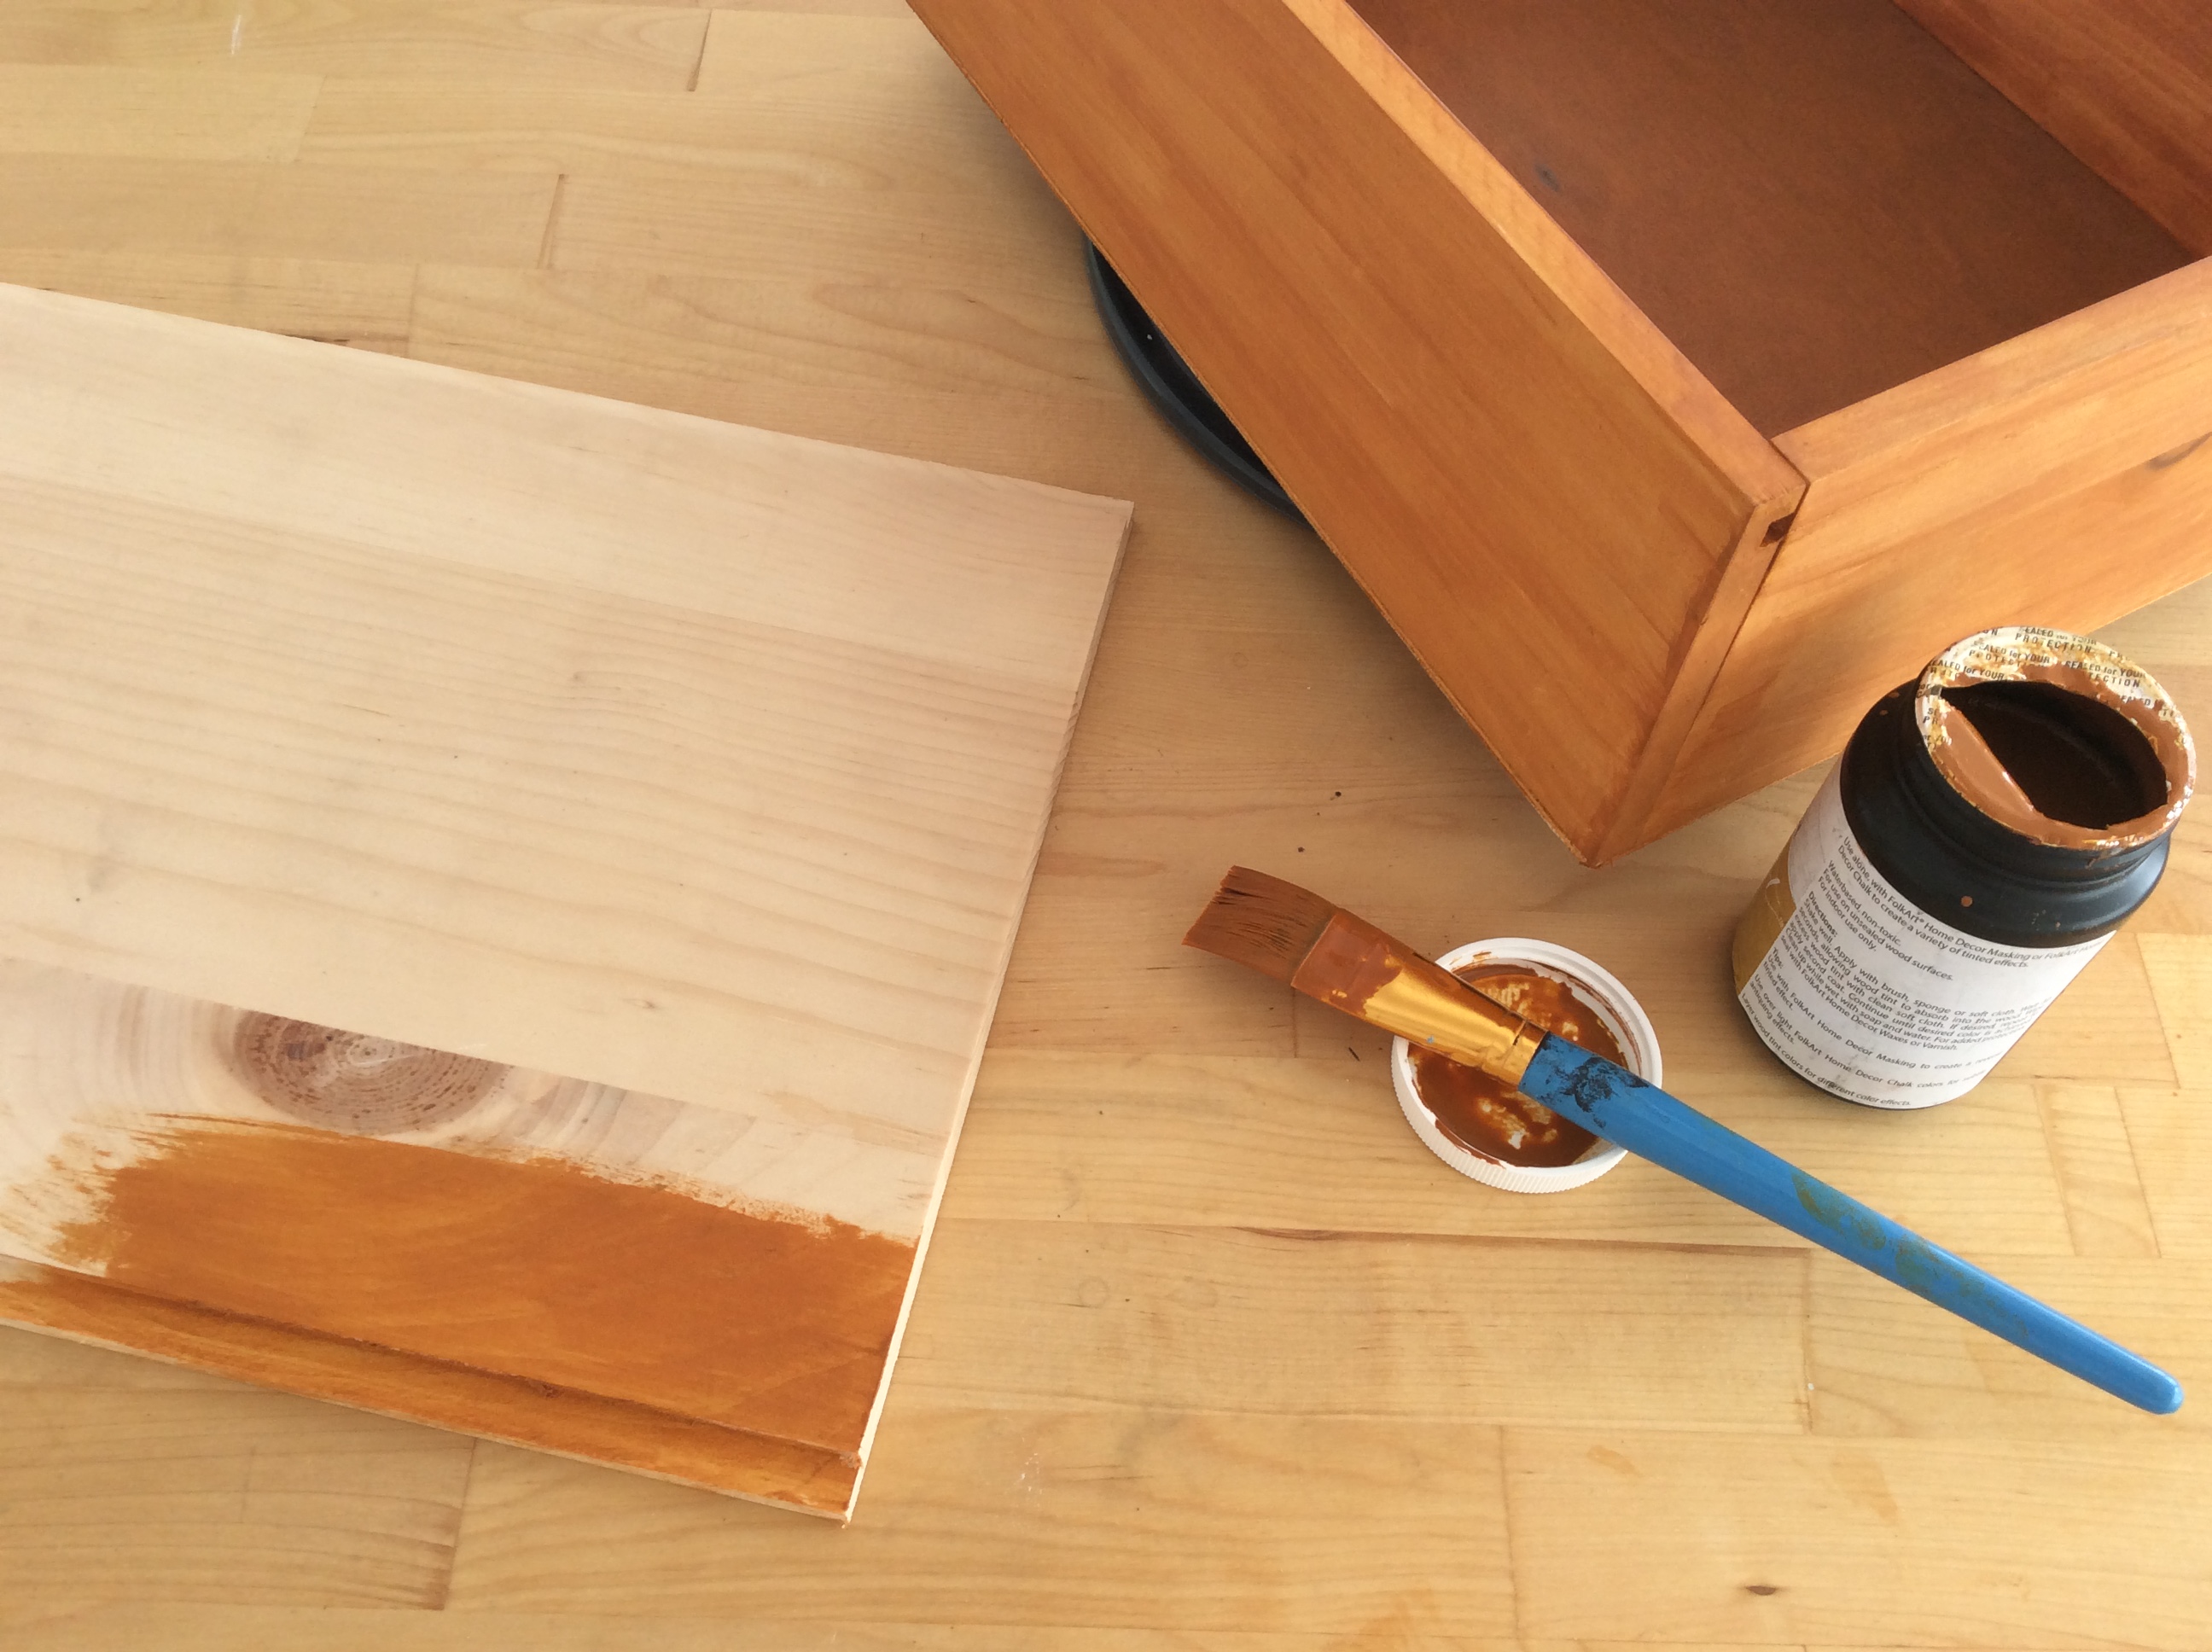
Allow the stained box to dry fully.
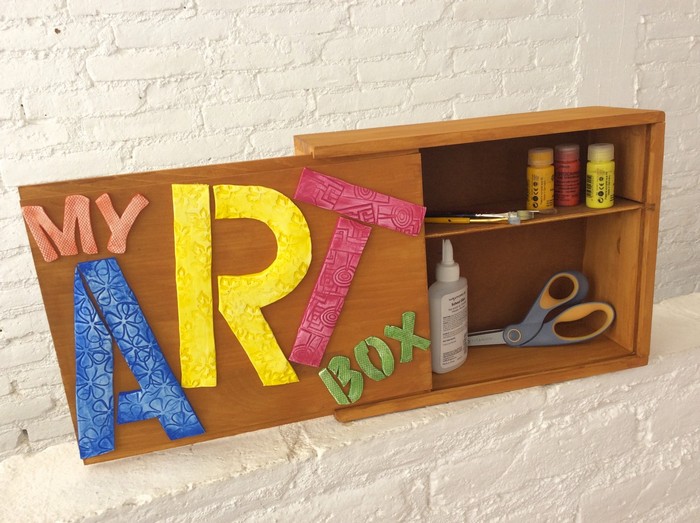
Adhere the colorful texturized letters to the box with hot glue.
Now you are ready to fill your art box with your favorite creative supplies and create more amazing projects!
- ABOUT THE ARTIST -

Meet celebrity crafter Marisa Pawelko, winner of the Craft & Hobby Association Indie Craft Contest and the host of “America’s Next Top Crafter™”. Armed with a formal education in furniture design, Marisa used her talents to design products for the gift, toy, fashion and accessories markets before turning her focus to the craft industry. In 2005, sparked with an idea to create a recycled baby memento-keeper out of one of her son’s baby food jars, she founded Modern Surrealist LLC, which quickly developed an international following. Marisa enjoys inspiring crafters on her blog with thrifty project ideas for “upcycling” ordinary objects, into extraordinary custom creations! Her work has been featured by PBS, HGTV, Illinois State Museum and in countless exhibitions and high end boutiques around the world. Modern Surrealist LLC has been providing customers around the globe with individualized and fantastical gifts, crafts and accessories since 2004. Featuring eclectic themes that celebrate your individuality with humor and heart!