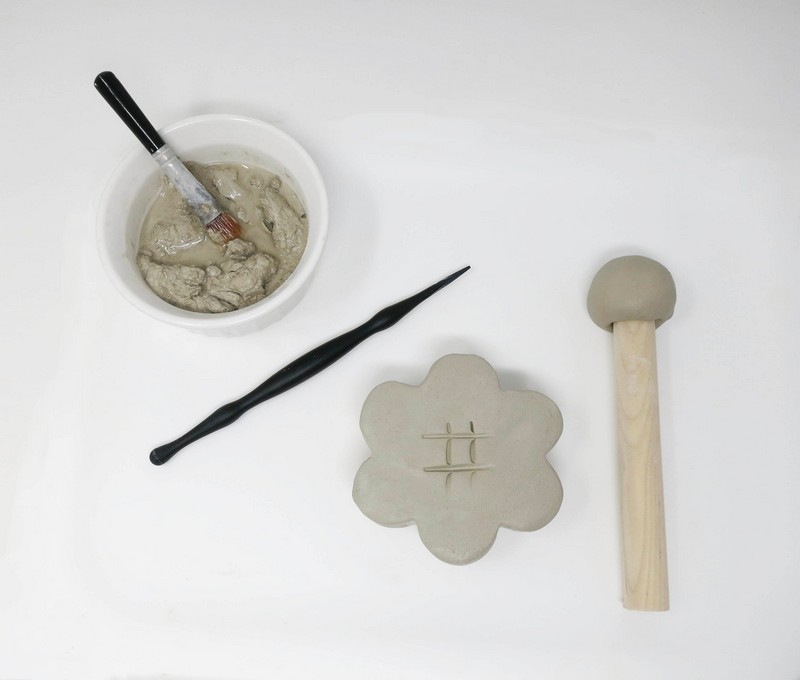
Materials Needed:
- Sandtastik® White Air Dry Modeling Clay
- Sandtastik® Terracotta Air Dry Modeling Clay
- Sculpey® Clay Starter 3pc Tool Kit
- Rolling Pin
- Flower, Circle, and Leaf Shape Cutter
- Plastic Wrap
- Thick Wooden Dowel
- Water Bowl
- Terracotta Clay Pot
- Acrylic Paint
- Brush
- Adhesive
Step 1
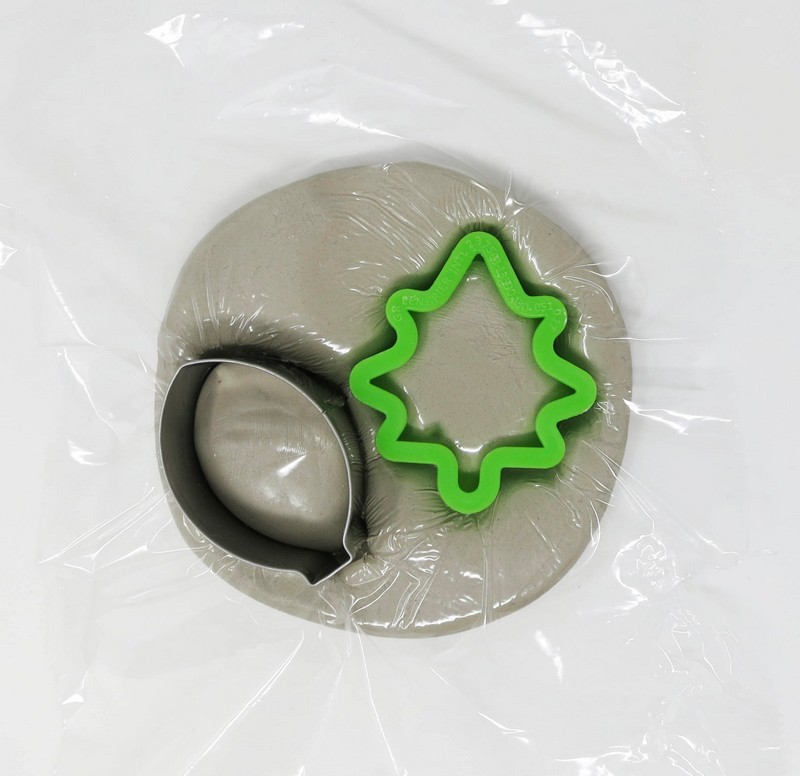
Flower Shape
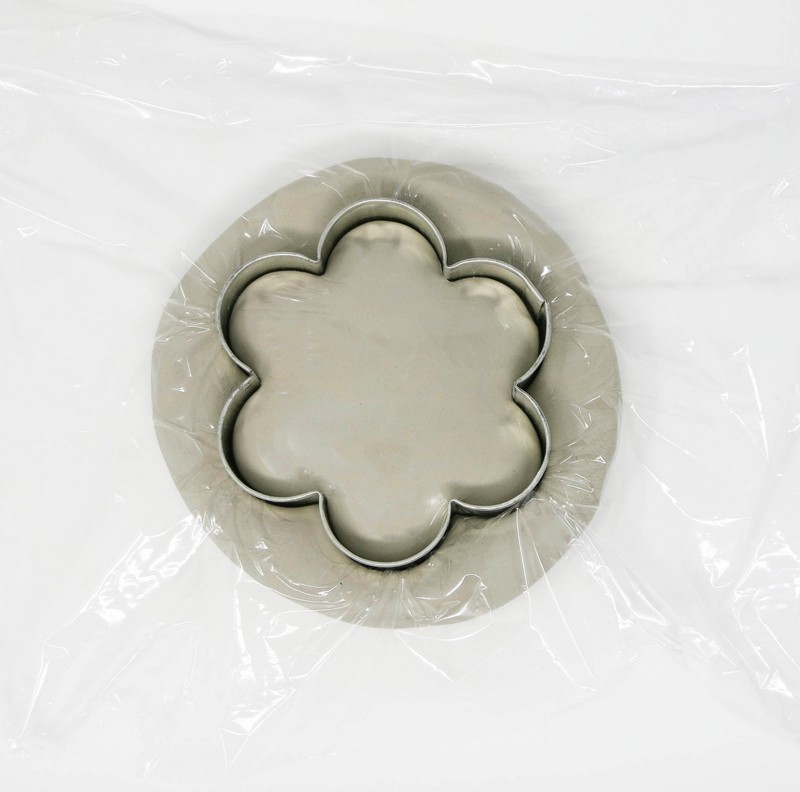
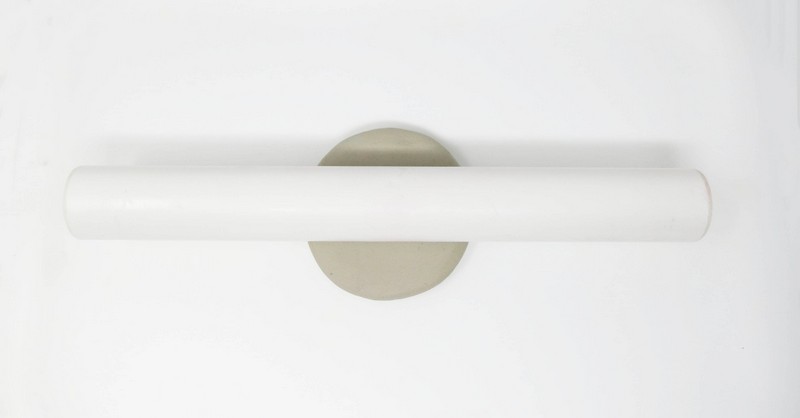
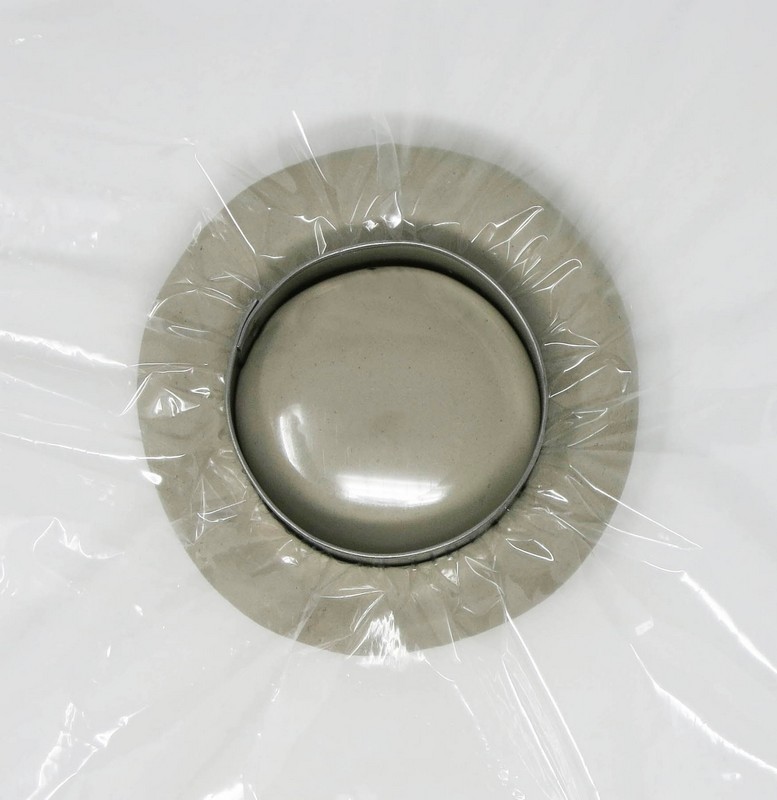
Roll a 1” slab of clay.
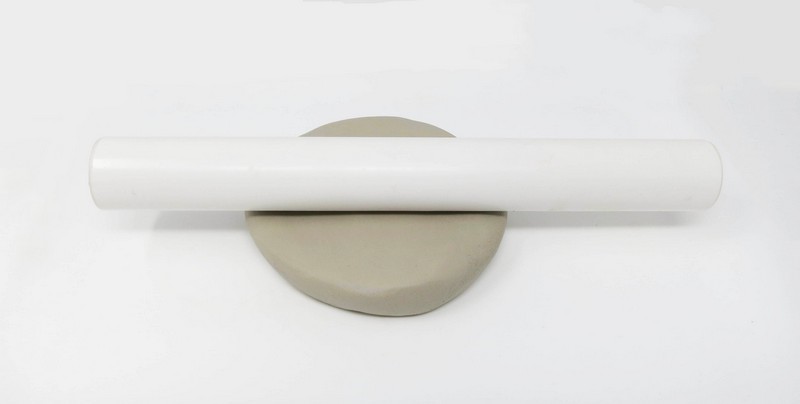
Cover slab with plastic wrap. Press flower shape cutter into the clay.
Roll a 1/2” slab of clay.
Cover slab with plastic wrap. Press circle shape cutter into the clay.
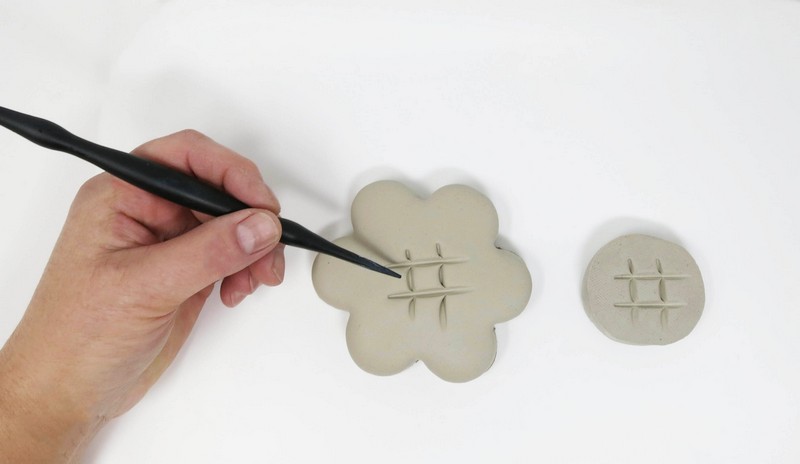
Remove excess clay from around shapes.

Draw scoring lines onto the flower and circle shape using the pointed tool.
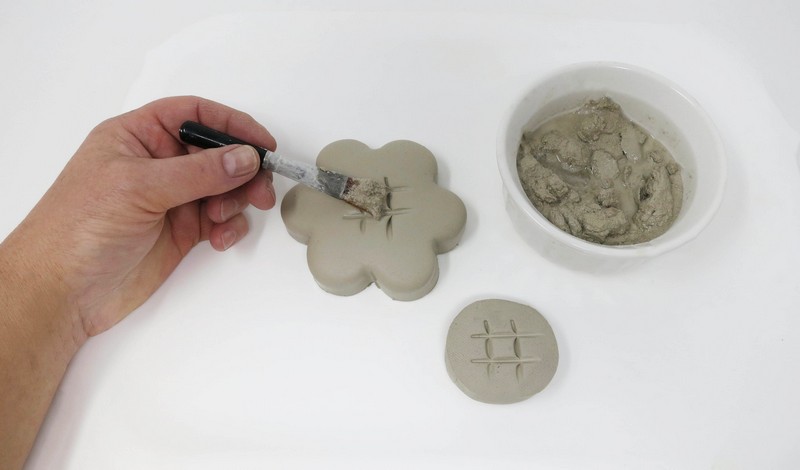
Apply clay slip over the scoring lines.
*NOTE: Clay slip is dry clay mixed with water to create a slurry.
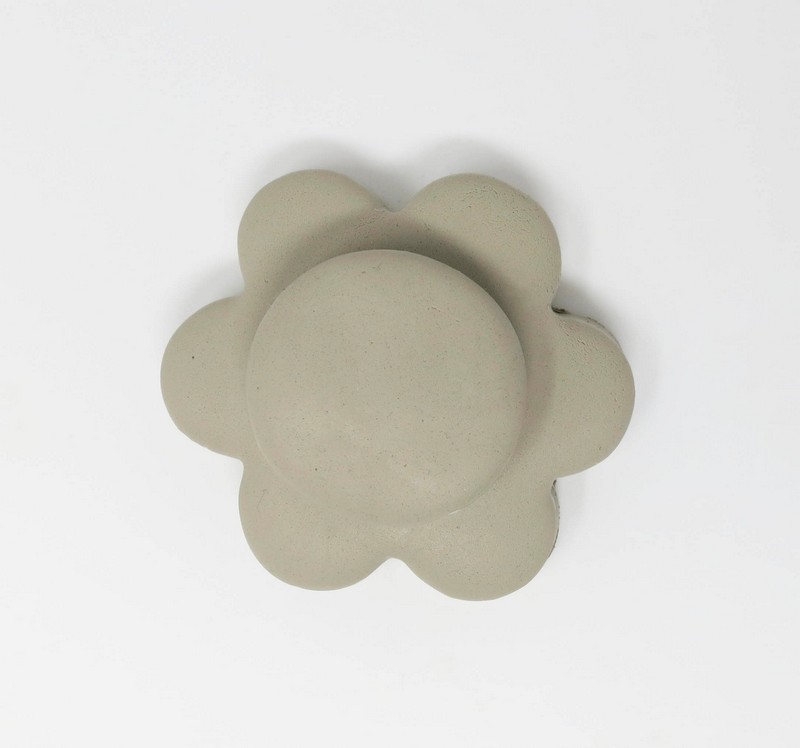
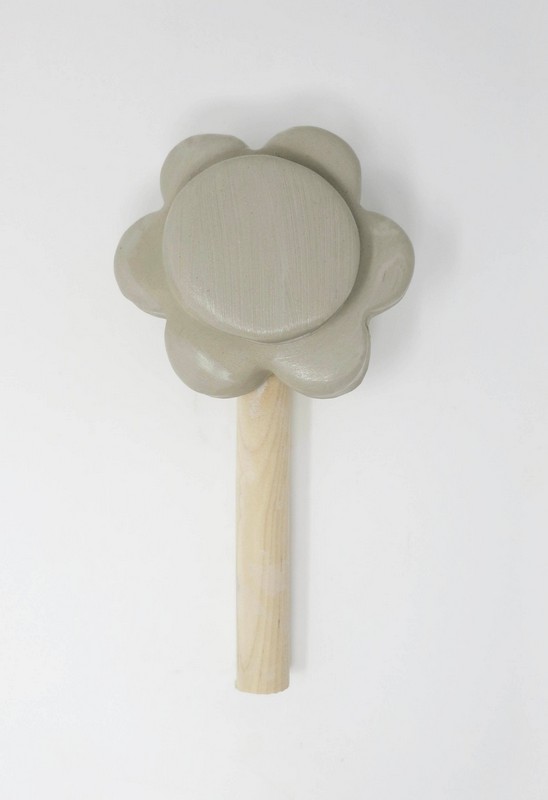
Connect the two pieces of clay together.
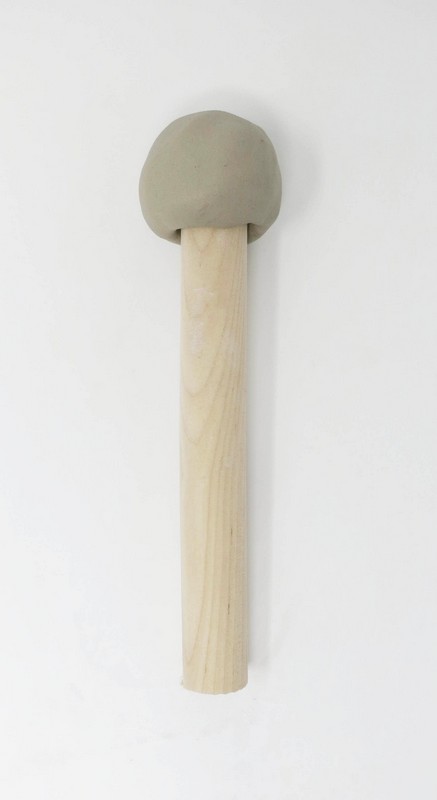
Step 2
Stem
Roll a sphere of clay. Attach it to one end of the wooden dowel.
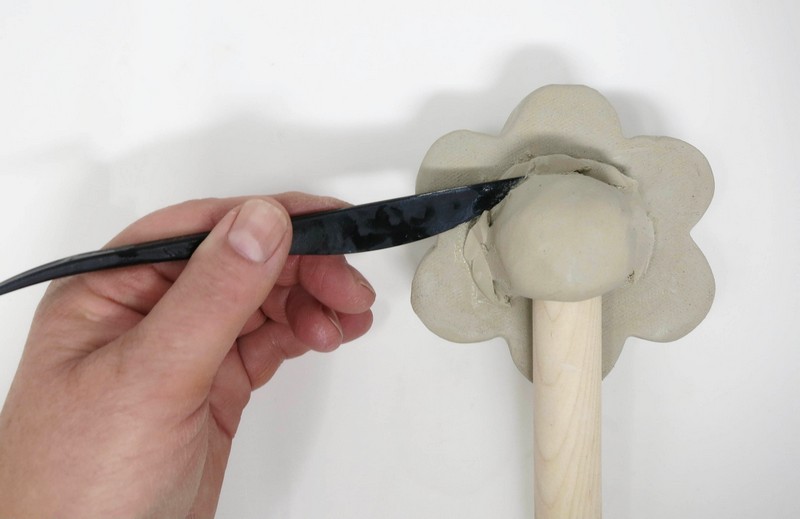
Score and slip it onto the back of the flower shape.
Secure it into place by spreading it onto the flower shape using the clay knife tool.
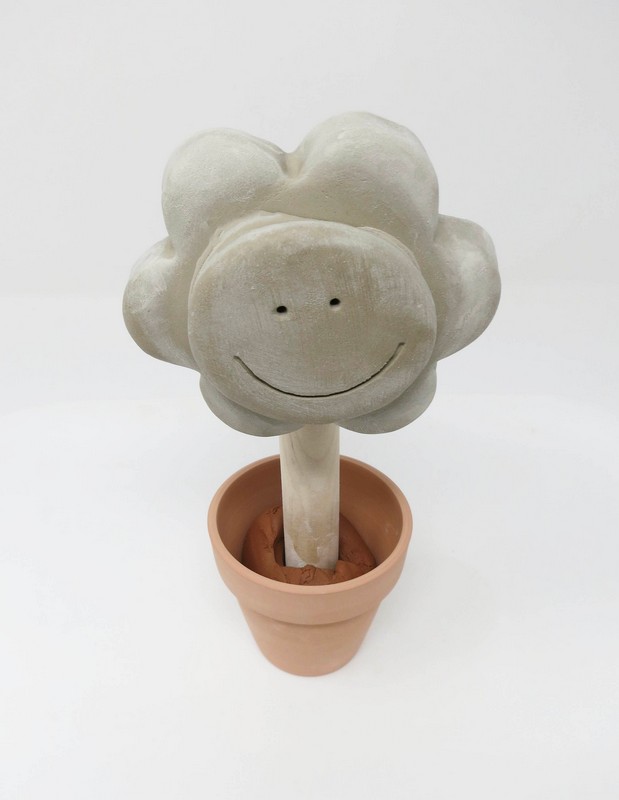
Step 3
Flower Face
Turn the flower right side up.
Draw or add on the eyes and mouth to create a face on the flower shape.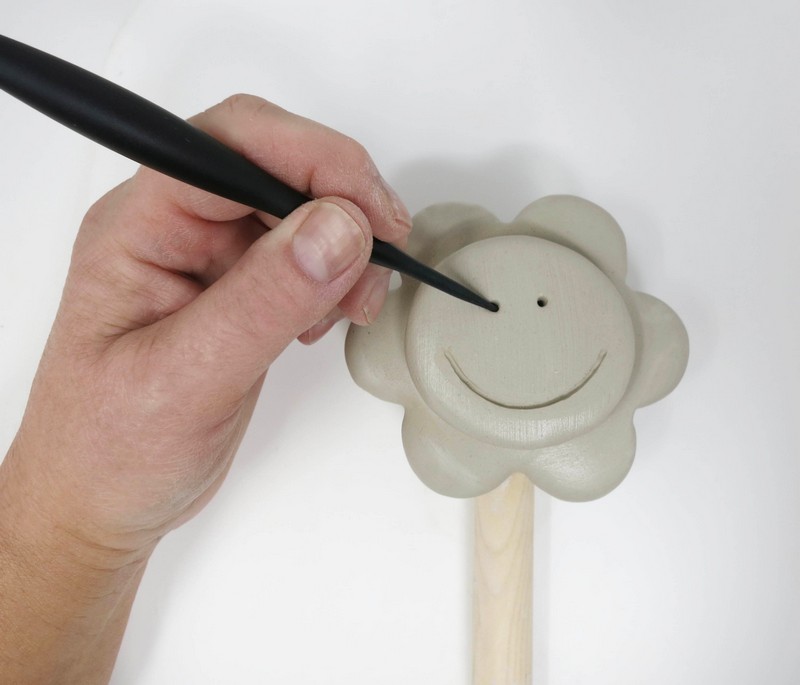
Step 4
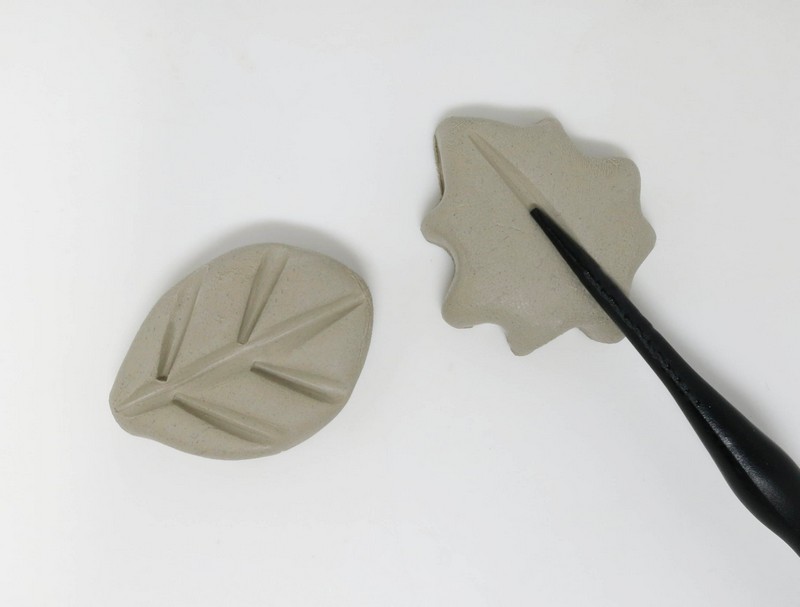
Leaves
Roll a 1/4” slab of clay. Cover clay with plastic wrap. Press leaf shape cutter into the clay. Cut out 1 or 2 leaves for the stem.
Remove excess clay from around shape cutter. Draw veins into the leaf using the pointed end of the clay tool.
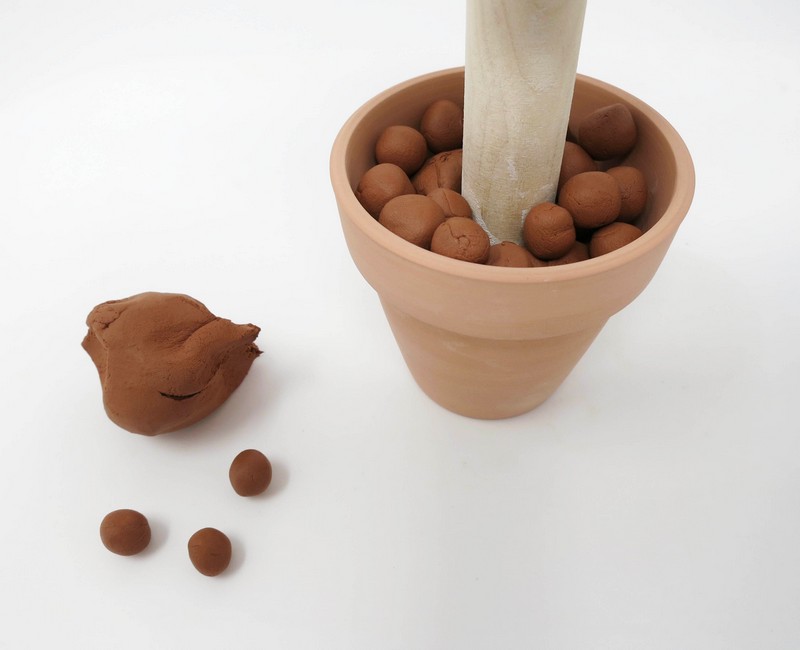
Step 5
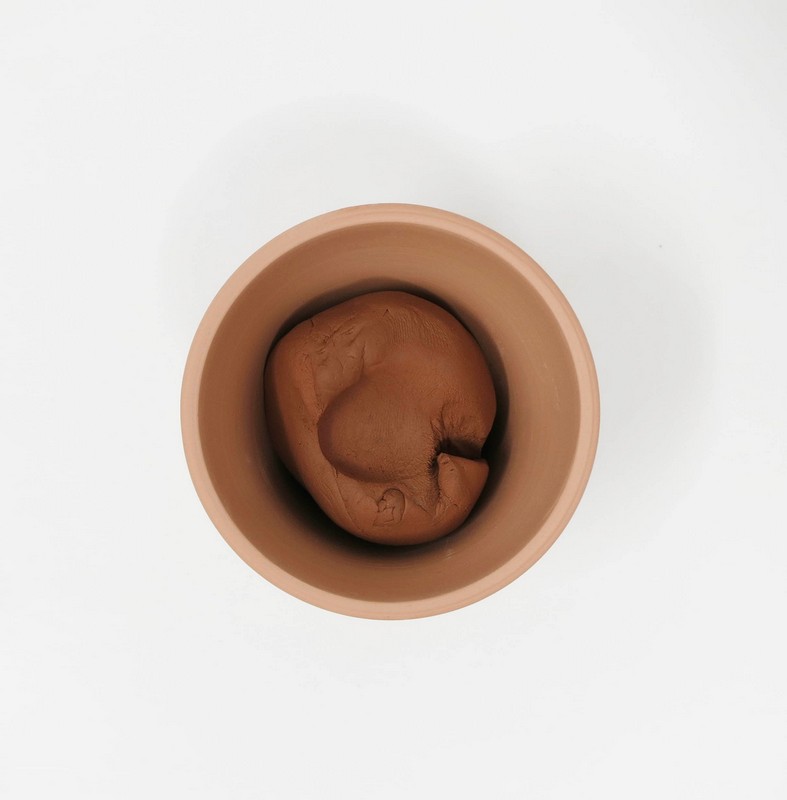
Flower Pot
Place a large lump of terracotta clay inside the clay pot.
Insert the wooden dowel into the clay.
Roll pea size clay spheres and place around the wooden dowel inside the clay pot. Fill the pot with up with the clay rocks.
Step 6
Dry
Allow the clay to dry. As the clay dries it will gradually become whiter and whiter. It is considered fully dry when it is no longer cool to the touch.
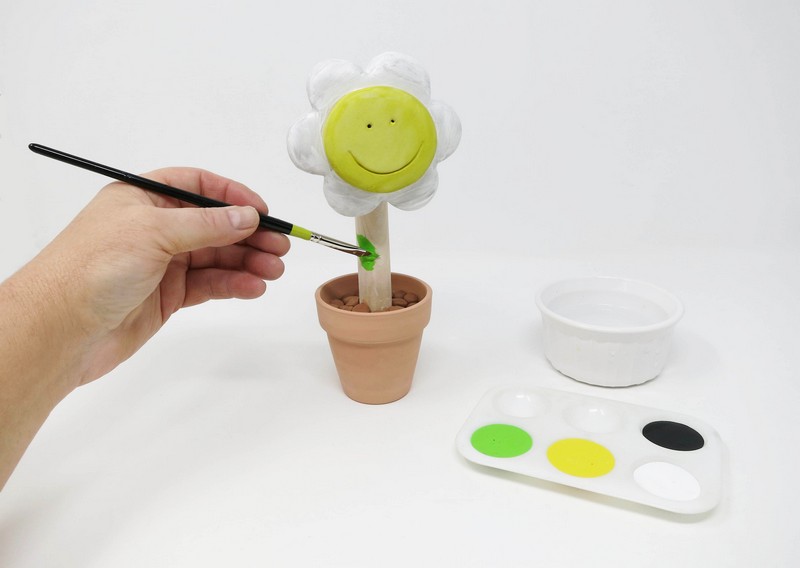
Step 7
Paint
Paint the clay flower using desired colors. Paint the clay leaves separately.
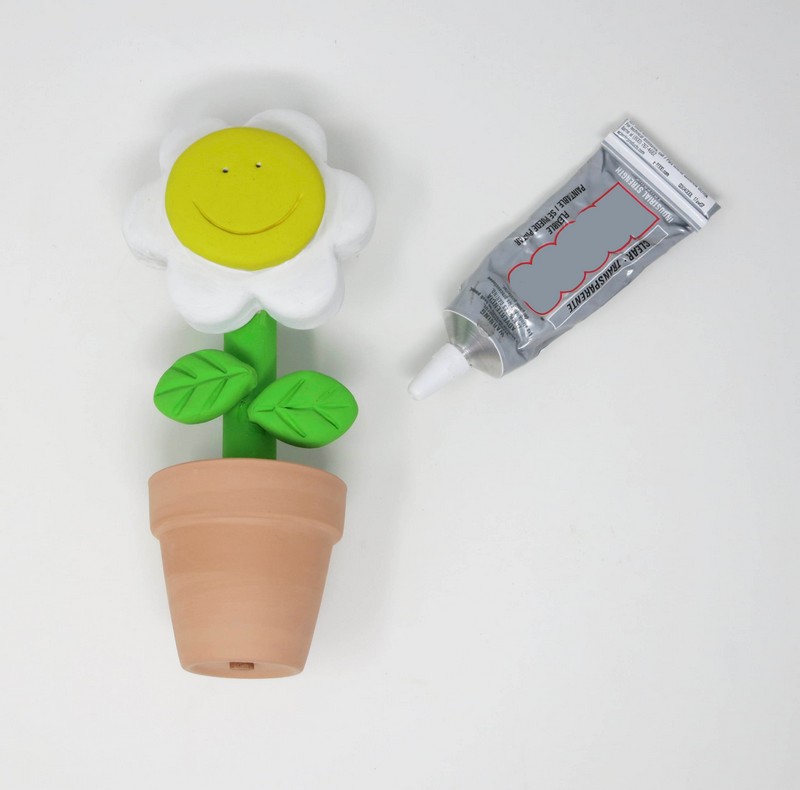
Step 8
Attach
Glue the leaves onto the flower’s stem using a strong adhesive and allow to dry.
Step 9
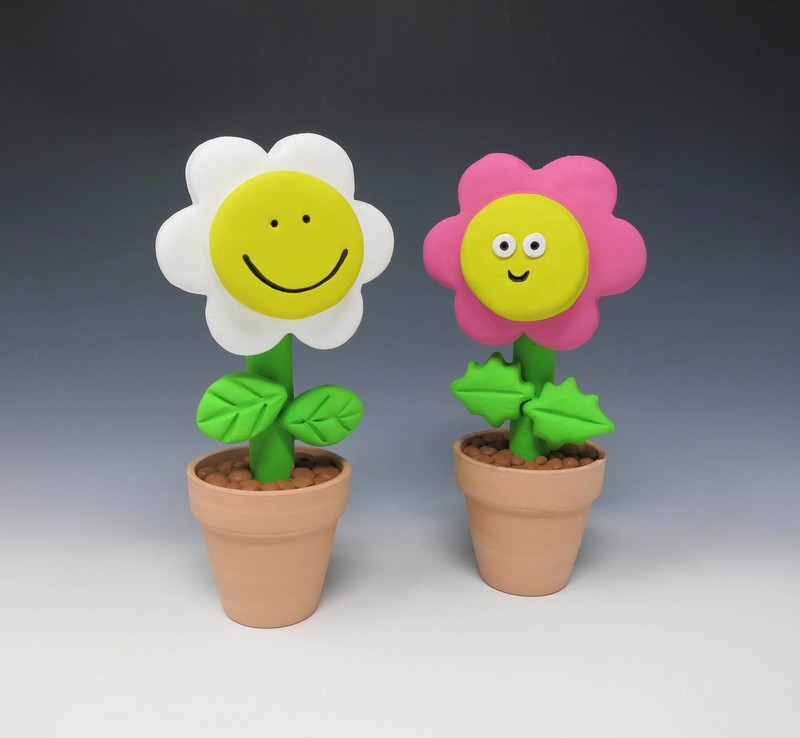
Display
Place flower sculpture in display space and enjoy. No Green Thumb is needed.