Materials Needed:
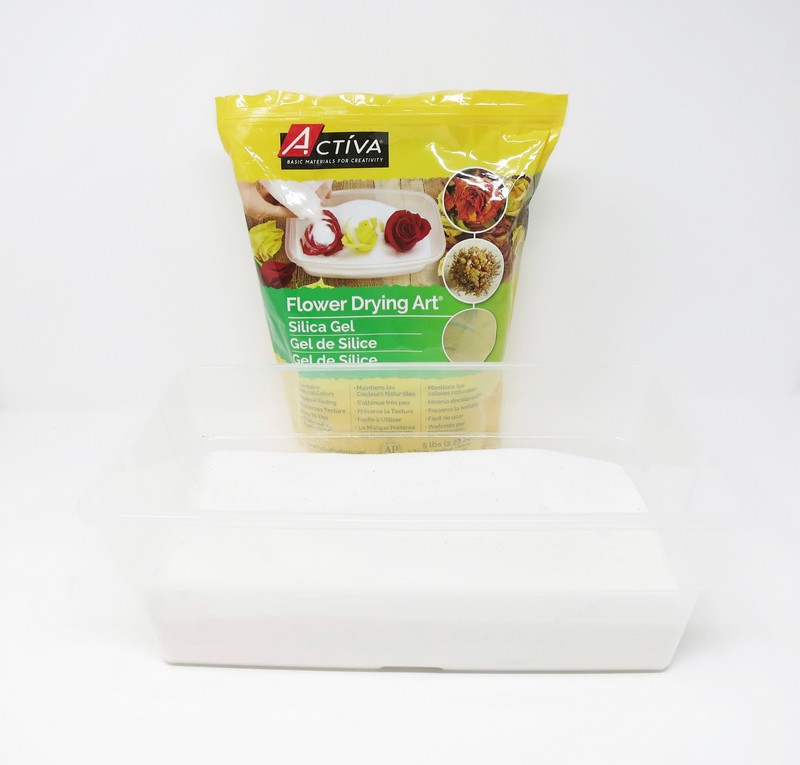
- Activa Flower Drying Art
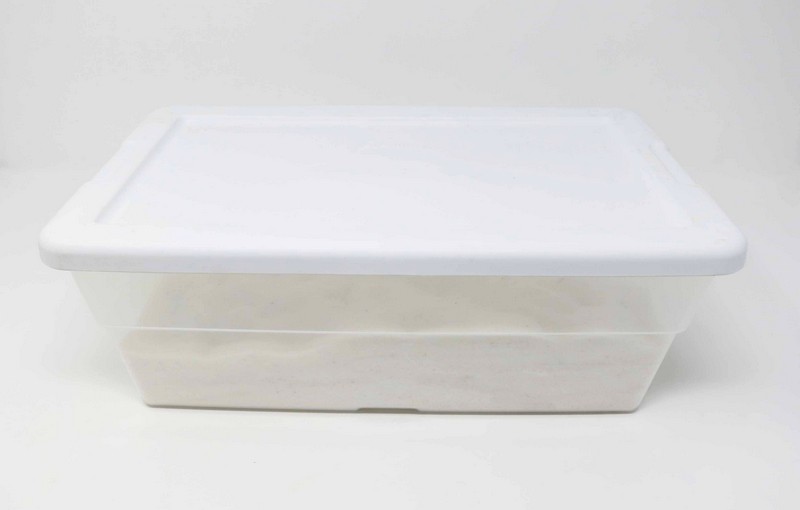
- Plastic Lidded Container
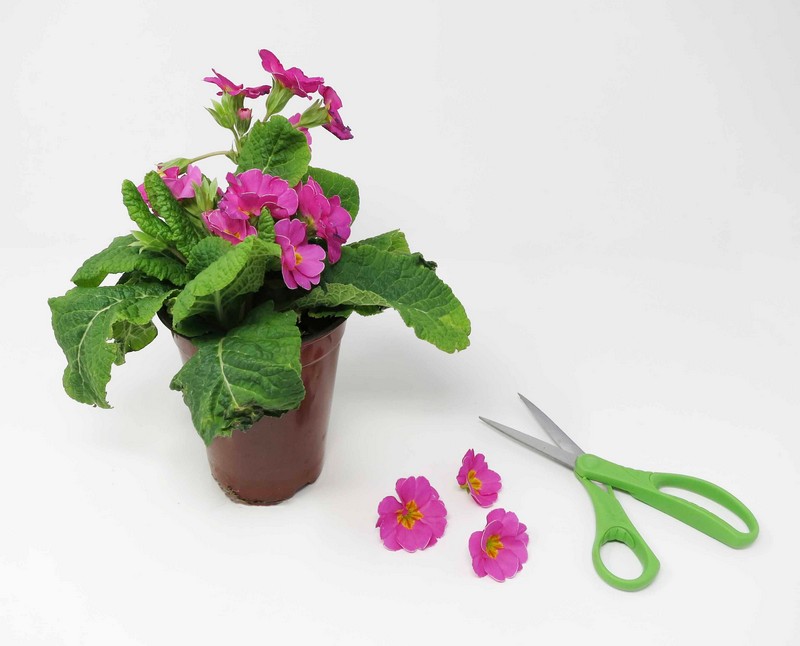
- Fresh Flowers
- Scissors
- Tweezers
- Liquid Matte Sealant
- Brush
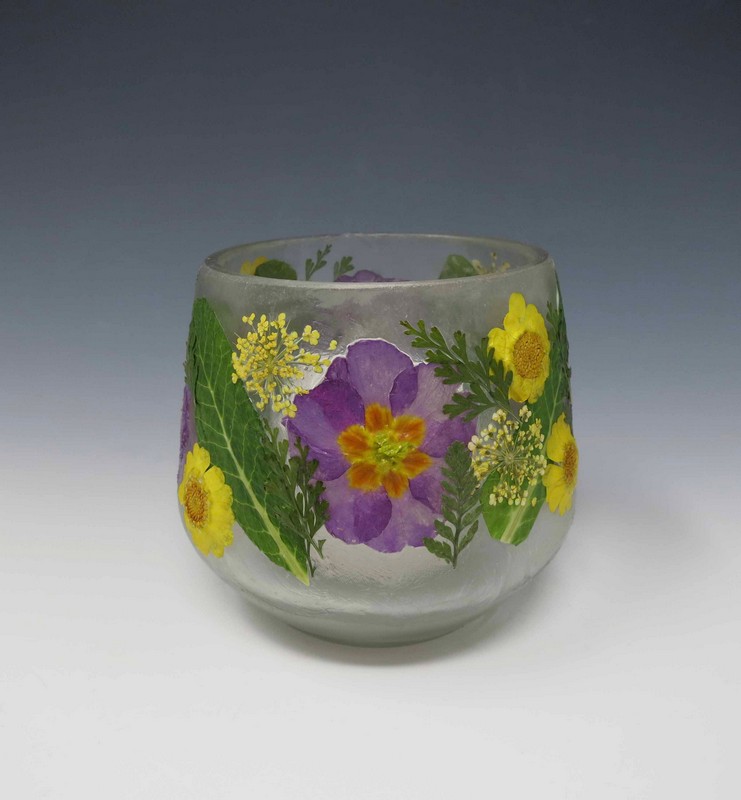
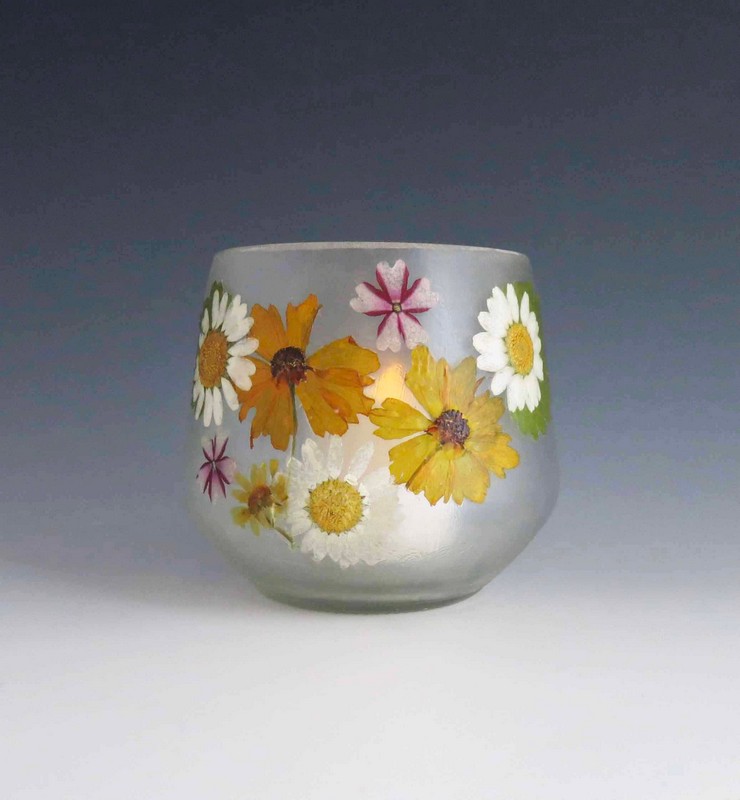
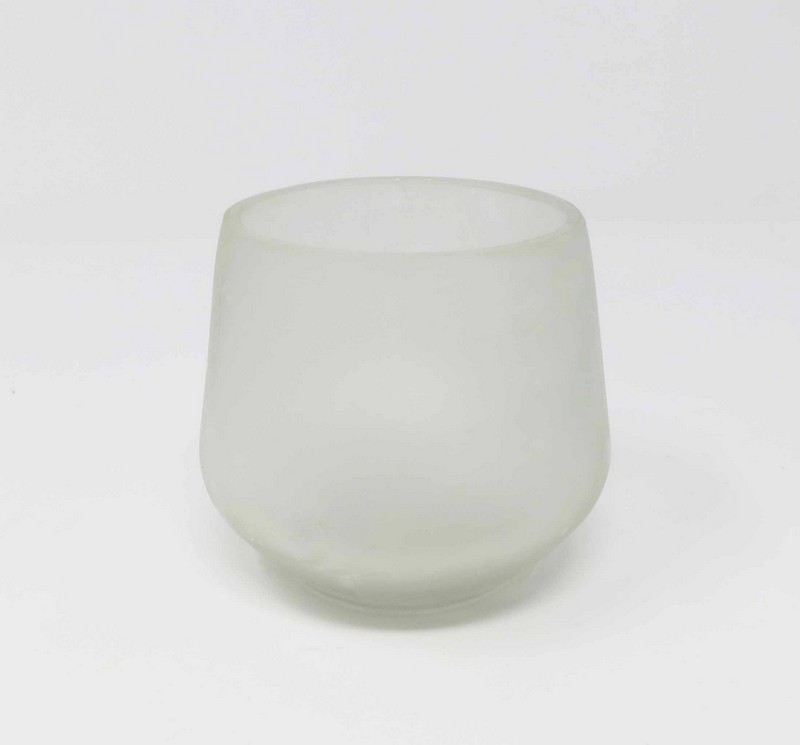
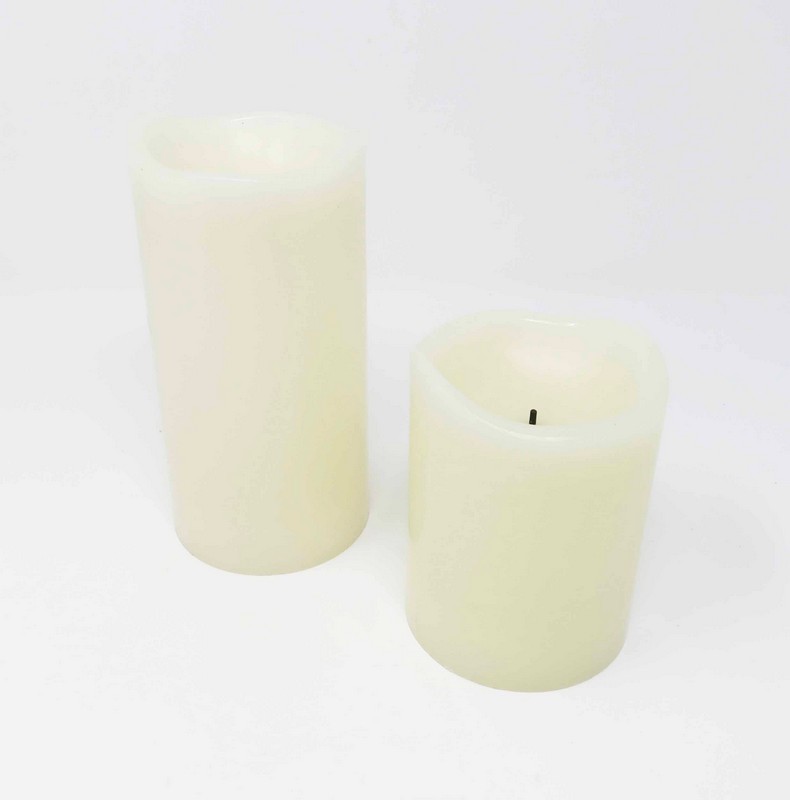
- Wide Candle, Battery Operated Candle or Frosted Glass Candle Holder
Step 1
Flower Drying
Pour Flower Drying Art into the container to a depth of at least 1.5” to cover the bottom. Cut flowers into desired length.
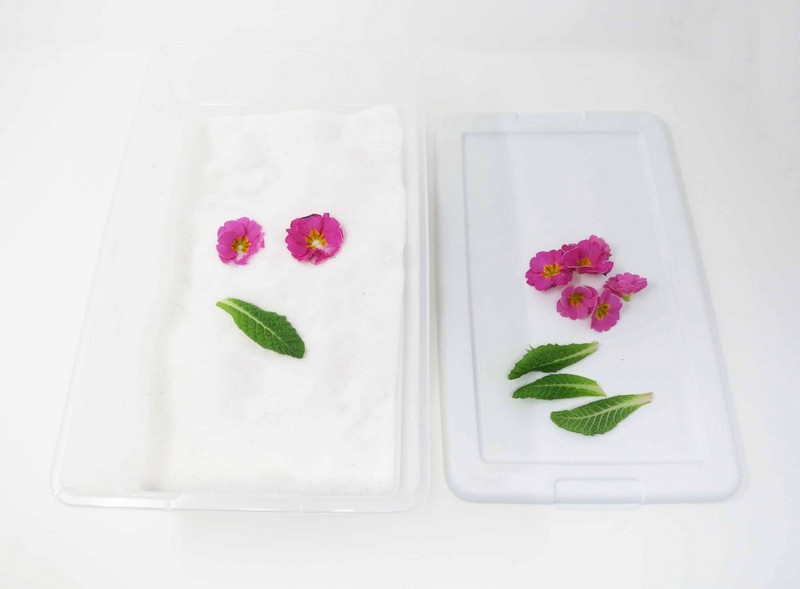
Place flowers face up on the surface of the Flower Drying Art. Space flowers so they do not touch each other.
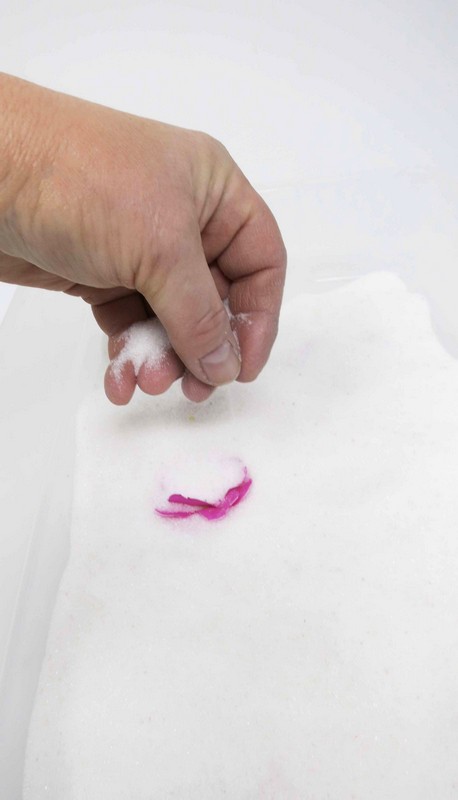
Slowly sprinkle Flower Drying Art around the base of the flowers, adding it to the top and sides of the flowers.
Cover the container with an airtight lid and put away in a dry place.
Drying times vary depending upon the number of flowers in a container and the moisture content of the flowers.
Watch for the blue crystals to turn pink.
This action shows that the moisture from the flowers is being absorbed into the Flower Drying Art.
Step 2
Removal
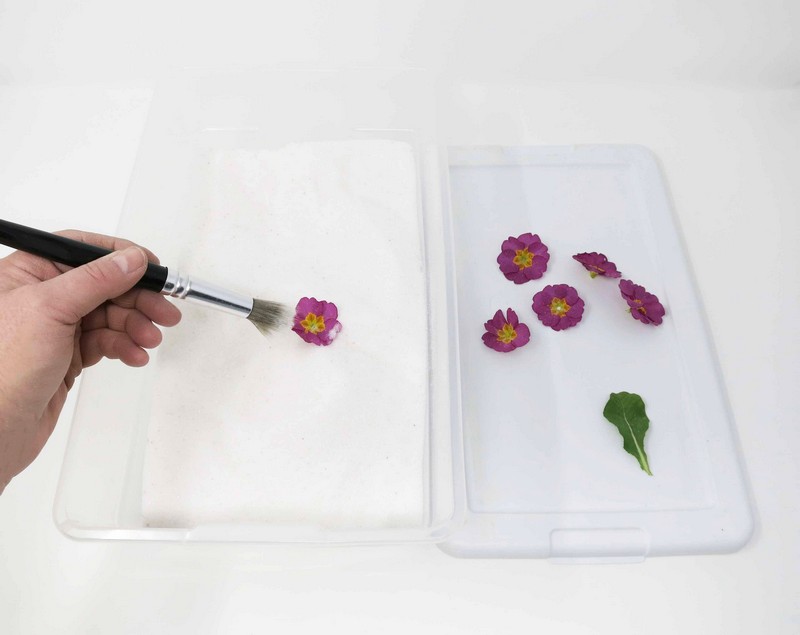
To remove flowers, slowly pour off the Flower Drying Art until blossoms are uncovered.
Gently brush away the Flower Drying Art that may be on the petals using a soft paint brush.
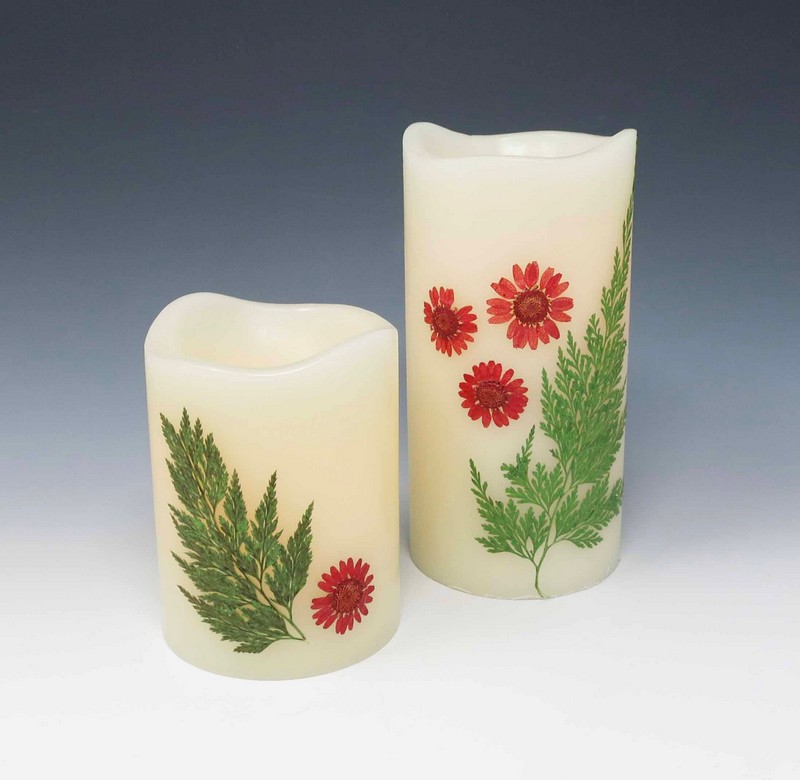
Step 3
Arrangement
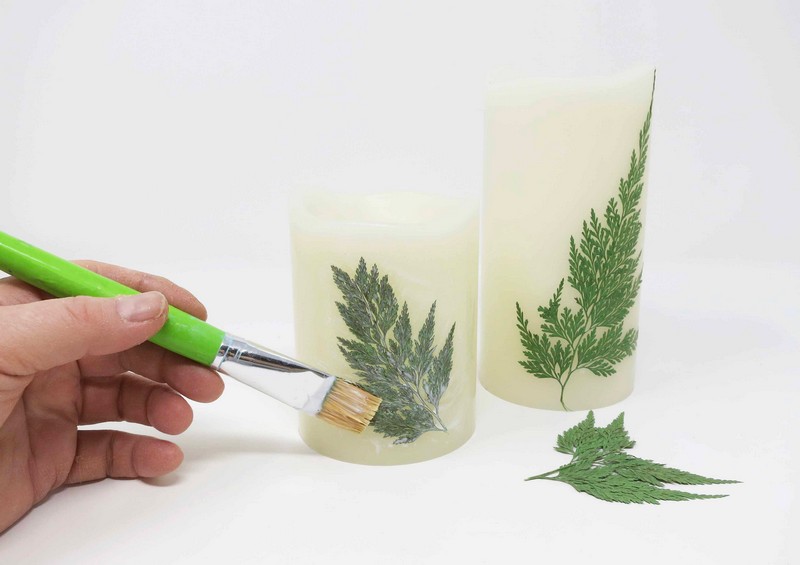
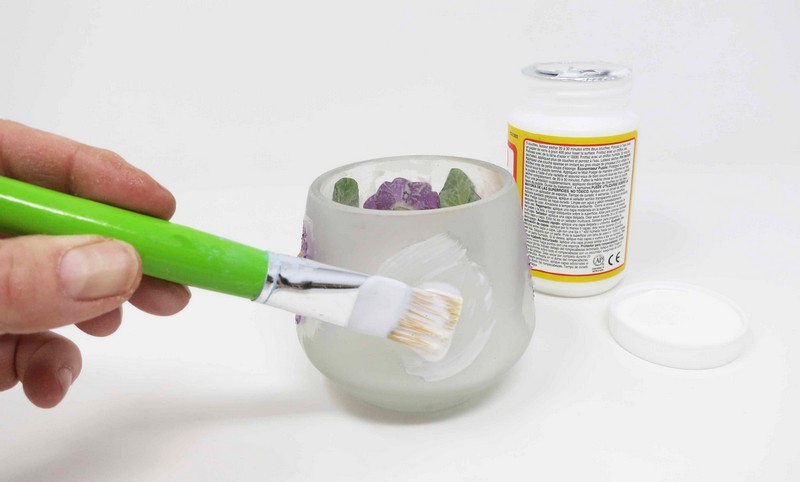
Use a wide candle, battery operated candle or a frosted glass candle holder to arrange flowers on.
Spread a layer of matte gloss sealant onto the candle surface using a wide brush.
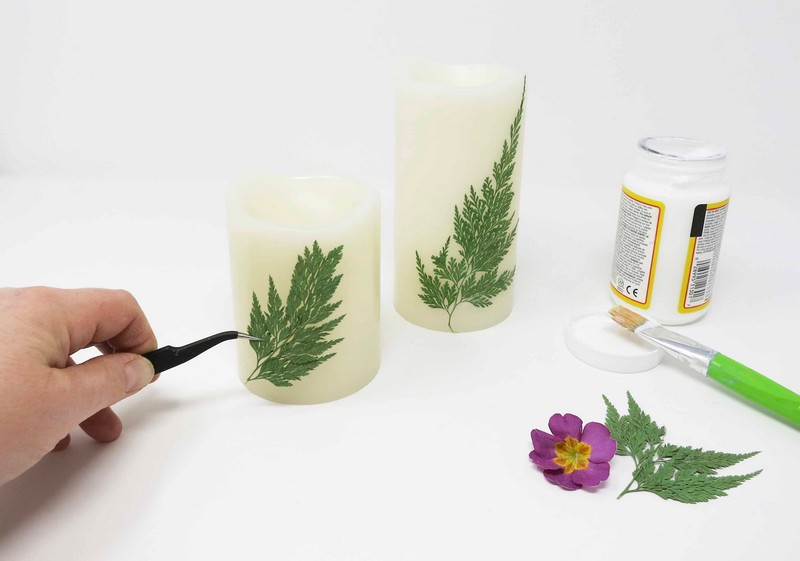
Select flowers using a pair of tweezers and move flowers into place.
Step 4
Seal
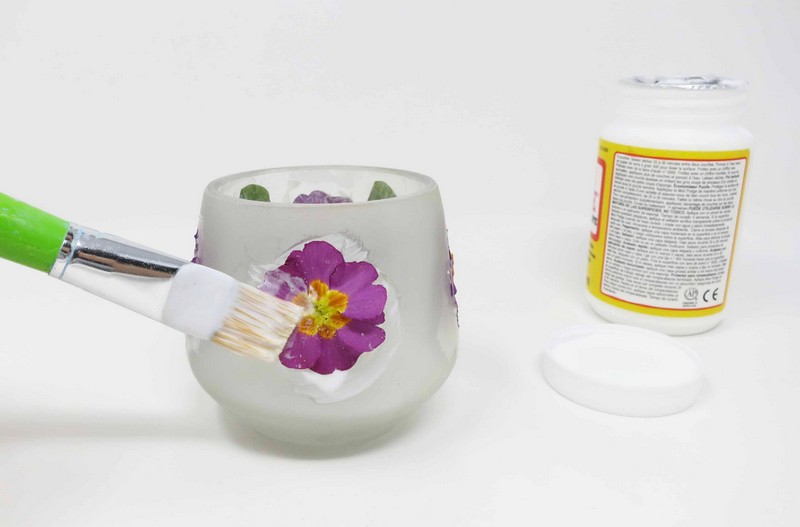
Once the floral arrangement is completed, apply a coat of sealant over it.
Allow the first coat of sealant to completely dry. Once dry apply a second coat over the entire arrangement.
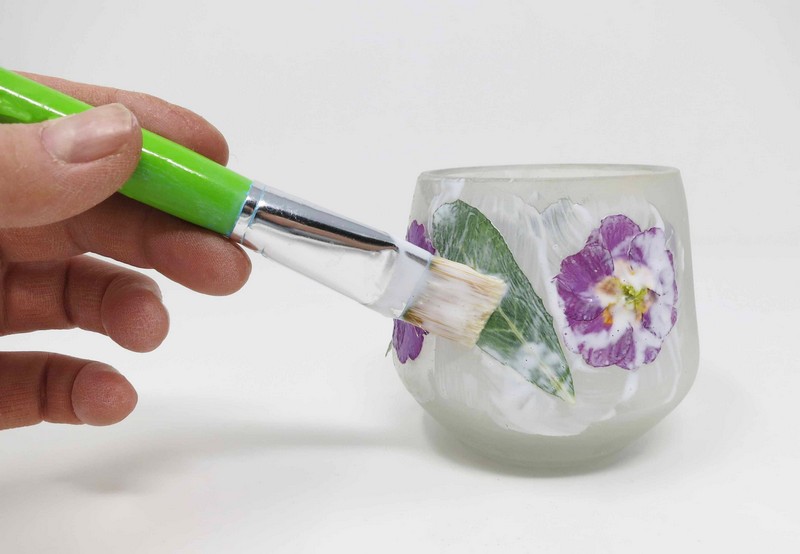
Allow the second coat of sealant to dry before using candle.