Faux Amethyst Pendant
By Marisa Pawelko

Summary:
Chunky crystal jewelry is so in vogue these days. But good crystals are expensive and hard to find in the perfect shape. So why not make your own faux crystals to create the perfect statement necklace! It’s so easy with Sandtastik’s Colored ICE! And with the wide variety of colors available, there’s no end to the creative styles you can dream up!
What’s Needed:
- Sandtastik Colored ICE
- Sandtastik Air Dry Modeling Clay
- Activ-Wire Mesh
- Tacky Glue
- Craft Paint
- Wire
- Cord
- Decoupage Sealer
- Tin Snips
- Pliers
- Wire Cutters
- Paintbrush
Select the Sandtastik Colored ICE of your choice. For this look we chose the purple Colored ICE to create a faux amethyst. But feel free to mix it up and make other stones such as faux emeralds, rubies, citrines or sapphires! We chose the black clay for this design, but you could also opt for the white, green, gold, or terracotta clay depending on which stone you’d like to replicate.
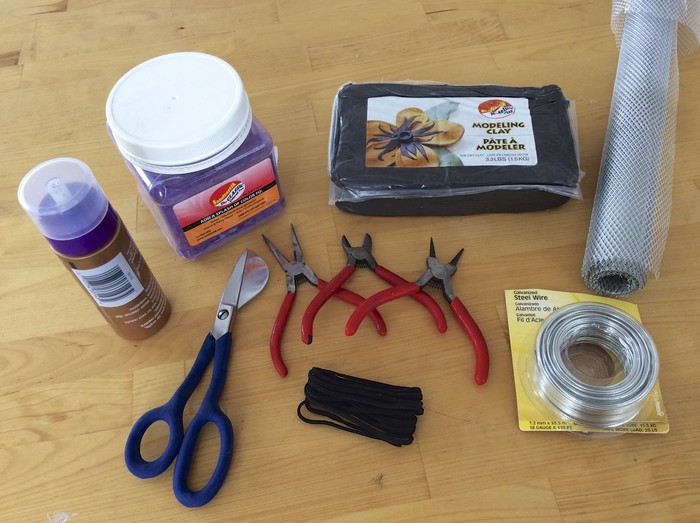
Cut a small piece of Active-Wire Mesh with the tin snips.

Form the armature for your crystal pendant with the pliers in the shape of your choice. For this design we created a teardrop shape, but again feel free to tap into your creativity to come up with any shape you like!

Form the pendant loop by clipping a small piece of wire with the wire cutters.

With the piers, form a loop and secure it to the Activ-Wire Mesh armature as shown.

Now you are ready to begin working with the Sandtastik Air Dry Modeling Clay!

With your hands form two thin slabs to cover each side of the armature.
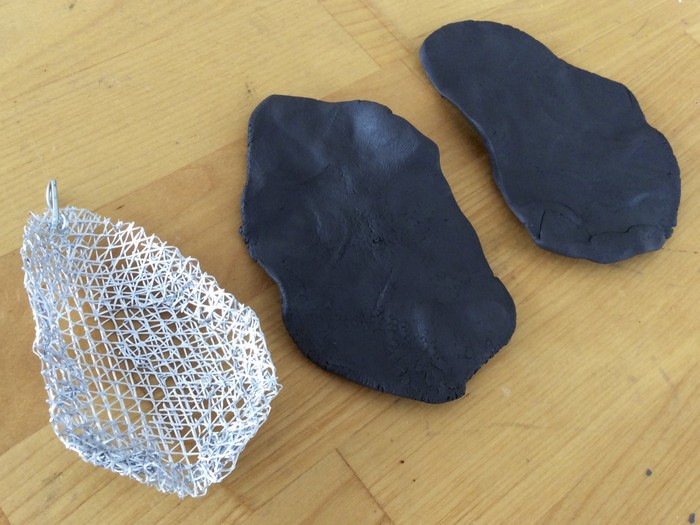
Press the armature into one of the slabs and trim away the excess.
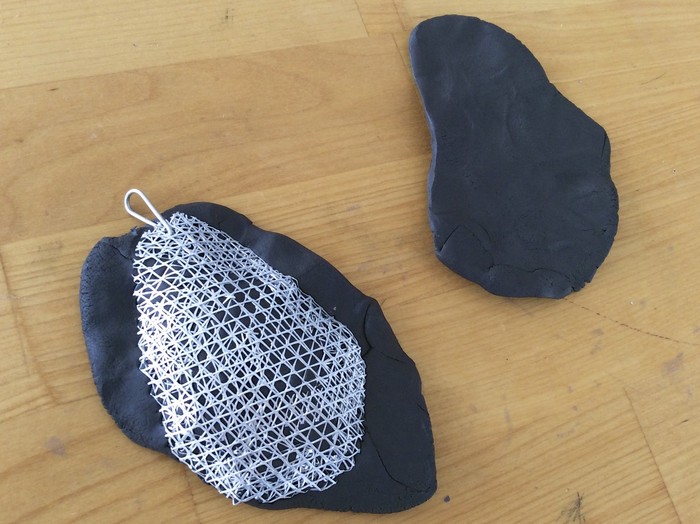
Next cover the other side with the remaining slab and wrap the excess clay around, so that the entire piece is covered, with the exception of the metal loop. Set the piece aside to dry completely.

Next grab your tacky glue and some Sandtastik Colored ICE in the color of your choice.
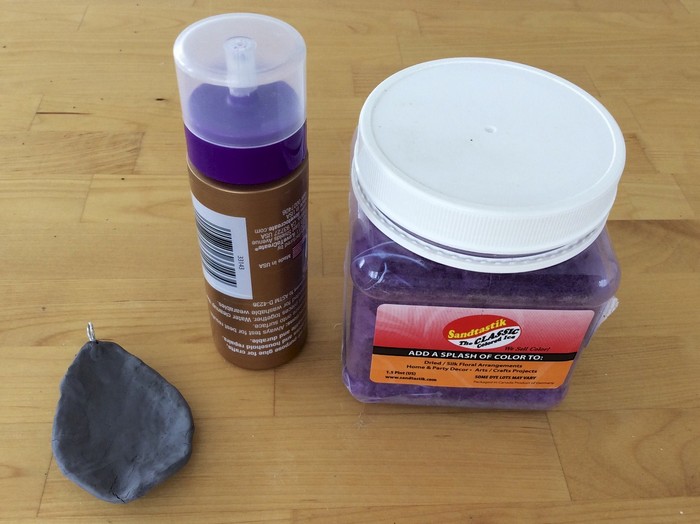
Pour a generous layer of tacky glue in the center of the pendant. With a brush, evenly distribute the glue, leaving a clean border around the edge of the shape as shown.

Next carefully fill the area with Sandtastik Colored Ice, being sure to pack the pieces closely together so there are no gaps between them.
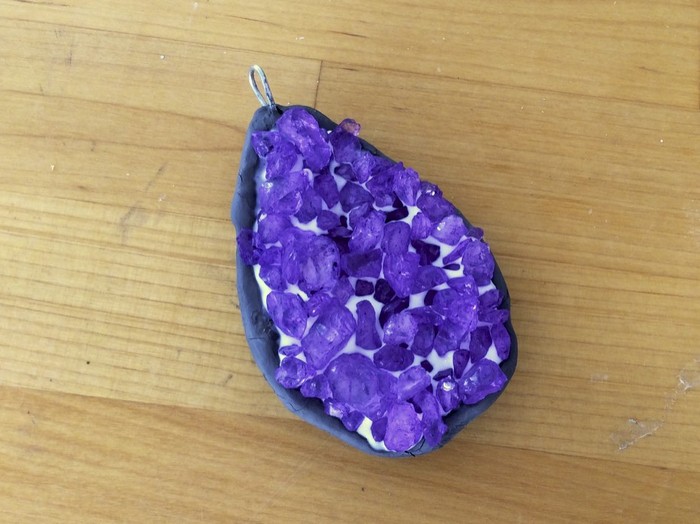
Set the piece aside to dry completely.
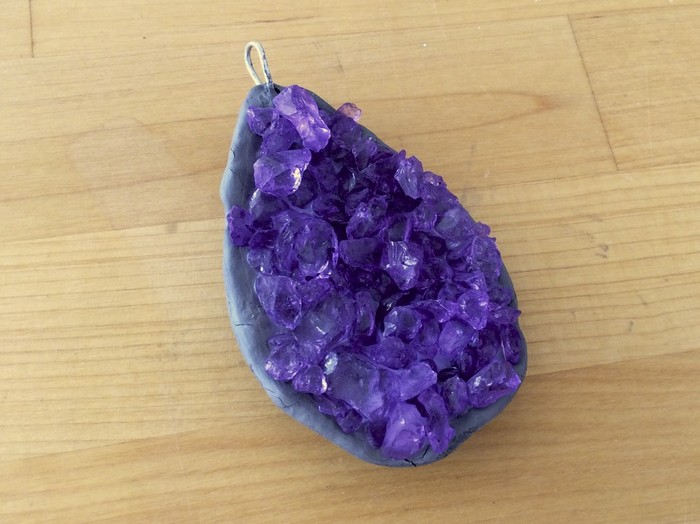
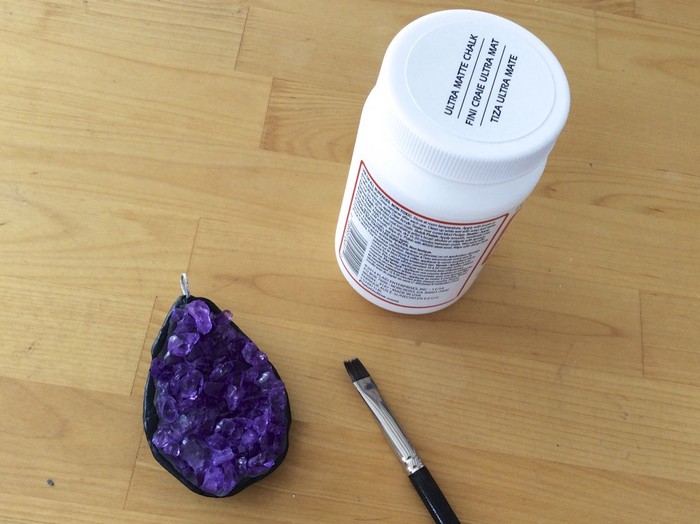
Now you are ready to make the piece even more realistic by adding some natural painted details!
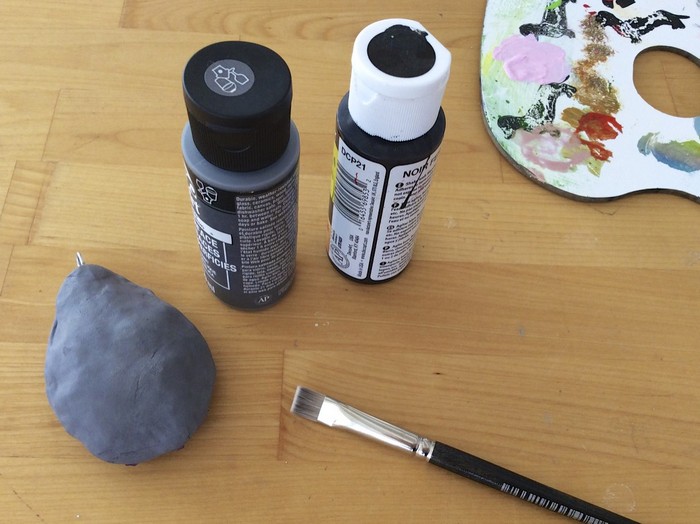
For this design we blended black and charcoal grey to give the piece a dark stone appearance.
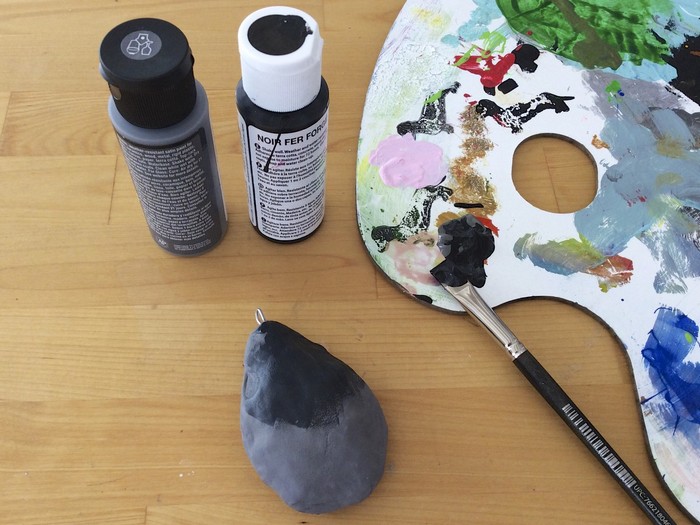
Paint the entire back of the pendant and then add a naturally wavy painted border to the front, and set the piece aside to dry.

Once dry, seal your piece to protect it from moisture with a layer of decoupage. Allow the piece to dry again fully.
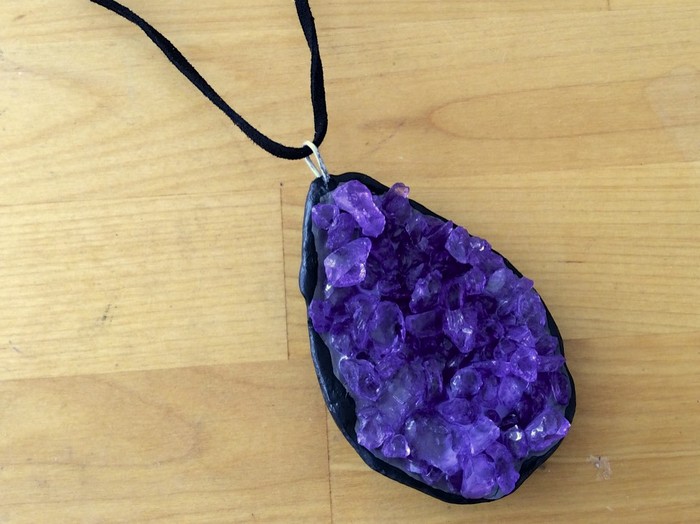
Run a piece of cord or chain through the loop and trim it to the desired length. Now you are ready to go out and ROCK the fashion scene with your very own custom created crystal pendant!
- ABOUT THE ARTIST -

Meet celebrity crafter Marisa Pawelko, winner of the Craft & Hobby Association Indie Craft Contest and the host of “America’s Next Top Crafter™”. Armed with a formal education in furniture design, Marisa used her talents to design products for the gift, toy, fashion and accessories markets before turning her focus to the craft industry. In 2005, sparked with an idea to create a recycled baby memento-keeper out of one of her son’s baby food jars, she founded Modern Surrealist LLC, which quickly developed an international following. Marisa enjoys inspiring crafters on her blog with thrifty project ideas for “upcycling” ordinary objects, into extraordinary custom creations! Her work has been featured by PBS, HGTV, Illinois State Museum and in countless exhibitions and high end boutiques around the world. Modern Surrealist LLC has been providing customers around the globe with individualized and fantastical gifts, crafts and accessories since 2004. Featuring eclectic themes that celebrate your individuality with humor and heart!