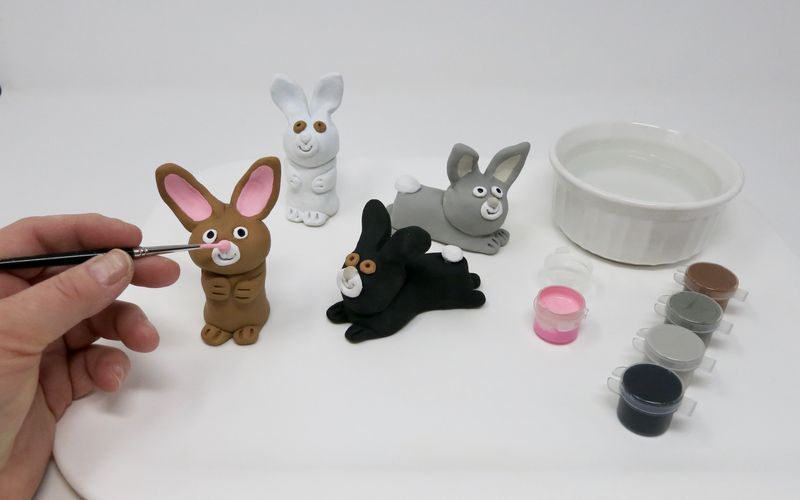
Materials Needed:
- Sandtastik White Air Dry Modeling Clay
- Sculpey® Clay Starter 3pc Tool Kit
- Water Bowl
- Acrylic Paint
- Brush
Step 1
Preparing The Clay
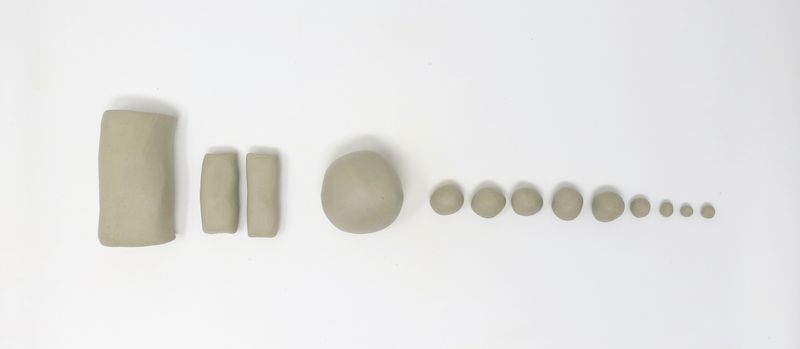
Roll:
- 1 large cylinder
- 2 small cylinders
- 1 large sphere
- 5 small sphere
- 4 tiny spheres
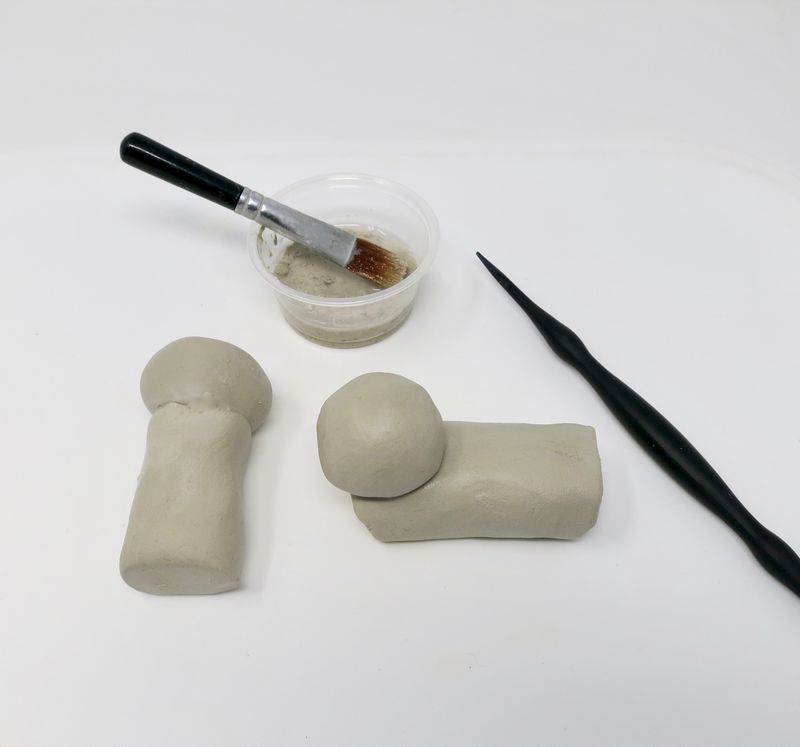
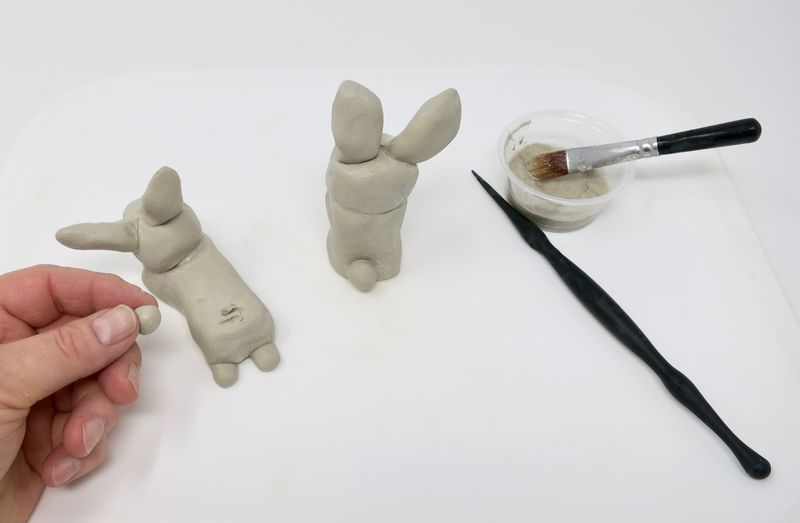
Step 2
Body
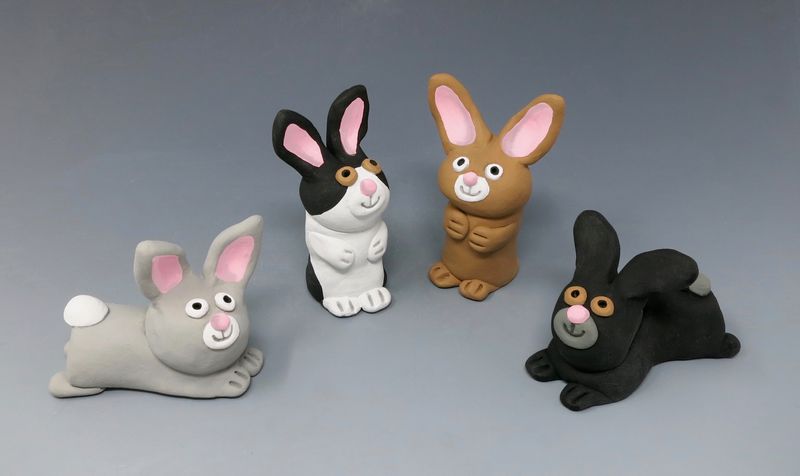
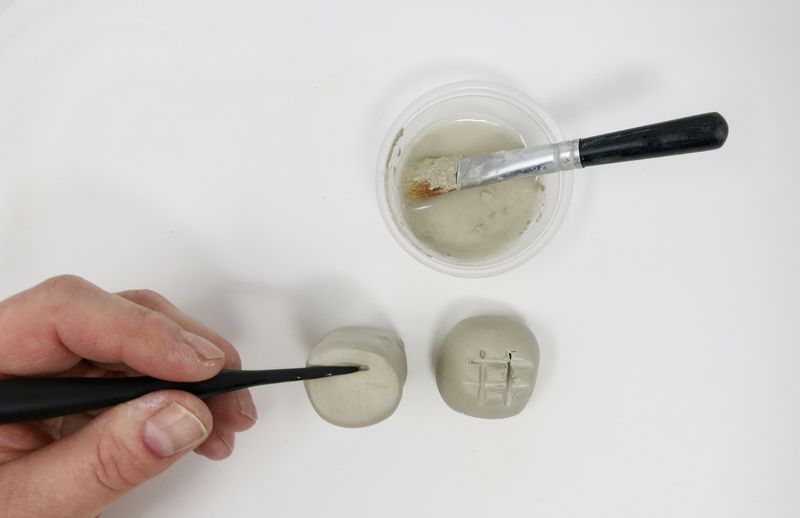
Attach the large sphere to the large cylinder. Score and slip the pieces together. Pose
the bunny in a standing or sitting position.
*Scoring is scratching the edges of clay before joining them together.
*Slip is liquid clay used to join pieces of clay together like glue.
Step 3
Feet
Slightly roll 4 of the small spheres back and forth with finger tips.
Score
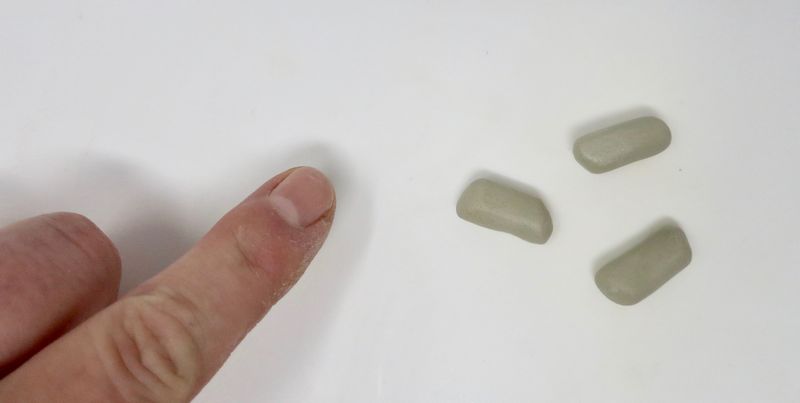
Score and slip them onto the body.
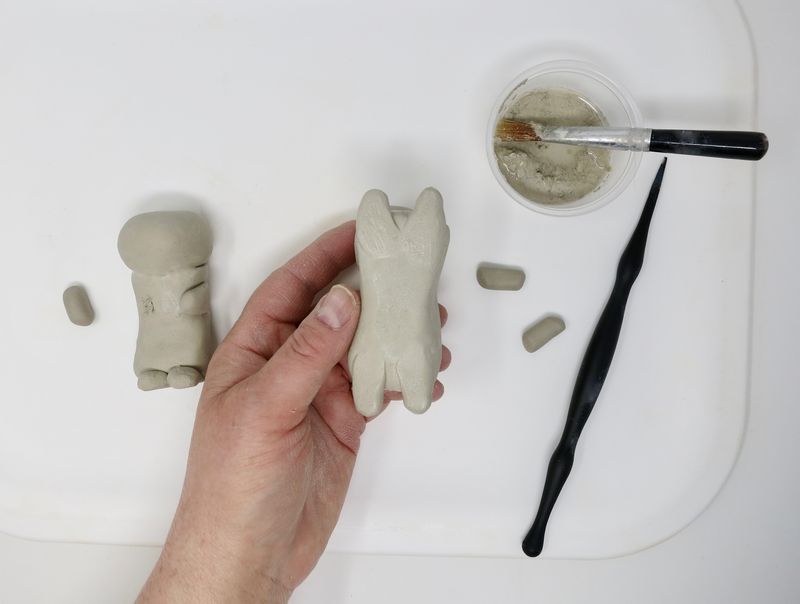
Step 4
Ears
Attach the two small cylinders to the head. Pinch the ends of each cylinder to make
them slightly pointed. Bend the ears into the desired position.

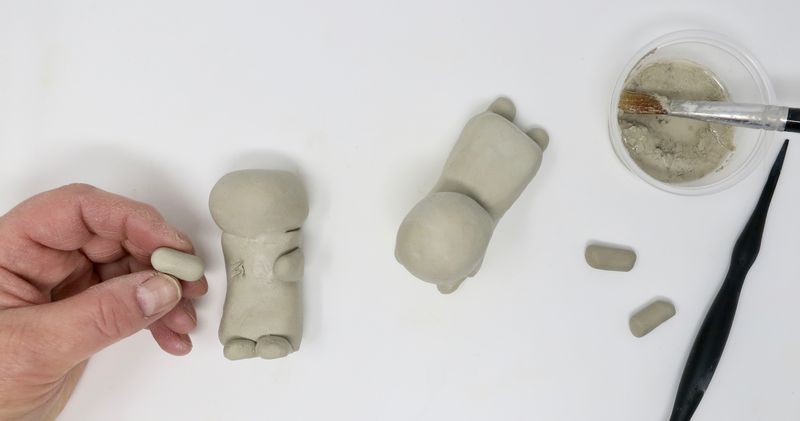
Step 5
Tail
Attach the remaining small sphere to the rear of the body shape.
Step 6
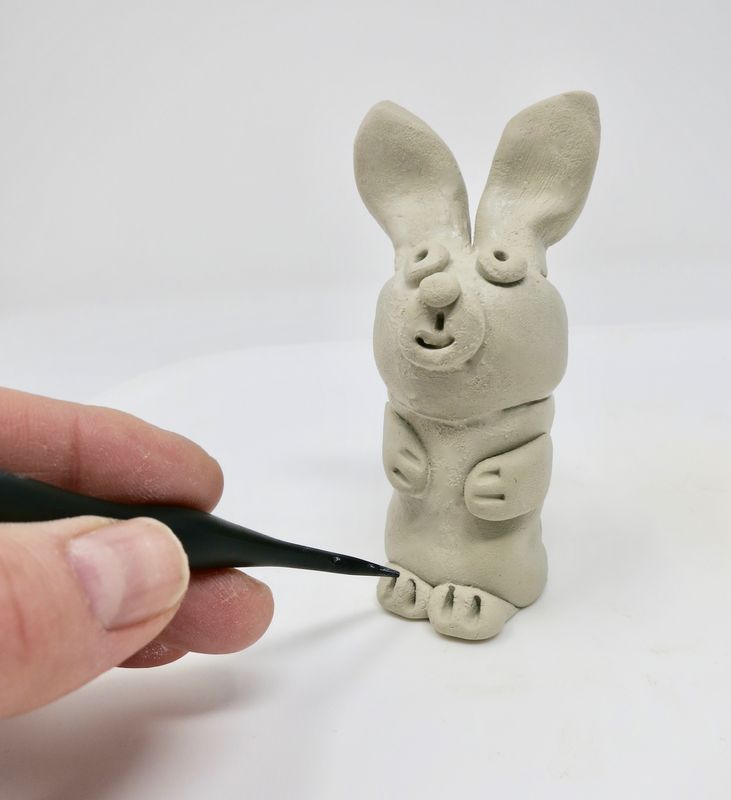
Eyes & Nose
Attach the tiny spheres to the head to create the eyes and nose.

Step 7
Details
Use the pointed tool to draw on the mouth and nails.
Step 8
Dry
Allow the clay to dry for 24 hours before painting.
Step 9
Paint
Use the acrylic paint to paint the sculpture.