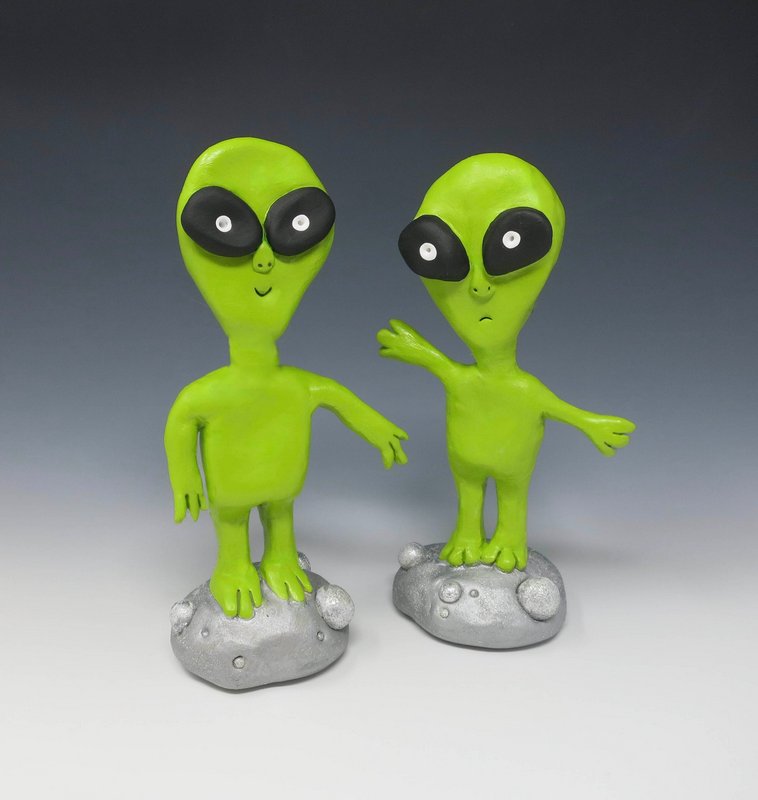
Materials Needed:
- Sandtastik® White Air-Dry Modeling Clay
- Sculpey® Clay Starter 3pc Tool Kit
- Armature Sticks (Treat Sticks)
- Water Bowl
- Small Sponge
- Acrylic Paint
- Brushes
- Small Foam Balls
Step 1
Base
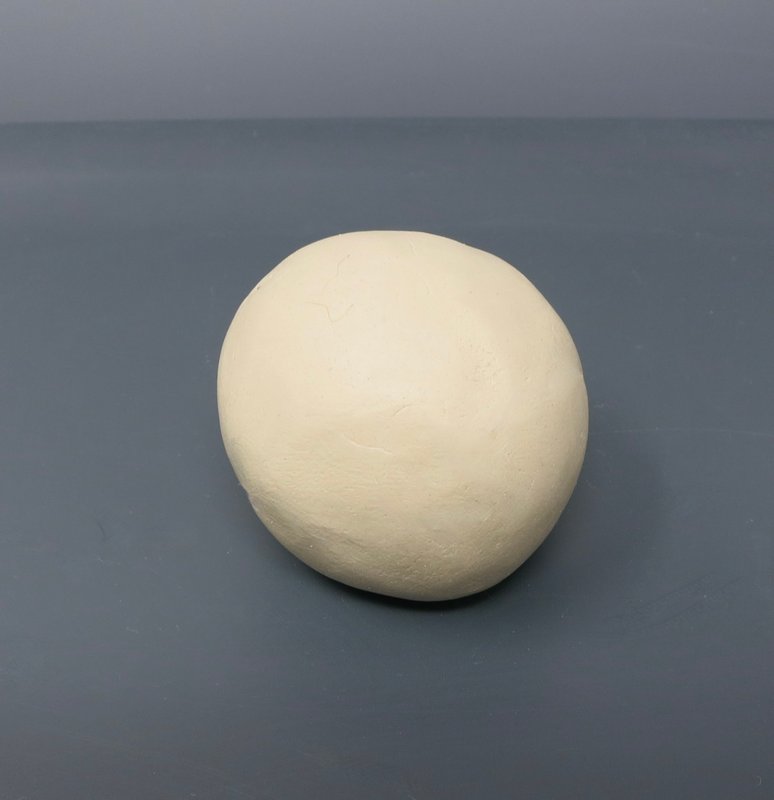
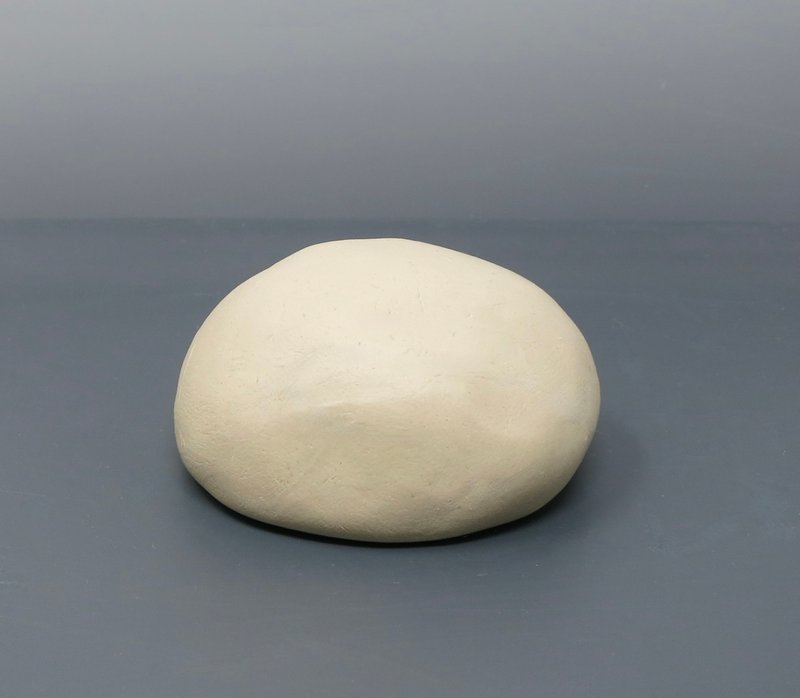
Roll a sphere and pound it on a flat surface to flatten the bottom of it.
Step 2
Head
Roll 1 large sphere and 2 small spheres.
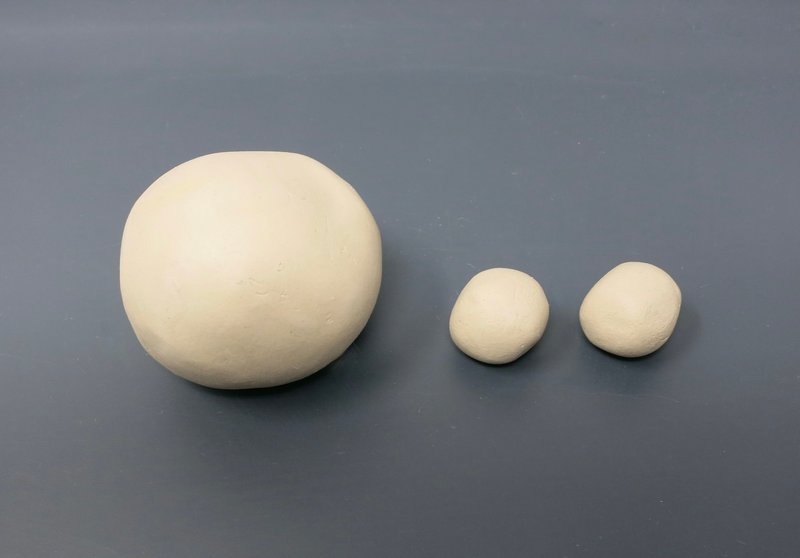
Shape the large sphere into a teardrop shape between index finger and thumb.
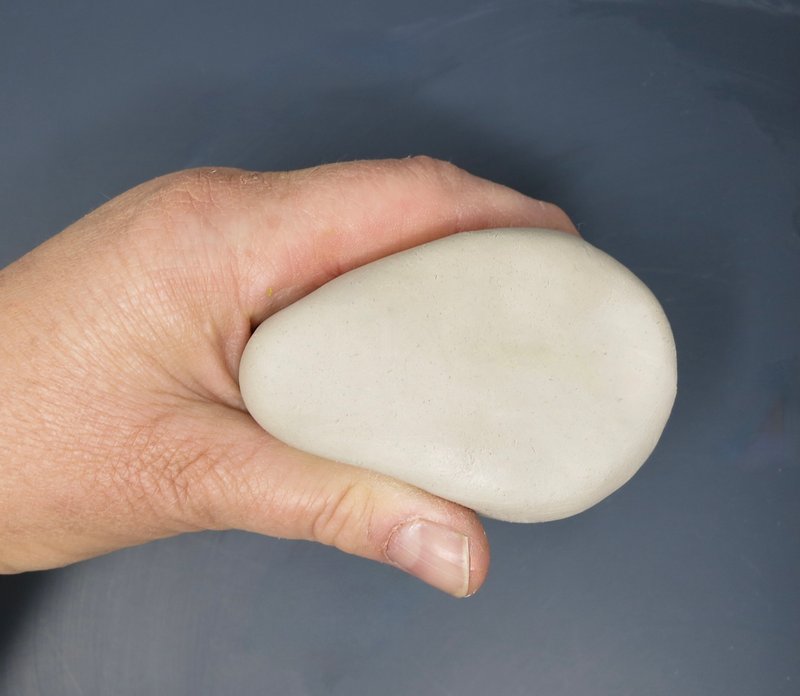
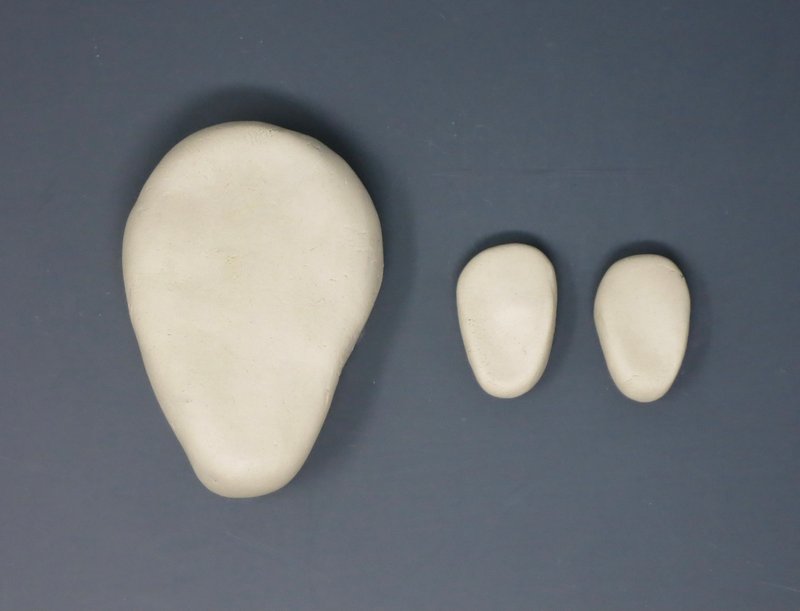
Shape the smaller spheres into teardrop shapes with fingertips.
Step 3
Face
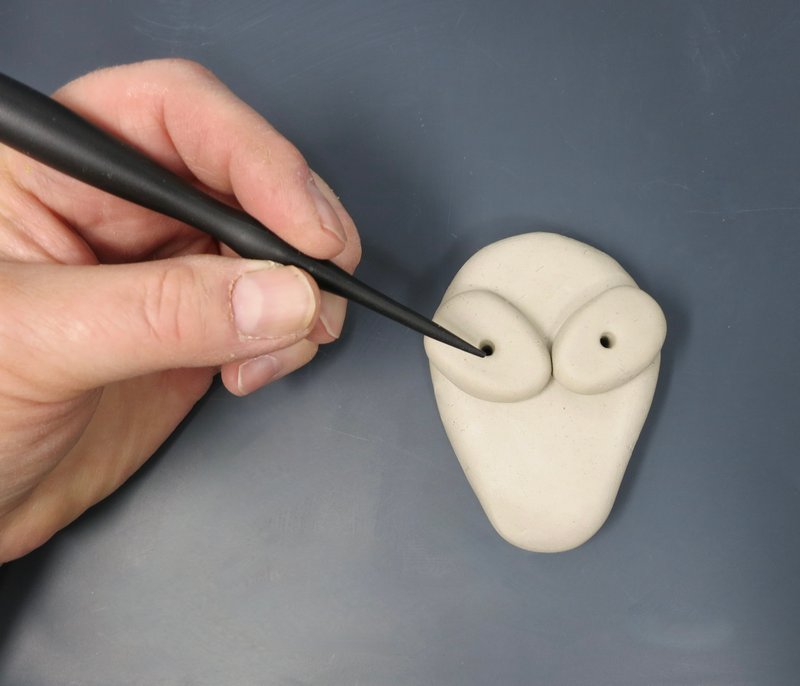
Score and slip the smaller teardrop shapes onto the larger teardrop shape to form the eyes.
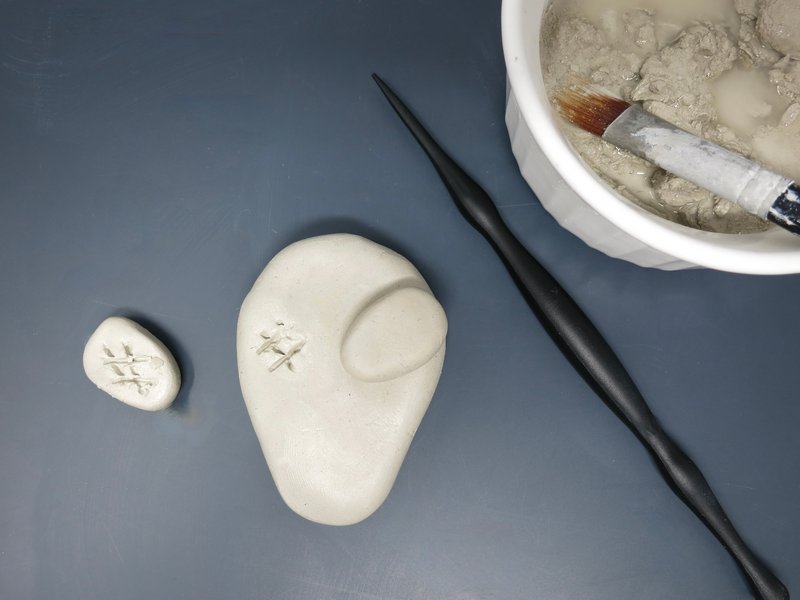
Indent the pupils of the eyes with a pointy ended tool.
Add on a tiny triangle shaped piece of clay to create the nose.
Indent two small holes for the nostrils.
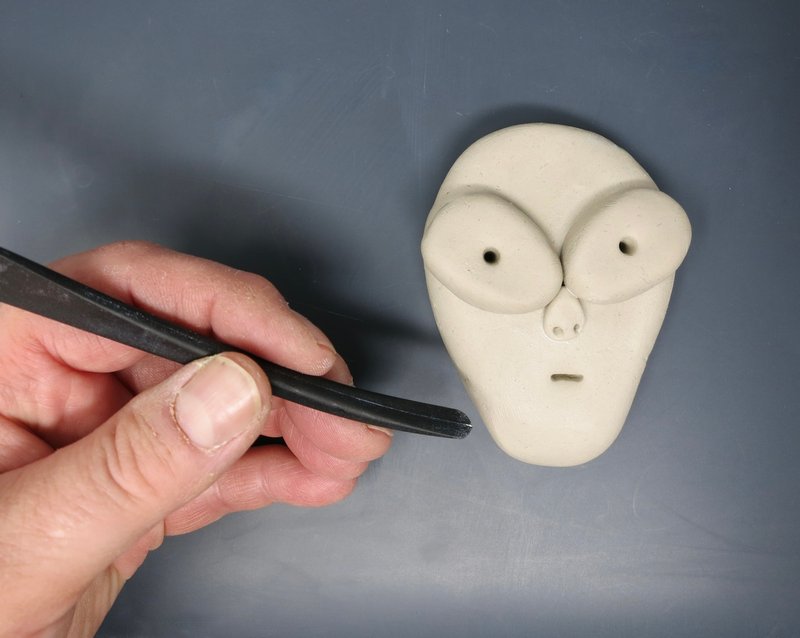
Indent the mouth with a flat ended tool.
Step 4
Body
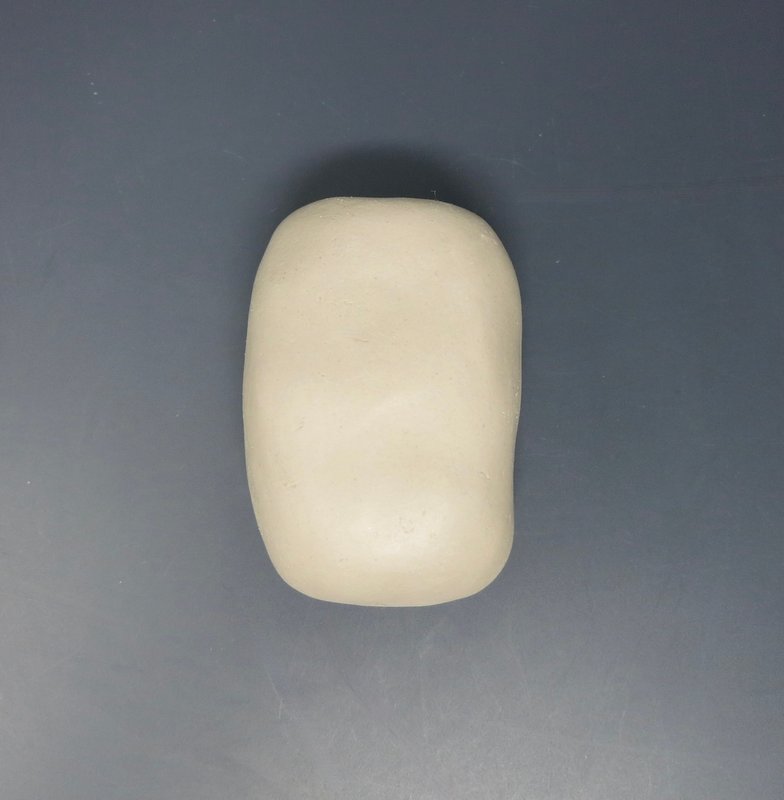
Roll a large cylinder out of clay about the same size as the head form.
Step 5
Limbs
Roll 5 small cylinders.
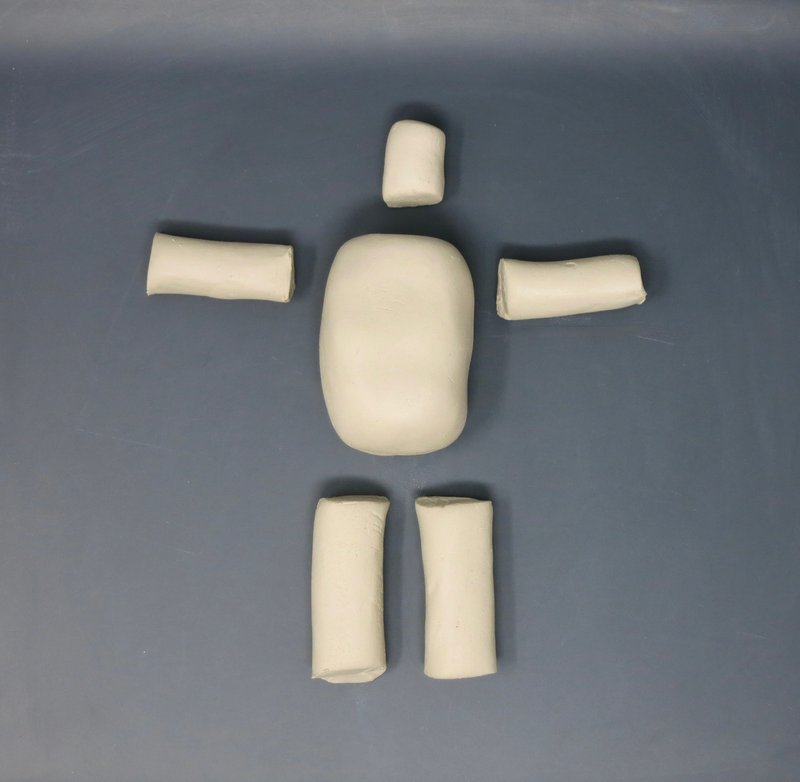
Score and slip the cylinders onto the body form.
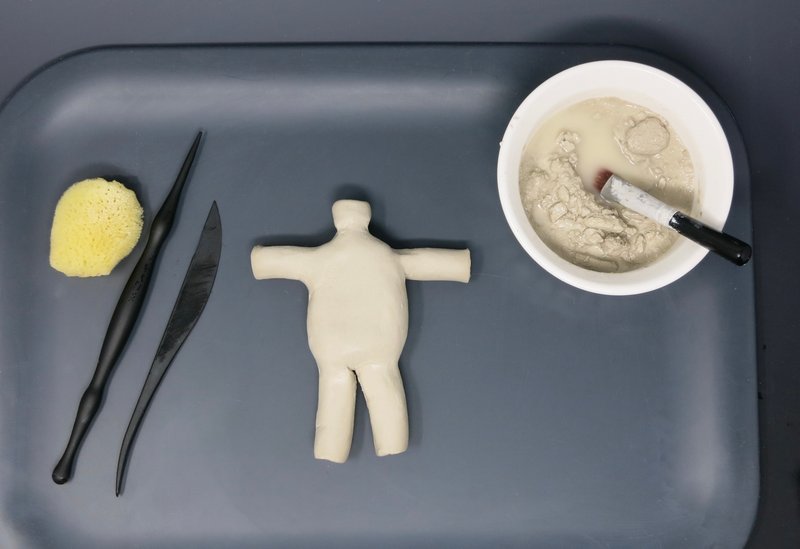
Round the ends of the cylinders. (Leave the neck cylinder flat.)
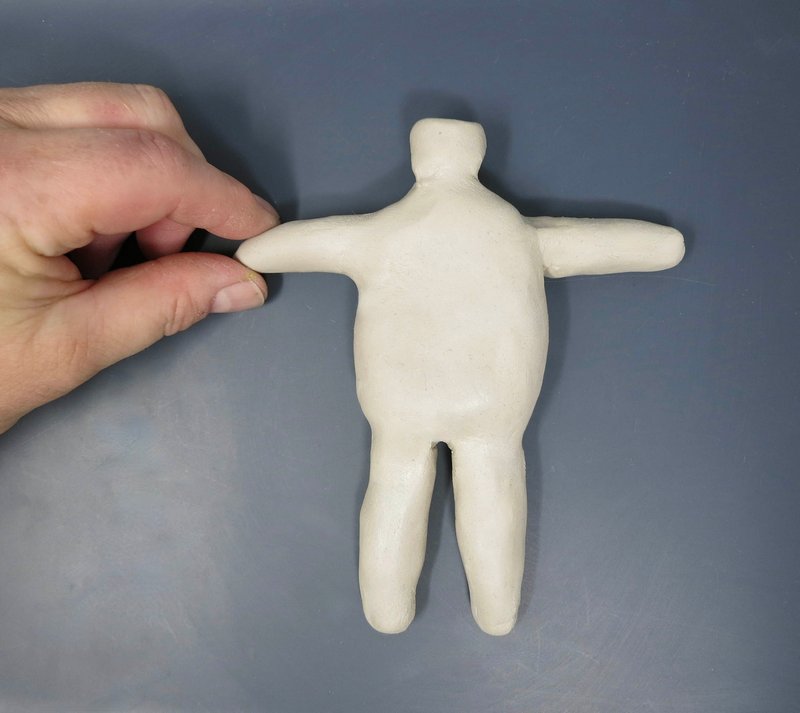
Step 6
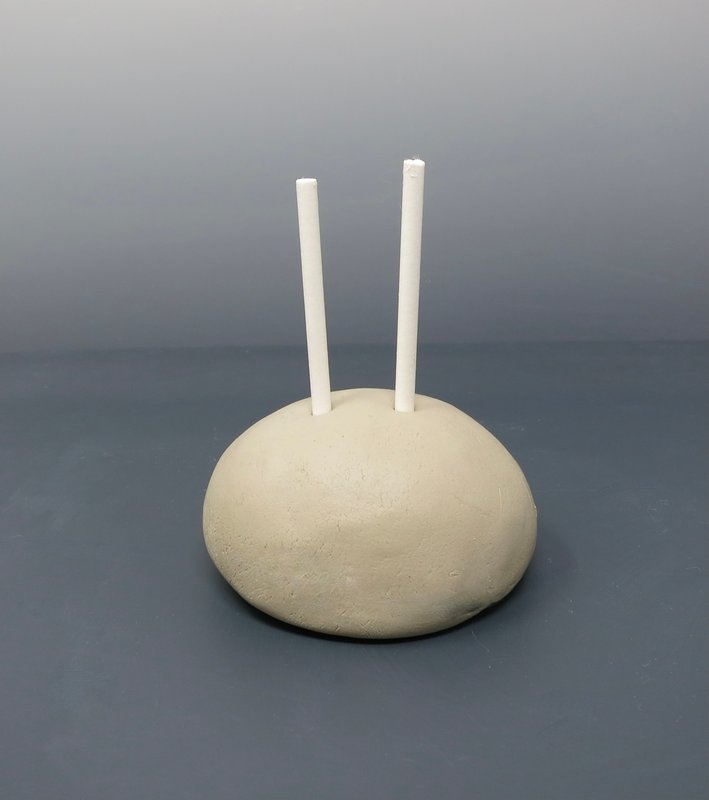
Leg Armature
Insert two of the armatures sticks into the base.
Bend the bottom of the leg cylinders and gently insert the armature sticks into the leg cylinders.
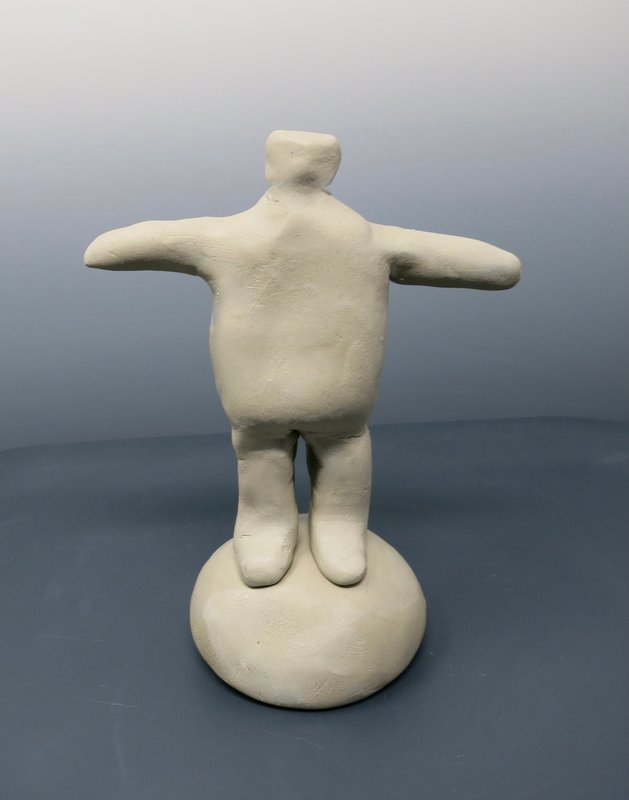
Step 7
Hands & Feet
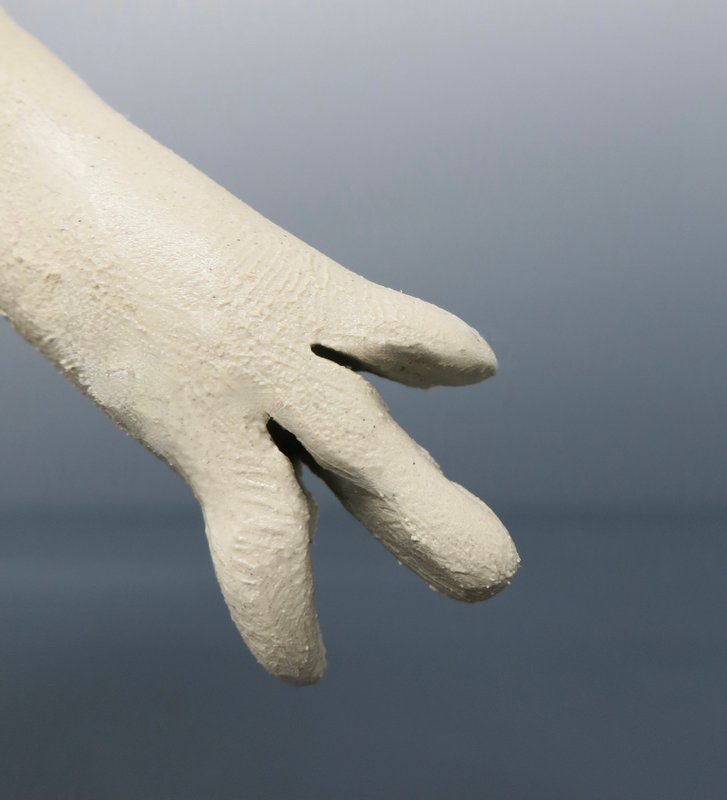
Cut two lines into the ends of each rounded clay cylinder.
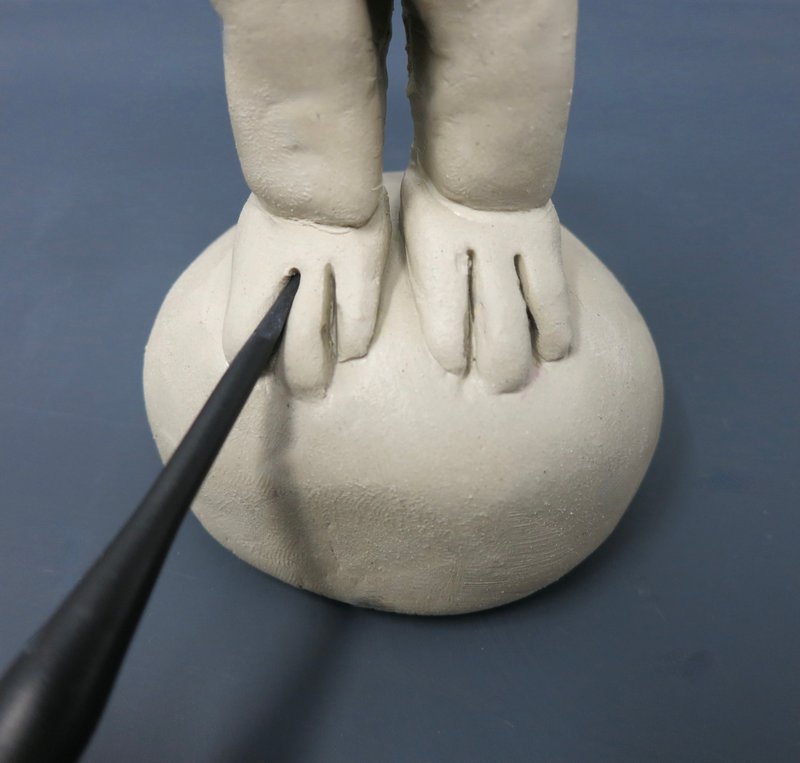
Spread the cut pieces slightly apart and smooth any rough edges with a damp sponge.
Step 8
Head Armature
Insert another armature stick into the neck.
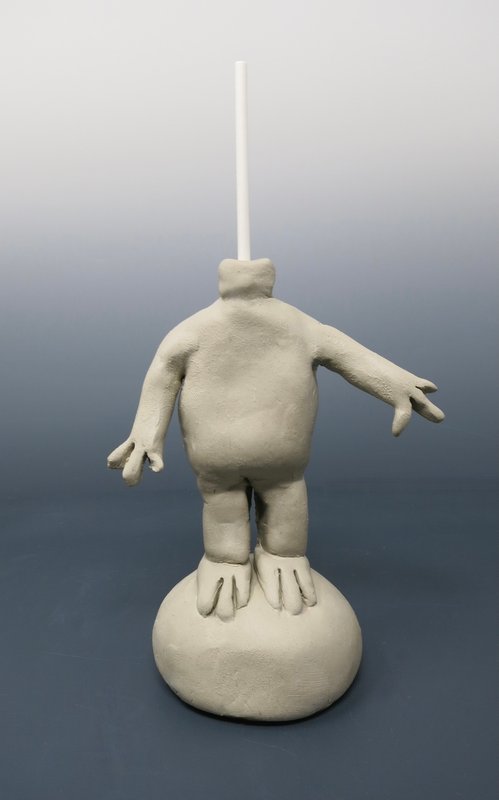
Gently insert the armature stick into the head.
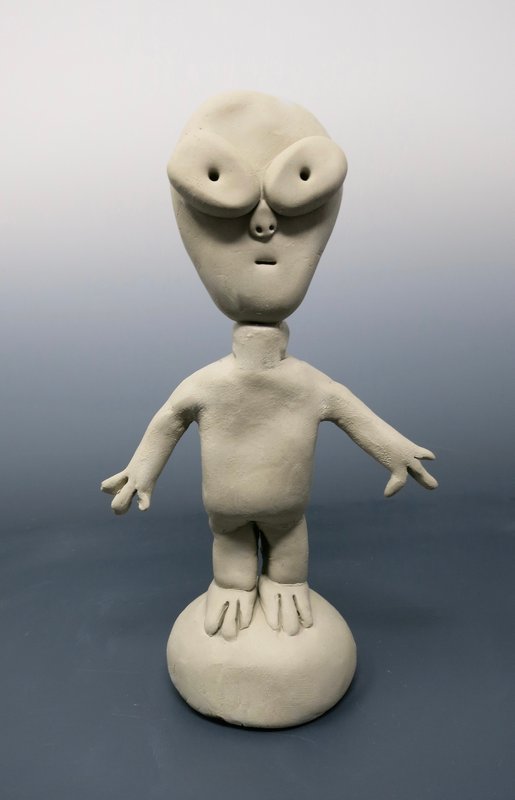
Step 9
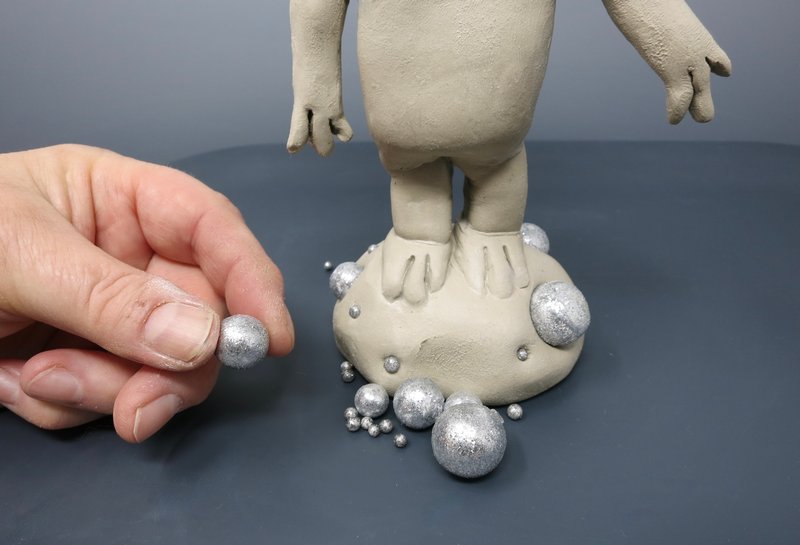
Planet
Indent the foam balls into the base to create rocks on the planet’s surface. The foam balls may also be inserted and then removed to form craters on the planet’s surface.
Step 10
Dry
Allow the clay to air dry for 24 hours.
Step 11
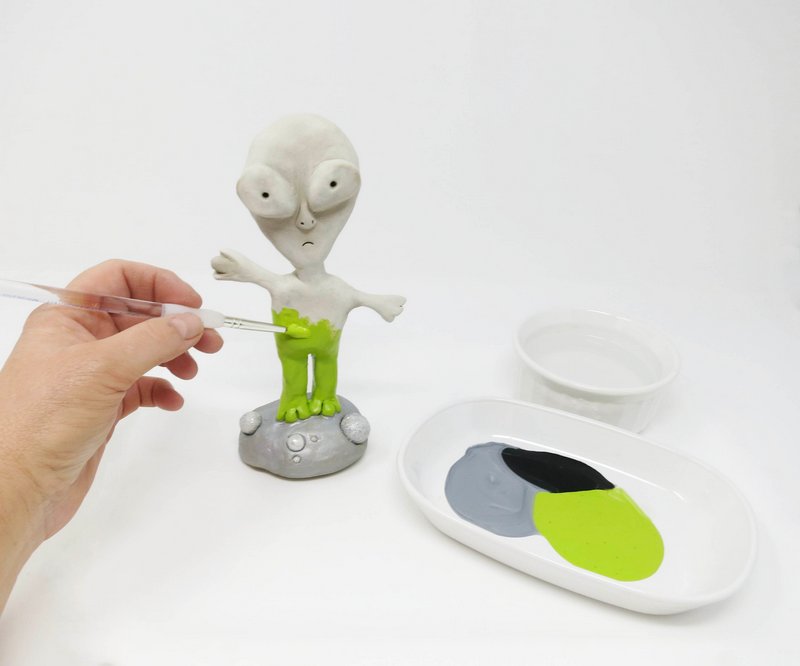
Paint
Use the acrylic paint to color the clay.
